Welcome to Moda Fabrics!
Sweet on Texture: The Candy Love Heart Pillow (Free Pattern)
Sweet on Texture: The Candy Love Heart Pillow (Free Pattern)
Published:
Jan 23 2026 - 07:00
More about the Candy Love Heart Pillow
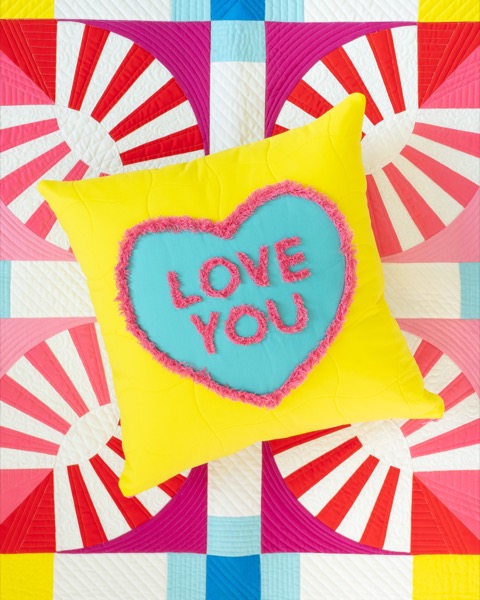
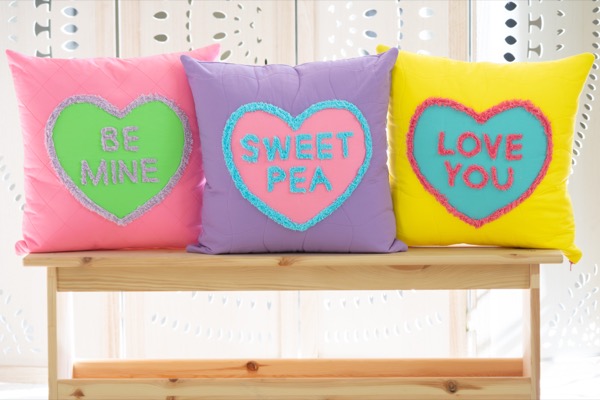
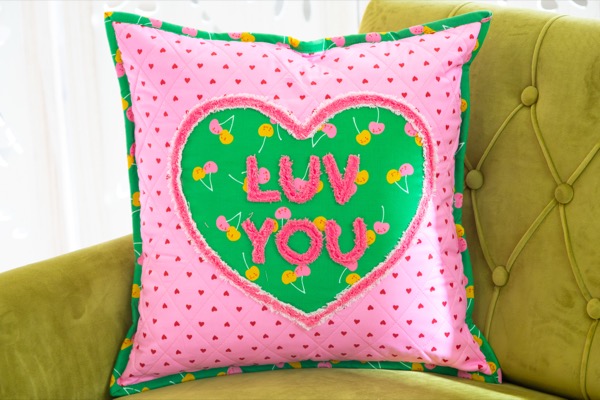
There is something timeless and joyful about those little iconic candy hearts that come around Valentine’s Day. This Candy Love Heart Pillow brings that charm to life with a palette of playful solids, cute lettering, and lots of fluffy texture. Featuring raw-edge applique and layered Chenille-It, this pillow is a great way to experiment with texture while creating a statement piece for your home.
Best of all, the Candy Love Heart Pillow pattern is completely free!
More info about the Free Candy Love Heart Pillow Project
- Finished Size: 17” x 17”
- Seam Allowance: 1/4” unless otherwise noted
- Project designed by Annie St. Cyr of Little Quilting Closet
- Pattern Written by Susan Guzman of SuzGuz Designs
- Candy Love Hearts Pillow Tutorial Star: Sarah Huechteman
Grab the Free Pattern!
Download the FREE Candy Love Heart Pillow Pattern Here
Step-by-Step Video Tutorial
This project focuses on constructing the Candy Love Heart pillow front. Pillow finishing instructions are covered in the video above, or you may finish your pillow using your preferred method (envelope back, bottom zipper, etc.)
Fabric + Supplies
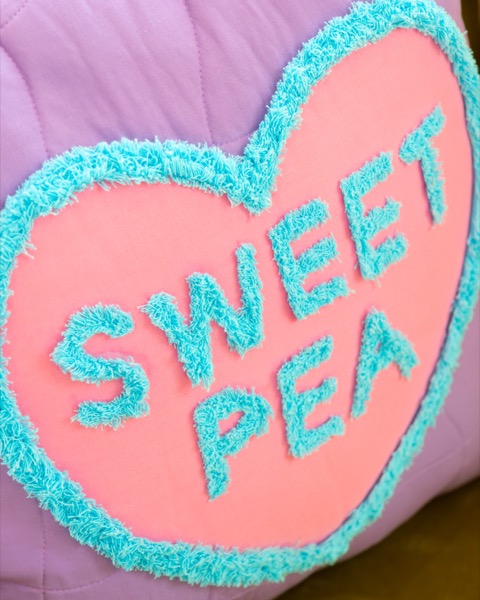
This project features Chenille-It as a major design element. Multiple layers and generous fluffing are key to achieving the look shown in the samples.
Fabric
- 1/2 yard pillow background fabric (this will be enough for the front and the back)
- 1 Fat Quarter for Candy Love Heart applique
Bella Solids used in samples:
Notions + Tools
- Chenille-It:
- 3/8” Chenille-It (letters)
- 5/8” Chenille-It (heart outline)
- Colors used in Samples:
- Chenille brush (or a sturdy, clean dish brush)
- Fusible fleece (1 yard, or one 18” square and one 12” square)
- 18” pillow form
- Sewline Glue Pen
- Sewline Combi Water Erasable Marker Set
- Spray adhesive (optional)
Helpful Links
Step 1: Prepare the Pillow Background
Cut the pillow background fabric into an 18” square.
Fuse fusible fleece to the wrong side of the fabric. Quilt as desired. The sample uses soft, organic wavy quilting, but this step is optional.
Trim the quilted (or simple fused) background to 17.5” square and set aside.
Helpful Tips:
- If you plan heavy quilting, start with a 19” square and trim down after quilting.
- For a more polished pillow interior, spray baste a scrap fabric to the back of the fusible fleece.
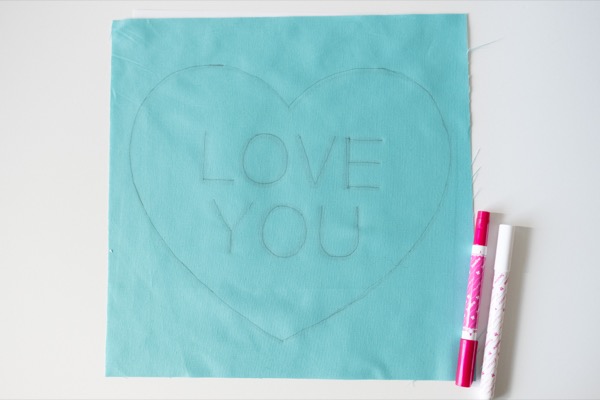
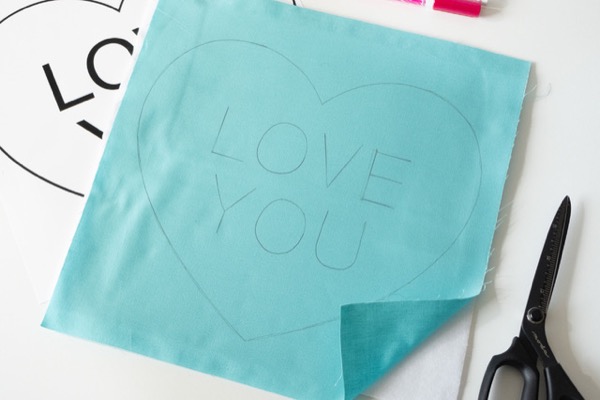
Step 2: Trace the Heart and Letters
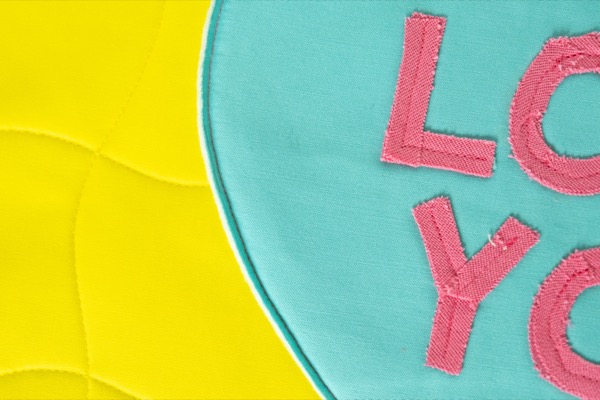
Using the pattern templates, trace the heart shape and the letters onto the right side of the candy heart fabric.
Do not cut the shapes out at this stage.
Step 3: Fuse the Heart Applique
On the wrong side of the candy heart fabric, fuse a piece of fleece large enough to cover the entire heart shape.
This adds structure and stability to the applique.
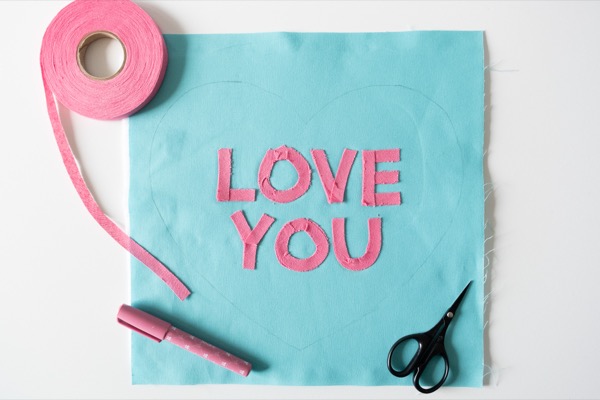
Step 4: Glue Baste the Chenille-It Letters
Using a Sewline Glue Pen, glue baste 3/8” Chenille-It over each letter.
Precision is not required here — the chenille fluffing step hides small imperfections beautifully.
Optional but Highly Recommended:
- Glue baste a second layer of Chenille-It over the letters for extra texture and dimension.
- Watch the tutorial above for more information on working with the letters!
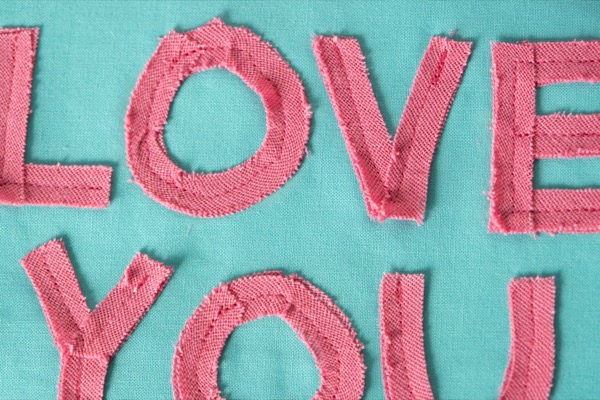
Step 5: Stitch the Letters
Sew directly through the center of the Chenille-It, following the shape of each letter.
Start and stop as needed and be sure to backstitch at the beginning and end of every stitching line.
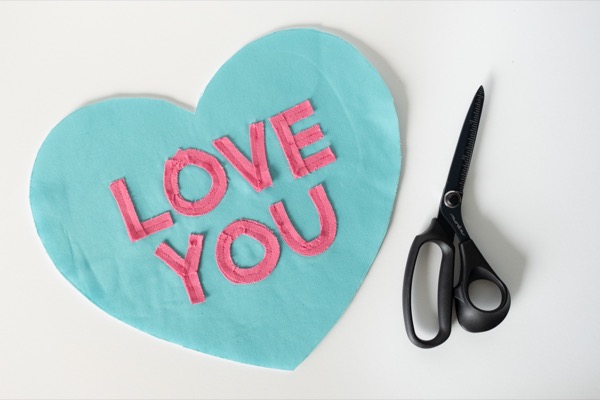
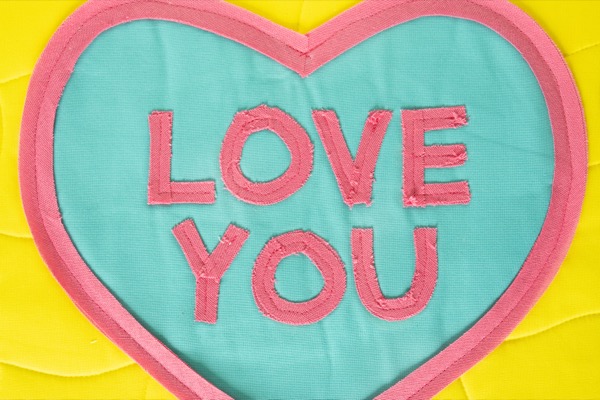
Step 6: Cut Out the Heart
Trim the heart shape along the traced outline.
At this point, the letters should be fully stitched, but the chenille is not yet fluffed.
Step 7: Position and Baste the Heart
Fold the pillow background in half vertically and horizontally to find the center.
Position the heart in the center of the pillow front. Secure with pins or spray adhesive.
Baste the heart in place approximately 1/8” from the raw edge.
Step 8: Add Chenille-It Around the Heart
Using 5/8” Chenille-It, stitch around the edge of the heart, covering the basting line.
Pattern Designer Tips:
- For added texture, stitch multiple rows side by side. More layers create more depth and fluff.
- If you do not have 5/8” Chenille-It, multiple rows of 3/8” work just as well.
- Glue basting this step makes curved stitching easier. Double layers are encouraged.
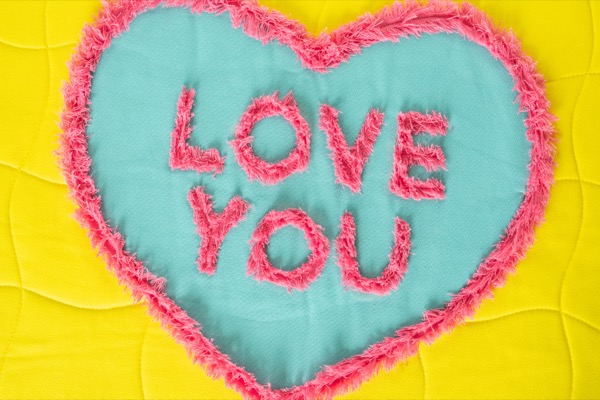
Step 9: Fluff the Chenille
Use a chenille brush or other stiff bristle brush to fluff all Chenille-It areas by scrubbing back and forth. You will have to scrub pretty vigirously, more than you might think. The Chenille will shed, that is totally normal. When you are finished, a lint roller cleans up all the mess!
For maximum texture, you can also wash the pillow front and toss it in the dryer…pure Chenille-It magic!
Pillow Finishing
Finish the pillow using your preferred method. You can add binding on the outside for a cute effect (not in pattern.) You can use an envelope back, a zipper on the bottom or the fabulous hidden zipper method featured in the video tutorial above! The heart panel would also be a fabulous addition to any jacket, tote bag or even a bunting just follow the same applique steps!
Posted in: