Welcome to Moda Fabrics!
Arabesque Quilt
Arabesque Quilt
Published:
Mar 29 2016 - 23:00
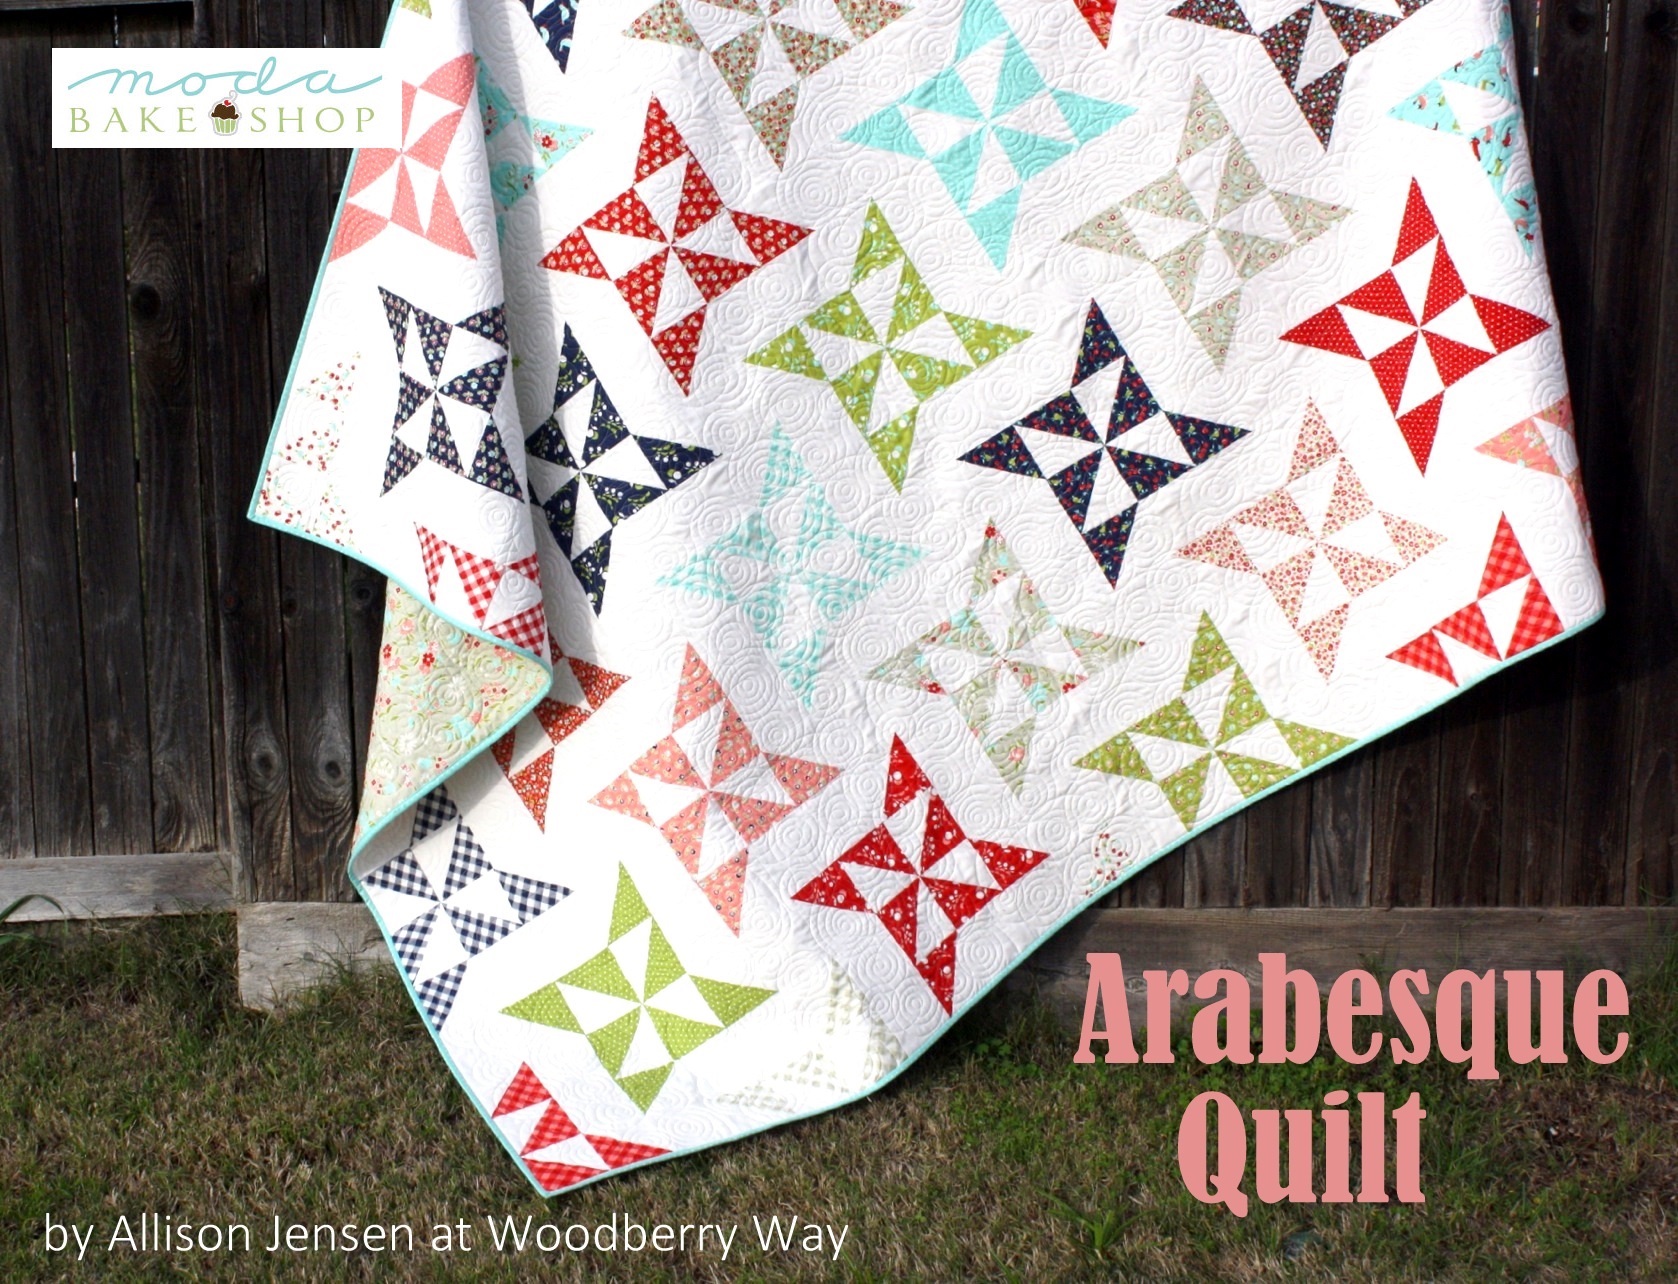

Hello! My name is Allison and I am excited to be a first-time chef at the Moda Bake Shop. It was a delight to come up with this layer cake pattern. I named it "Arabesque" because it reminds me of a class of tiny twirling dancers, but the boys at my house call it the "Ninja Star Quilt". You can find more quilts from me at woodberryway.com where I have recently started blogging.
This quilt top finishes at 86" x 71".
![]()
1 Layer Cake
4.75 yards background fabric
5 yards backing fabric
5/8 yard binding fabric
![]()
Cut background yardage into:
- (9) 10" strips, subcut to (34) 10" squares
- (18) 4.25" strips, subcut 7 of them into (32) 8" x 4.25" rectangles, and 11 of them into (104) 4.25" squares
Choose 34 of the layer cake squares you want to use, and save the rest for another project. (This really is a layer cake, I keep mine folded in little stacks like this so I can see them better, and it's just cute!)
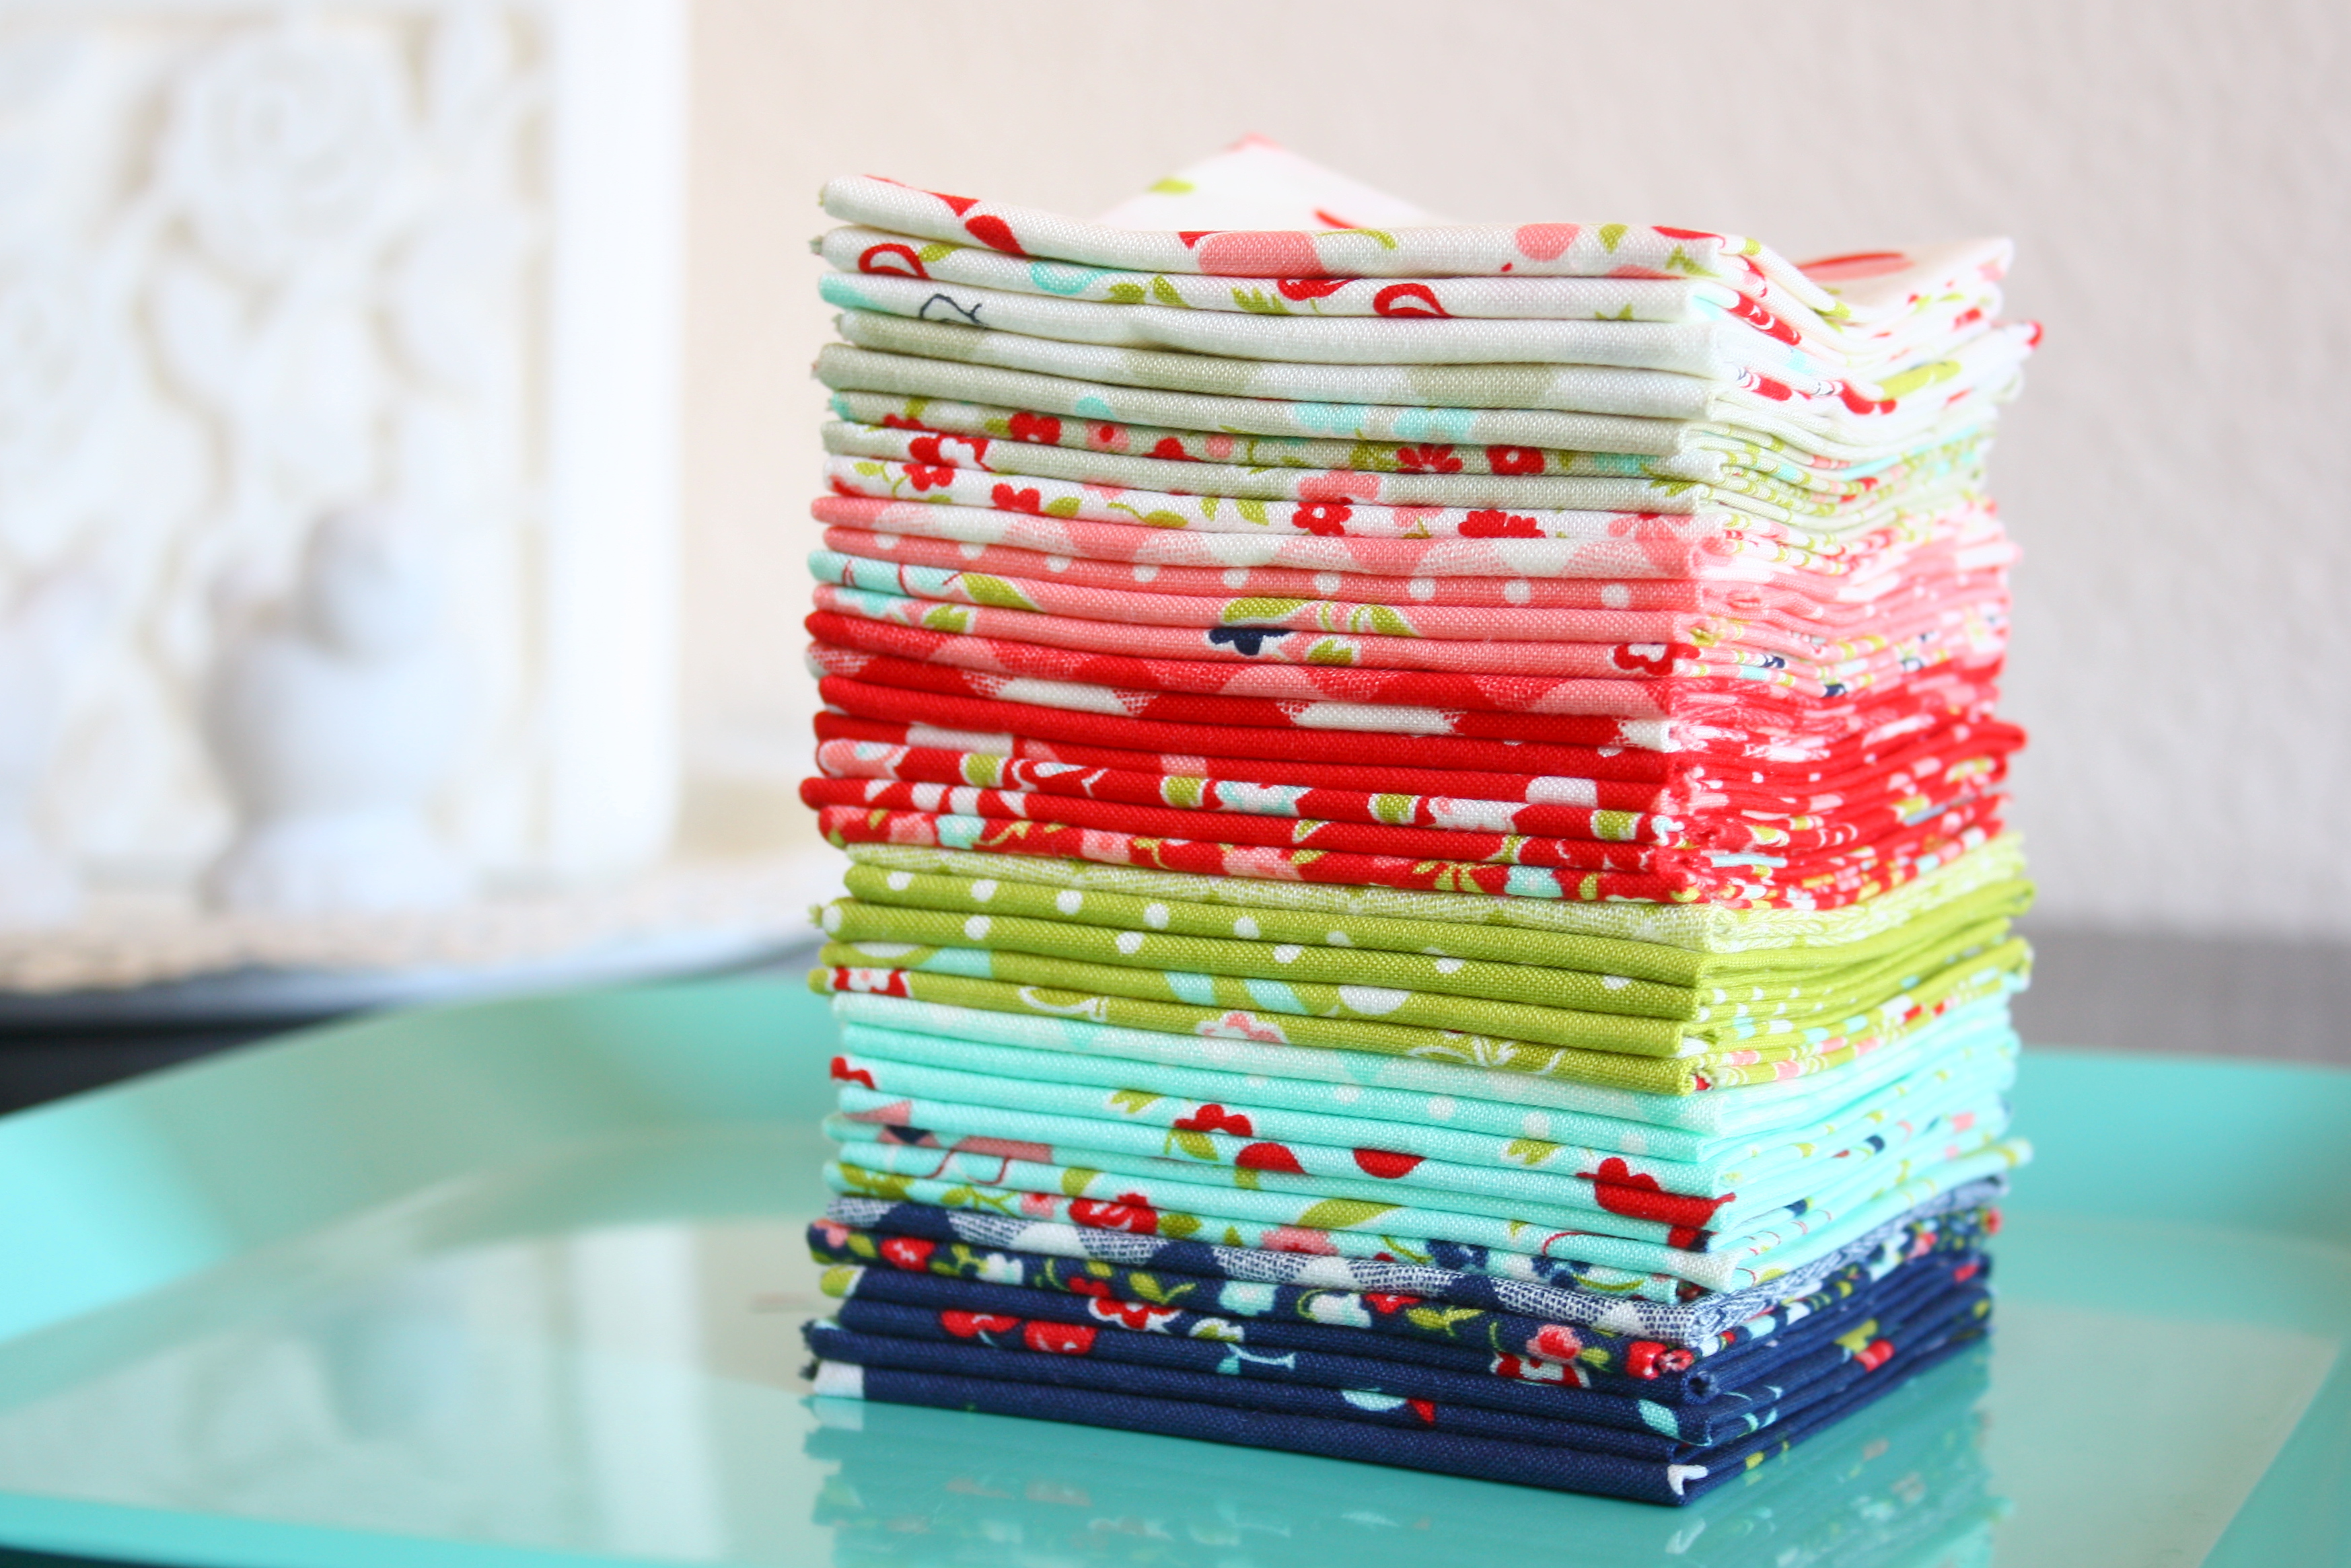
You should have 34 background squares and 34 print squares.

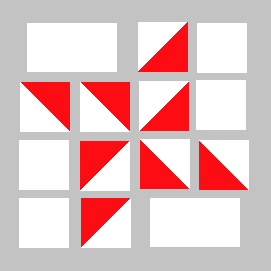
Put one of layer cake square right side together with a background square. Mark diagonal lines, as shown in black, and sew 1/4" along each side of both lines, as shown in white. Give them a good press after that to make cutting easier.

Cut along your marked lines, as well as half way (at the 5" mark) horizontally and vertically.
 When you open them up you should have 8 half square triangles. Trim your HSTs to 4.25" and stack them by print. I highly recommend a Bloc Loc ruler and rotating cutting mat for the trimming. It makes this step so much faster, and even a little bit fun :)

You should have 34 stacks of (8) HSTs for each print. I arranged my color stacks first to decide placement, and then started to fill in the background pieces, as switching around the layout on this particular quilt can be tedious.

Begin to lay out your stars in this manner, with background rectangles on the upper left and lower right. As you lay them out the stars will interlock with one another. Be sure not to place any background rectangles vertically, or you won't be able to sew your rows together.
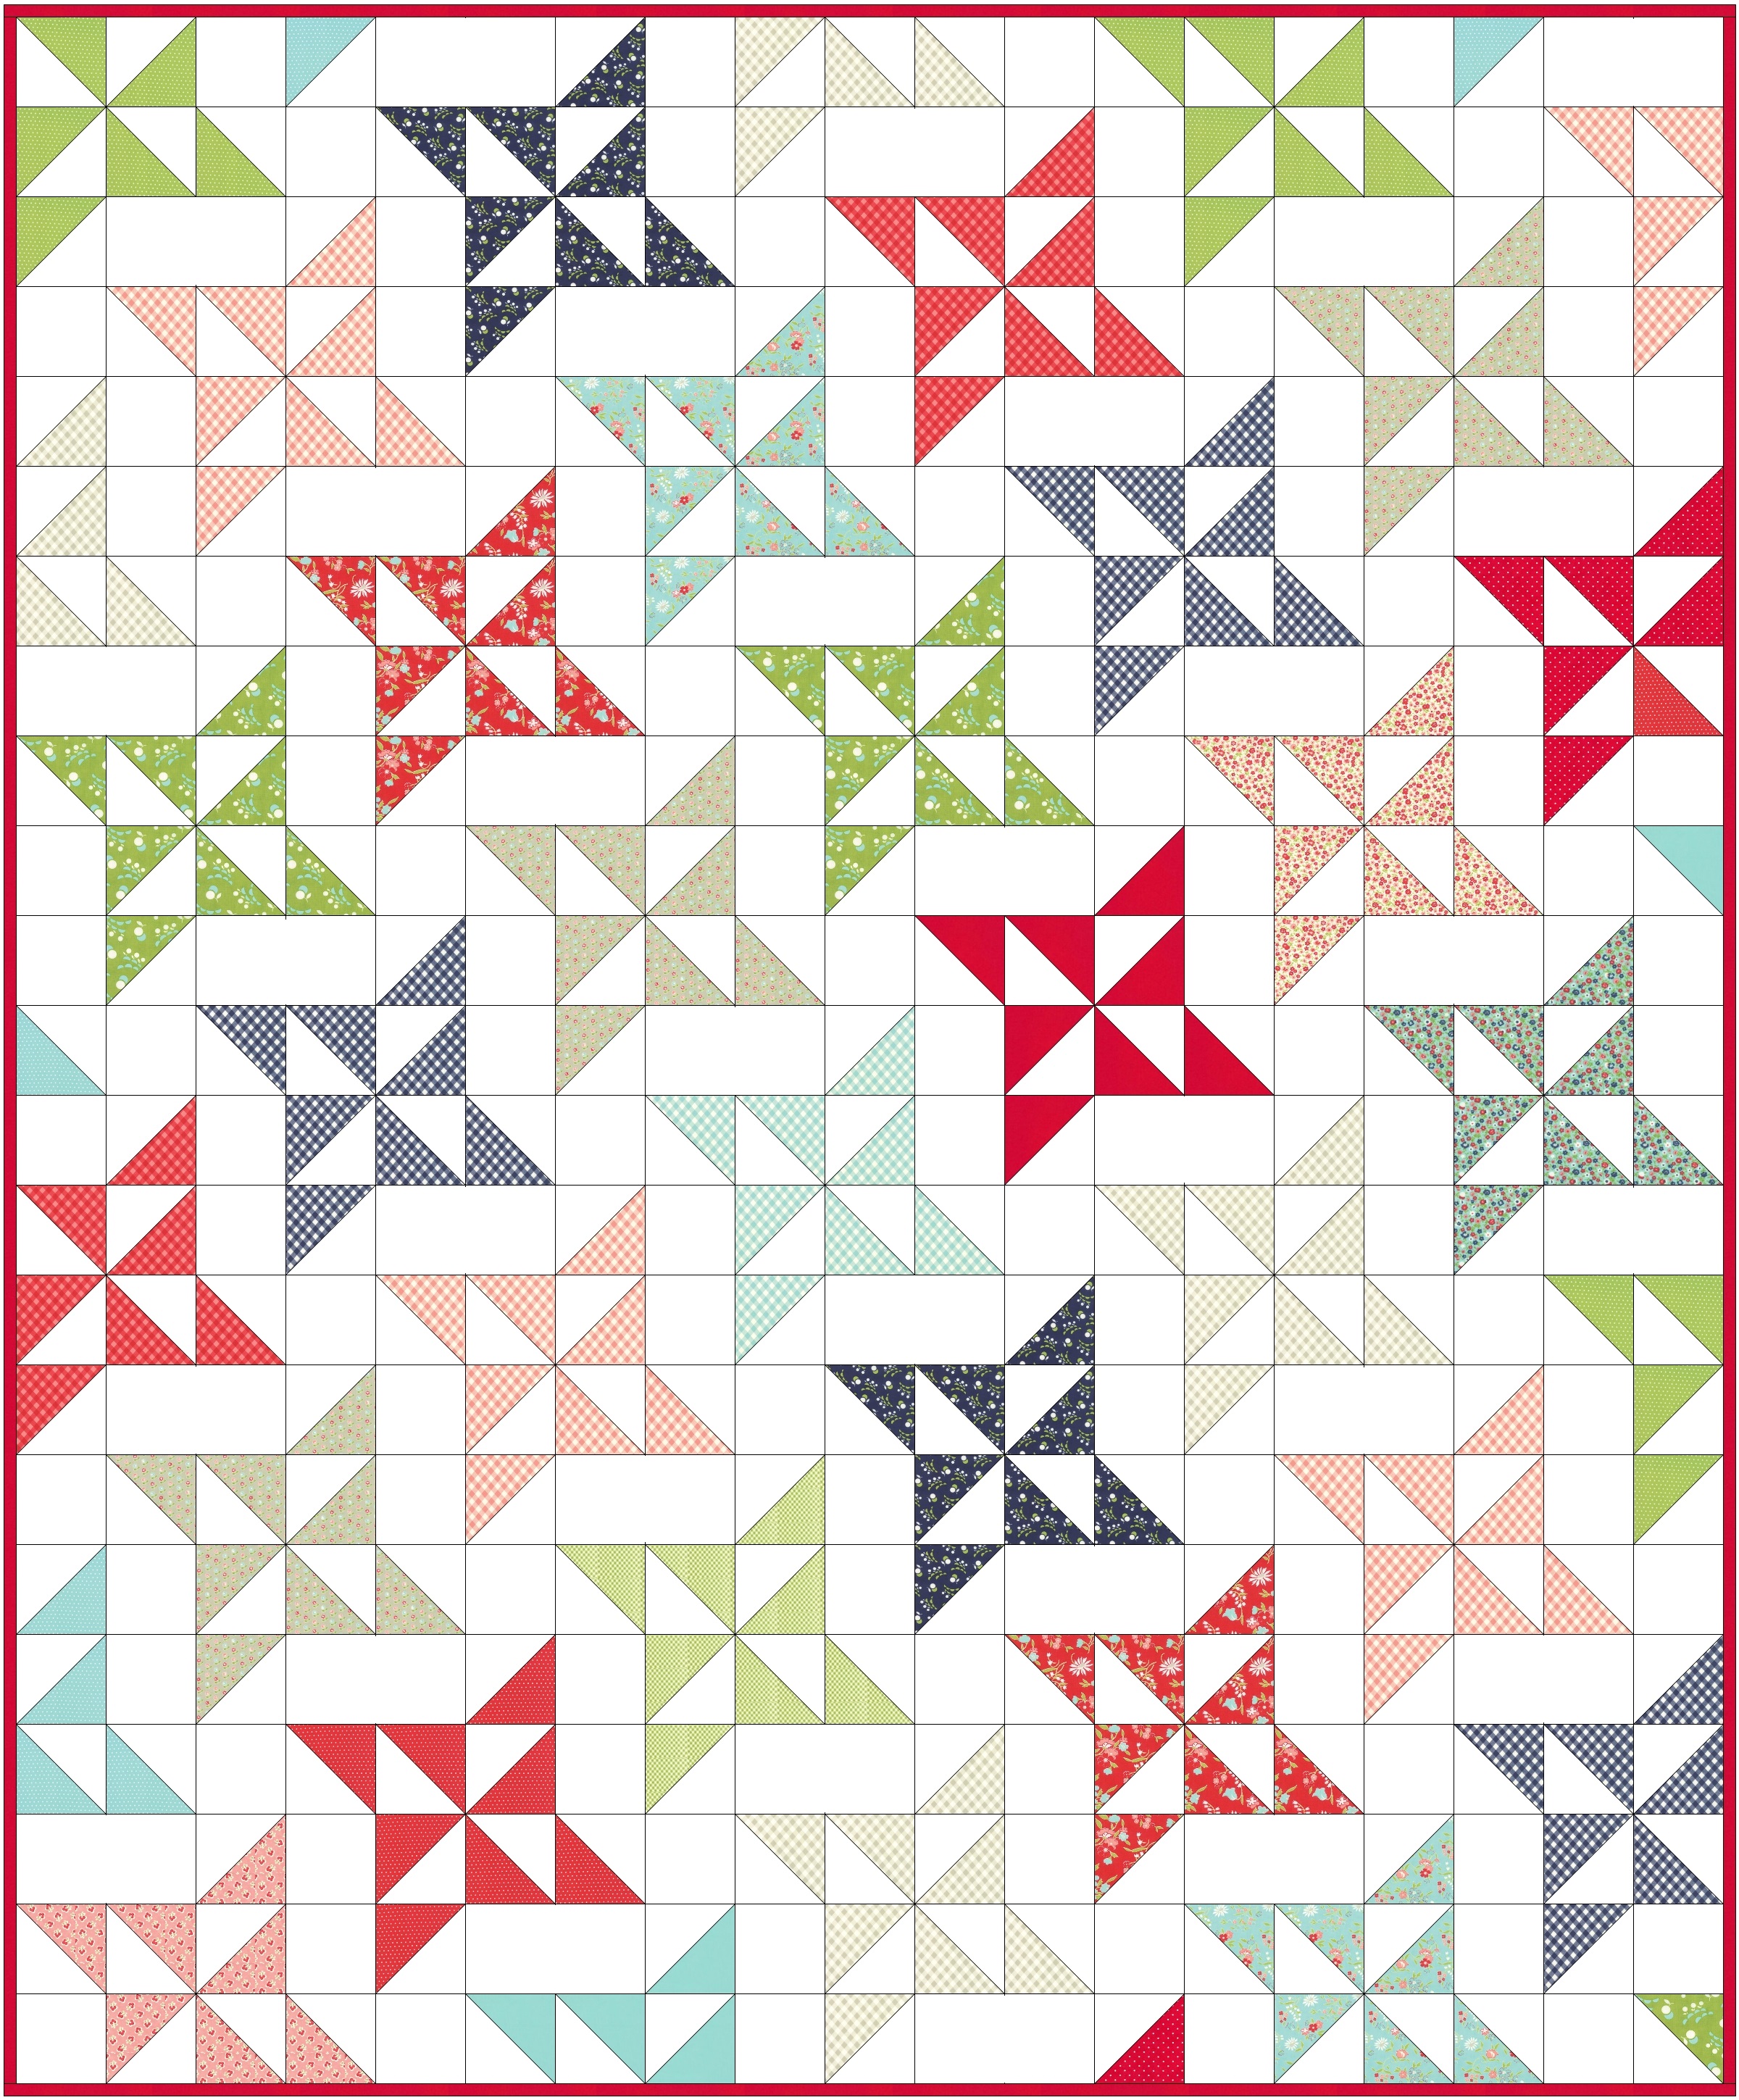
Continue to lay out interlocking stars following this model until you have reached a 19 x 23 grid. You will have a few partial stacks left over.
Sew pieces into horizontal rows, and then sew rows together. I like to press rows alternating directions and use "nesting seams" so I don't have to pin. I do pin at the center of each pinwheel to make sure that point is perfect. Once the rows are sewn together, you have a quilt top!

Back, baste, and bind according to your preferred method. There are lots of wonderful tutorials out there for these steps if you're just beginning. Red Pepper Quilts has a great binding tutorial, and Lella Boutique has some tricky tricks!
Here are a few different color options to get your imagination going.


Thank you so much for reading this pattern. If you decide to make this quilt, please tag me on Instagram, I would really love to see it! I'm @woodberry_way (formerly @Marquitta_Quilts).
![]()

This quilt finishes at 86" x 71".
Allison Jensen
{woodberryway.com}
![]()
Posted in: