Welcome to Moda Fabrics!

POUCH CLUB: SWIVEL POUCH
POUCH CLUB: SWIVEL POUCH
Published:
Jul 16 2026 - 08:00
Welcome back to the Pouch Club Series! I am so excited to bring you some tips for completing one of our fun patchwork pouch patterns each month through December this year. One of my favorite things about sewing pouches is the opportunity to play with Mini Charms AND that they lend themselves to great handmade gifts. If you're new to sewing pouches, be sure to check out this video with some of my favorite tips.
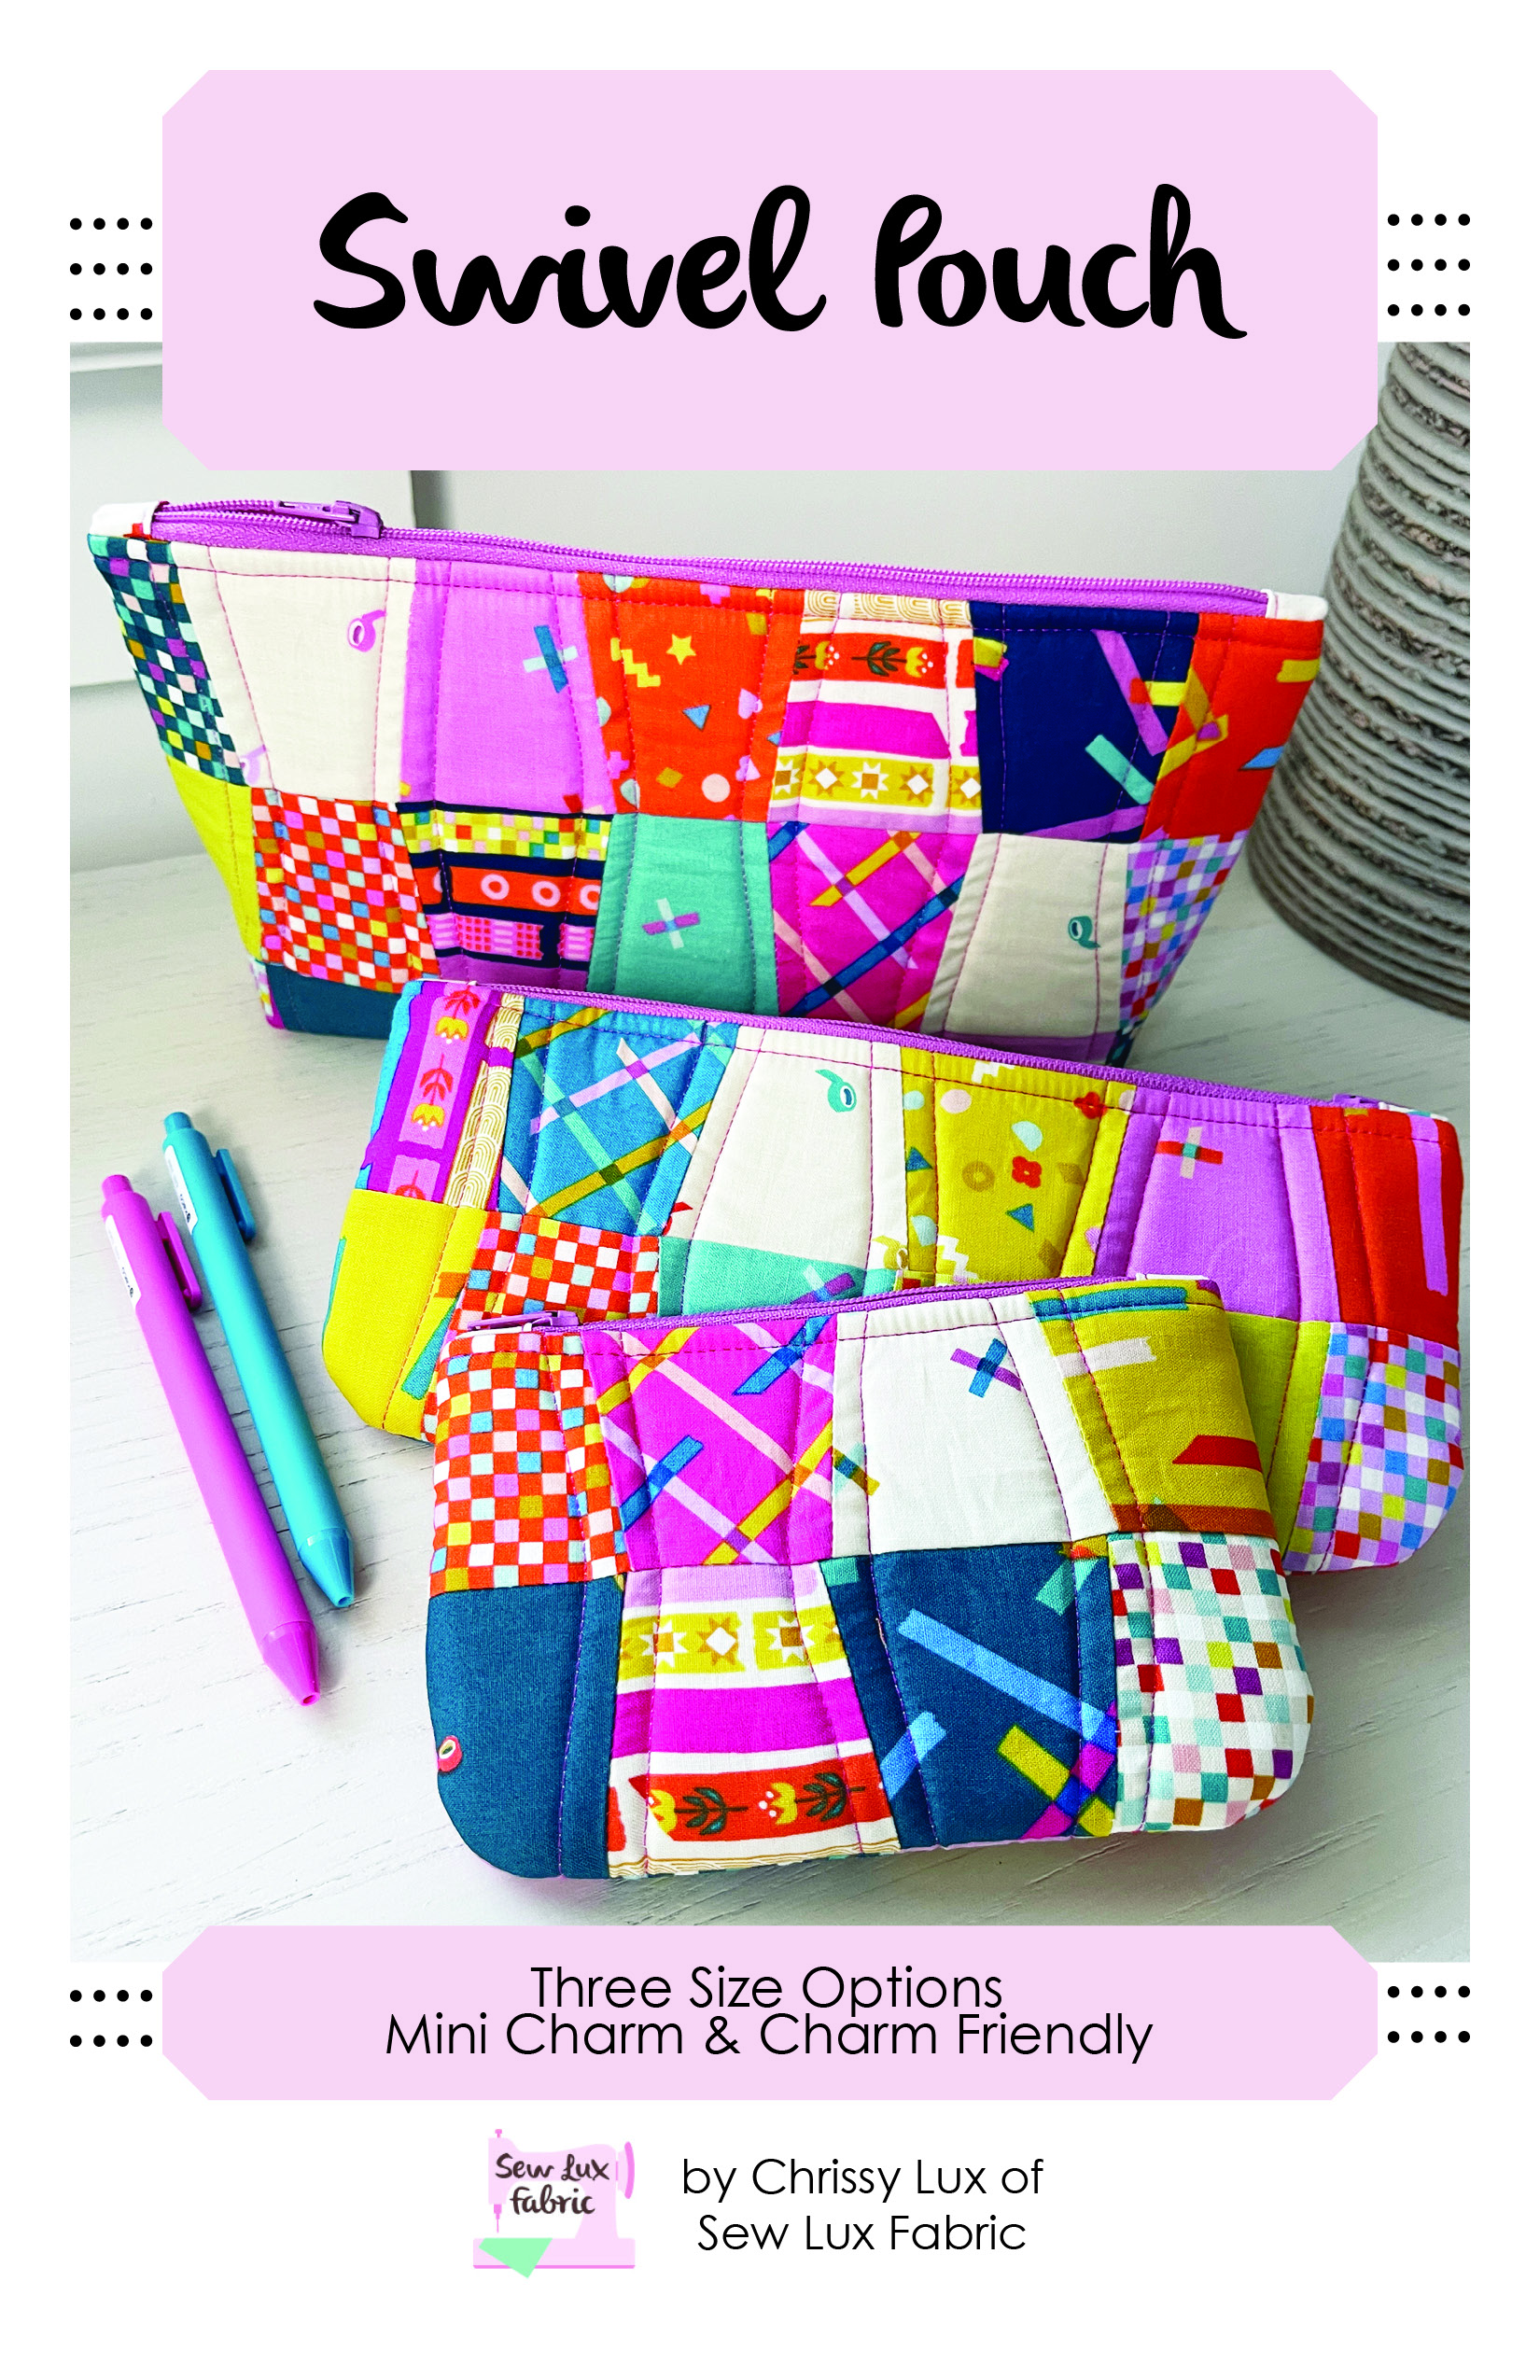
Materials Needed:
You will need the following to complete a set of three:
- 1 Charm Pack or 2 Mini Charm Pack
- 1/2 yard lining fabric
- 1 Soft & Stable Project Pack
- 3 zippers - 8”, 10” and 12”
- Swivel Pouch Pattern # SLF 2506
- Sew Lux Mini Tumbler Acrylic Template SLF-T01 (optional)
Paper and PDF patterns are available in our shop at Sew Lux Fabric or ask your local quilt shop to carry the paper pattern and kit one up for you!
The pattern cover version of this pouch project was made in Washi Plus by Rashida Coleman-Hale for Ruby Star Society. I think that this project looks best in smaller scale prints. It is also really great for scraps if you have leftover Mini Charm squares or pieces from a Jelly Roll project.
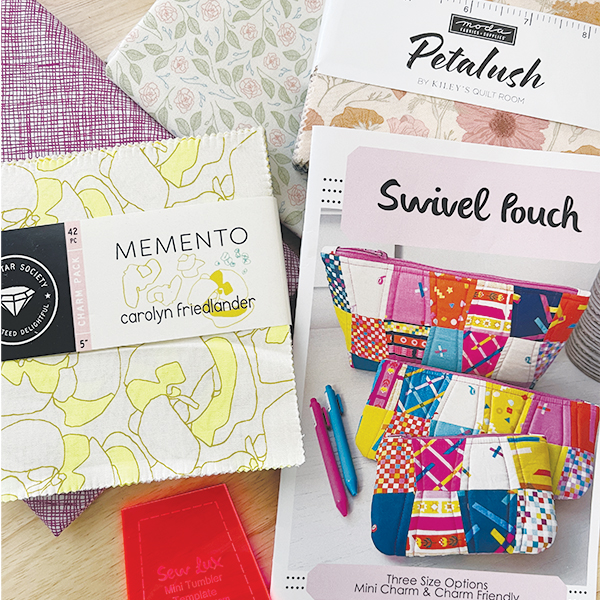
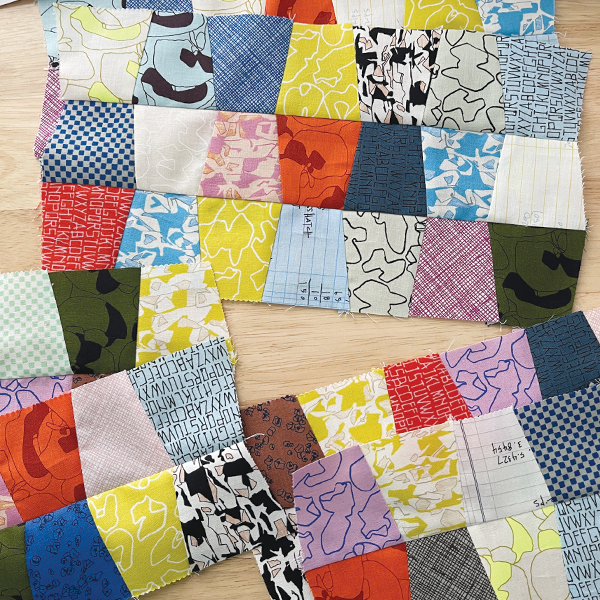
This pattern uses a template to cut your Mini Charm squares into tumblers. You can either trace the template in the pattern to make a paper or cardboard template, or use our coordinating acrylic template to cut your pieces.
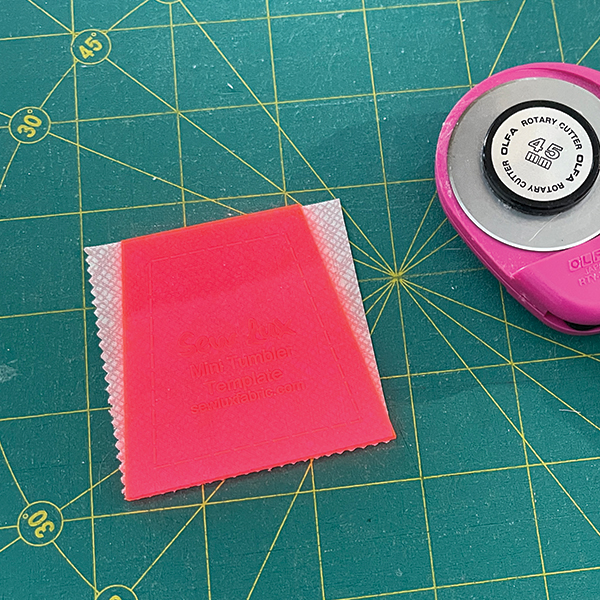
I find that laying out my prints before sewing them together helps me be sure I have pieces oriented the correct way and also that I have distributed colors and prints as well.
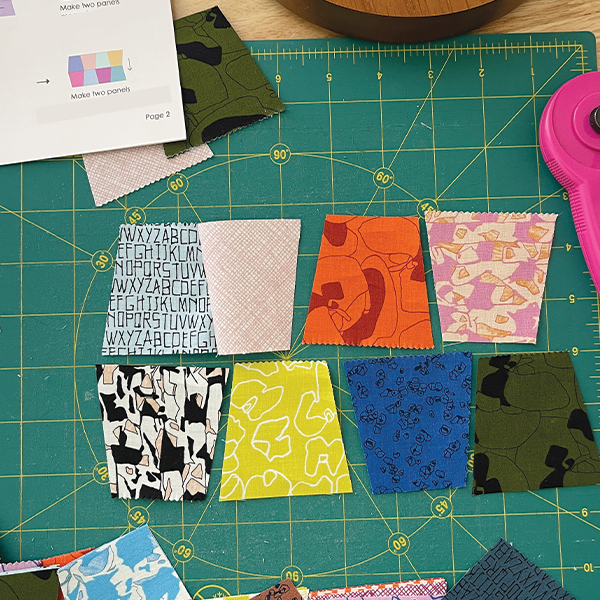
Sew pieces together in rows and then join rows, paying attention to the orientation of the tumblers as shown in the pattern.
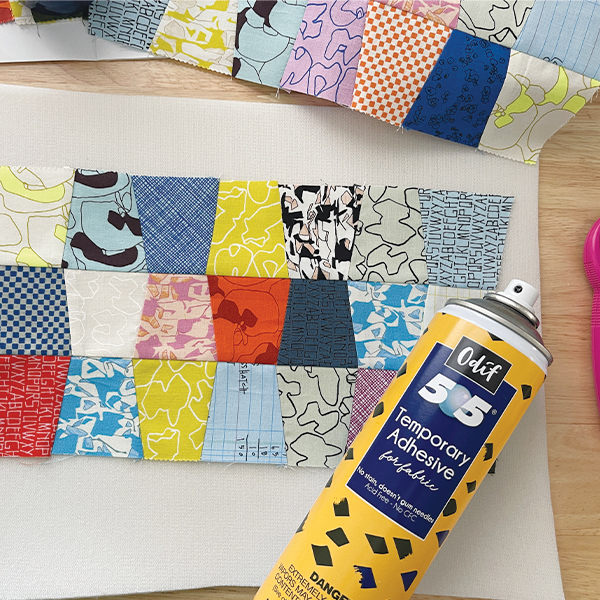
I like to spray baste my patchwork panels to Soft & Stable (or preferred batting). You can also pin, if you prefer, but I find that spray basting works well for these smaller projects.
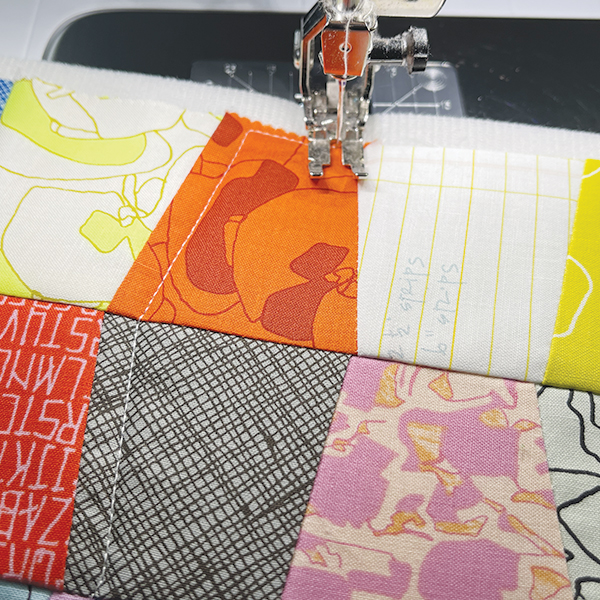
For this particular pouch, I usually quilt lines following the patchwork as a guide. You can also quilt wavy lines or free motion as well. It’s fun to try out different quilting styles on these smaller panels.
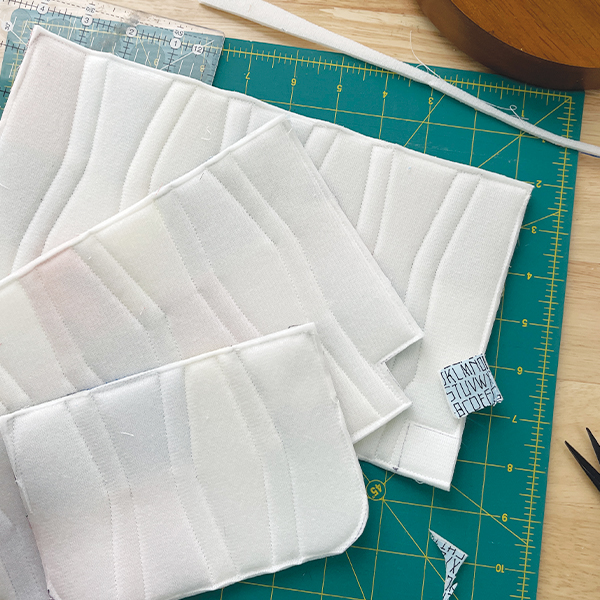
Depending on the size, you will trim the bottom corners or the exterior panels and the lining to a curve (small and medium sizes) or to box them (large size).
Once you add the zipper tabs and install the zipper, your pouch will look like this (the medium size is shown below). If you need help sewing this pouch, refer to the video link below.
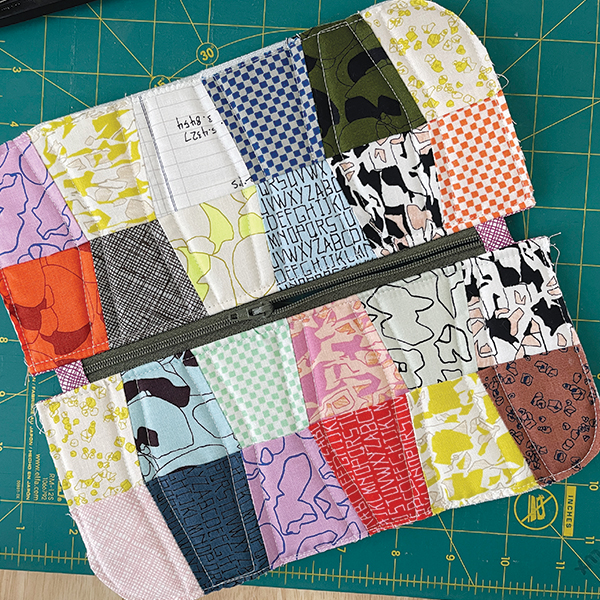
Follow the pattern instructions (and refer to the video linked below, if needed) to close up the pouch.
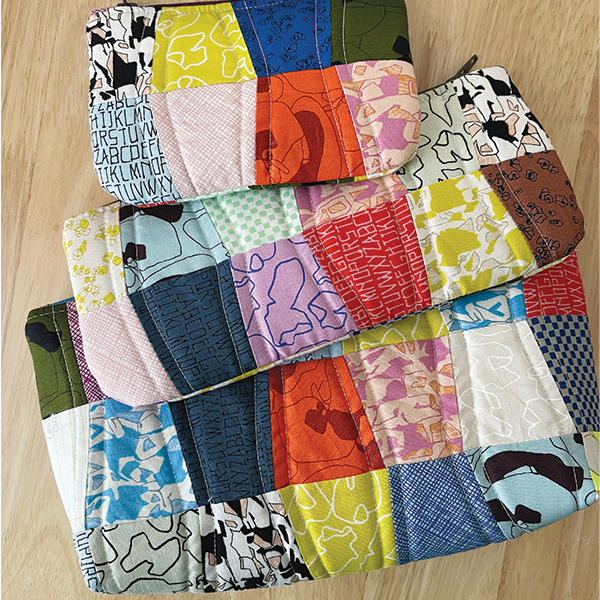
Here is the full set sewn up in Memento by Carolyn Friedlander for Ruby Star Society.
And here is the large size in Memento (top) and Petalush by Kiley’s Quilt Room (bottom). Both collections are shipping to shops now.
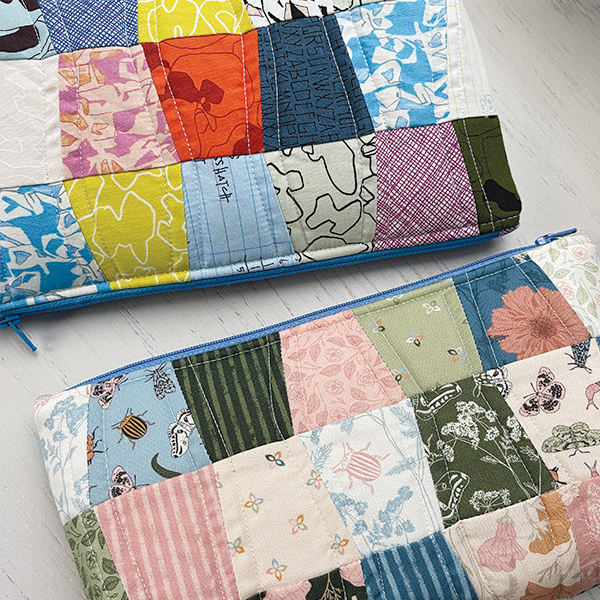
Whether you make a full set of pouches in all three sizes or choose one size, I hope you’ll enjoy making this project. The small size is perfect for coins and cards - or to add to a gift card for someone special. The medium size is a great pencil pouch. And the large sizes can hold the medium and the small sizes nested inside it!
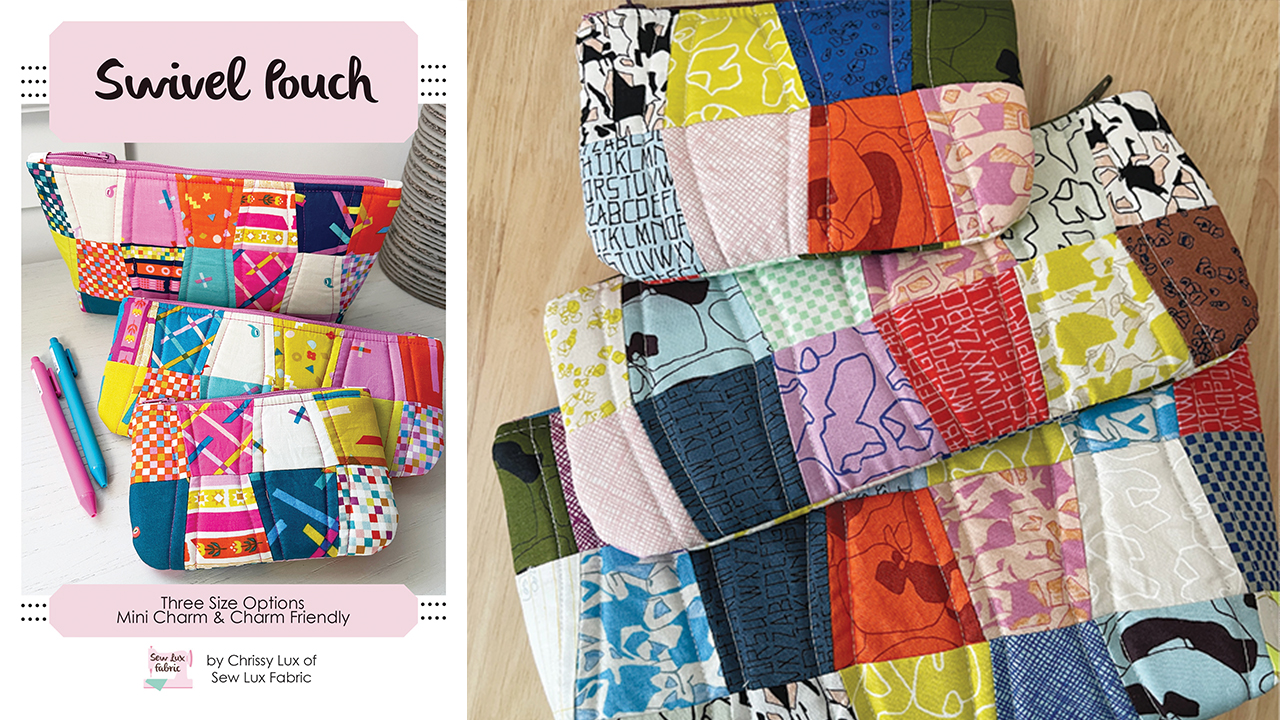
Need help? Watch the video on YouTube.
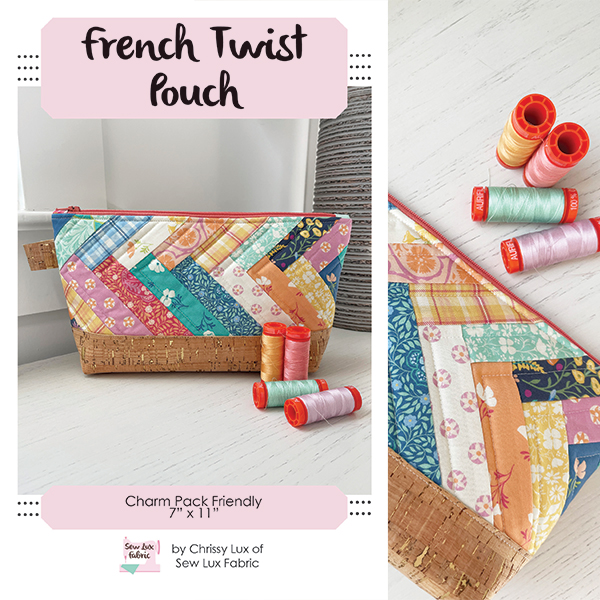
Next month, we will be making the French Twist Pouch, a Charm Pack friendly project, which features a cork bottom! I will meet you back here on August 20th!
Posted in:
Comments