Welcome to Moda Fabrics!
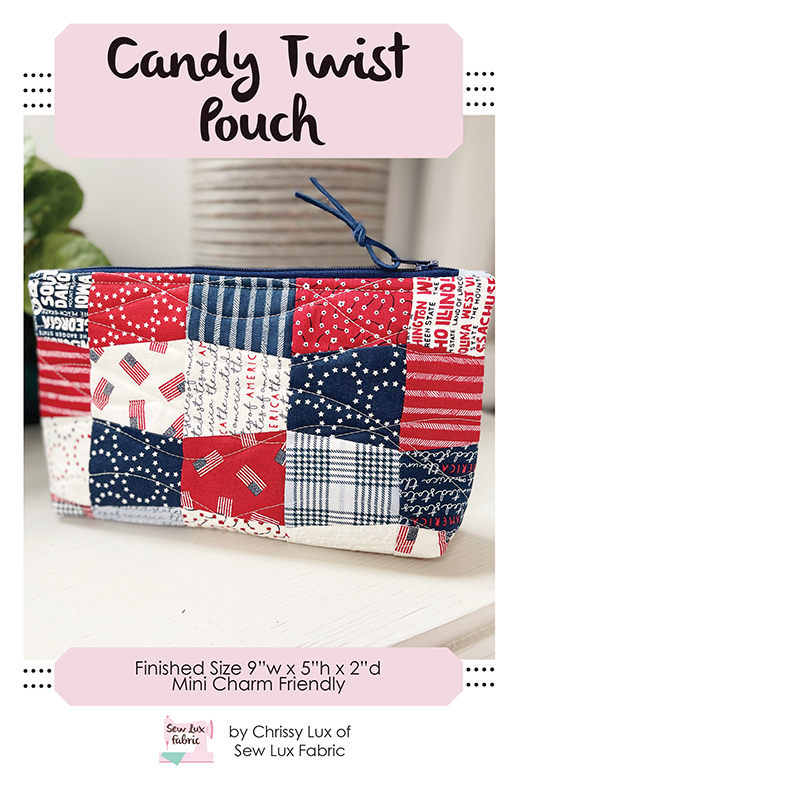
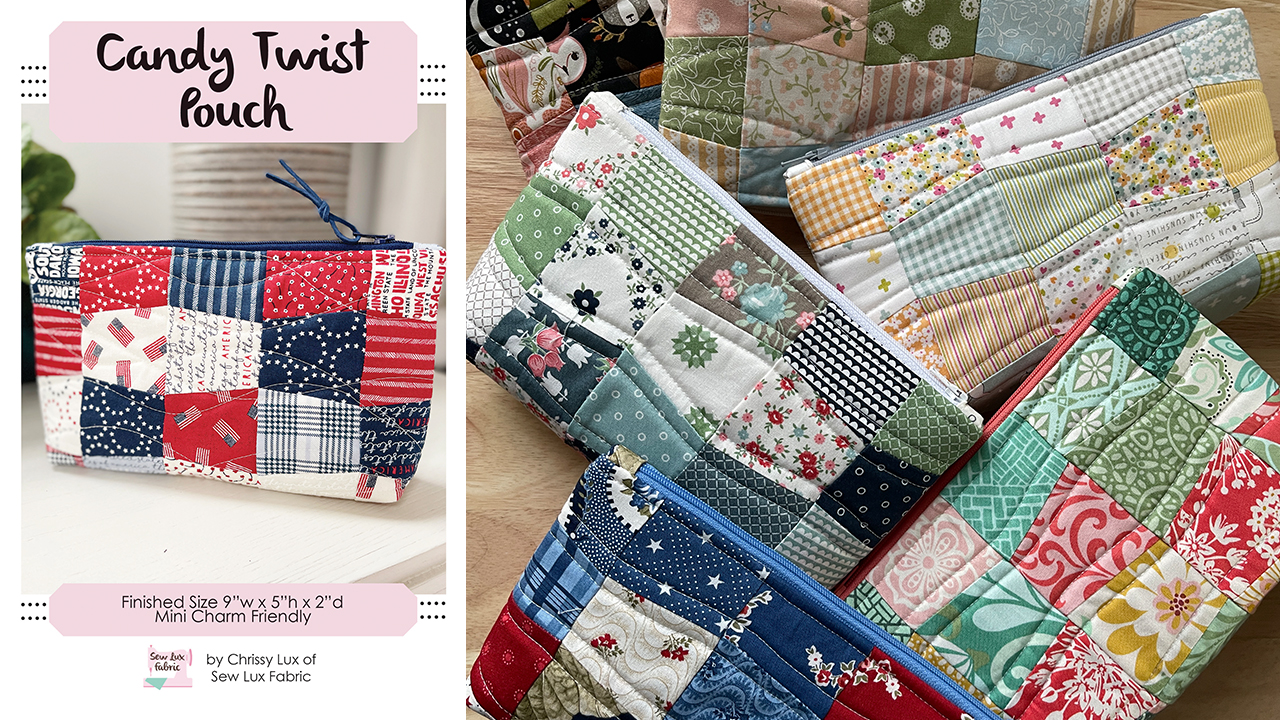
POUCH CLUB: CANDY TWIST
POUCH CLUB: CANDY TWIST
Published:
Jul 18 2024 - 08:15
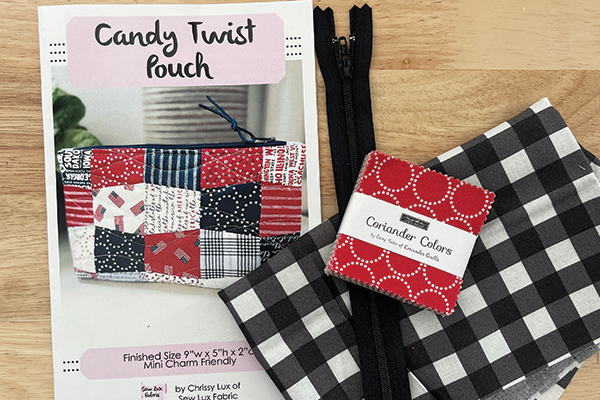
Materials Needed:
You will need the following to complete this project:
- 1 Mini Charm Pack for Exterior
- 1 Fat Quarter Lining
- (1) 10" longer zipper
- 13" x 18" Soft & Stable or similar
- Candy Twist Pouch Pattern SLF2302*
Paper and PDF patterns as well as kits are available in our shop at Sew Lux Fabric or ask your local quilt shop to carry the paper pattern and kit one up for you!
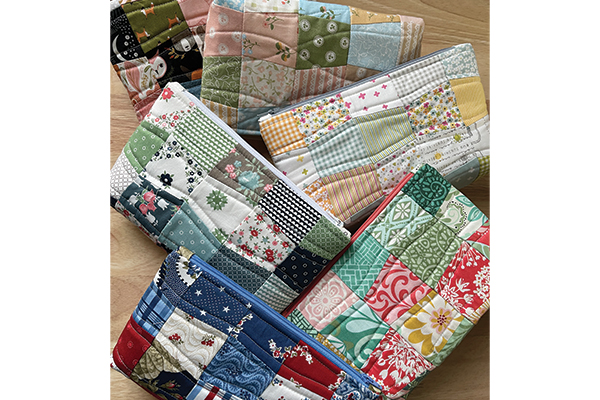
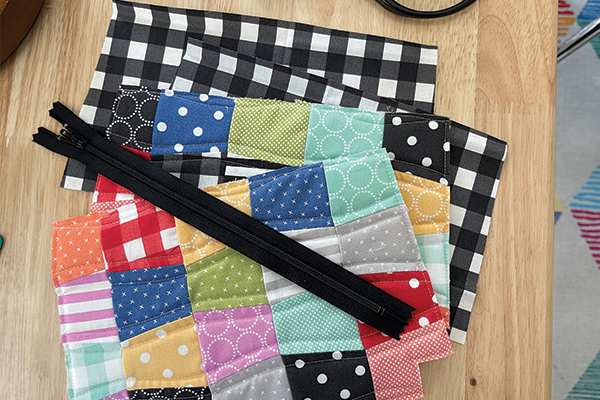
I made several of the Candy Twist pouches a few months ago in some coming soon collections and I think they all look great in this pattern. Such a fun way to play with a new collection or designer's prints! Top to Bottom: Woodland Wonder by Gingiber, Dainty Meadow by My Sew Quilty Life, Shine by Sweetwater, Rosemary Cottage by Camille Roskelley, Tango by Kate Spain, and Grand Haven by Minick & Simpson.
For this example and tutorial, I am using the recently released Coriander Colors by Corey Yoder.
Step 1: Piece the Pouch Front
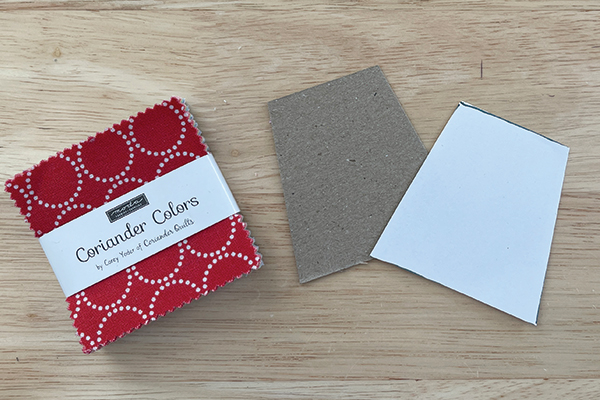
Follow the directions in the pattern to create a tumbler template and cut all your pieces. I like to trace the template shape on paper and then use it to make a cardboard template using the chipboard backing that comes in a Mini Charm Pack.
You'll cut out 40 tumblers and then sew them together. To sew them together, place right sides together (RST) so that they look like this:
(I have added a red line on the image below to show you where you would sew.)
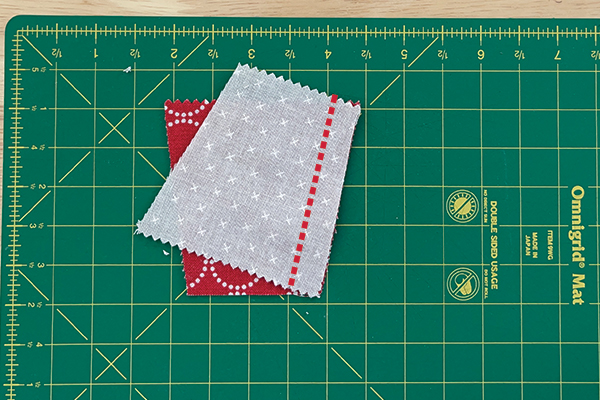
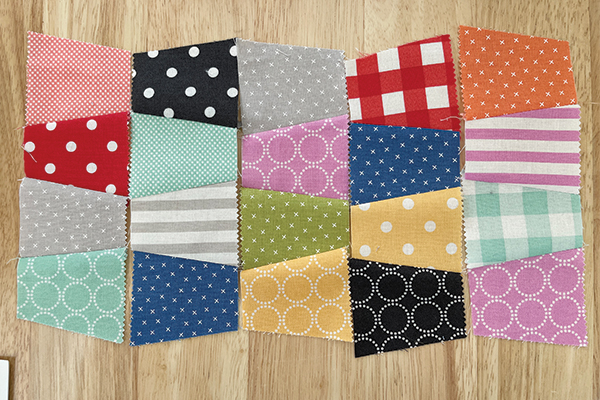
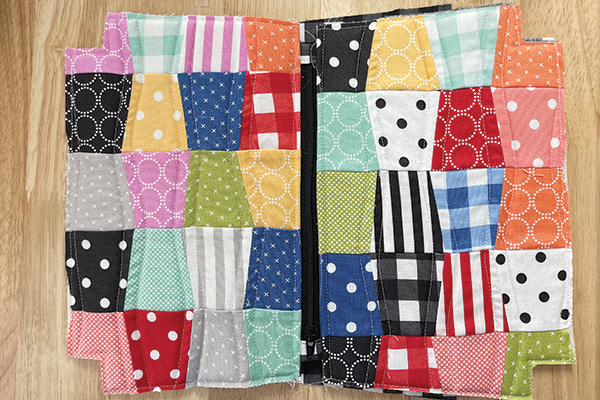
You will make 5 rows (oriented as vertical columns in the photo below) of 4 tumblers for each side of the pouch. Note the orientation of the tumbers in the pattern instructions so that the patchwork design will show up. Press rows in opposite directions so that seams will nest and join them together.
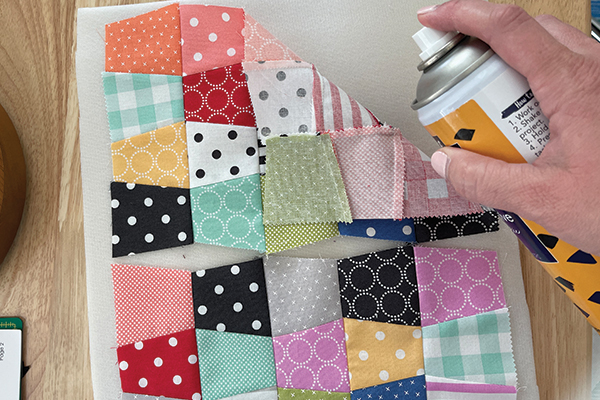
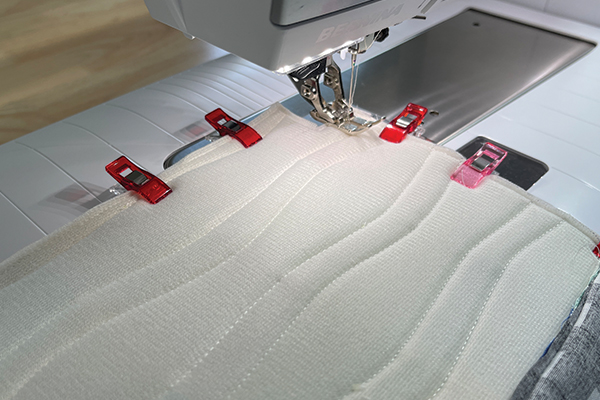
Make two panels of five pieced rows and then baste them to Soft & Stable or preferred batting. I like to use a spray baste, but you can use whatever method you prefer. You could also substitute fusible fleece or batting for the Soft & Stable, if you'd like.
Quilt the panels as desired. For this pouch, I usually do some echo quilting or do some random wavy lines with a walking foot.
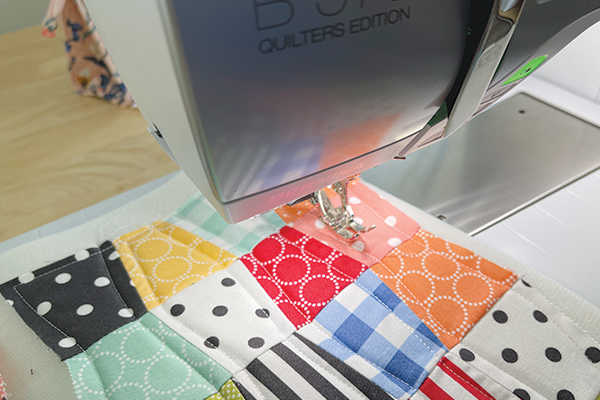
After quilting both panels, follow the directions in the panel to trim and shape the pouch front and exterior.
Step 2: Prepare & Install the Zipper
Follow the directions in the pattern to make and add tabs to the ends of the zipper.
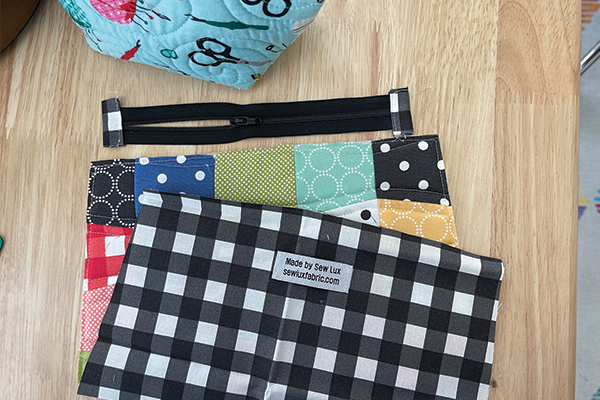
Align the zipper with the top edge of the pouch, centering it and leaving about 1/2" on either side.

Install the zipper using a zipper foot and top stitch the exterior & lining in place. If should look like the picture below.
Step 3: Finish the Pouch
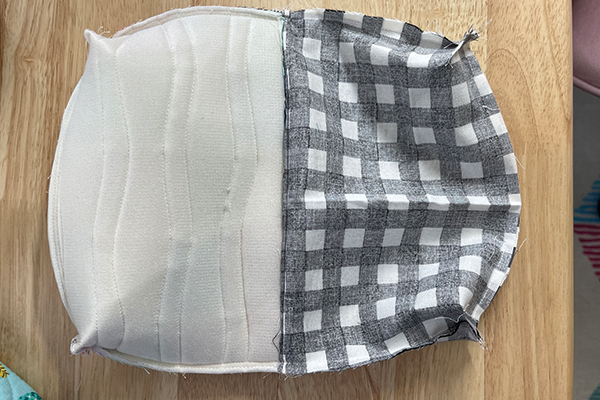
Arrange the pouch so that the exterior is RST and the lining pieces are RST. Make sure the zipper is half open and pin or clip in place around all four sides and sew closed, leaving a 3-4" hole in the bottom of the lining.
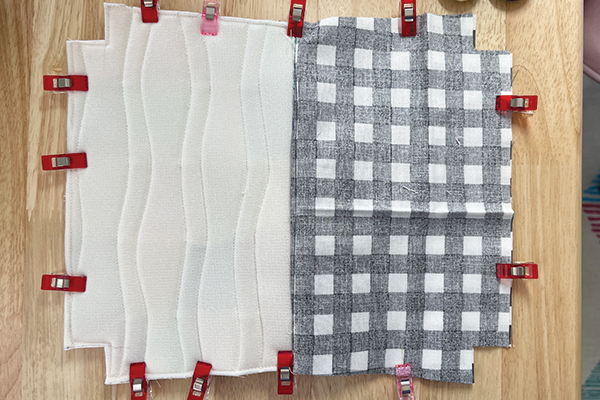
Sew down the sides, being sure to backstitch at both ends. Sew the bottom of the exterior closed. And then sew the bottom of the lining closed, leaving an opening for turning later.
Pinch the bottom corners as in the photo below and sew them closed to box the corners of both the exterior and the lining.
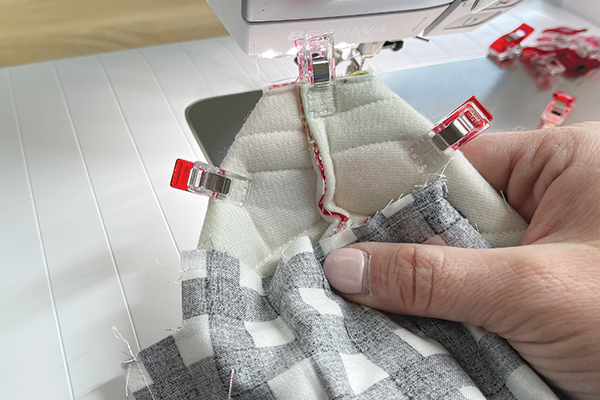
After boxing all four corners, your pouch will look like this:
Turn the pouch right sides out through the hole in the bottom of the lining, press well and close the opening by hand or machine.
Your finished pouch is now ready to use and enjoy!

Our zipper pulls look so cute on this pouch! The purple quilt block pull comes in a set of six in assorted colors! (Pouch Club Enamel Zipper Pulls set SKU CL141).
Check out the video for the Candy Twist pattern by clicking the image below!
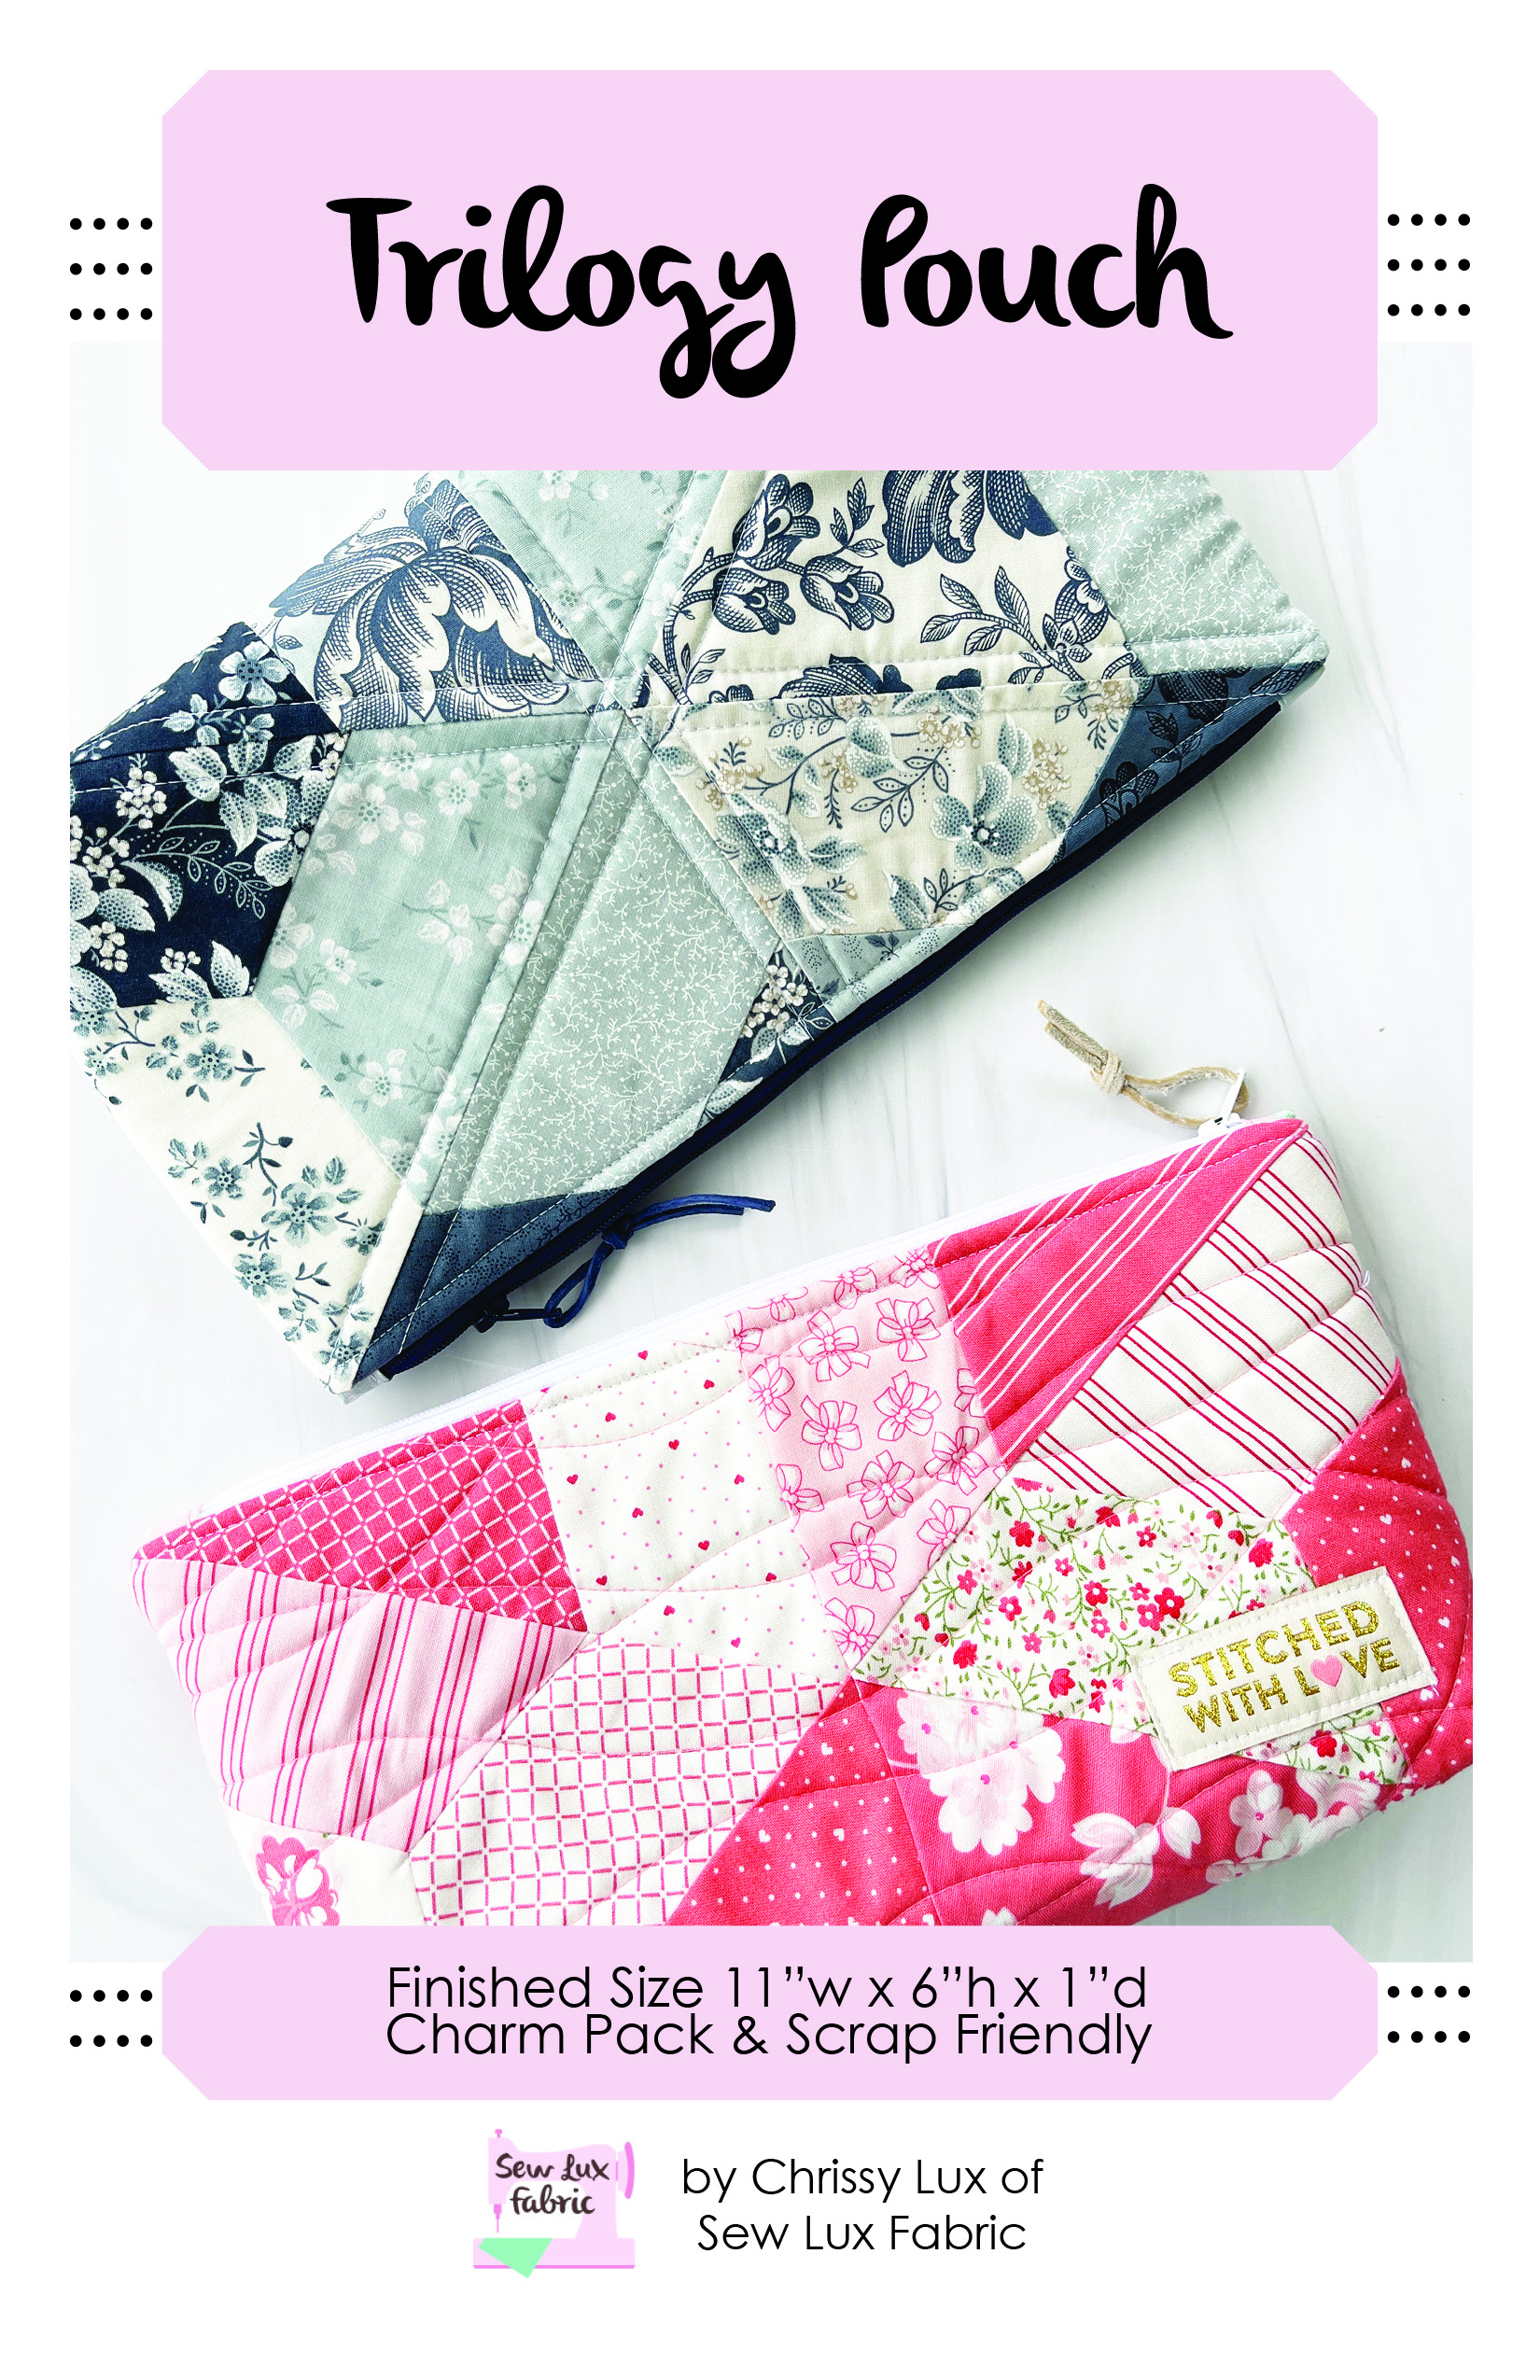
Next month, we will be making the Trilogy Pouch, a Charm Pack or scrap friendly project! See you back here on August 15th for our next installment of the Pouch Club Series.
Posted in: