Warehouse Sale Happening Now! 10% Off All In-Stock Goods
Bake Shop Basics: Flying Geese
Bake Shop Basics: Flying Geese
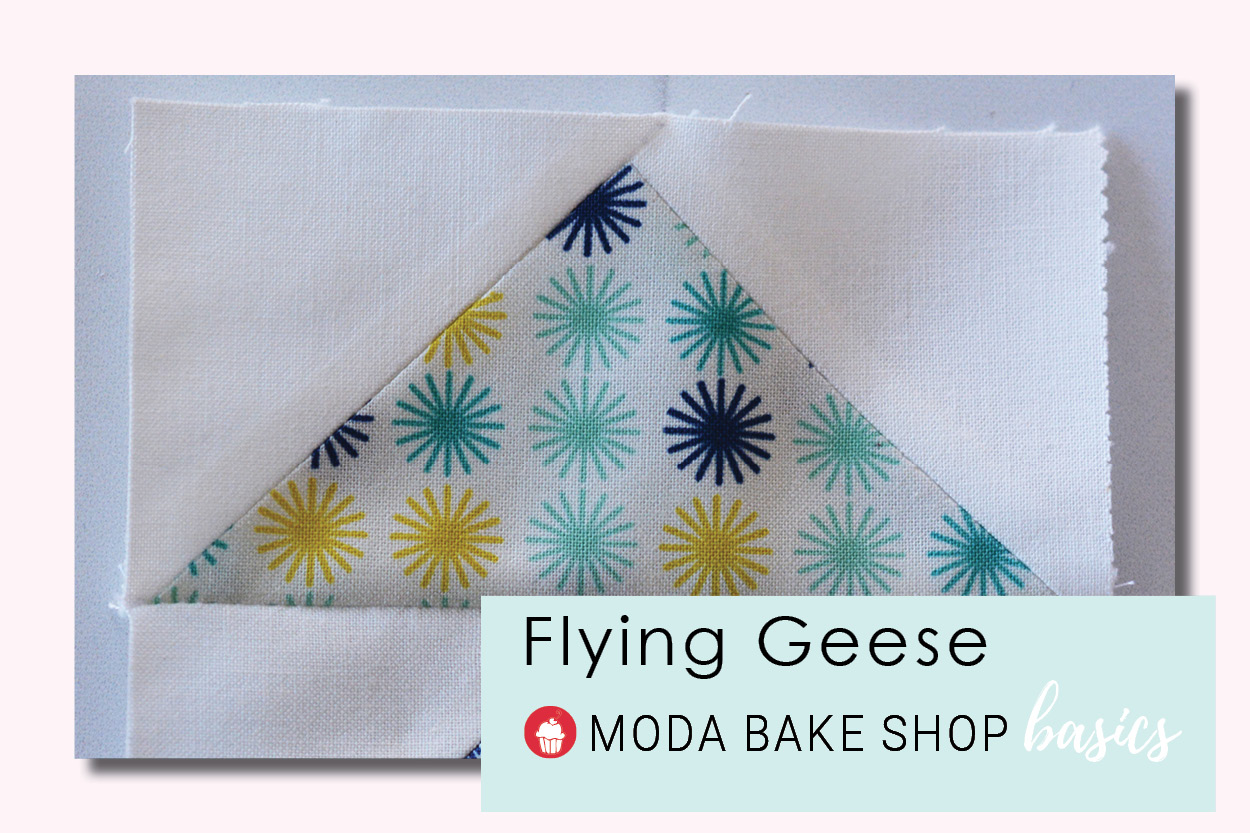
Flying Geese are one of the most used building blocks in so many classic quilts and patchwork blocks. There are many methods for making this unit, this is often referred to as flip-and-sew.
This tutorial features Flowers for Freya - available in shops later this month!
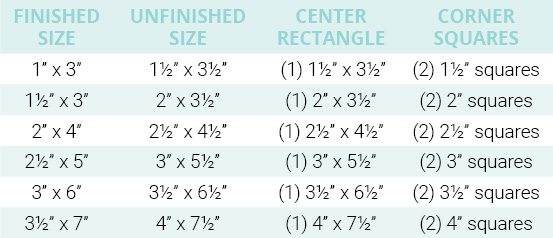
INGREDIENTS
Correction: The first line should be Finished Size - 1" x 2" / Unfinished Size - 1½" x 2½" / Center Rectangle - 1½" x 2½" / Corner Squares - 1½" x 1½".
INSTRUCTIONS
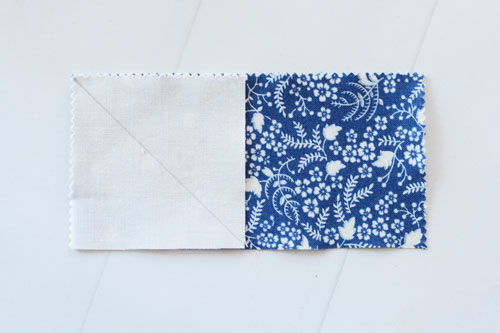
1. Use a pencil to mark a diagonal line on the wrong side of corner square. Align square with corner of rectangle.
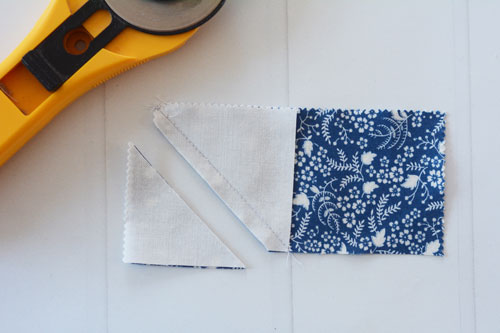
2. Sew on the marked line. Use a rotary cutter to trim ¼" away from the sewn line.
3. Press seam OPEN. This makes a flatter seam.
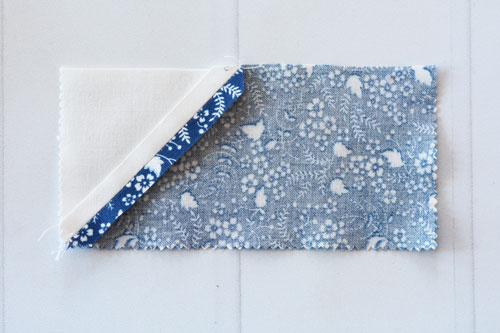
4. Repeat process on the opposite side of the rectangle, using the other square.
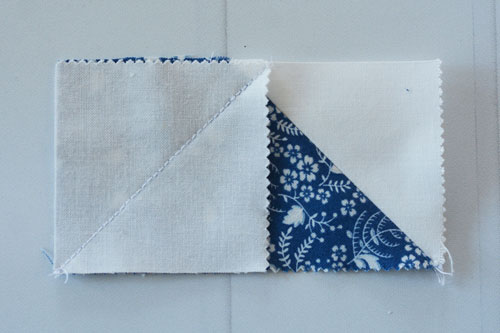
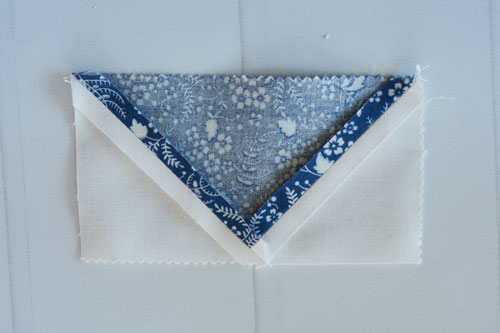
5. Trim the flying geese unit to unfinished size.
TIPS:
- Flying geese can be made in any size if you stick to the 1:2 ratio - the rectangle must be twice the width of the corner squares.
- Pressing the seams open allows you to make sure your points aren’t cut off when piecing a flying geese unit to another piece. The needle of your machine should go right through the triangle at the center V.
- Cut accurately. Your piecing can only be as good as the block pieces you start with.


Comments