Welcome to Moda Fabrics!
Boxes and Bows Table Runner
Boxes and Bows Table Runner
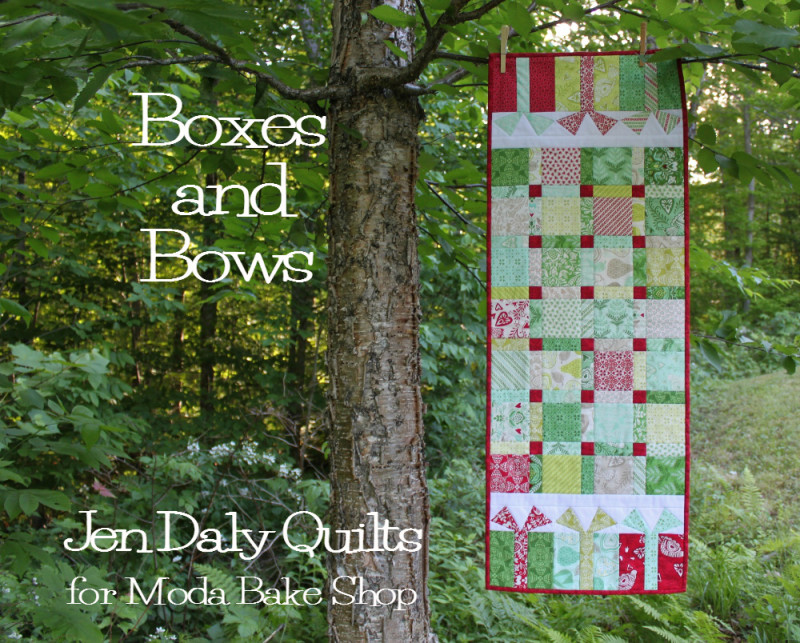
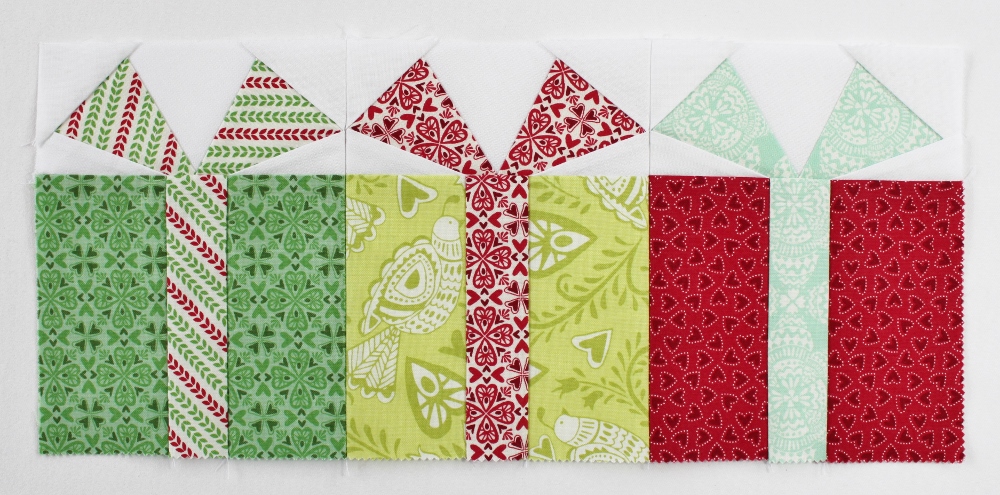
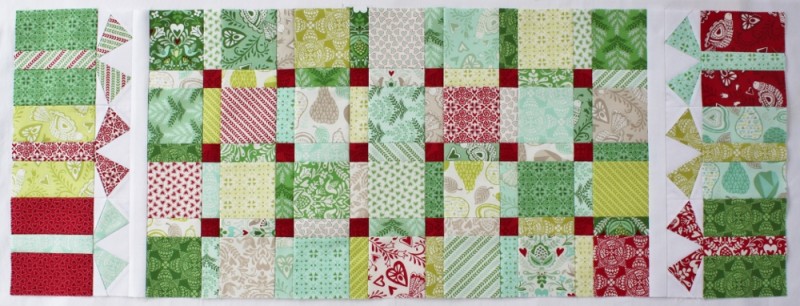
Hey there! I'm Jen Daly and I'm so happy to be back at the Moda Bake Shop today with a new project for the holidays. Boxes and Bows is a 15" x 42" table runner featuring charming gift box blocks with paper pieced bows. You can make this fast and easy project with a charm pack of your favorite holiday fabric. I made my quilt with Kate Spain's "North Woods" collection and it was a joy to work with such beautiful fabrics and gorgeous colors!
Let's get started!
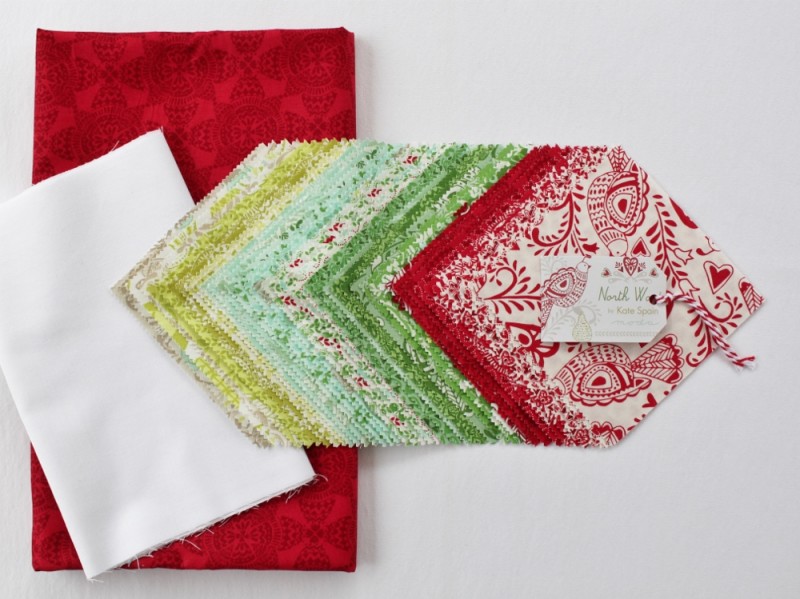
1 Charm Pack (shown in North Woods by Kate Spain)
1/8 yard white background fabric (shown in White Bleached Bella Solid)
1 1/3 yard backing/binding fabric (shown in North Woods Cranberry)
batting measuring 21" x 48"
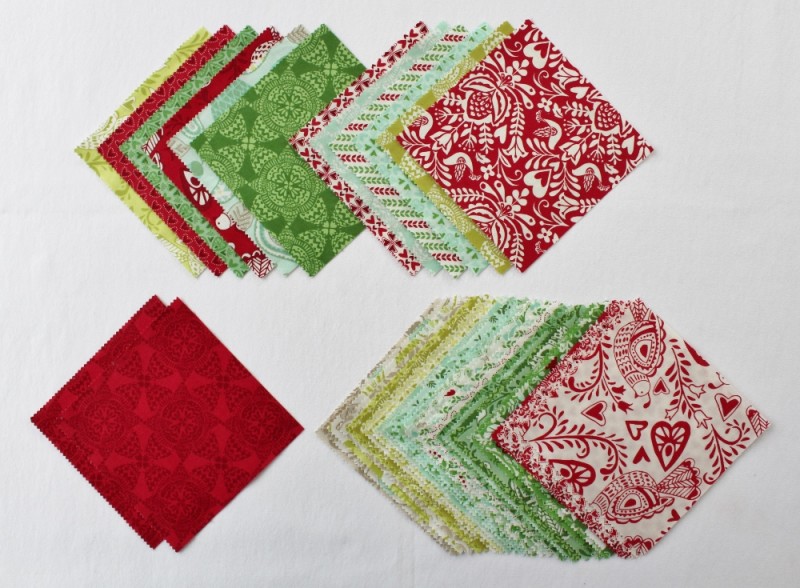
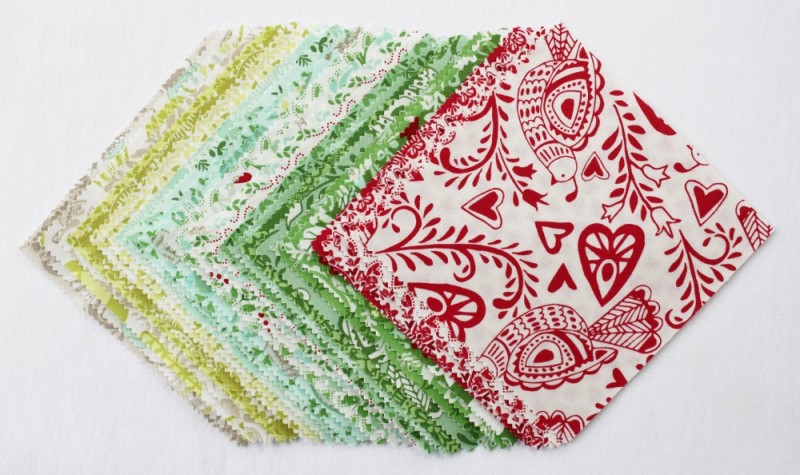
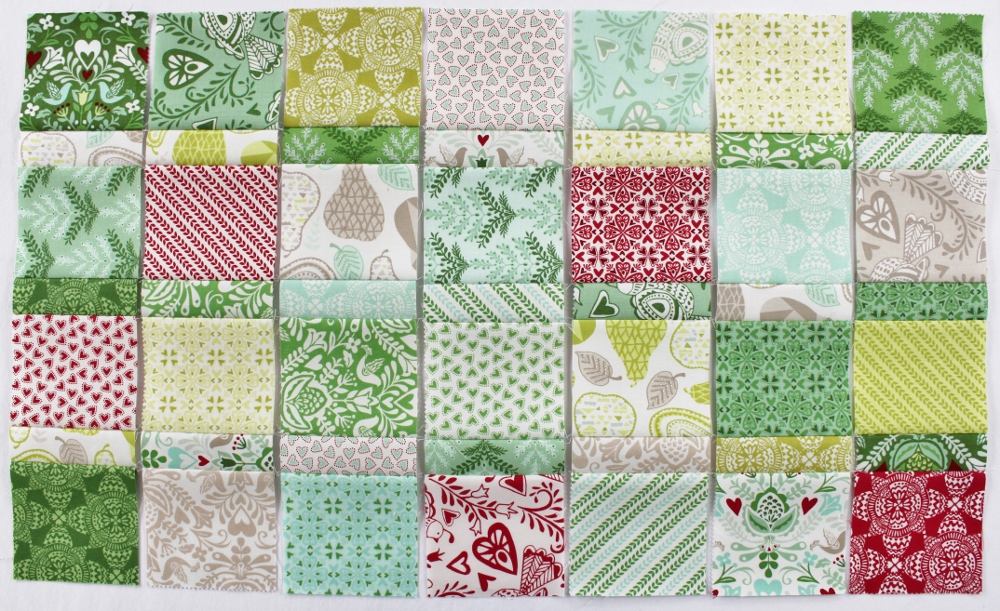
Before you begin cutting, you might want to take a few minutes to sort your charm squares. You'll need 12 for the gift box blocks—6 for the boxes and 6 for the bows, 2 for the cornerstones (the little red squares in the pieced center of my quilt), and 28 for the patches and sashing strips in the center of the quilt.
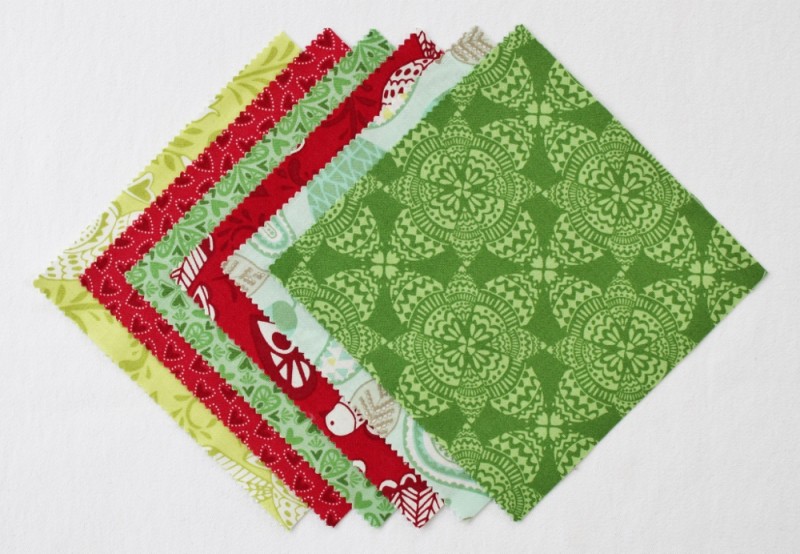
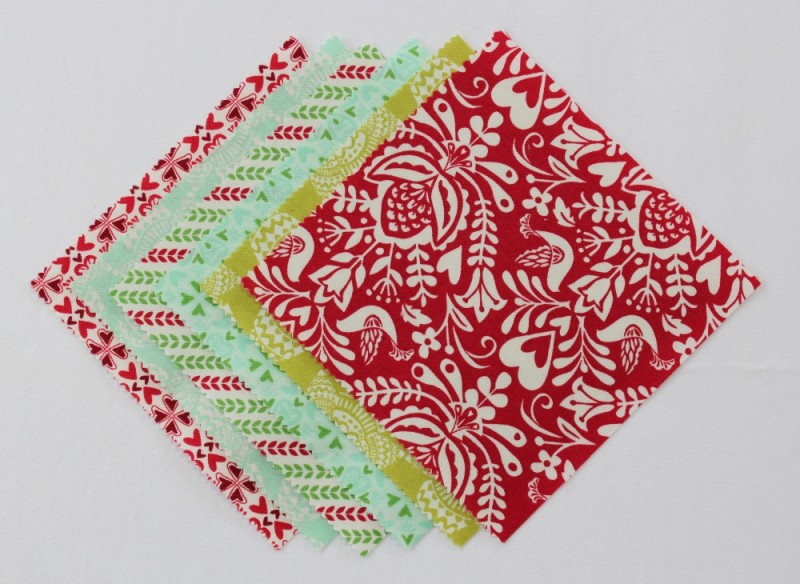
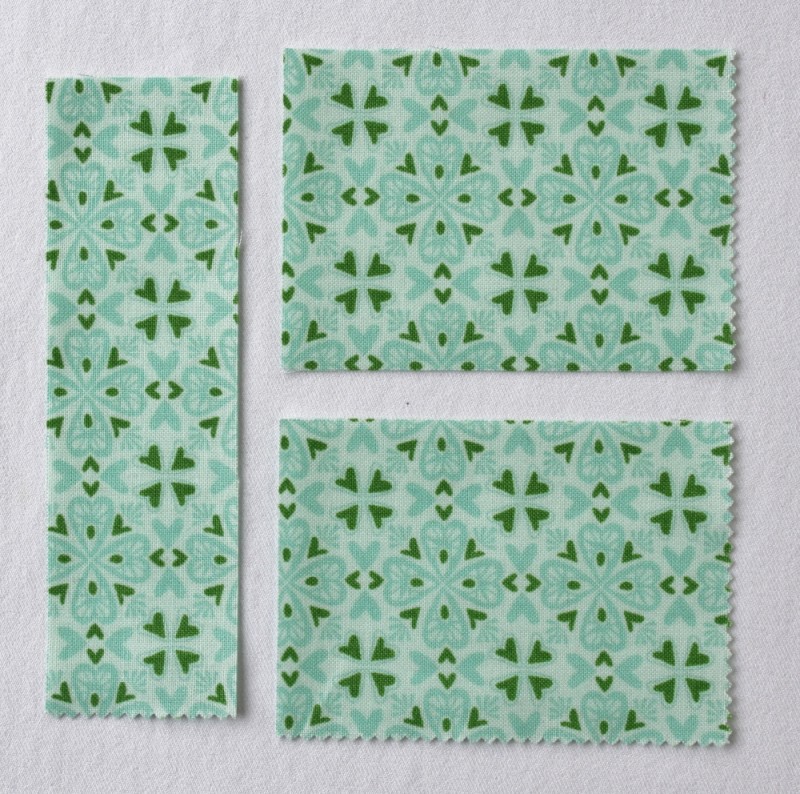
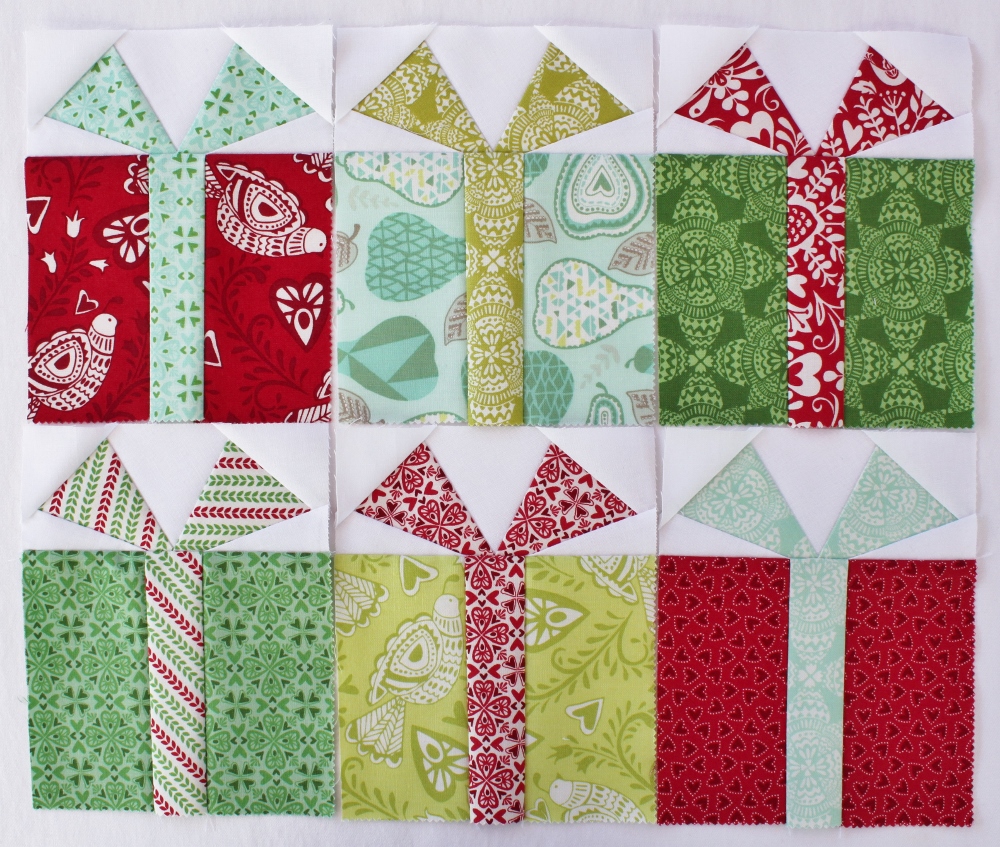
The following are the charm squares that I chose for my gift boxes. As I was thinking about how to lay out the quilt, I thought it might work best to move the darkest colors to either end to have a little less contrast in the center of the quilt. To that end, I chose a few of the darkest charm squares for the gift boxes and added a couple of light, but boldly patterned charm squares for contrast.
And these are the charm squares that I chose for the bows. I wanted these fabrics to both complement and contrast with the gift box fabrics, while showing up against the white background.
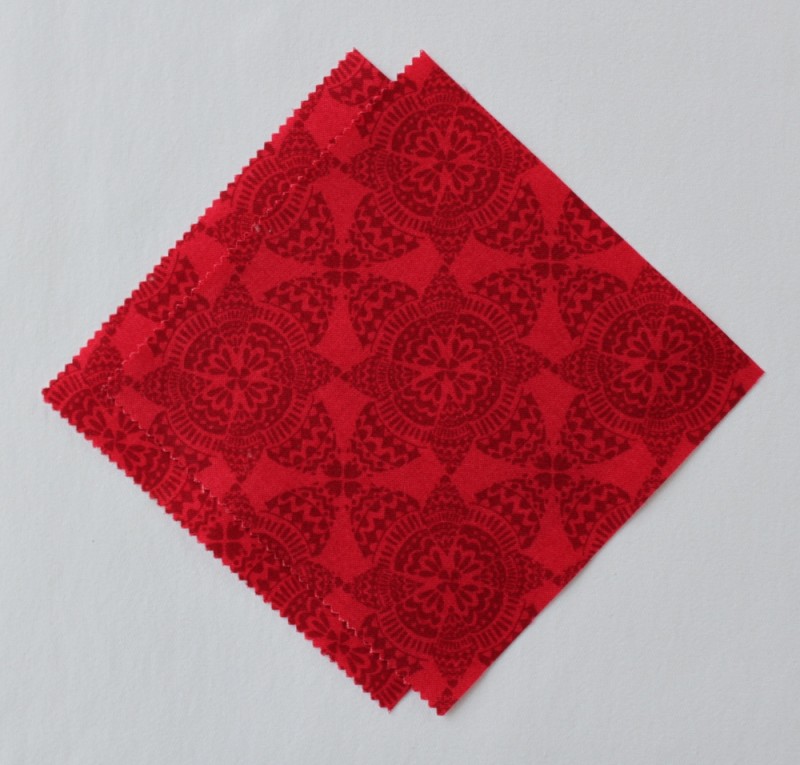
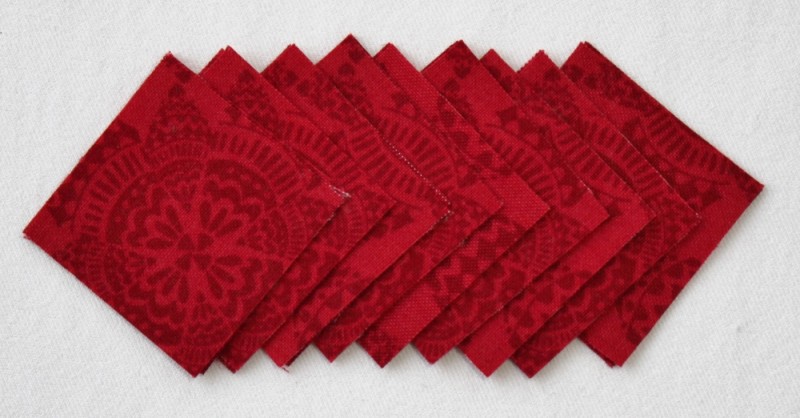
I chose two duplicate charm squares of the darkest fabric in the collection for the cornerstones, hoping that they would help to bring a bit of order to the scrappy pieced center.
You'll only need 28 of the remaining 30 charm squares for the pieced center, but I decided to cut them all up to give me a bit of flexibility with the layout.
Cutting:
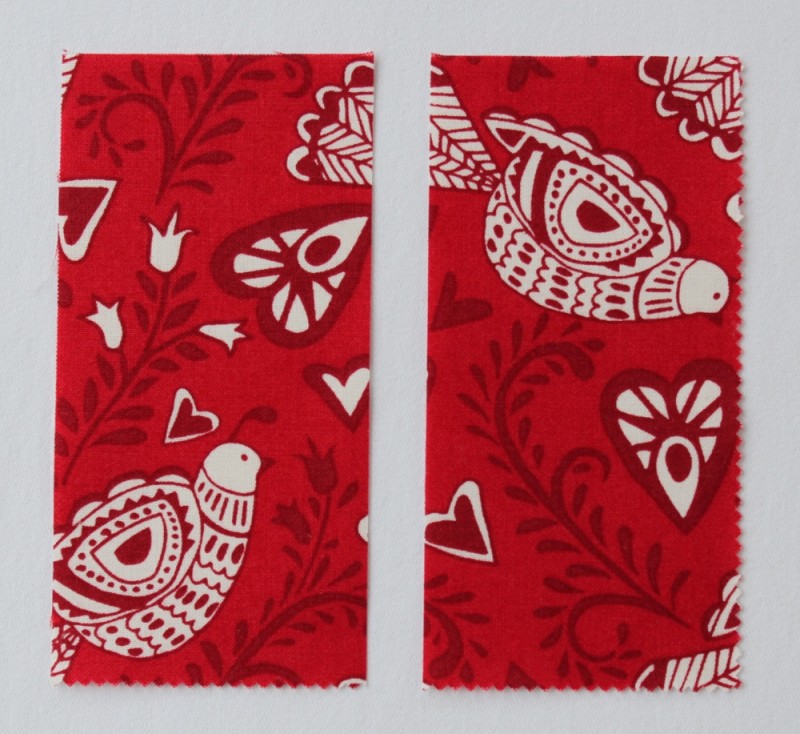
- Cut each of the 6 gift box charm squares into 2—2 1/2" x 5" rectangles, as follows:
2. Cut each of the 6 bow charm squares into 1—1 1/2" x 5" rectangle and 2—2 1/2" x 3 1/2" rectangles, as follows:
3. Cut the 2 charm squares that you've chosen for your cornerstones into 9—1 1/2" x 1 1/2" squares each, for a total of 18—1 1/2" x 1 1/2" squares.
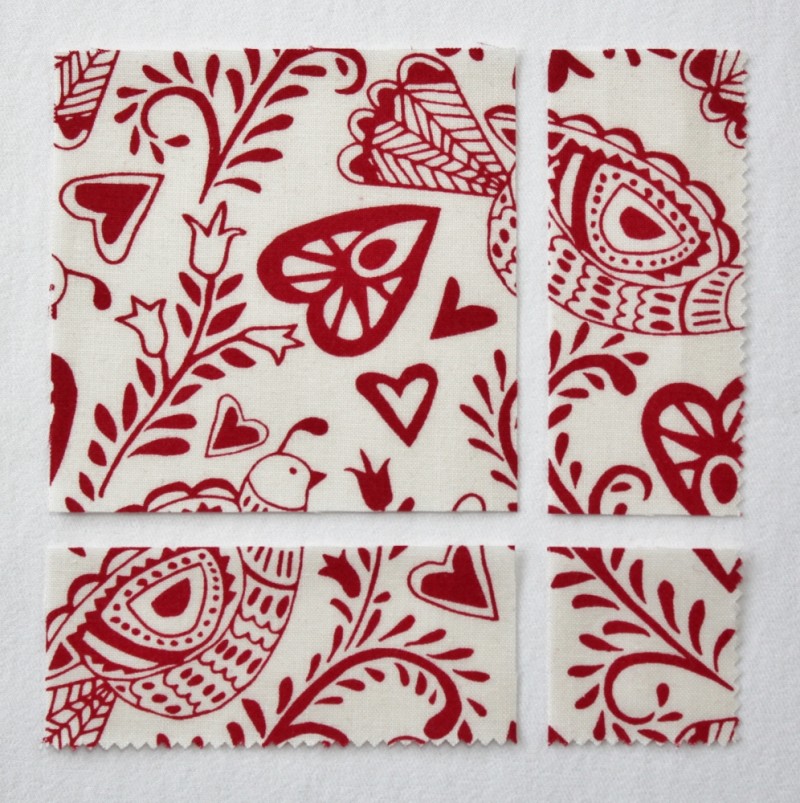
4. Cut each of the remaining 28-30 charm squares into 1—3 1/2" x 3 1/2" square, 2—1 1/2" x 3 1/2" rectangles, and 1—1 1/2" x 1 1/2" square as follows (please note that there will be leftover rectangles and that the 1 1/2" x 1 1/2" squares will not be used in this project unless you choose to use them in place of the red cornerstones cut in step 3 above):
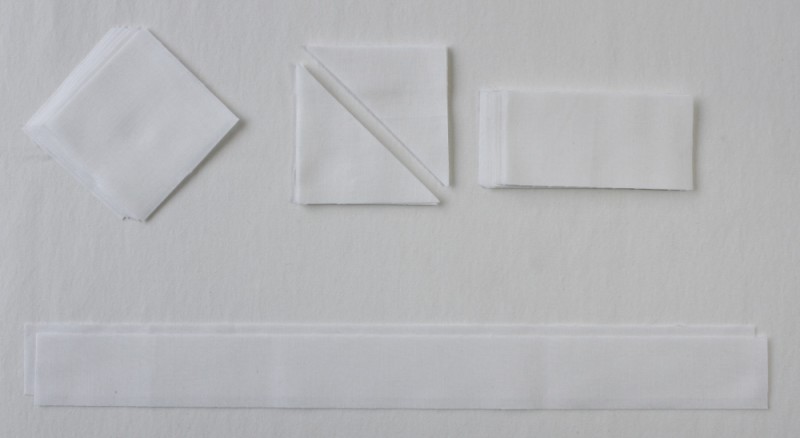
5. From the white background fabric, cut:
- 2—1 1/2" x 15 1/2" strips
- 6—3" x 3" squares
- 6—3" x 3" that should be further cut diagonally to form 12 triangles
- 12—2" x 4" rectangles
6. Finally, from the backing/binding fabric, cut:
- 1—21" x 48" panel to use as the backing for your table runner
- 3 strips 2 1/4" by length of fabric for your binding
Gift Box Blocks:
Paper pieced bow top units:
I'll run through some basic paper piecing instructions below, but if you're new to paper piecing, you might find it helpful to check out some online video tutorials first—YouTube has several.
Before we get started, here are a few tips for paper piecing:
- When positioning fabric shapes for sewing, it helps to hold the foundation pattern and fabric shapes up to a light source (window, light box, lamp) to check your positioning.
- Shorten your stitch when paper piecing to 18-20 stitches per inch. This helps you to more readily remove the paper from the back of your work when you're finished.
- Foundation papers specifically designed for paper piecing are great to work with and much easier to remove from your finished work. If you don't have access to foundation paper and decide to use regular copy paper, just be very careful when removing it from the back of your work to make sure you don't pull out your stitches.
- Start sewing a couple of stitches before each sewing line and stop a couple of stitches beyond each sewing line.
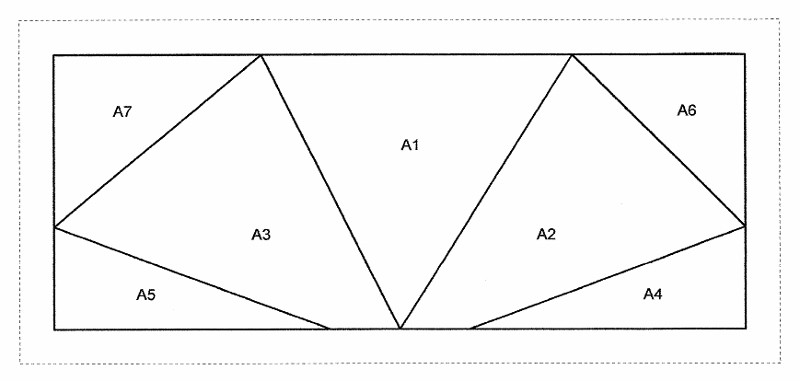
You'll need 6 copies of my foundation pattern for the bow unit which you can find here. It is also available in the Printer Friendly Version. Before you get started, make sure that the foundation pattern measures 2 1/2" x 5 1/2" from outermost line to outermost line.
Here's what the bow unit foundation pattern looks like:
For each paper pieced bow top unit, you'll need:
- 2—bow fabric 2 1/2" x 3 1/2" rectangles
- 1—white background fabric 3" x 3" square
- 2—white background fabric 2" x 4" rectangles
- 2—white background fabric triangles (cut diagonally from a 3" x 3" square)
To paper piece each bow top unit:
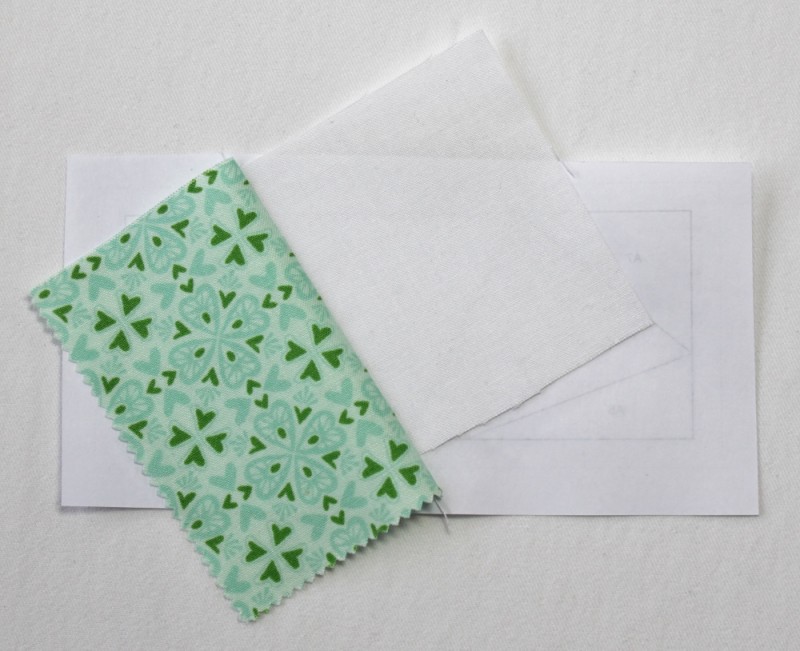
- Lay your foundation pattern right side down on a flat surface. Position the white background 3" square right side up on the blank side of the paper, making sure that it completely covers section A1 and extends at least 1/4" beyond all sides of section A1. You can pin the 3" square in place if you like.
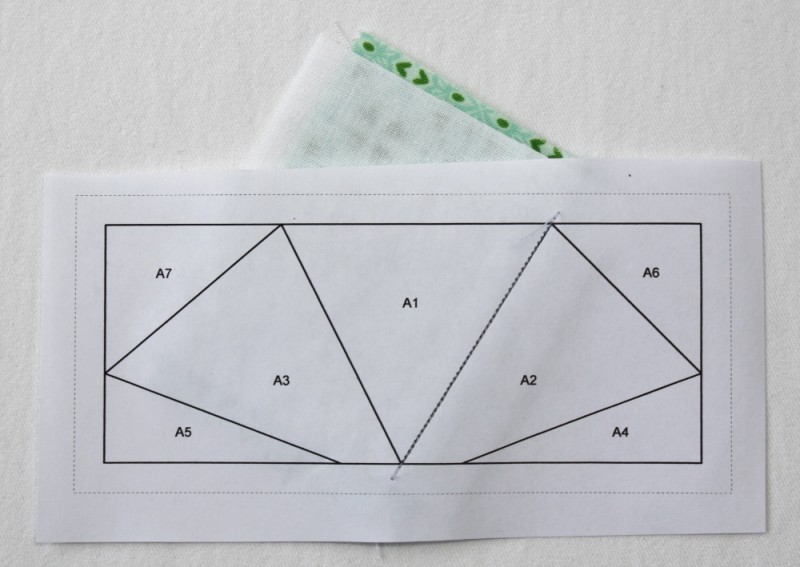
- Position 1 bow fabric 2 1/2" x 3 1/2" rectangle atop the white 3" with right sides together. The long edge of the bow fabric rectangle should run parallel to the line between sections A1 and A2 and should extend into section A2 by at least 1/4". Position the bow fabric in such a way that when folded over after sewing, it will completely cover section A2 and extend at least 1/4" beyond all edges of the section. Stitch directly on the line between sections A1 and A2.
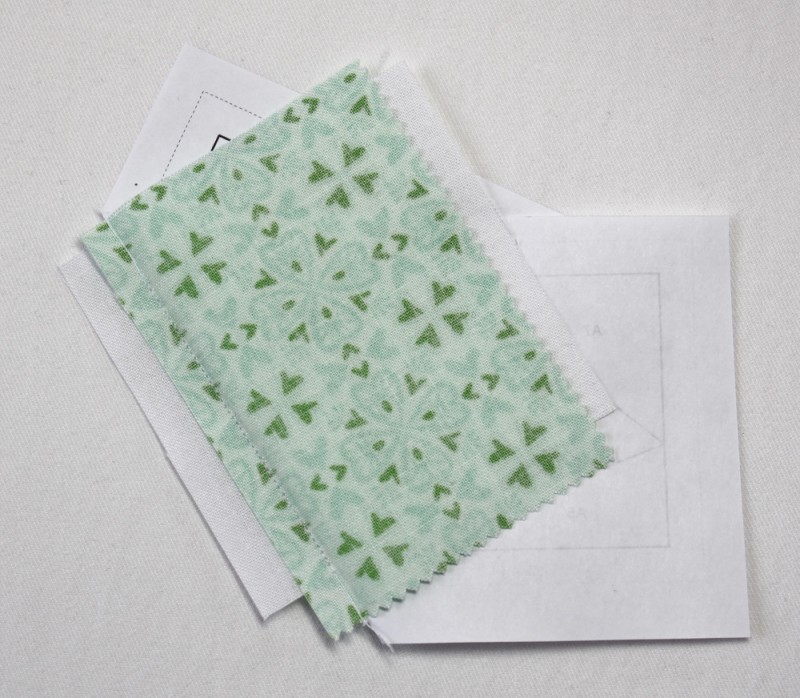
3. Flip your work over and fold back the paper along the seam line.
4. Trip seam allowance to a scant 1/4".
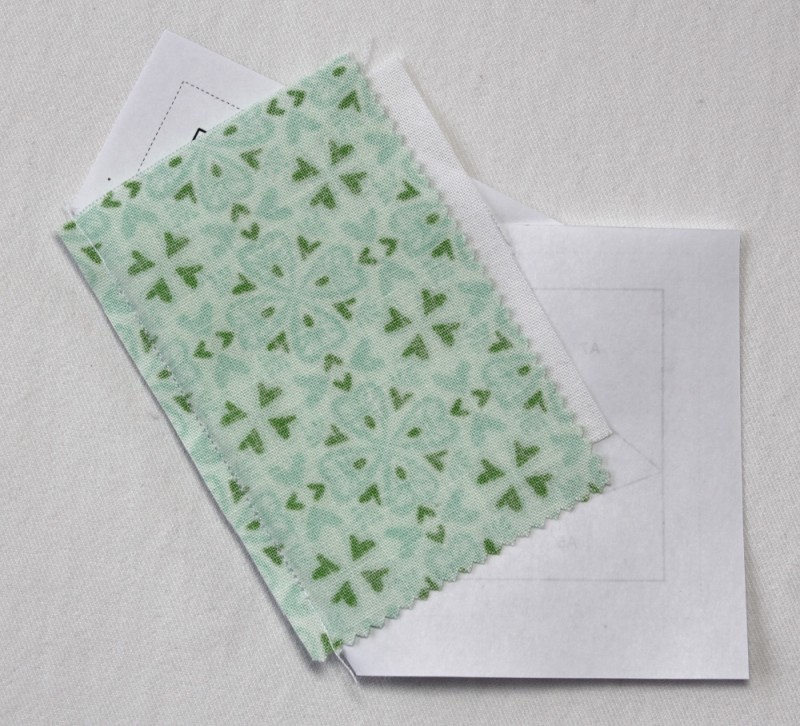
5. Open fabric and press. Before moving on to the next area, make sure that the bow fabric shape covers area A2 completely, including an extra 1/4" on each side.
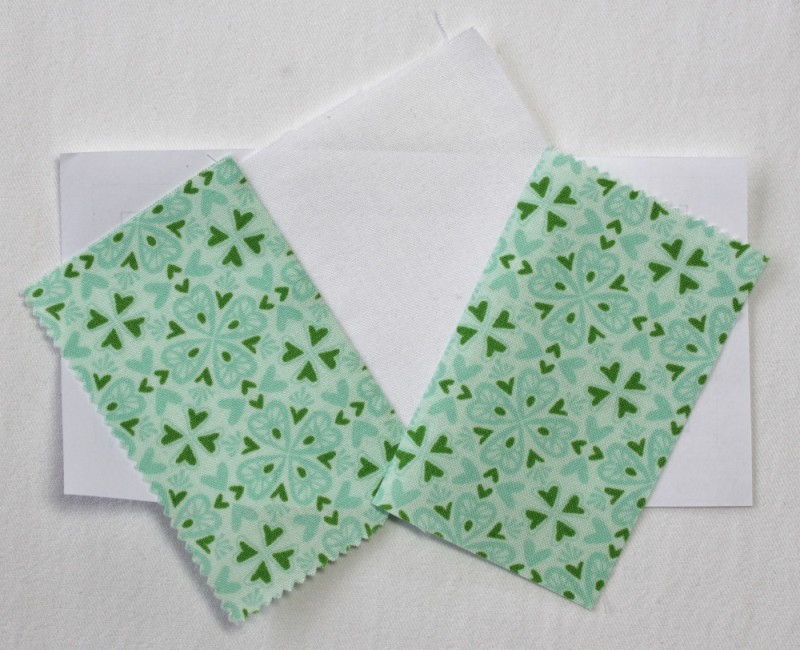
6. Continue in same manner, covering area A3 with remaining bow fabric 2 1/2" x 3 1/2" rectangle:
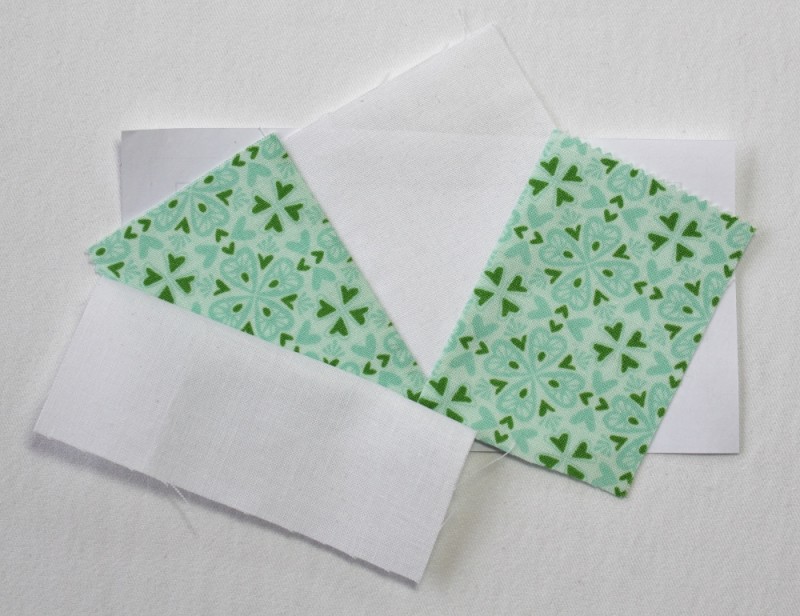
7. Cover area A4 with a white background fabric 2" x 4" rectangle.
8. Cover area A5 with remaining white background fabric 2" x 4" rectangle.
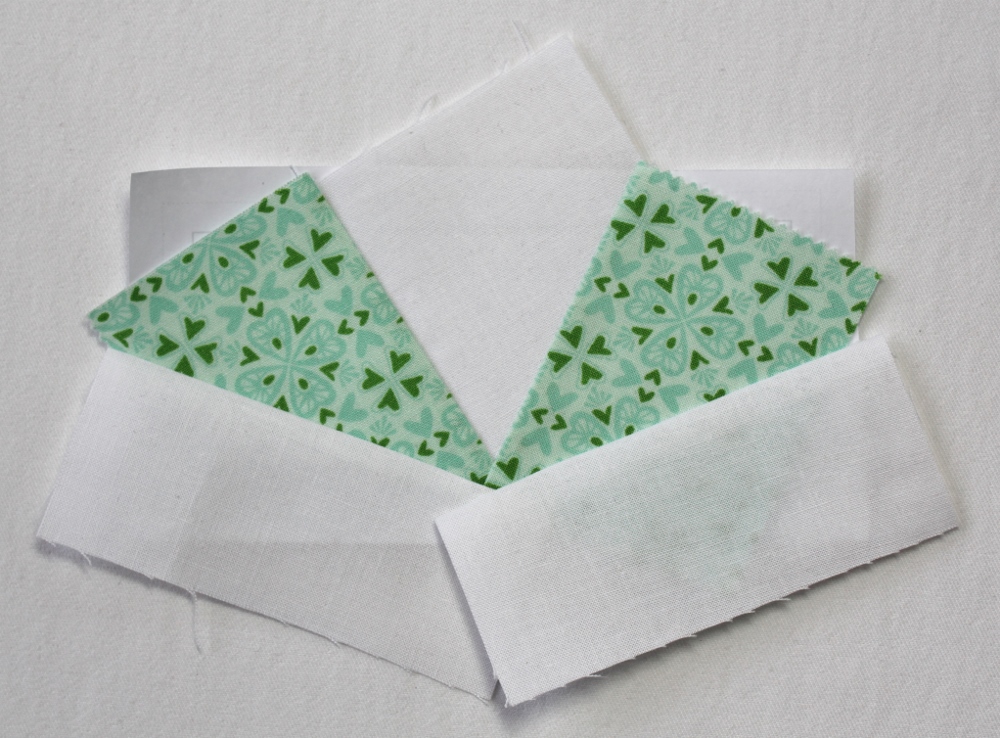
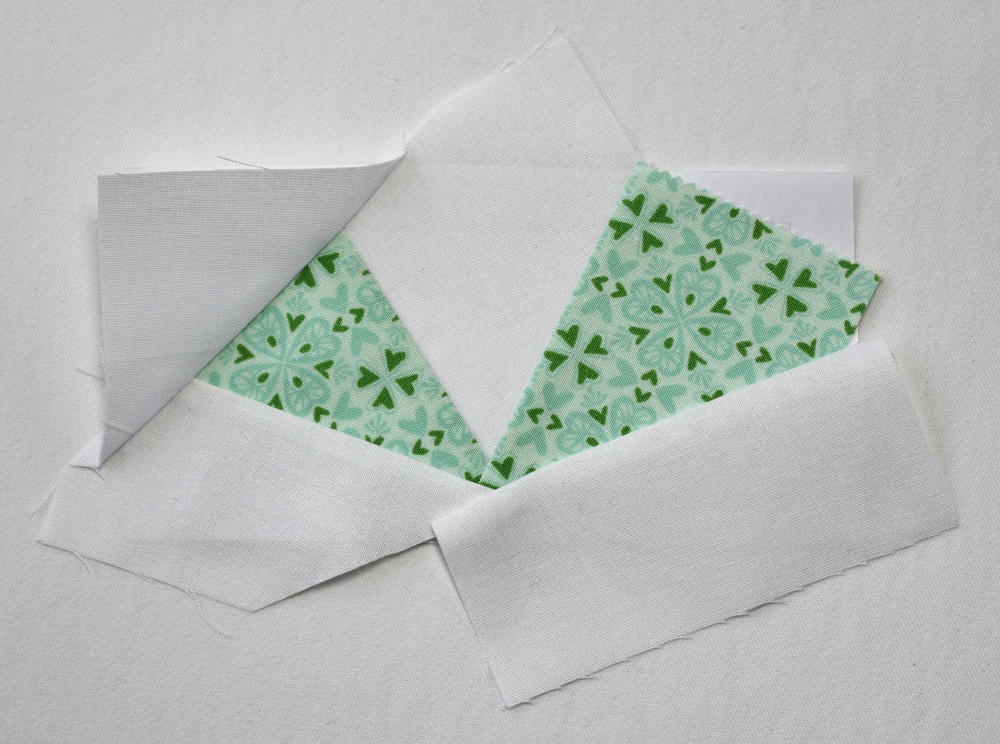
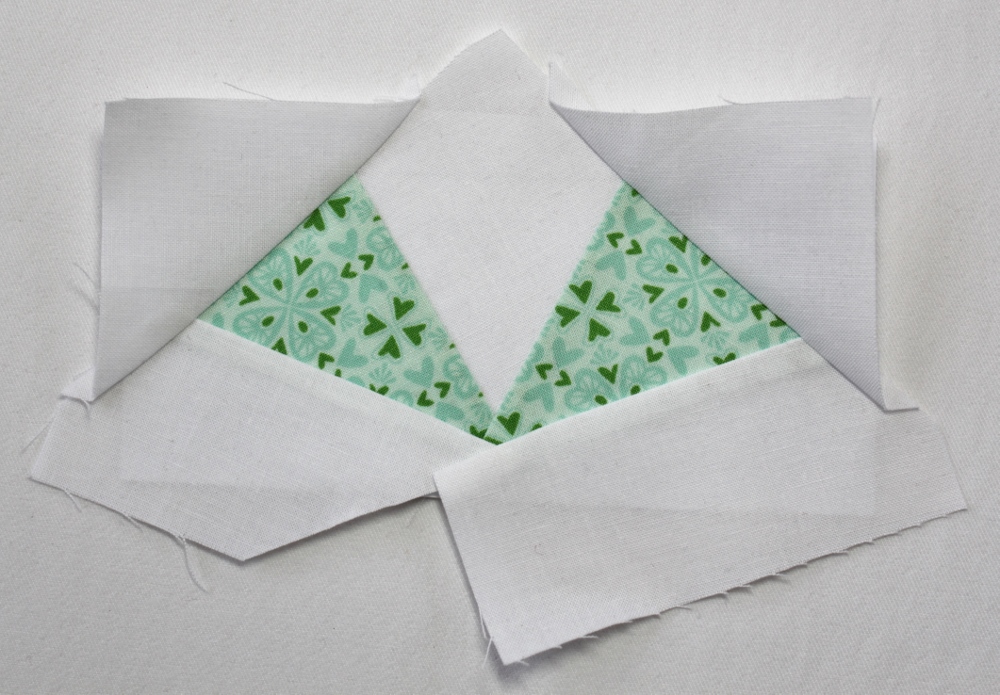
9. Cover area A6 with a white background fabric triangle (diagonally cut from 3" square).
10. Cover area A7 with remaining white background fabric triangle.
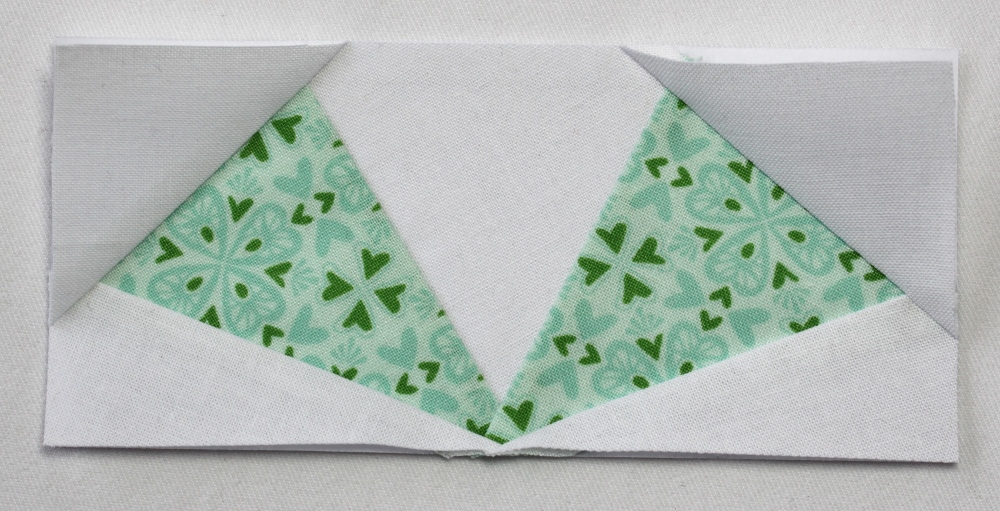
11. Flip work over and trim through all layers carefully along outermost line.
12. Repeat steps 1-11 to make 6 bow top units.
Gift box units:
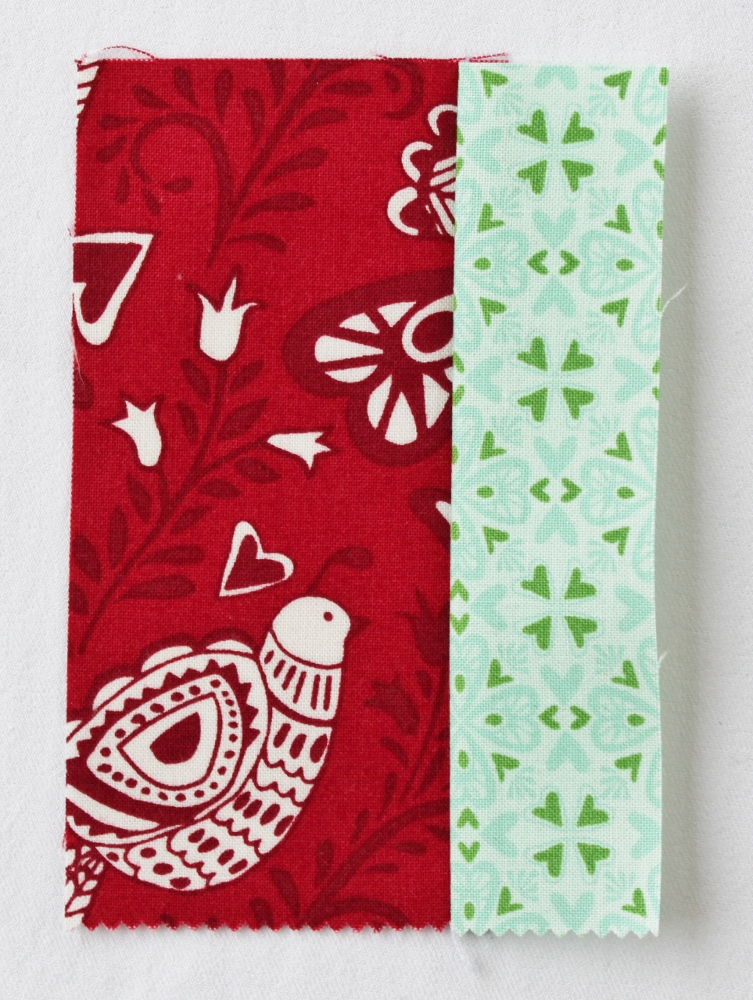
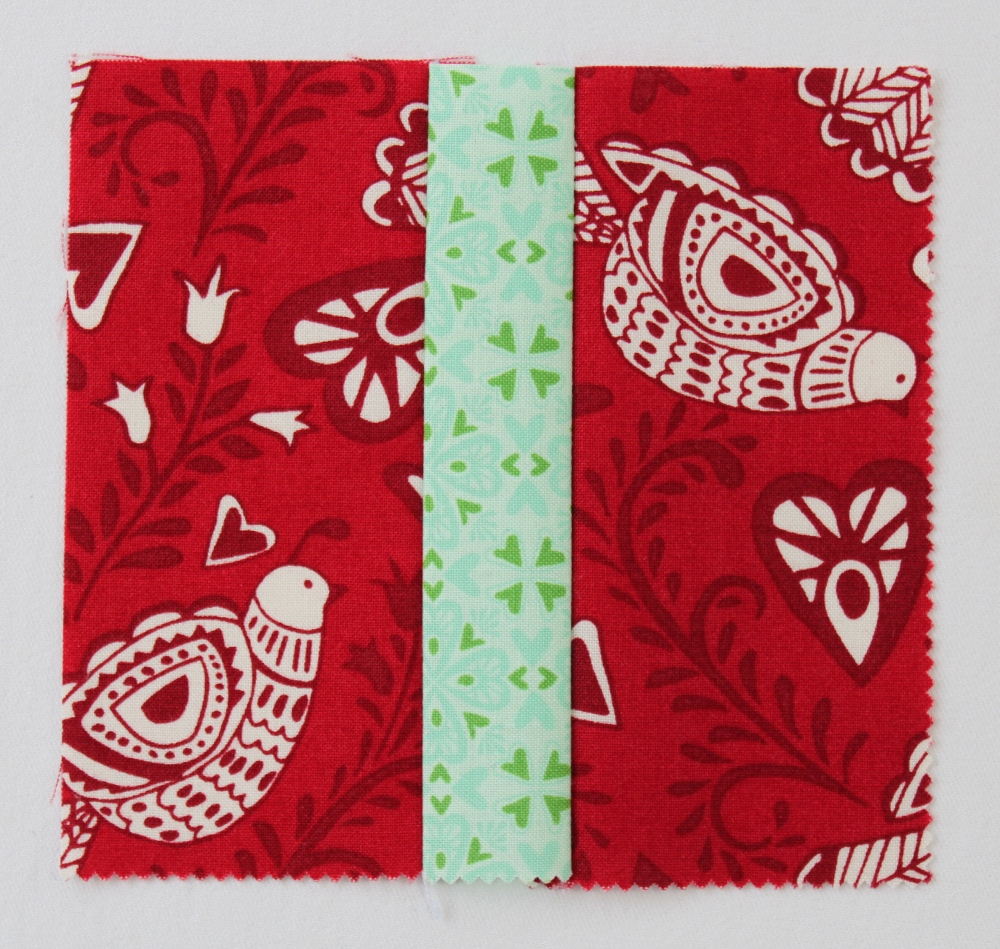
1. Stitch 1 bow fabric 1 1/2" x 5" rectangle to long side of 1 gift box fabric 2 1/2" x 5" rectangle. Press seam away from gift box fabric.
2. Stitch remaining box fabric 2 1/2" x 5" rectangle to long side of bow fabric 1 1/2" x 5" rectangle. Press away from gift box fabric. The gift box unit should measure 5" x 5 1/2" unfinished. Repeat with the remaining 5 sets of gift box/bow fabrics to make 6 gift box units.
Assemble gift box blocks:
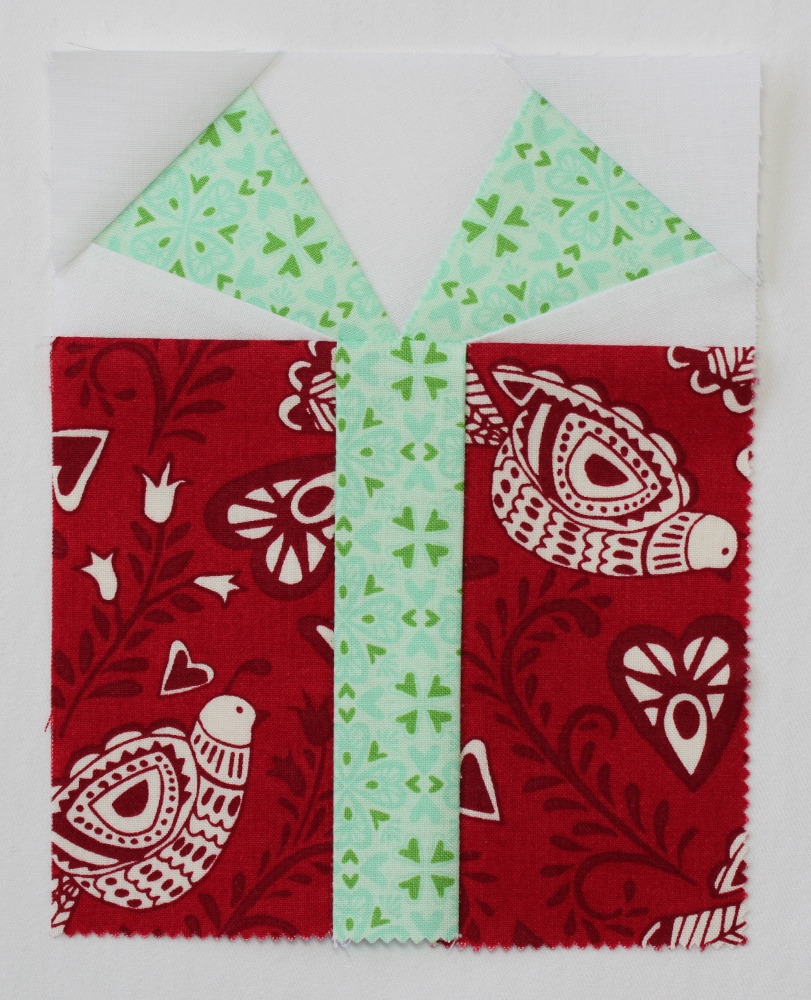
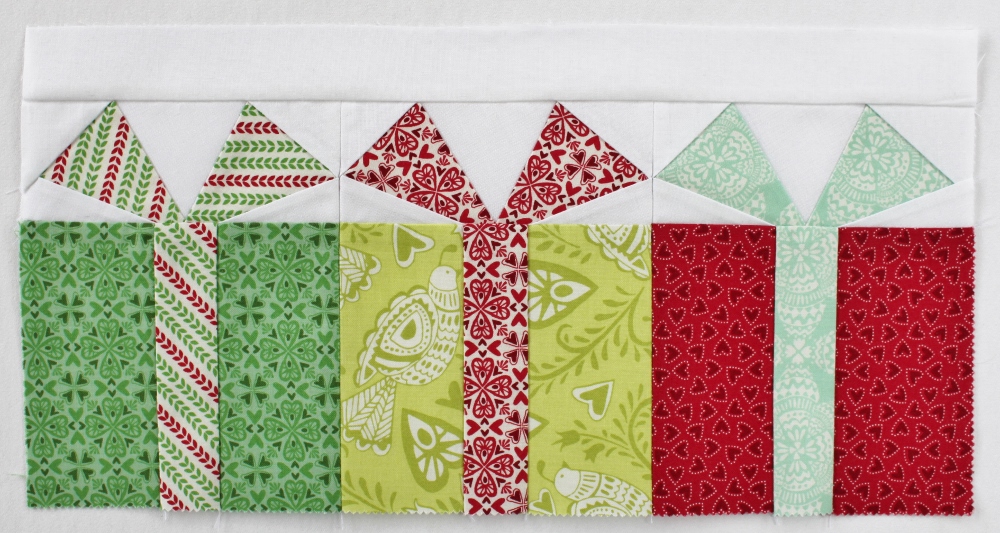
- Stitch 1 corresponding bow unit to each gift box unit as follows. Press towards the gift box unit and carefully remove the paper from behind the bow unit. The gift box block should measure 5 1/2" x 7" unfinished.
2. Repeat with remaining gift box units and bow units to make 6 gift box blocks total.
Assemble gift box borders:
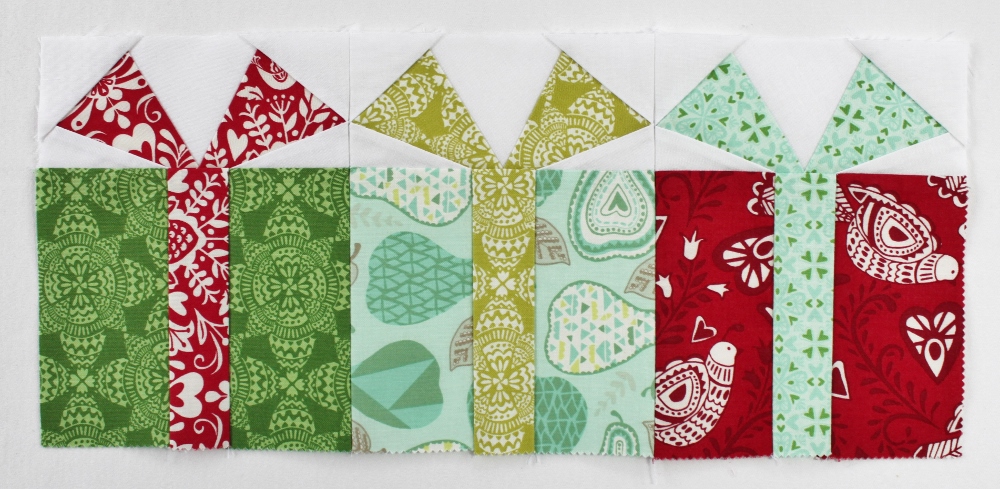
For a gift box border, stitch together 3 gift box blocks as follows. Press seams open.
Repeat with remaining 3 gift box blocks.
Assemble quilt center:
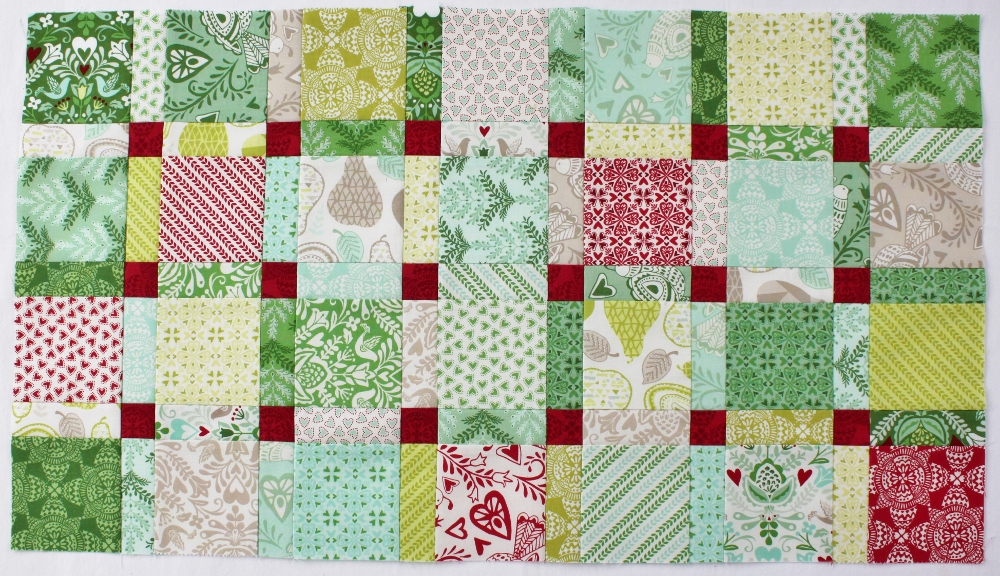
Gather 28—3 1/2" x 3 1/2" squares, 45—1 1/2" x 3 1/2" rectangles, and 18—1 1/2" x 1 1/2" cornerstone squares.
You'll be making 7 rows of 4—3 1/2" x 3 1/2" squares alternating with 3—1 1/2" x 3 1/2" rectangles as follows:
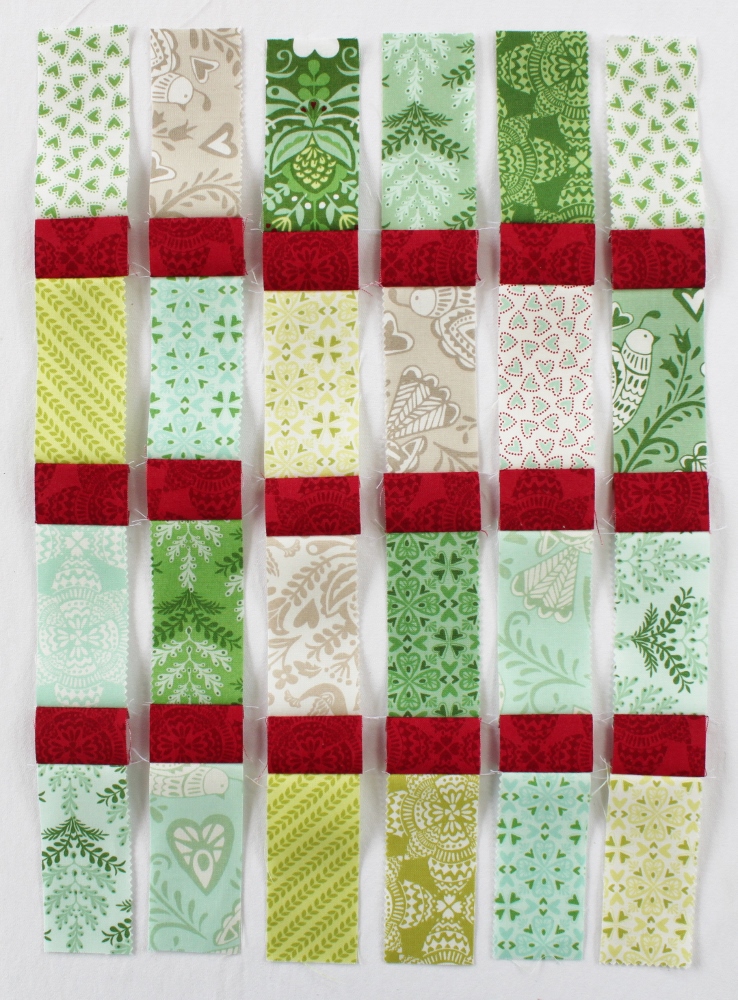
The above rows will be separated by 6 rows of 4—1 1/2" x 3 1/2" rectangles alternating with 3—1 1/2" x 1 1/2" cornerstones as follows:
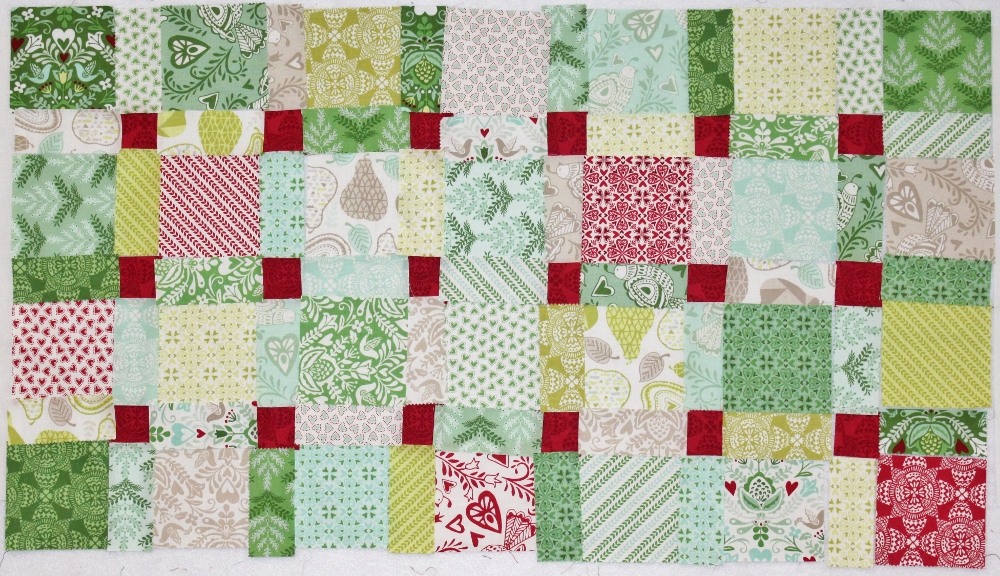
- Referring to the project photo, take a few minutes (or an afternoon like I did!) to lay out your quilt center on a design wall or flat surface before stitching it. Here's a photo of my quilt center laid out on my design wall prior to stitching:
2. Once you are happy with your layout, first stitch together the 7 rows of 4—3 1/2" x 3 1/2" squares alternating with 3—1 1/2" x 3 1/2" rectangles. Press seams towards the 3 1/2" squares.
3. Stitch together the 6 rows of 4—1 1/2" x 3 1/2" rectangles alternating with 3—1 1/2" x 1 1/2" cornerstones. Press seams towards the cornerstones.
4. Stitch together above 13 rows, alternating 3 1/2" square rows from step 2 and the cornerstone rows from step 3 as follows. Press seams towards 3 1/2" square rows.
Assemble Quilt:
- Stitch 1 white background fabric 1 1/2" x 15 1/2" strip to the top edge (bow side) of each gift block border as follows. Press seam towards white background fabric.
2. Repeat with remaining gift box border and white background fabric 1 1/2" x 15 1/2" strip.
3. Stitch 1 gift box border/white background fabric strip unit to each short end of quilt center as follows, pressing seams towards white background fabric strip.
Finish Quilt:
Layer the quilt top with batting and backing fabric. Baste, quilt as desired, and bind. I machine quilted this quilt by stitching in the ditch along the rows in the pieced center, on either side of the white background strip, and around the bows (including the strip that runs through each gift box).
One cheerful 15" x 42" holiday table runner!
Thanks so much for following along with this tutorial! Check out my blog if you'd like to see the sweet little project that I made with the leftover scraps from Boxes and Bows. Happy Quilting!
Jen Daly
{jendalyquilts.com}

