Welcome to Moda Fabrics!
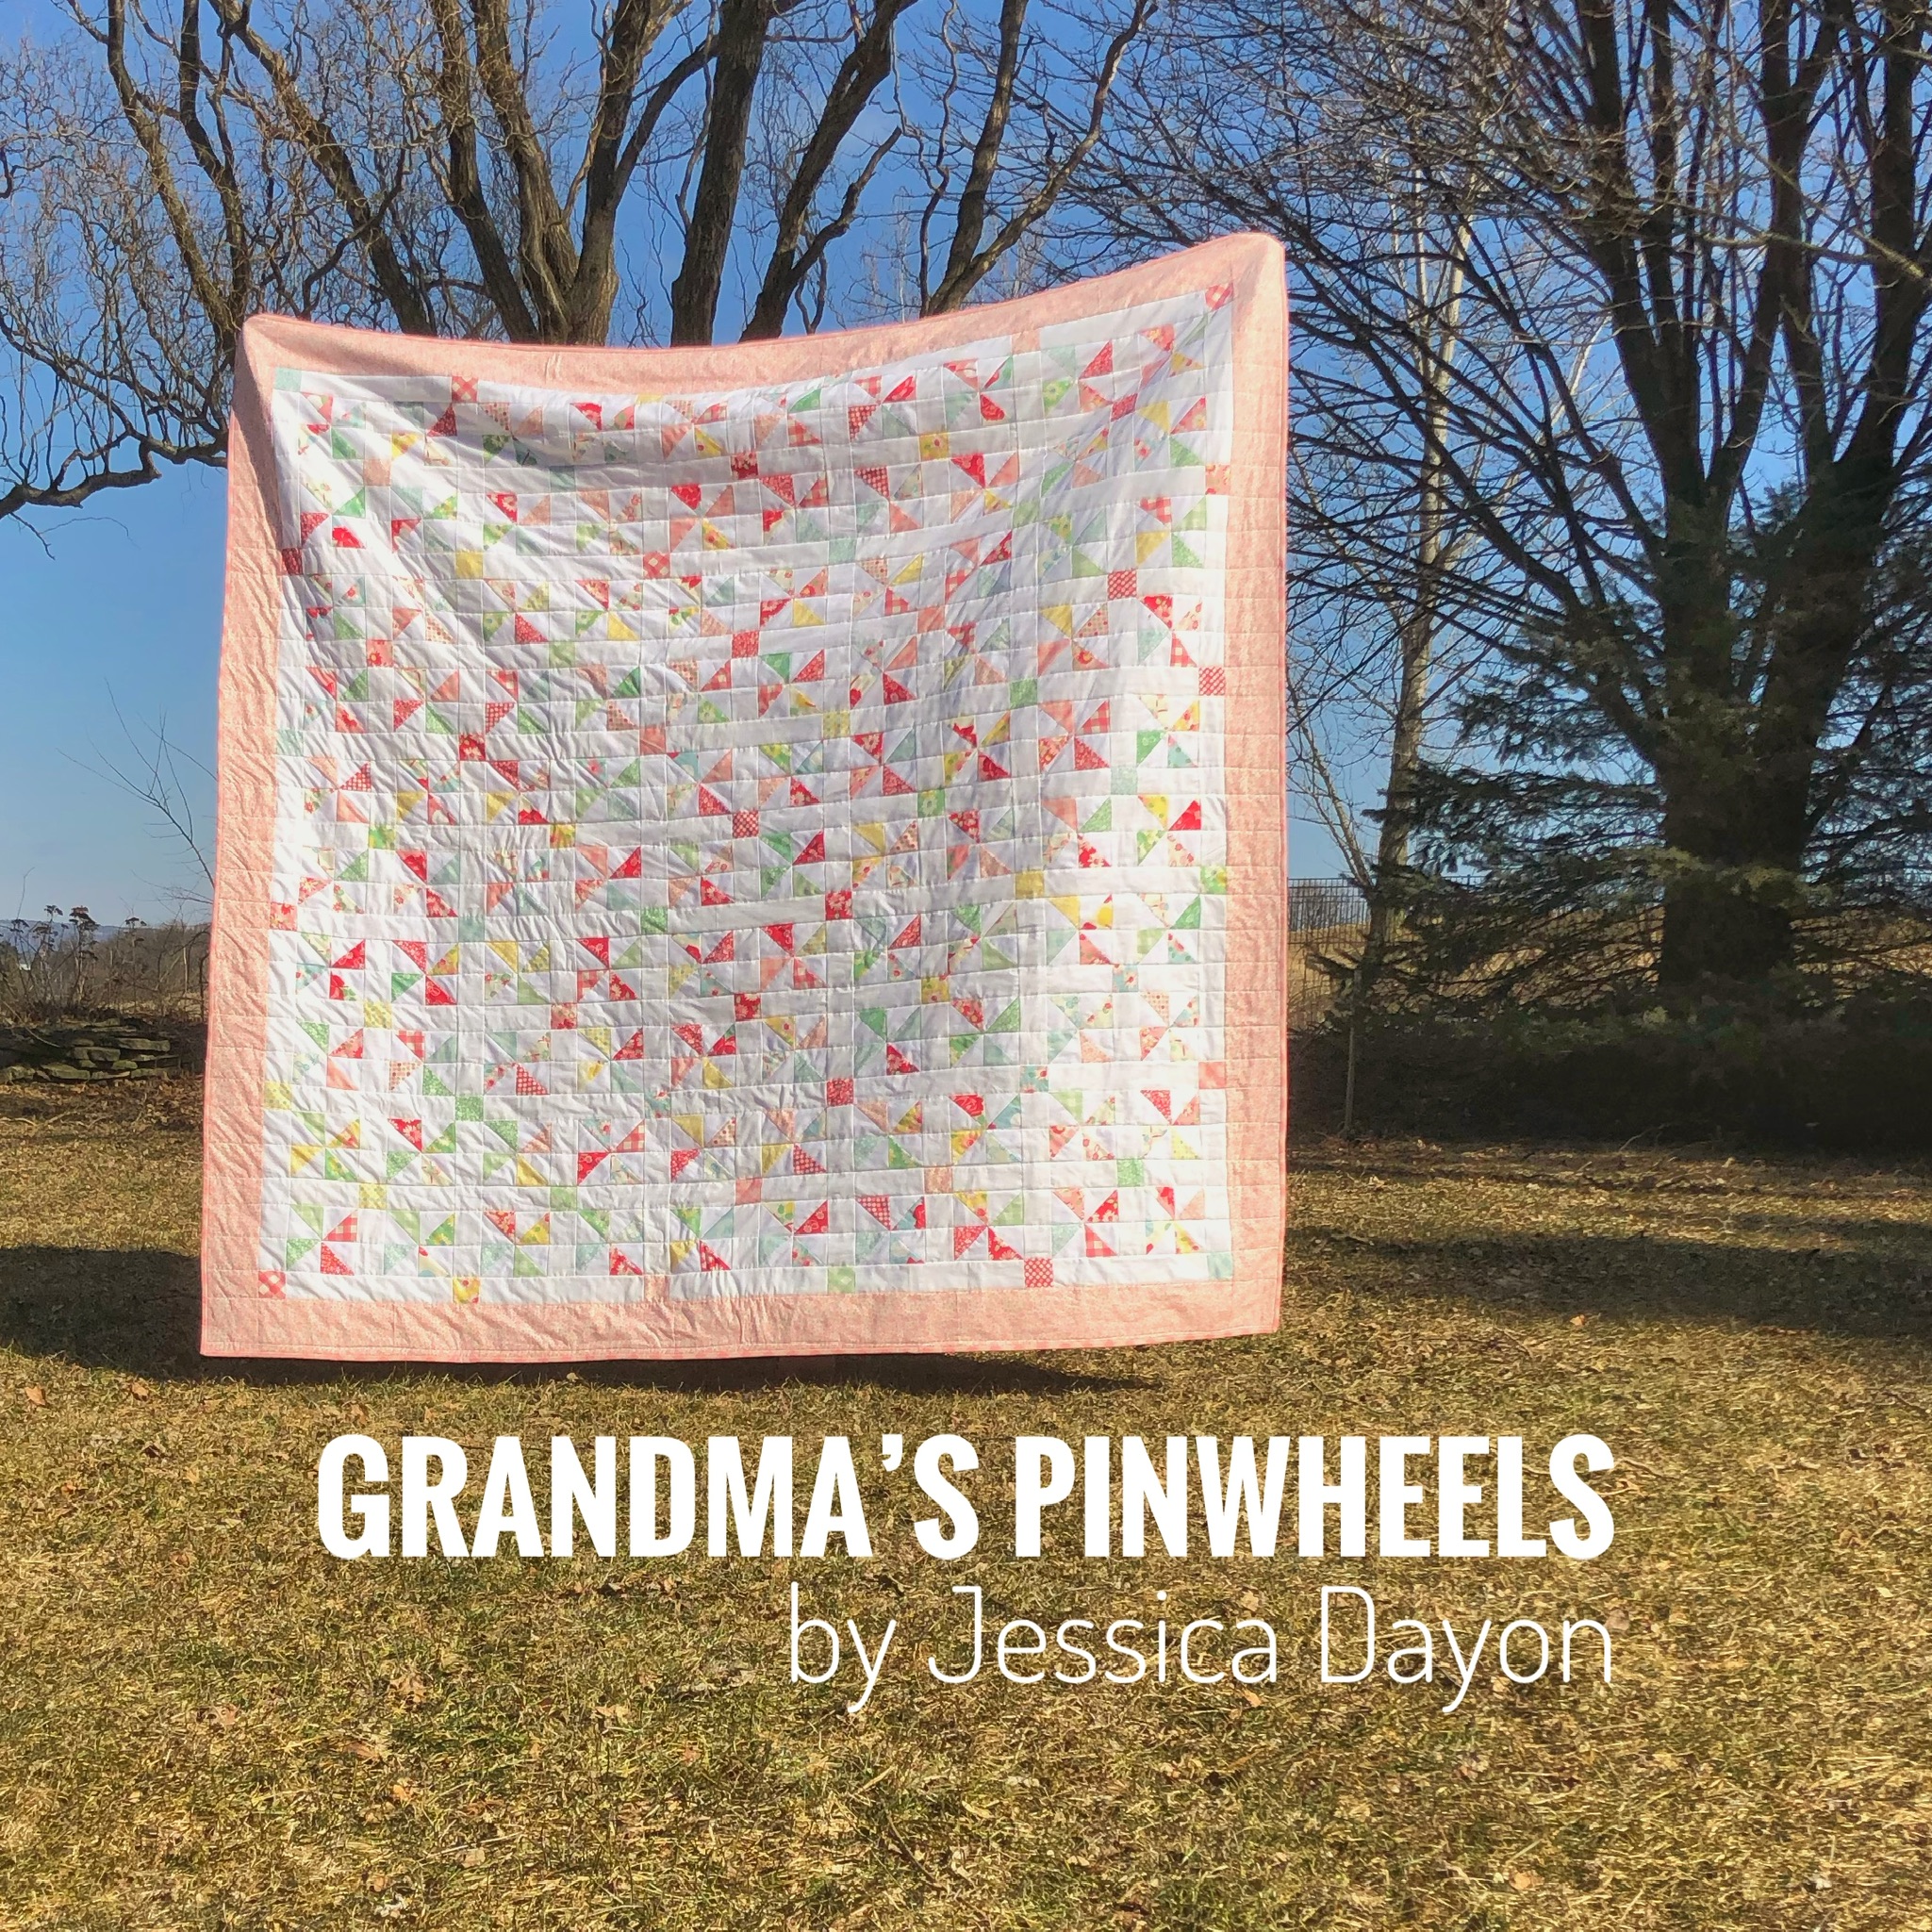
Grandma's Pinwheel Quilt
Grandma's Pinwheel Quilt
Published:
Feb 26 2019 - 23:00
![]()
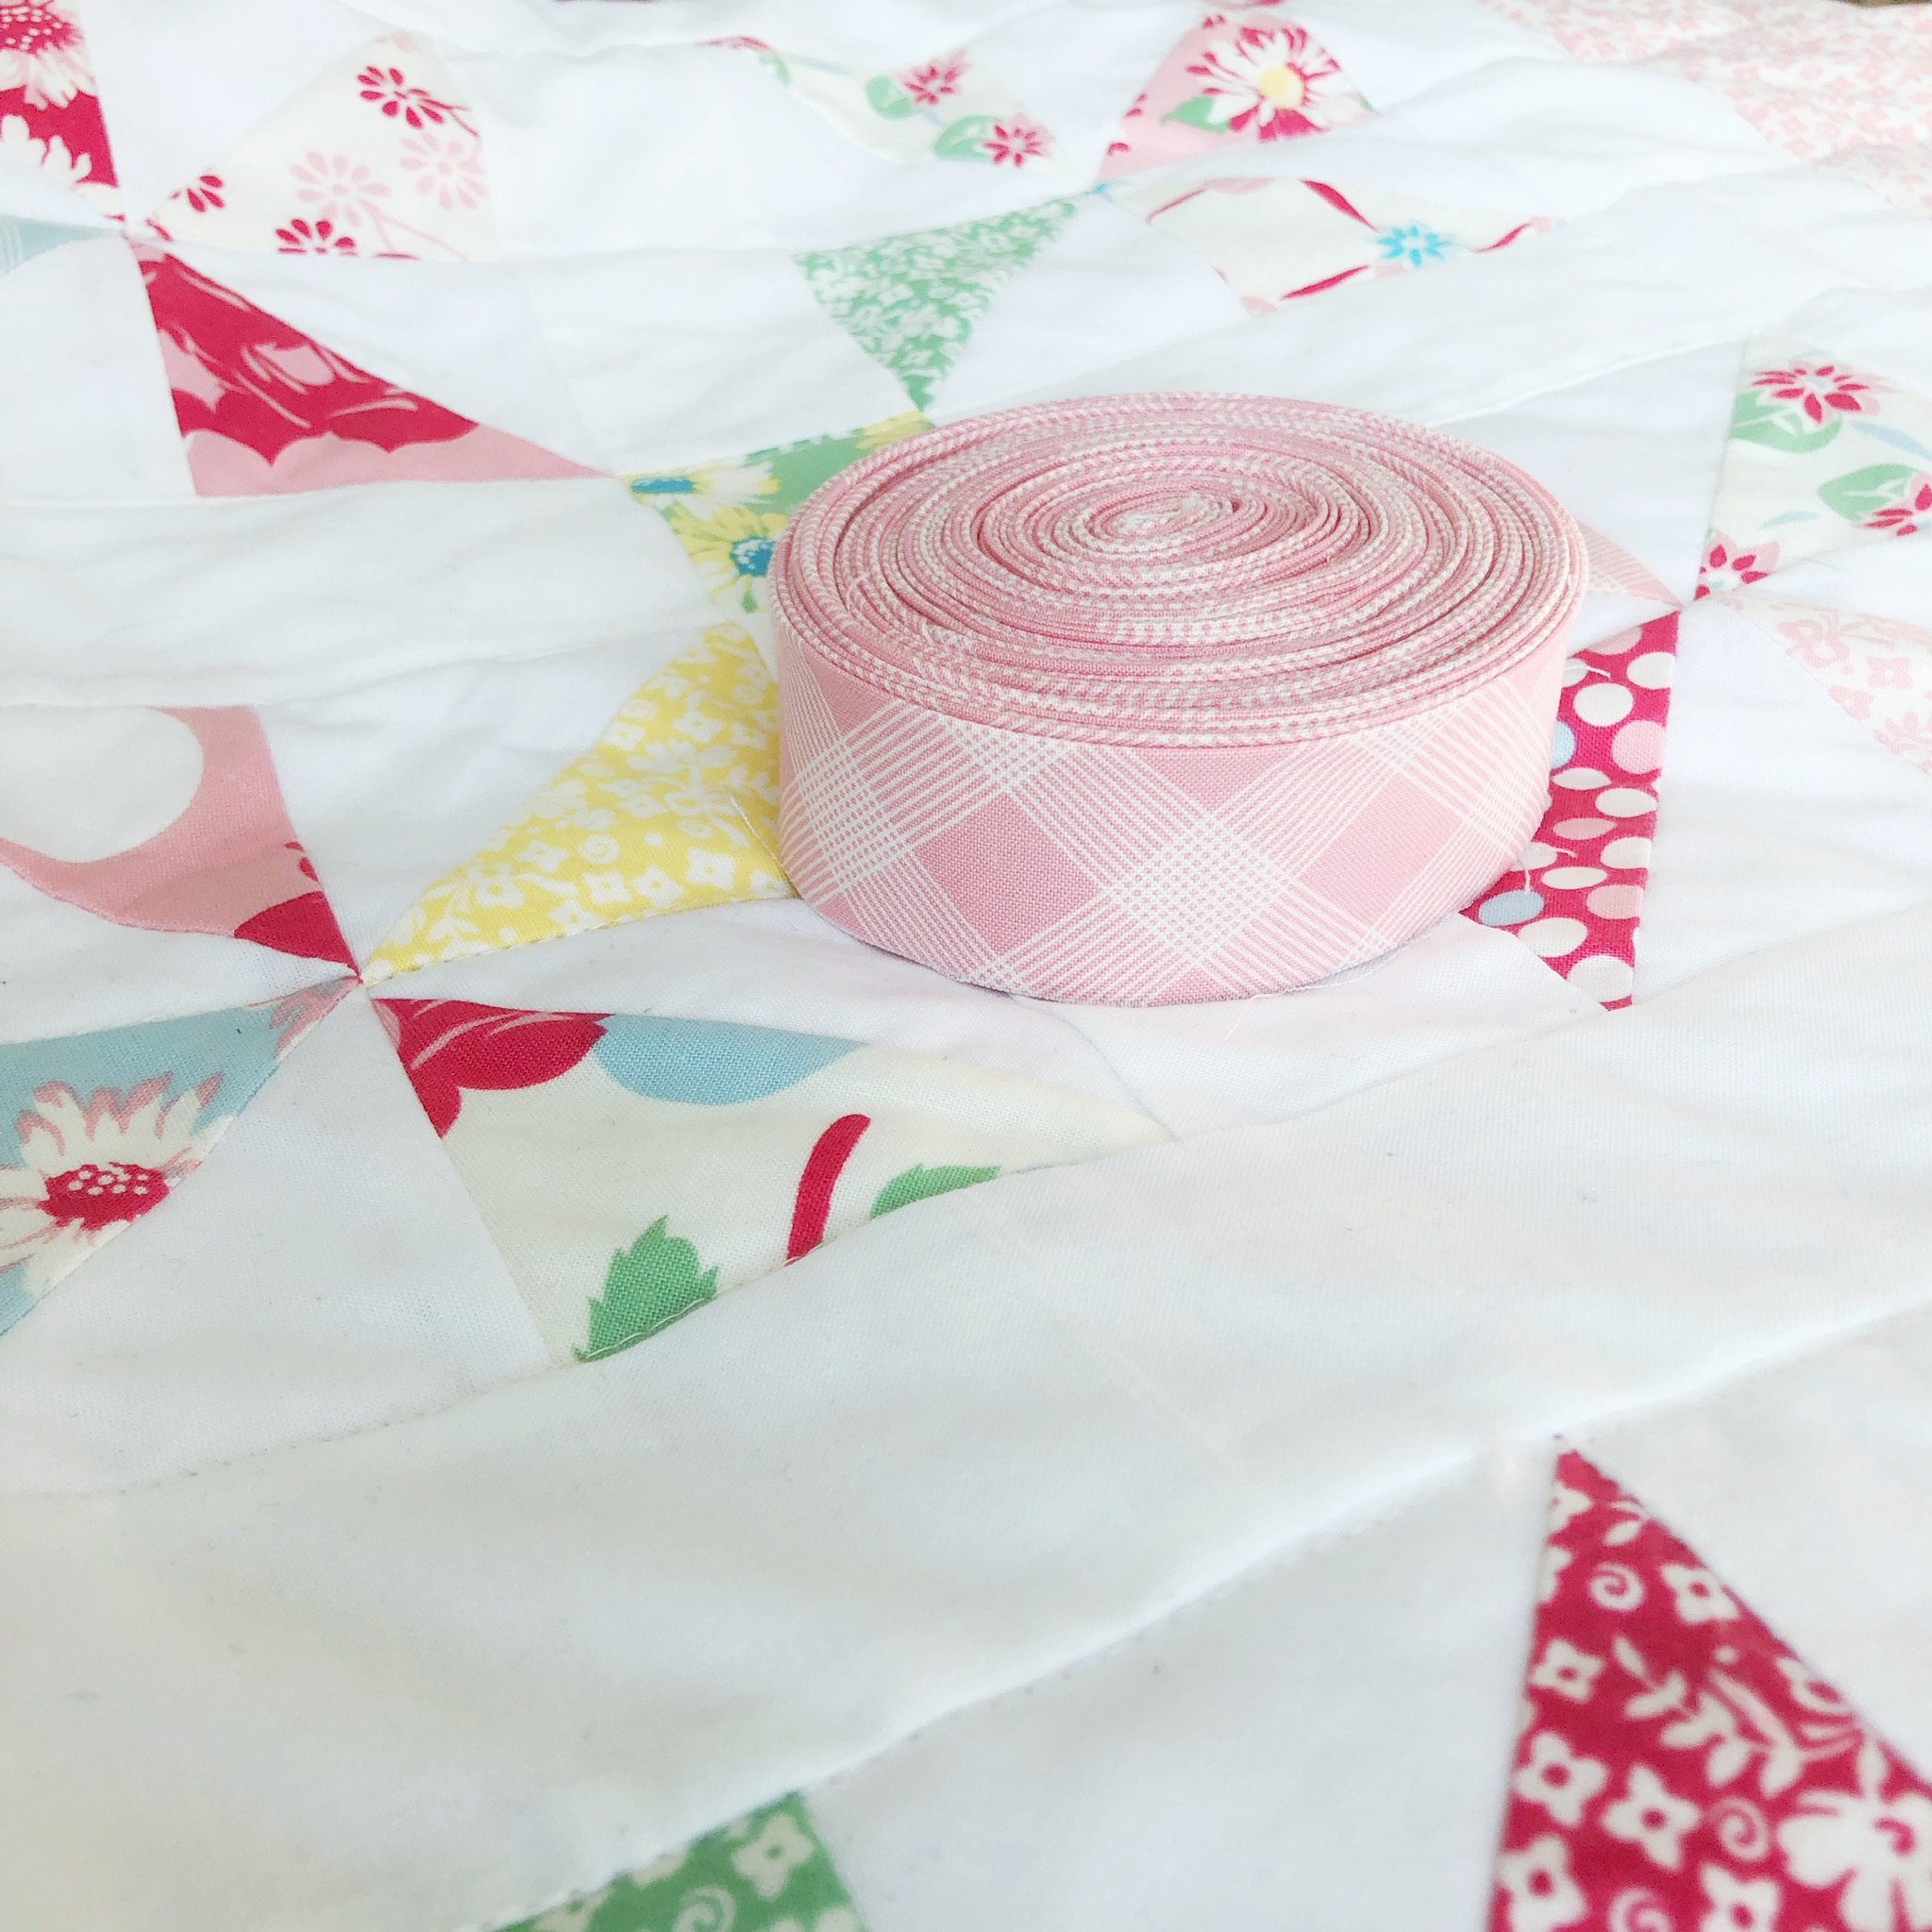
Hi, Everyone! It is Jessica Dayon (@jessicadayon) here today sharing a quilt pattern with you using Cheeky by Urban Chiks! I loved this line as soon as I saw it and knew I wanted to do something special with it. The pinwheels that I've composed this quilt of give off a vintage vibe and really look so pretty in this line.
Trimming the half square triangles in the pattern can be tedious but if you break it down over a few days, it really goes by pretty quickly. Also, I love that this pattern only uses 3 charm packs from the fabric line plus a little bit of border and you get a pretty big quilt from it!
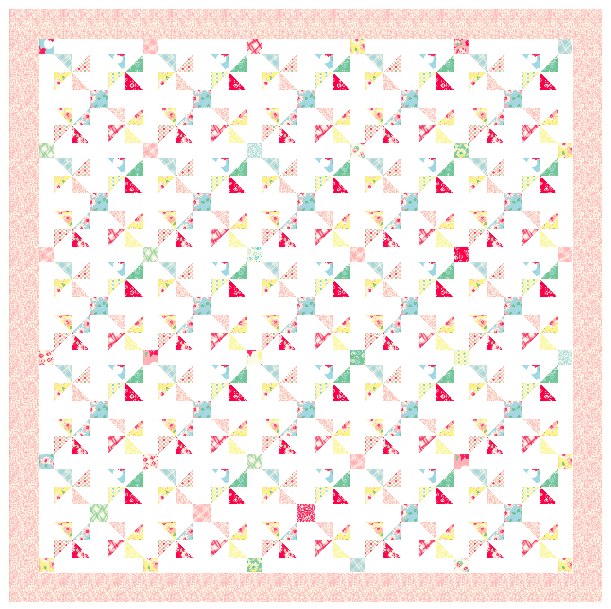
This quilt finishes at 80" x 80".
![]()

3 charm packs of Cheeky by Urban Chiks {SKU 31140PP}
3 charm packs of Bella Solid White {SKU 9900PP 98}
1 jelly roll of Bella Solid White {SKU 9900JR 98}
1 yard pink Border fabric {used here SKU 31145-11}
3/4 yard Binding fabric {used here SKU 31146-12}
5 yards backing {used here SKU 31141-13}
Batting {Used here The Warm Company Warm & White Queen Sized batting- 90" x 108"}
![]()
CUTTING-
From the jelly roll,
-cut 15 jelly roll strips into 7- 5.5" x 2.5" rectangles each; to yield 100- 5.5" x 2.5" rectangles
-cut 20 jelly roll strips into 3- 12.5" x 2.5" rectangles each; to yield 60- 12.5" x 2.5" rectangles
From the border fabric,
-cut 8- 4.5" x WOF strips
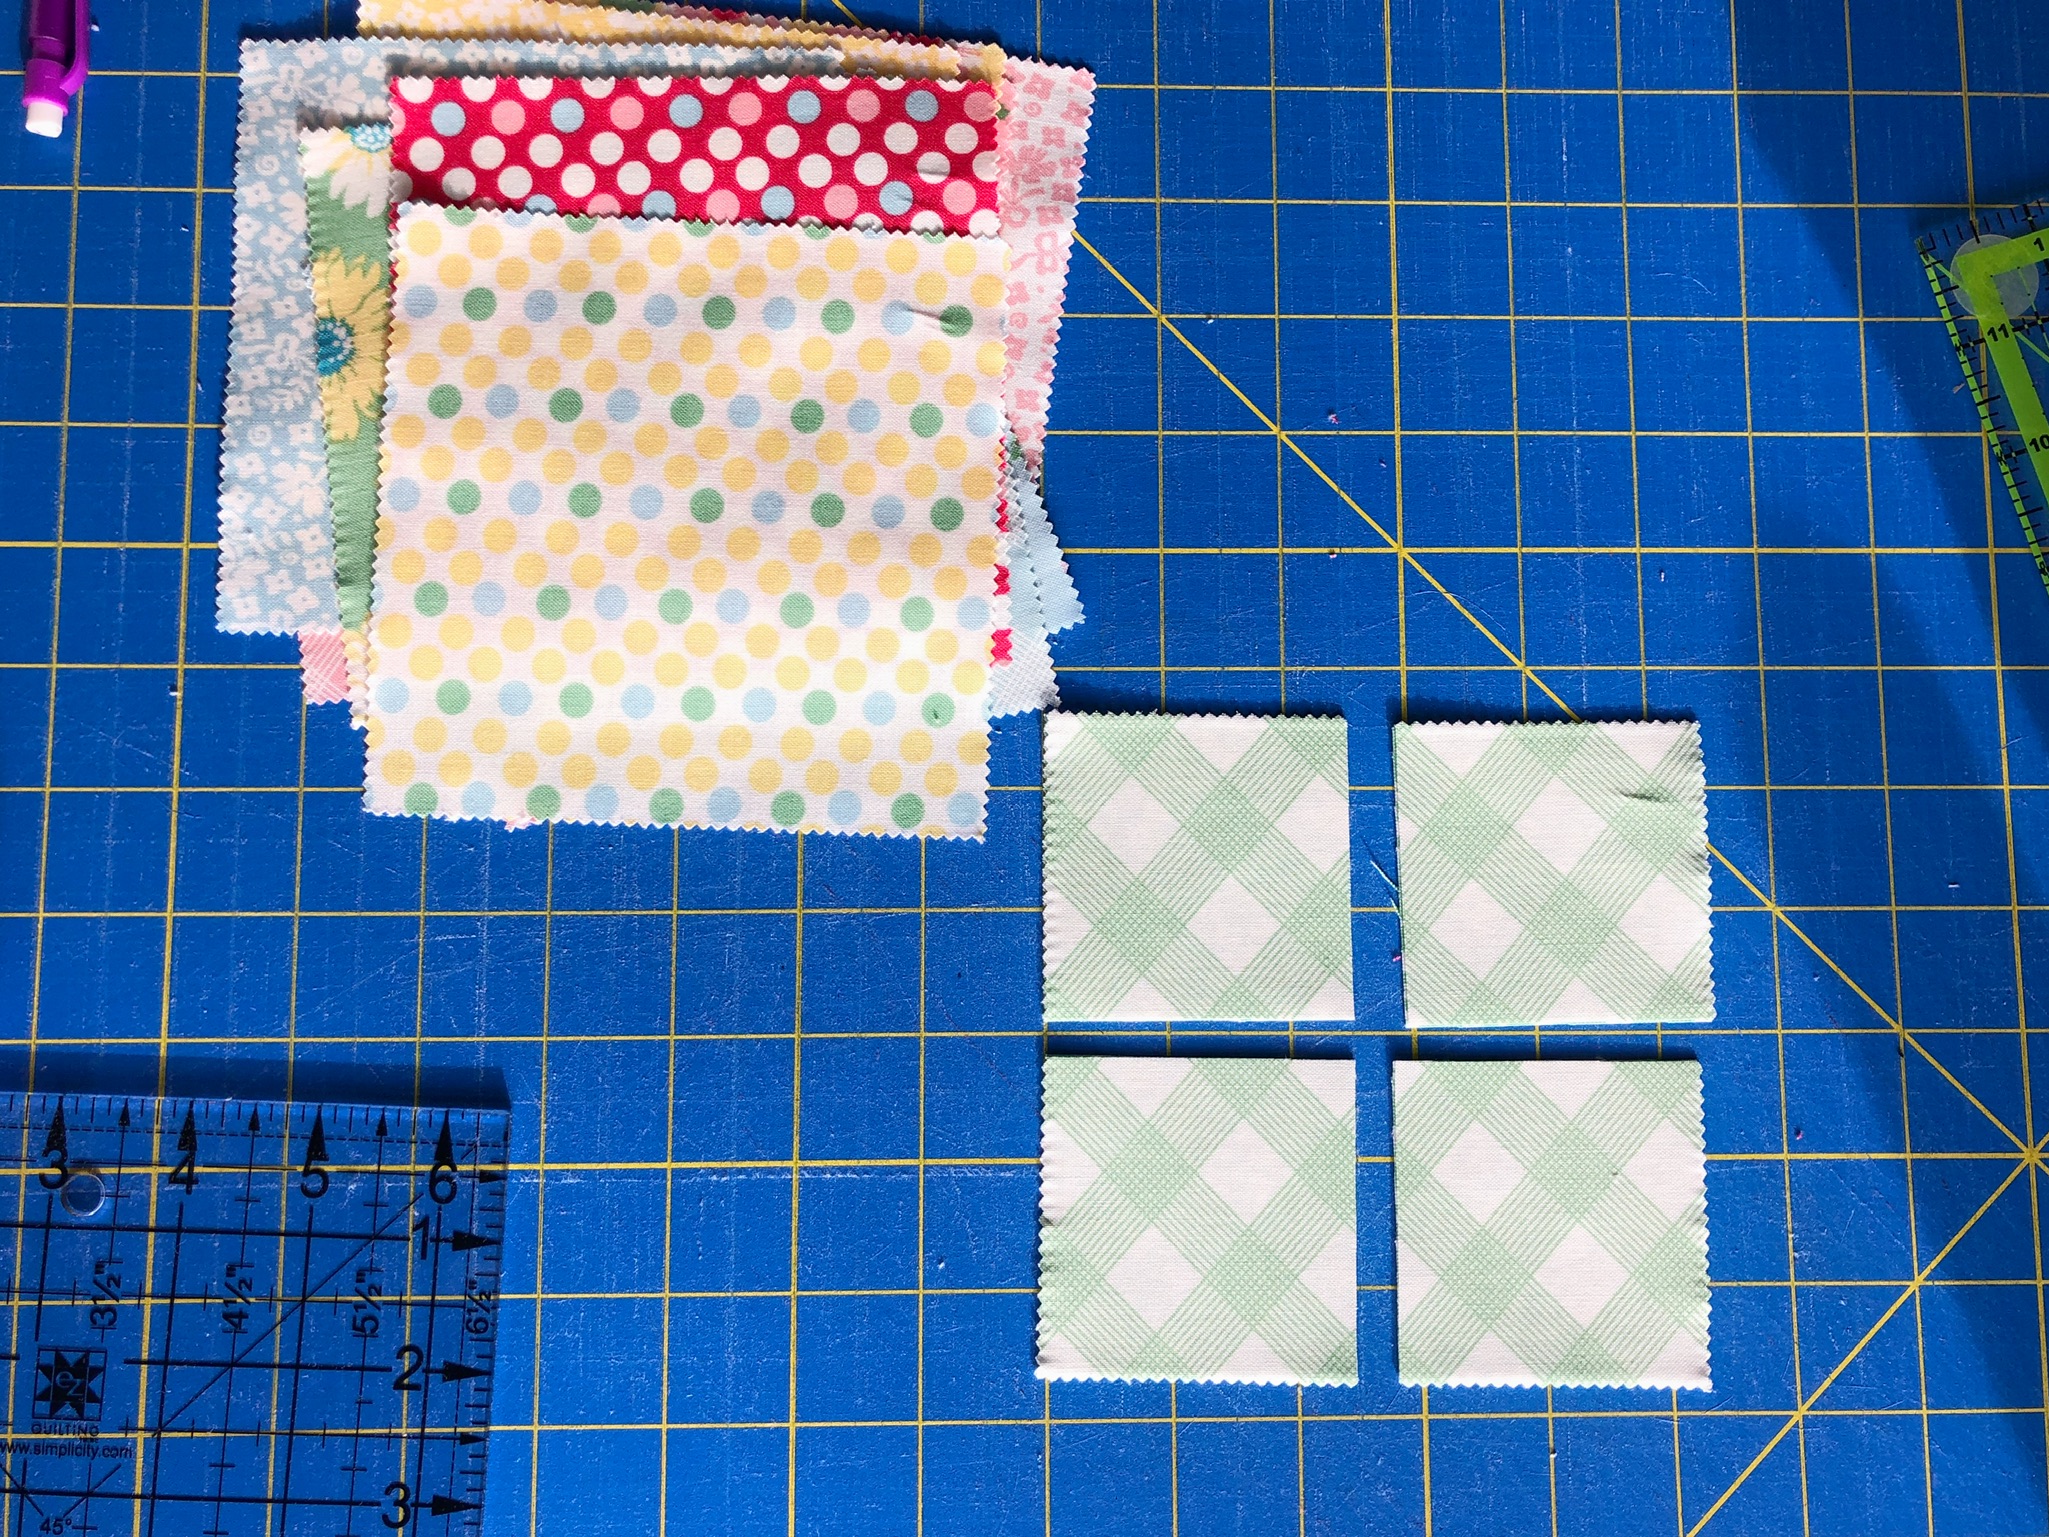
Take out 16 charm squares from the Cheeky charm packs, cut each one into 4- 2.5" squares and set aside for later.
MAKE 4 AT A TIME HALF SQUARE TRIANGLES
Gather the remaining Cheeky charms and the solids charms. Match up one print charm square right side together with one solid charm square.
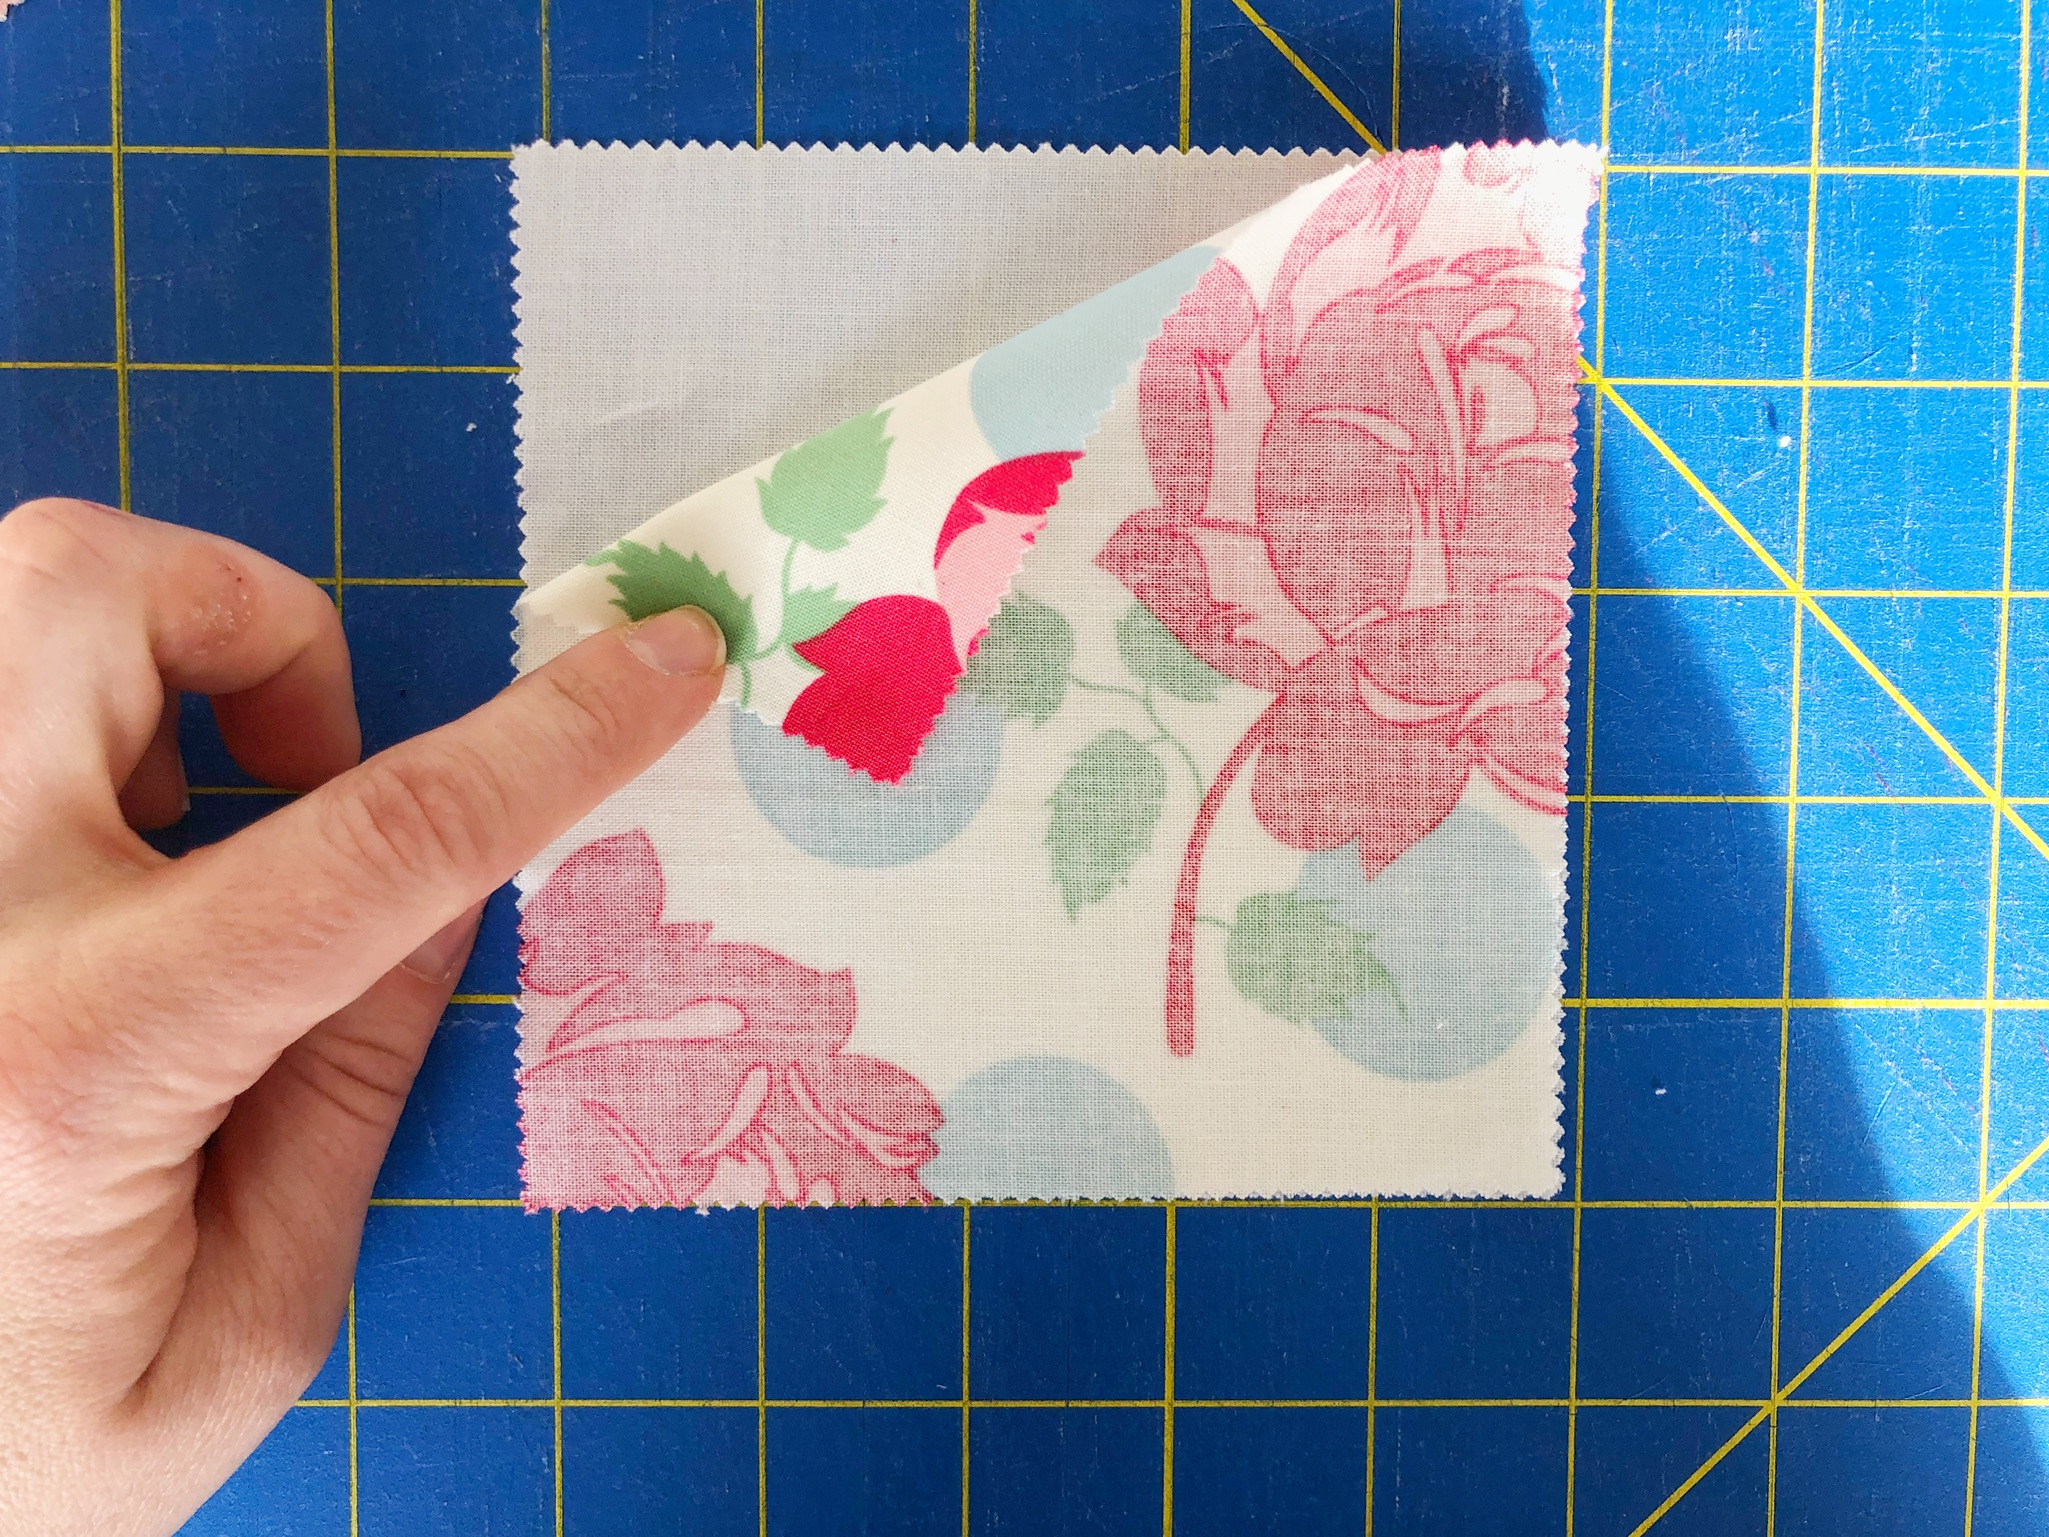
Sew all the way around the square (with 1/4" seam allowance).
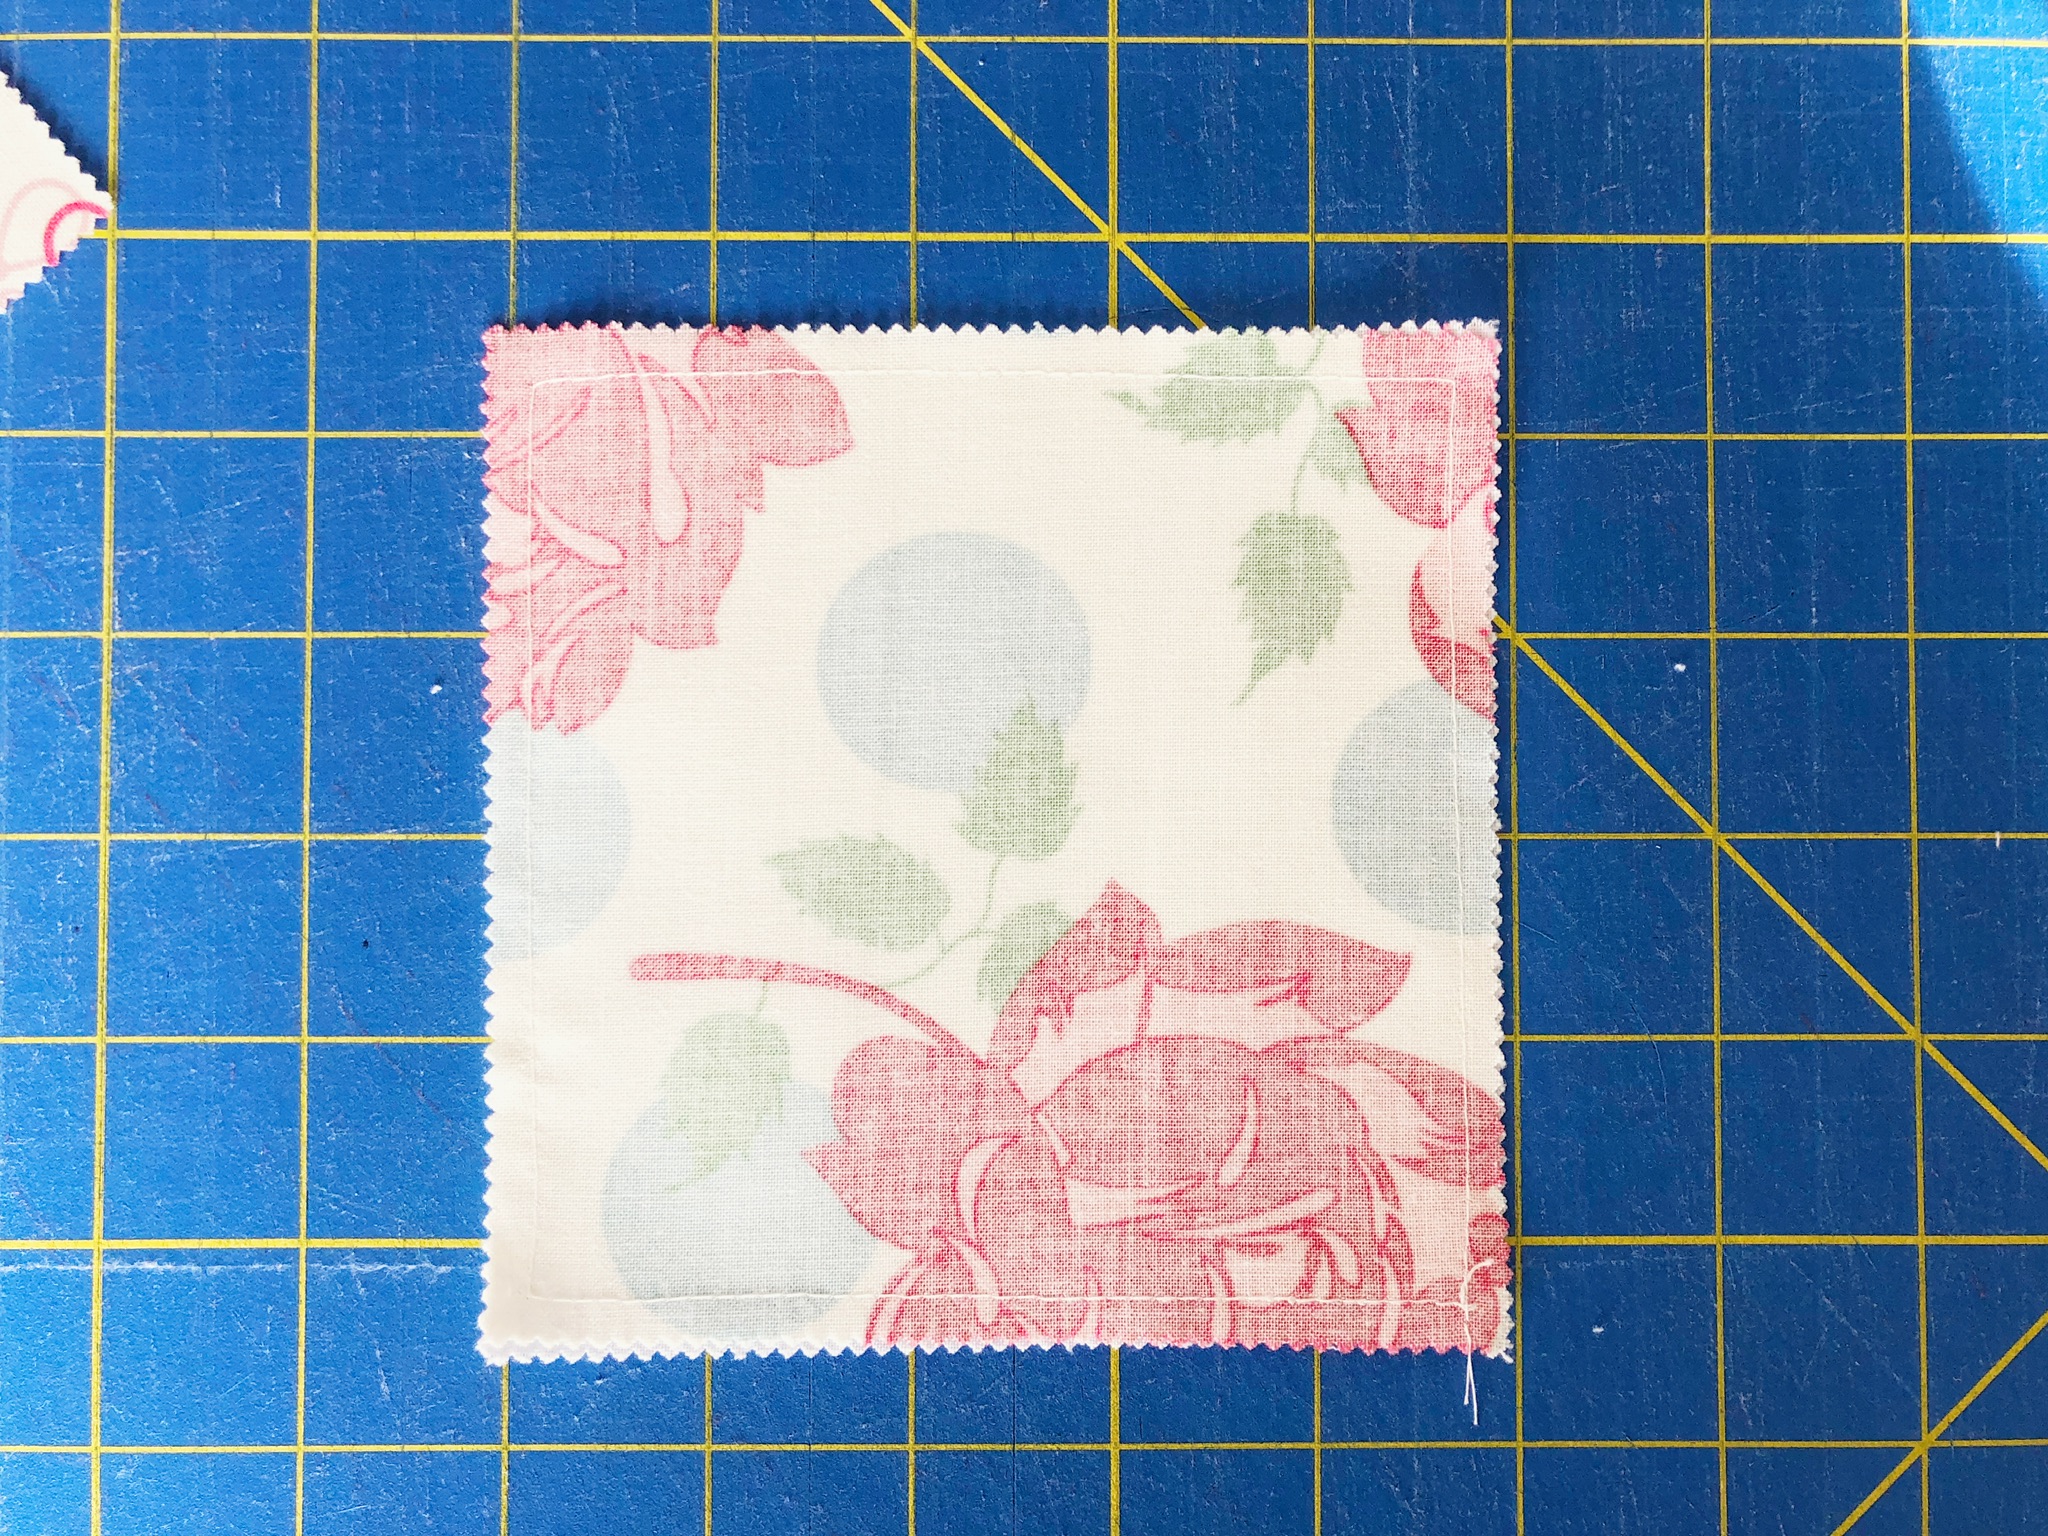
Repeat for the remaining 109 Cheeky charm squares.
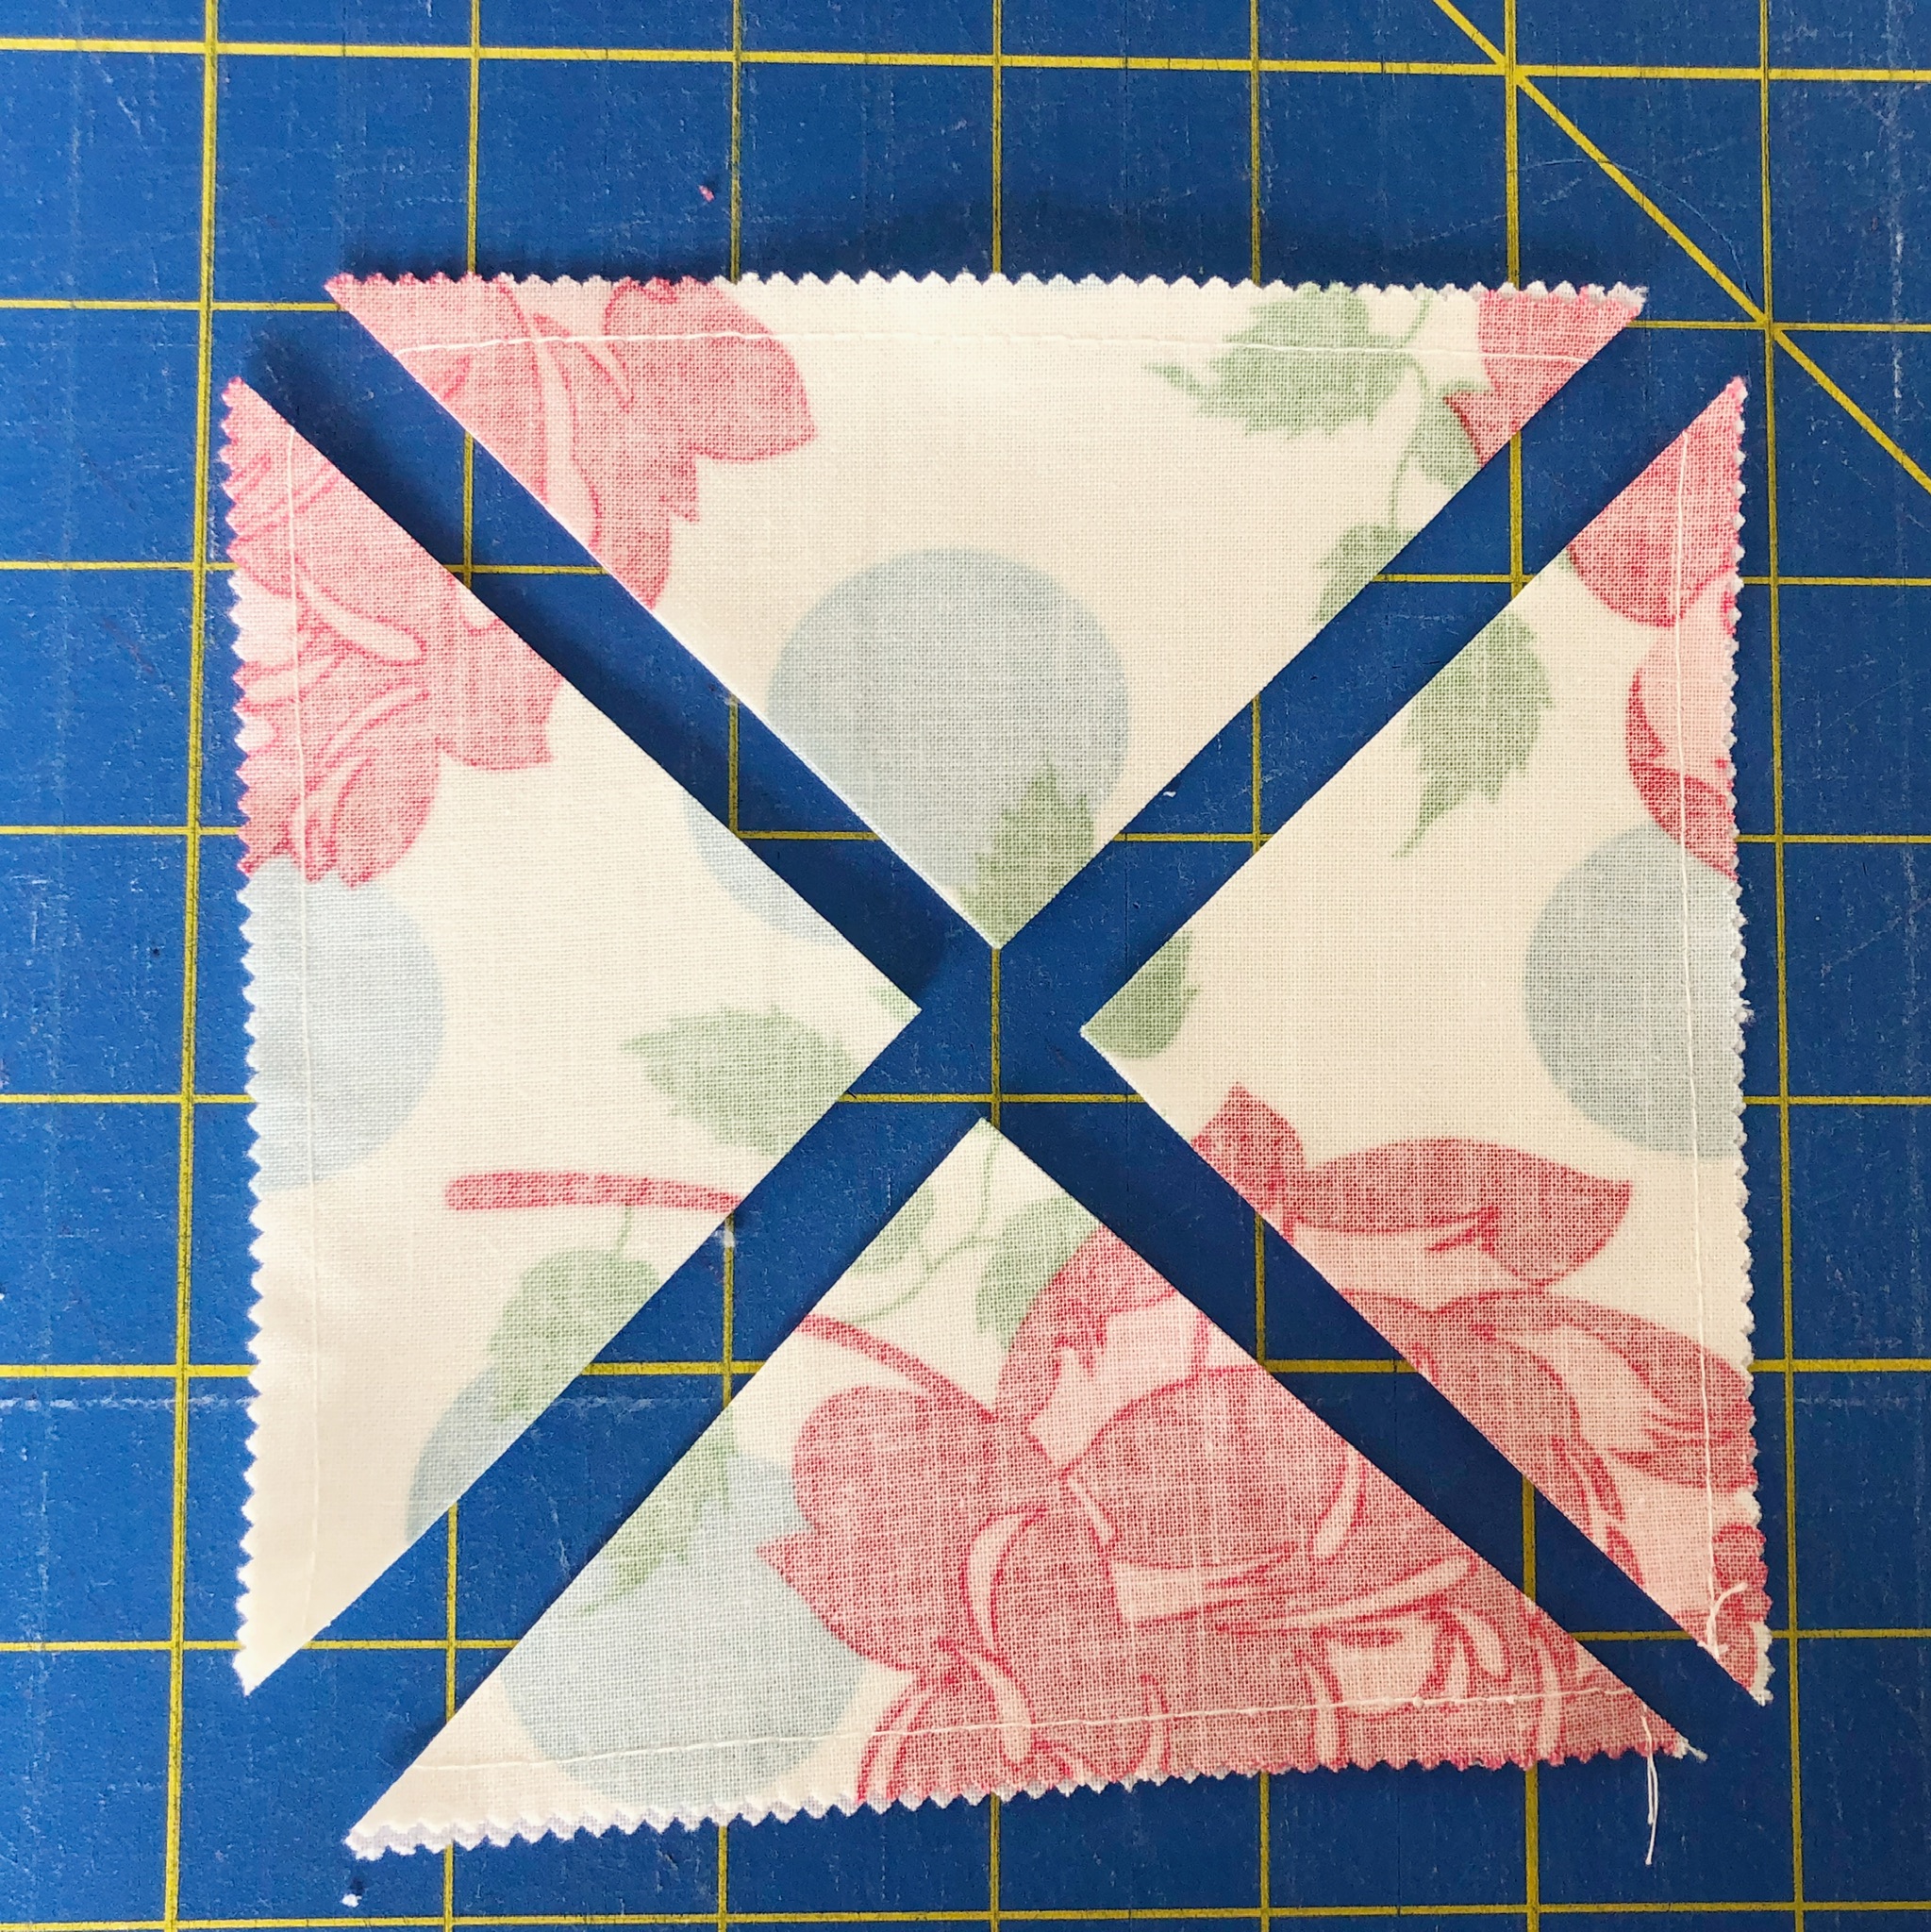
Using your ruler and rotary cutter, line up the ruler on one diagonal and cut.
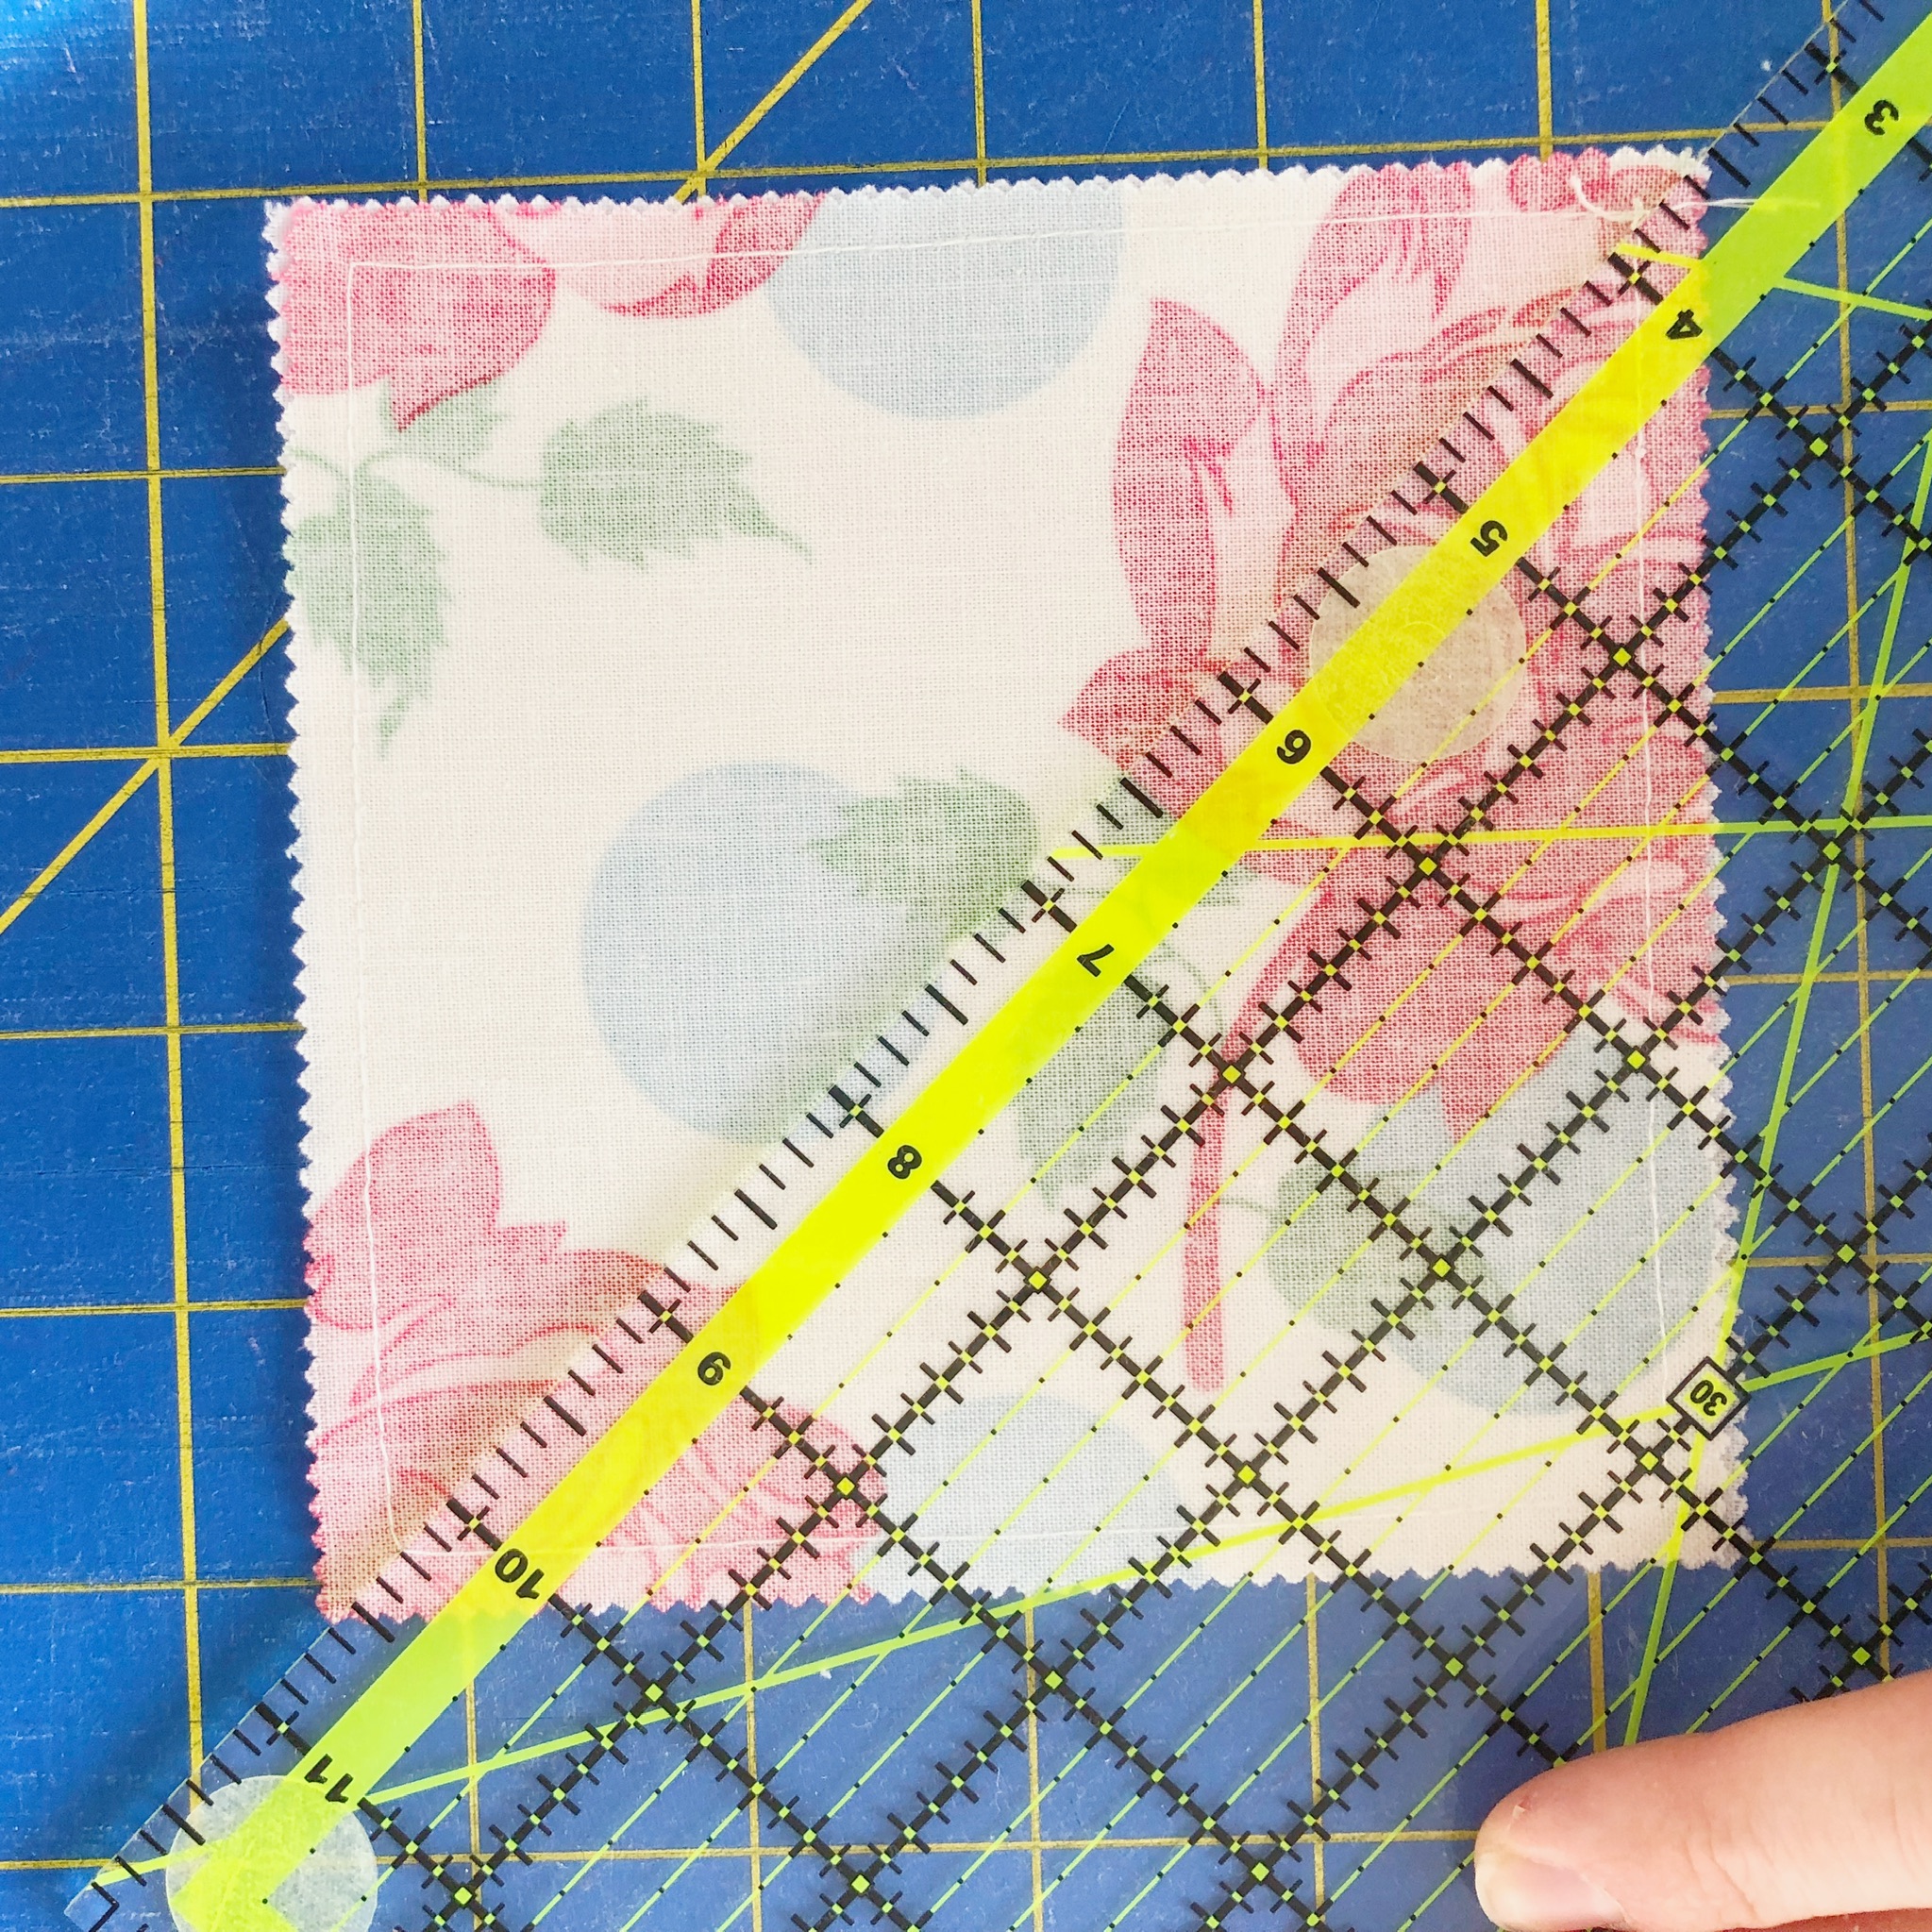
Do not move the square you just cut. But, pick up your ruler and lay it along the other diagonal. Now, cut this way.
You will be left with 4 triangles.
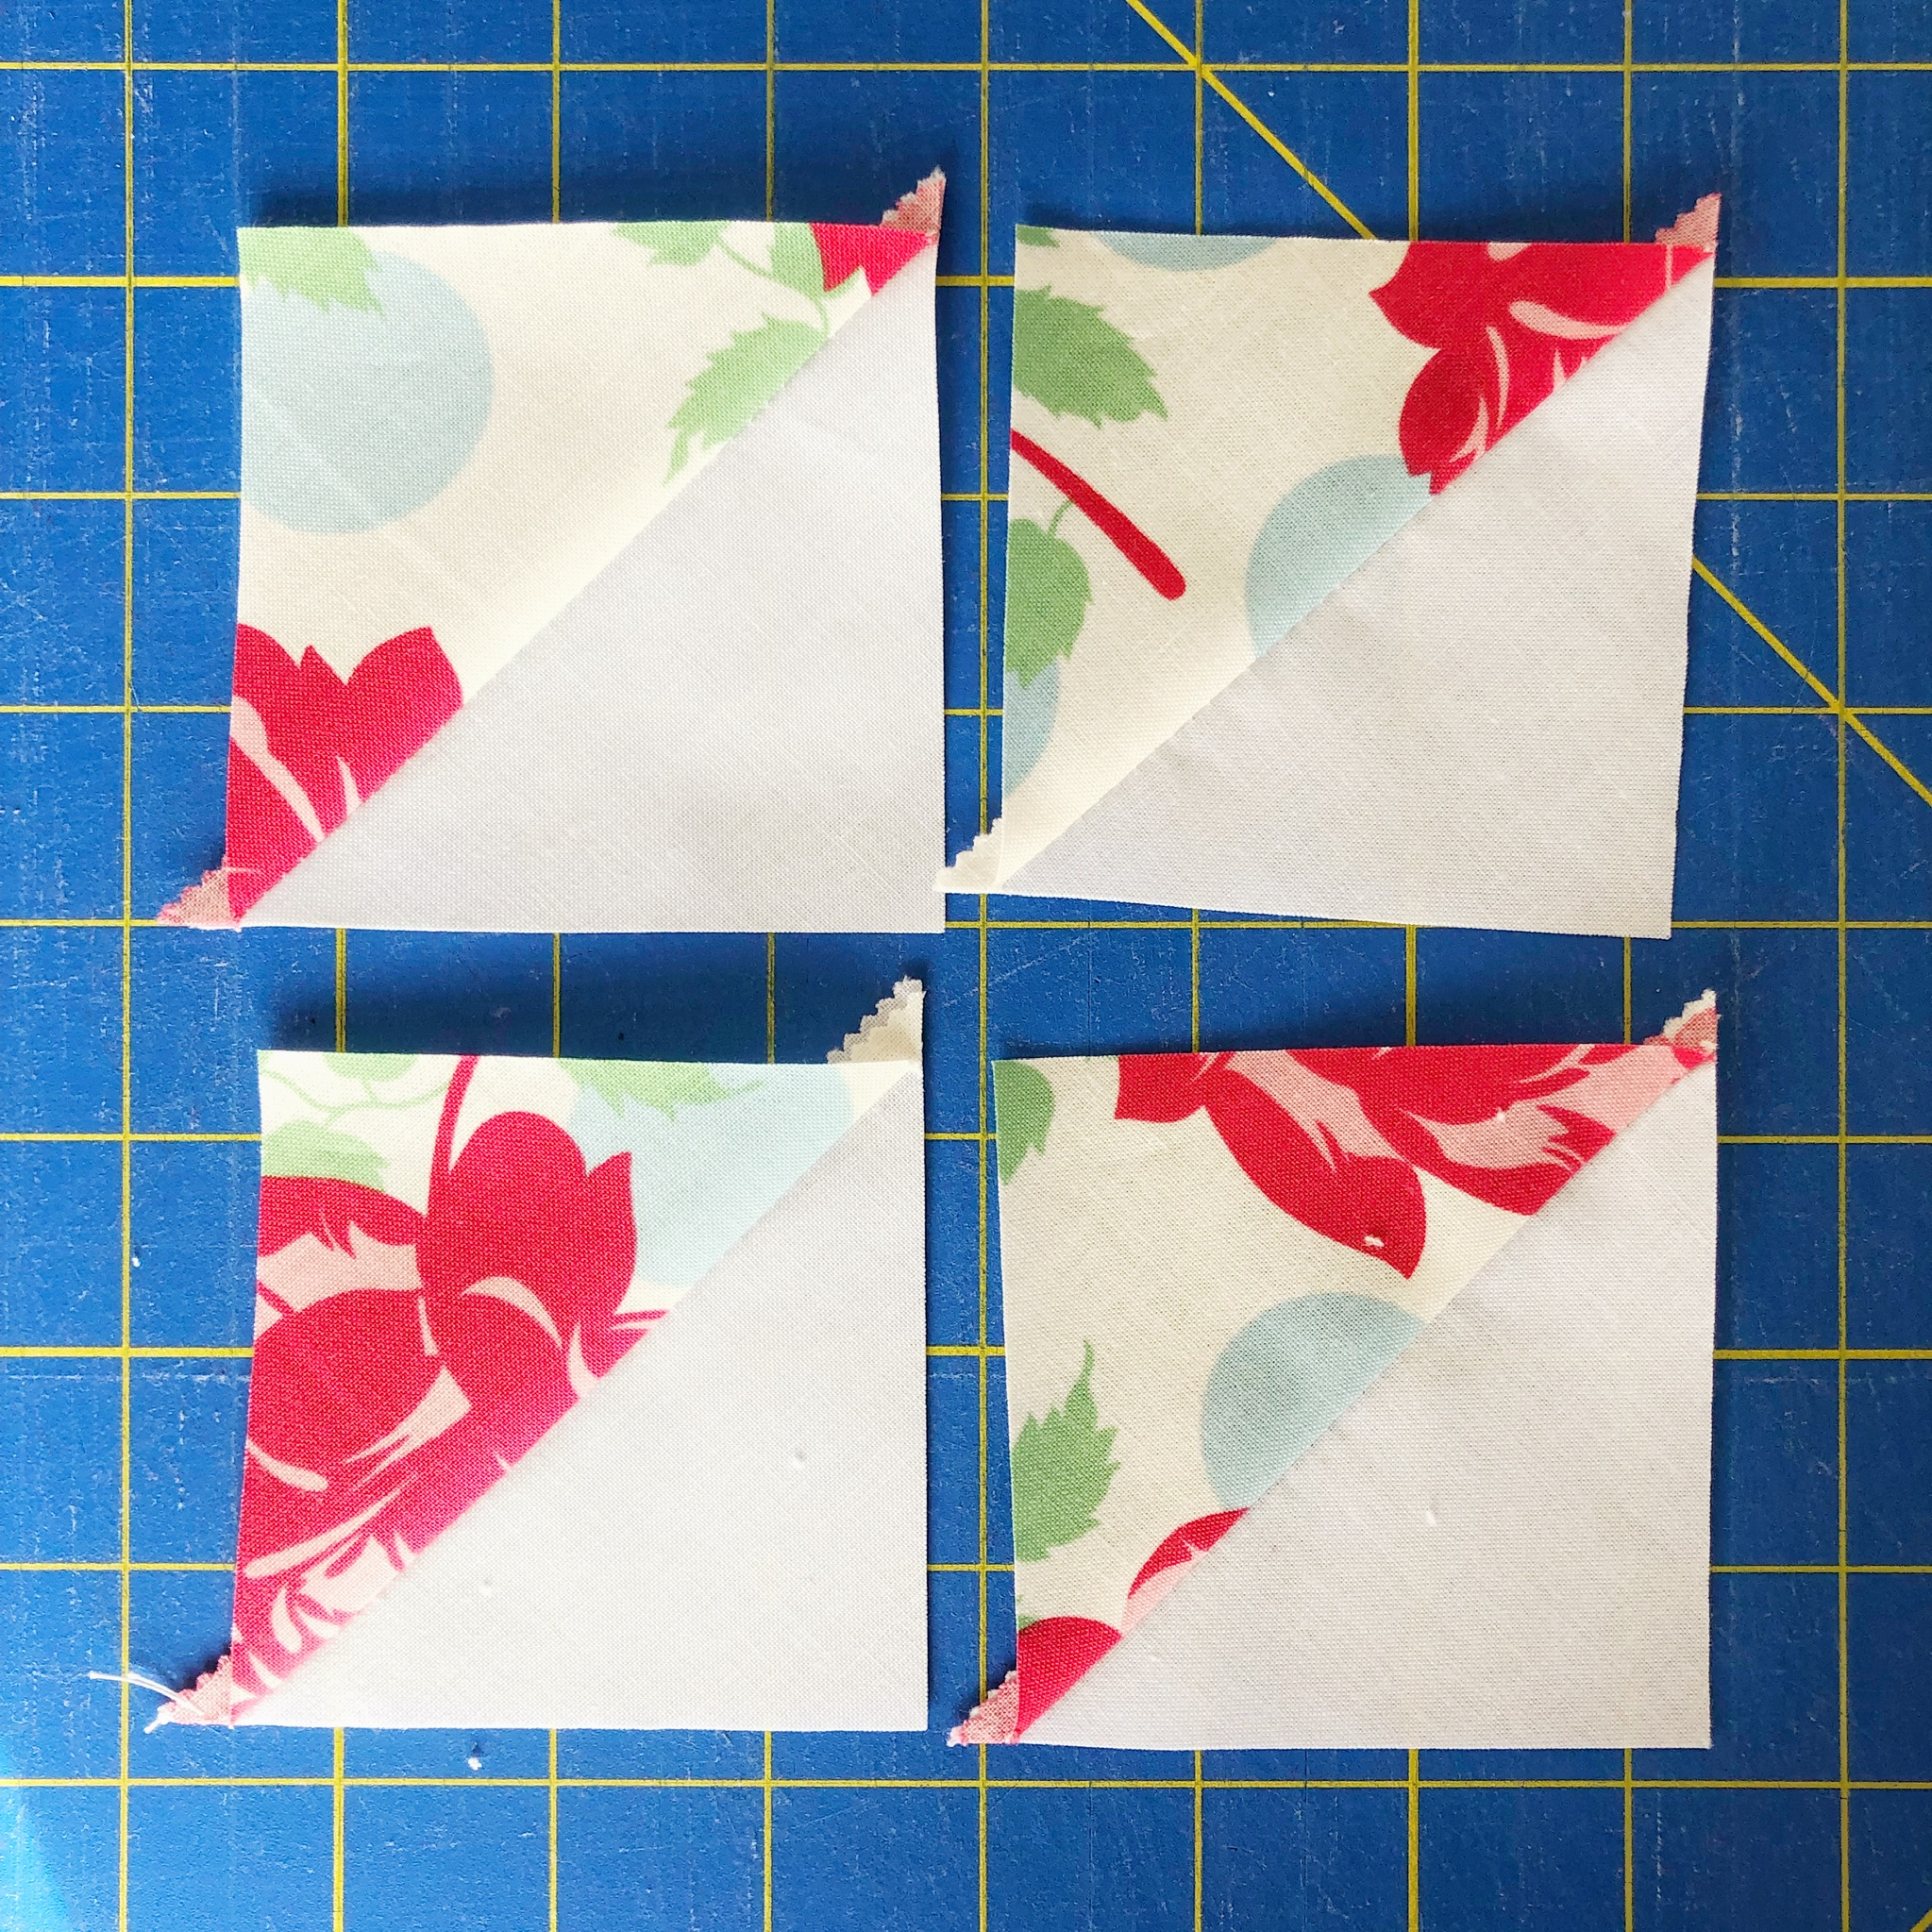
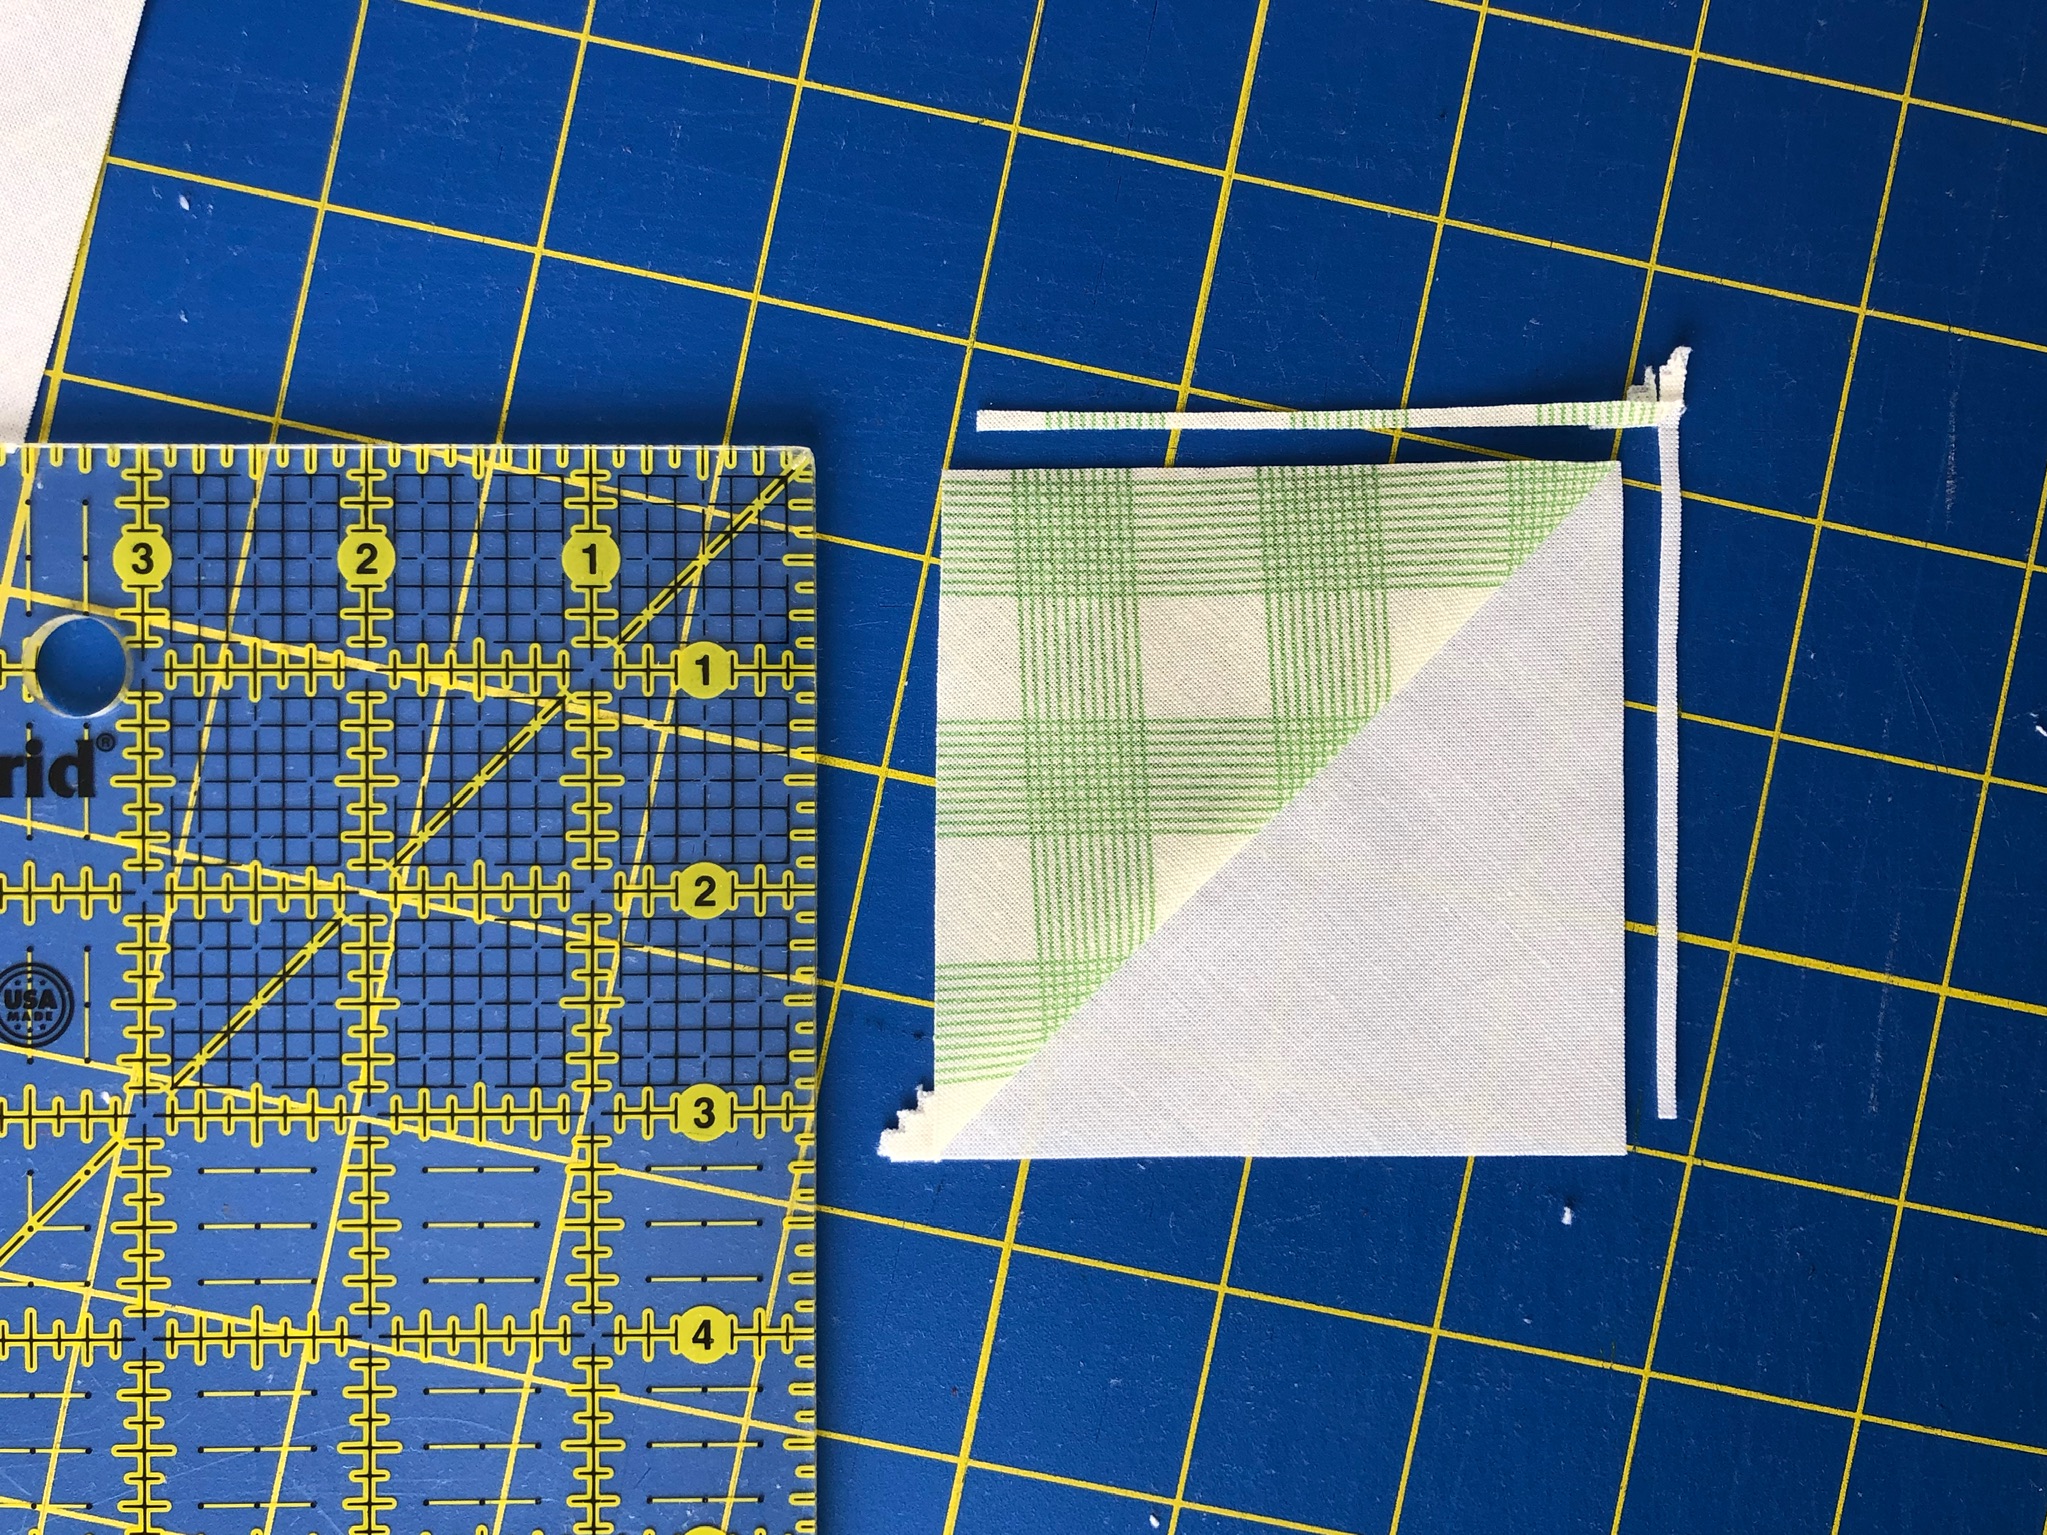
Press these (with the seam allowance going toward the print) and you will have 4 half square triangles (HST).
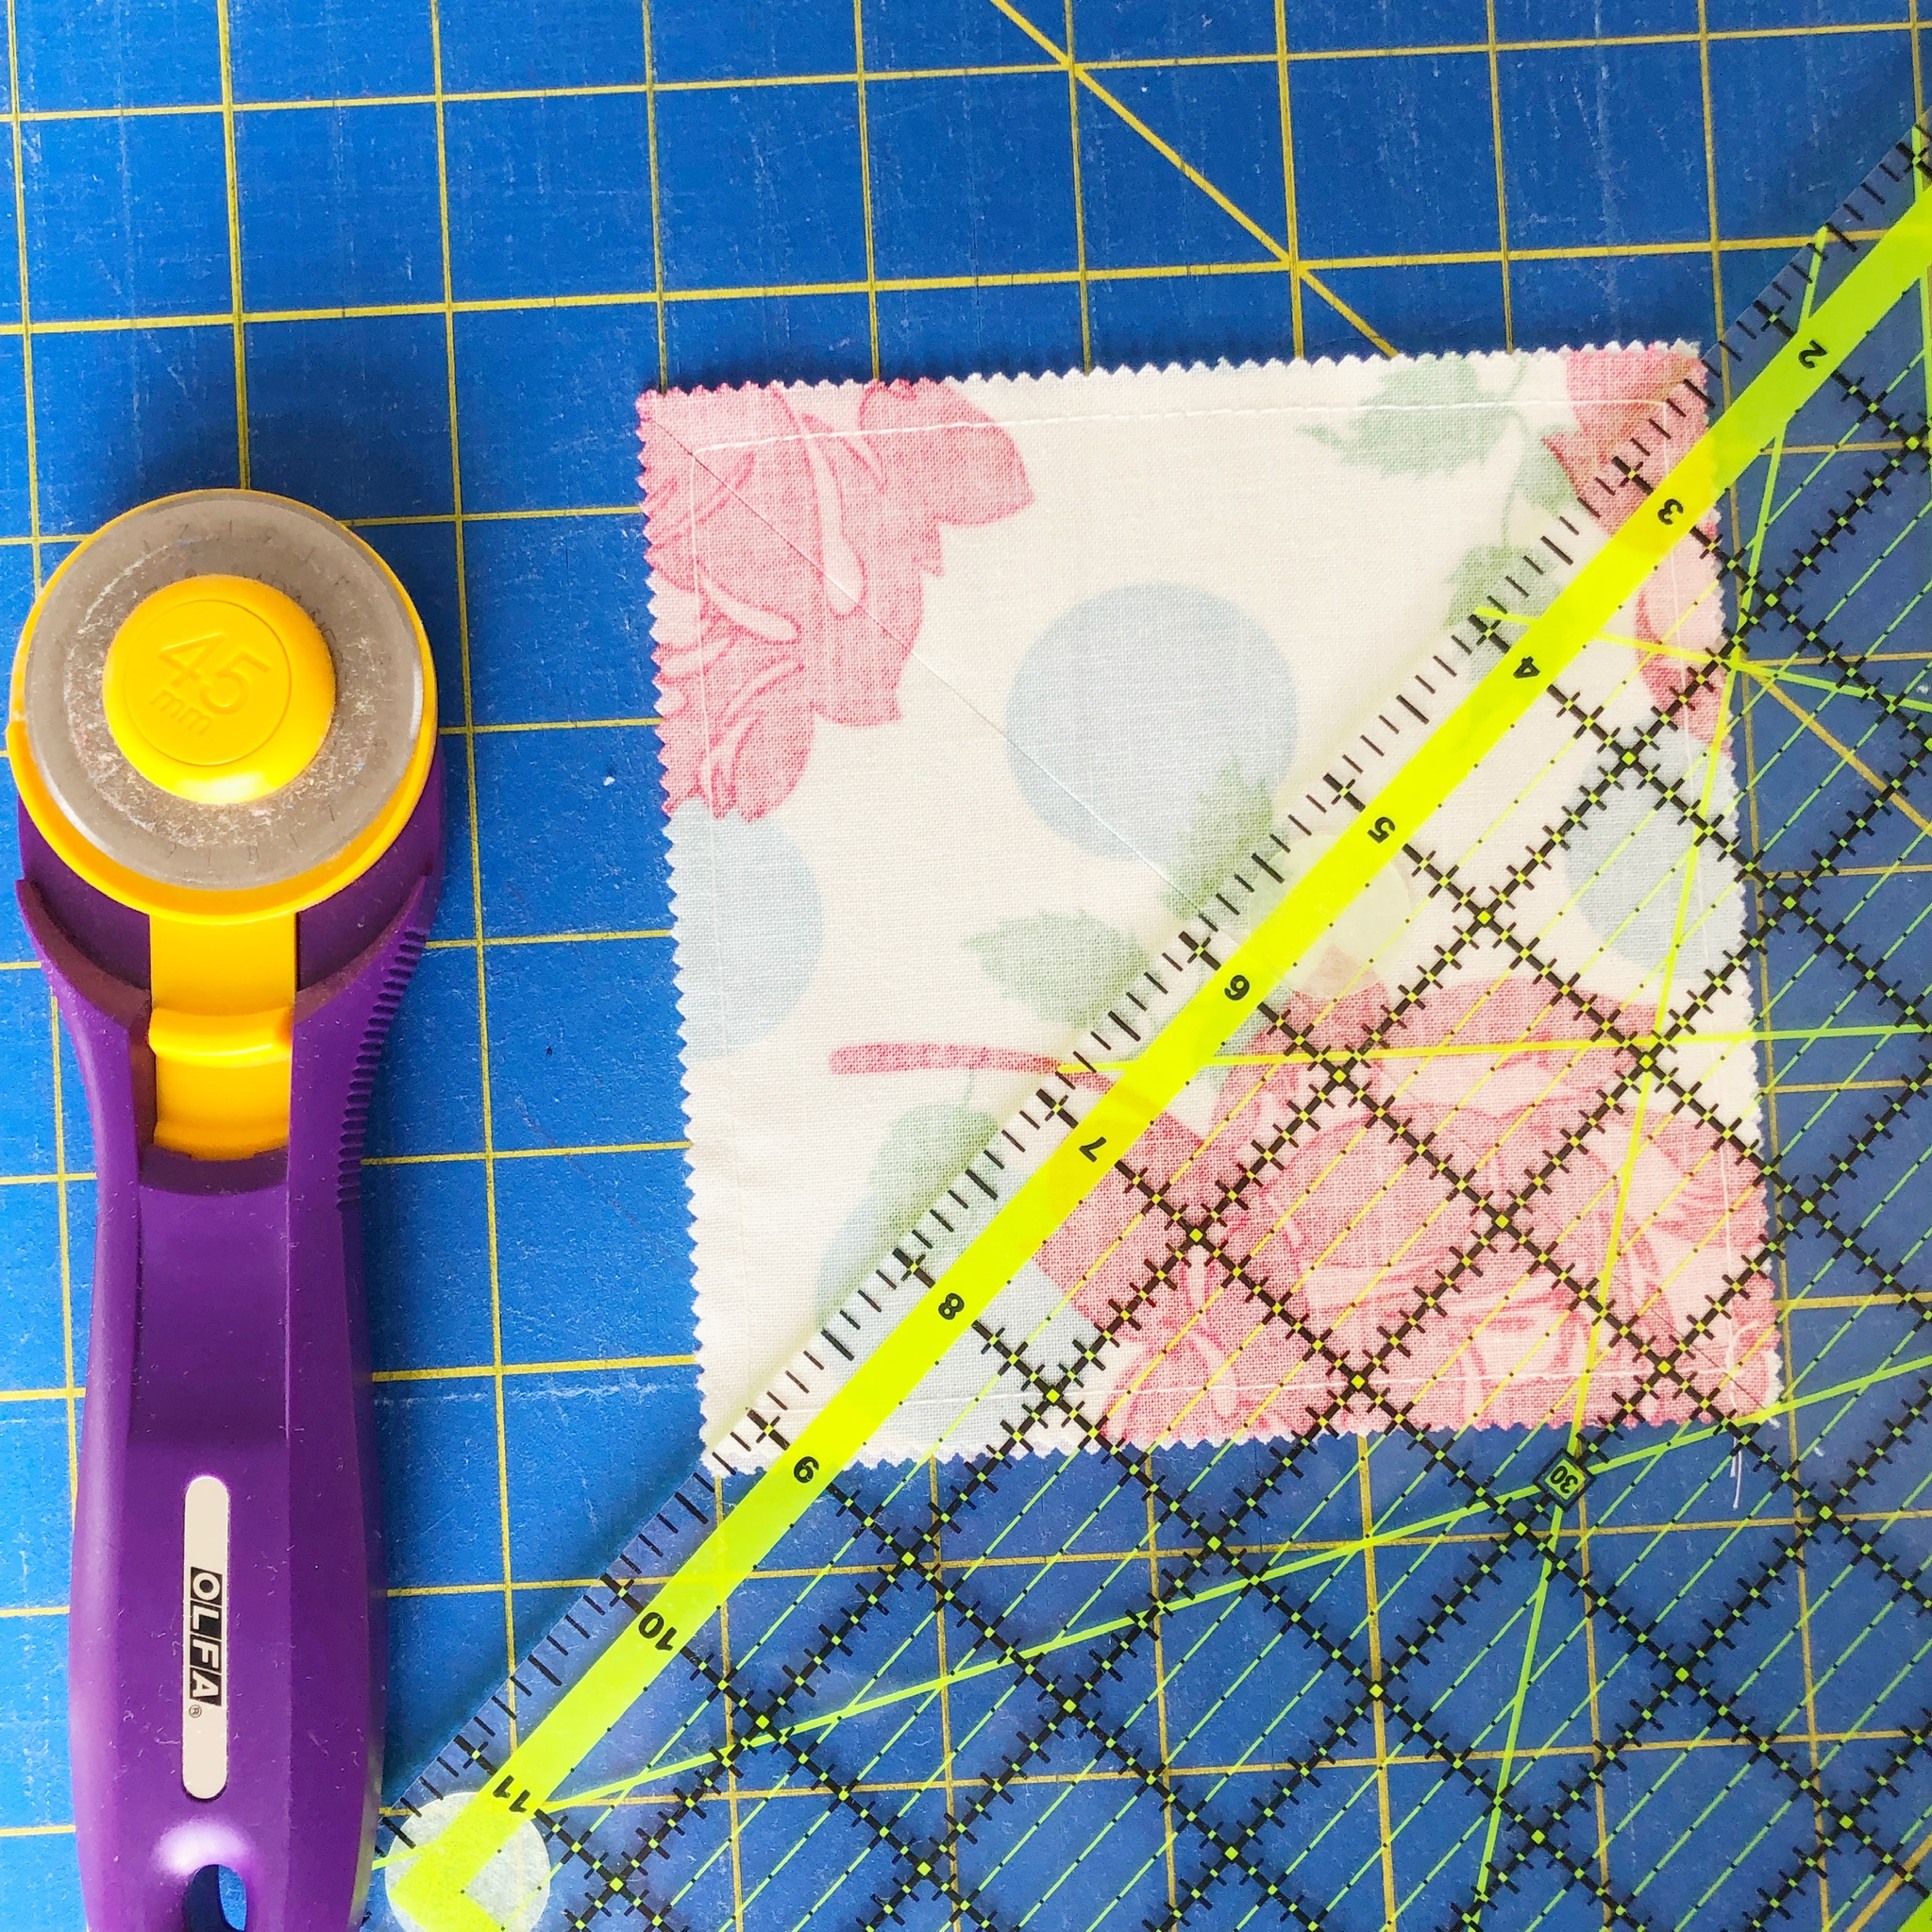
Each HST needs to be trimmed to 3" square. To trim, line the 45 degree line of the ruler along. Make sure on the bottom and left edge of the ruler that you have some fabric past the 3" lines. Shown below.
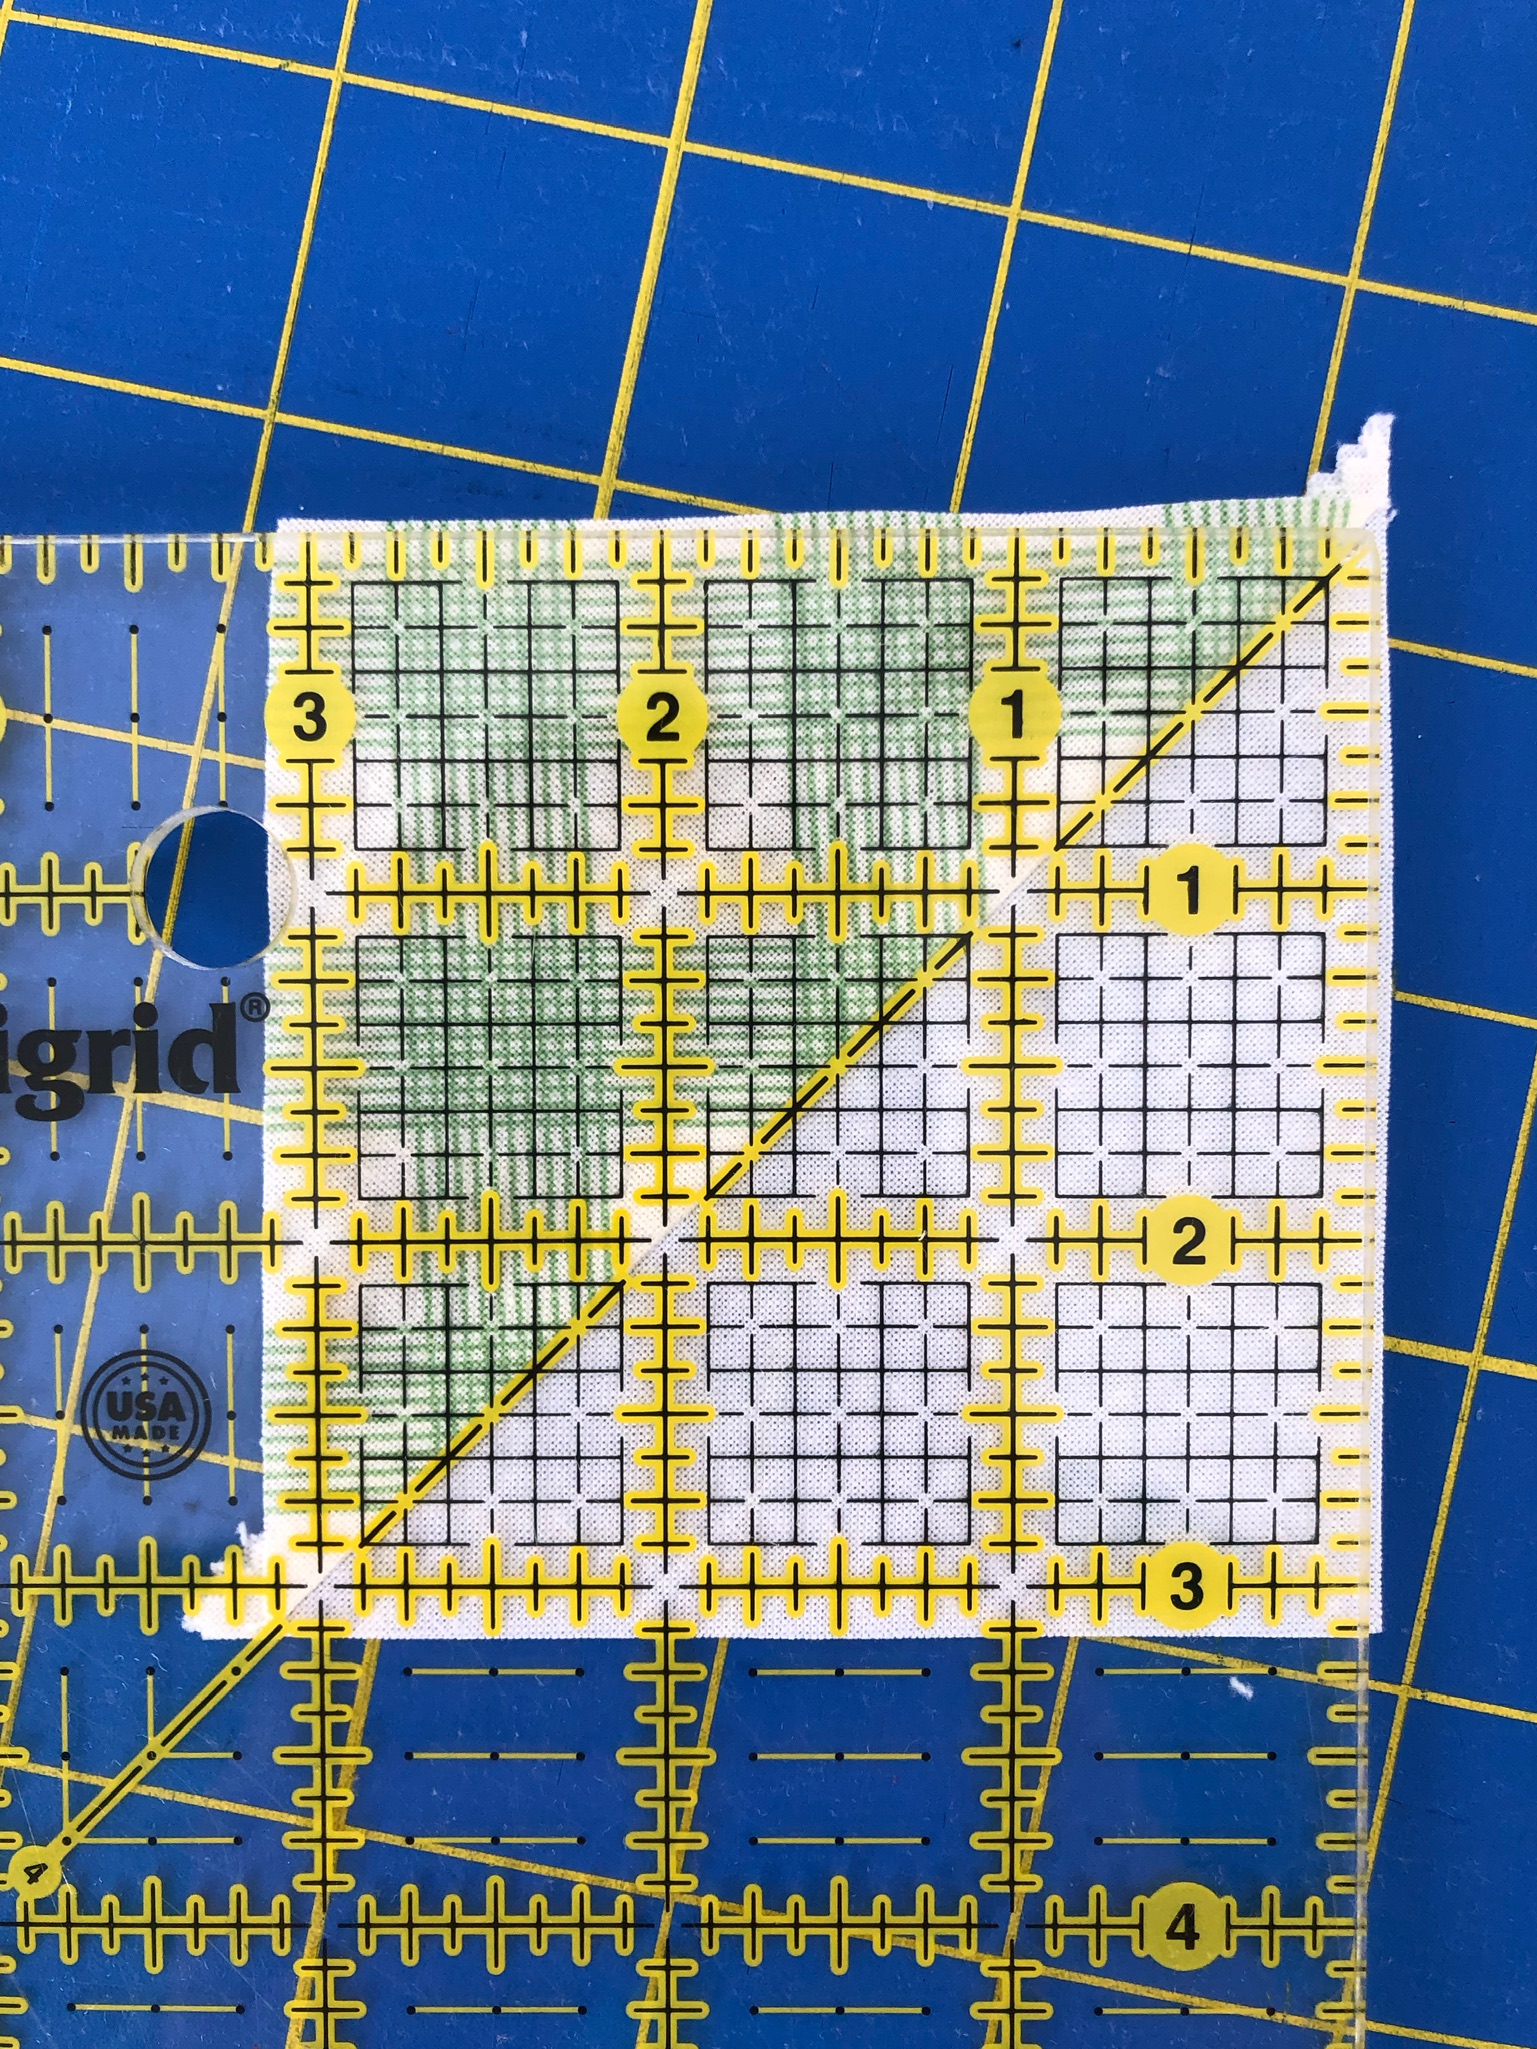
Use your rotary cutter to cut the excess that is past the ruler.
Now, turn the square 10 degrees. Line it up with the 45 degree line again but this time, the square should be lined up right at the 3" lines. Shown below.
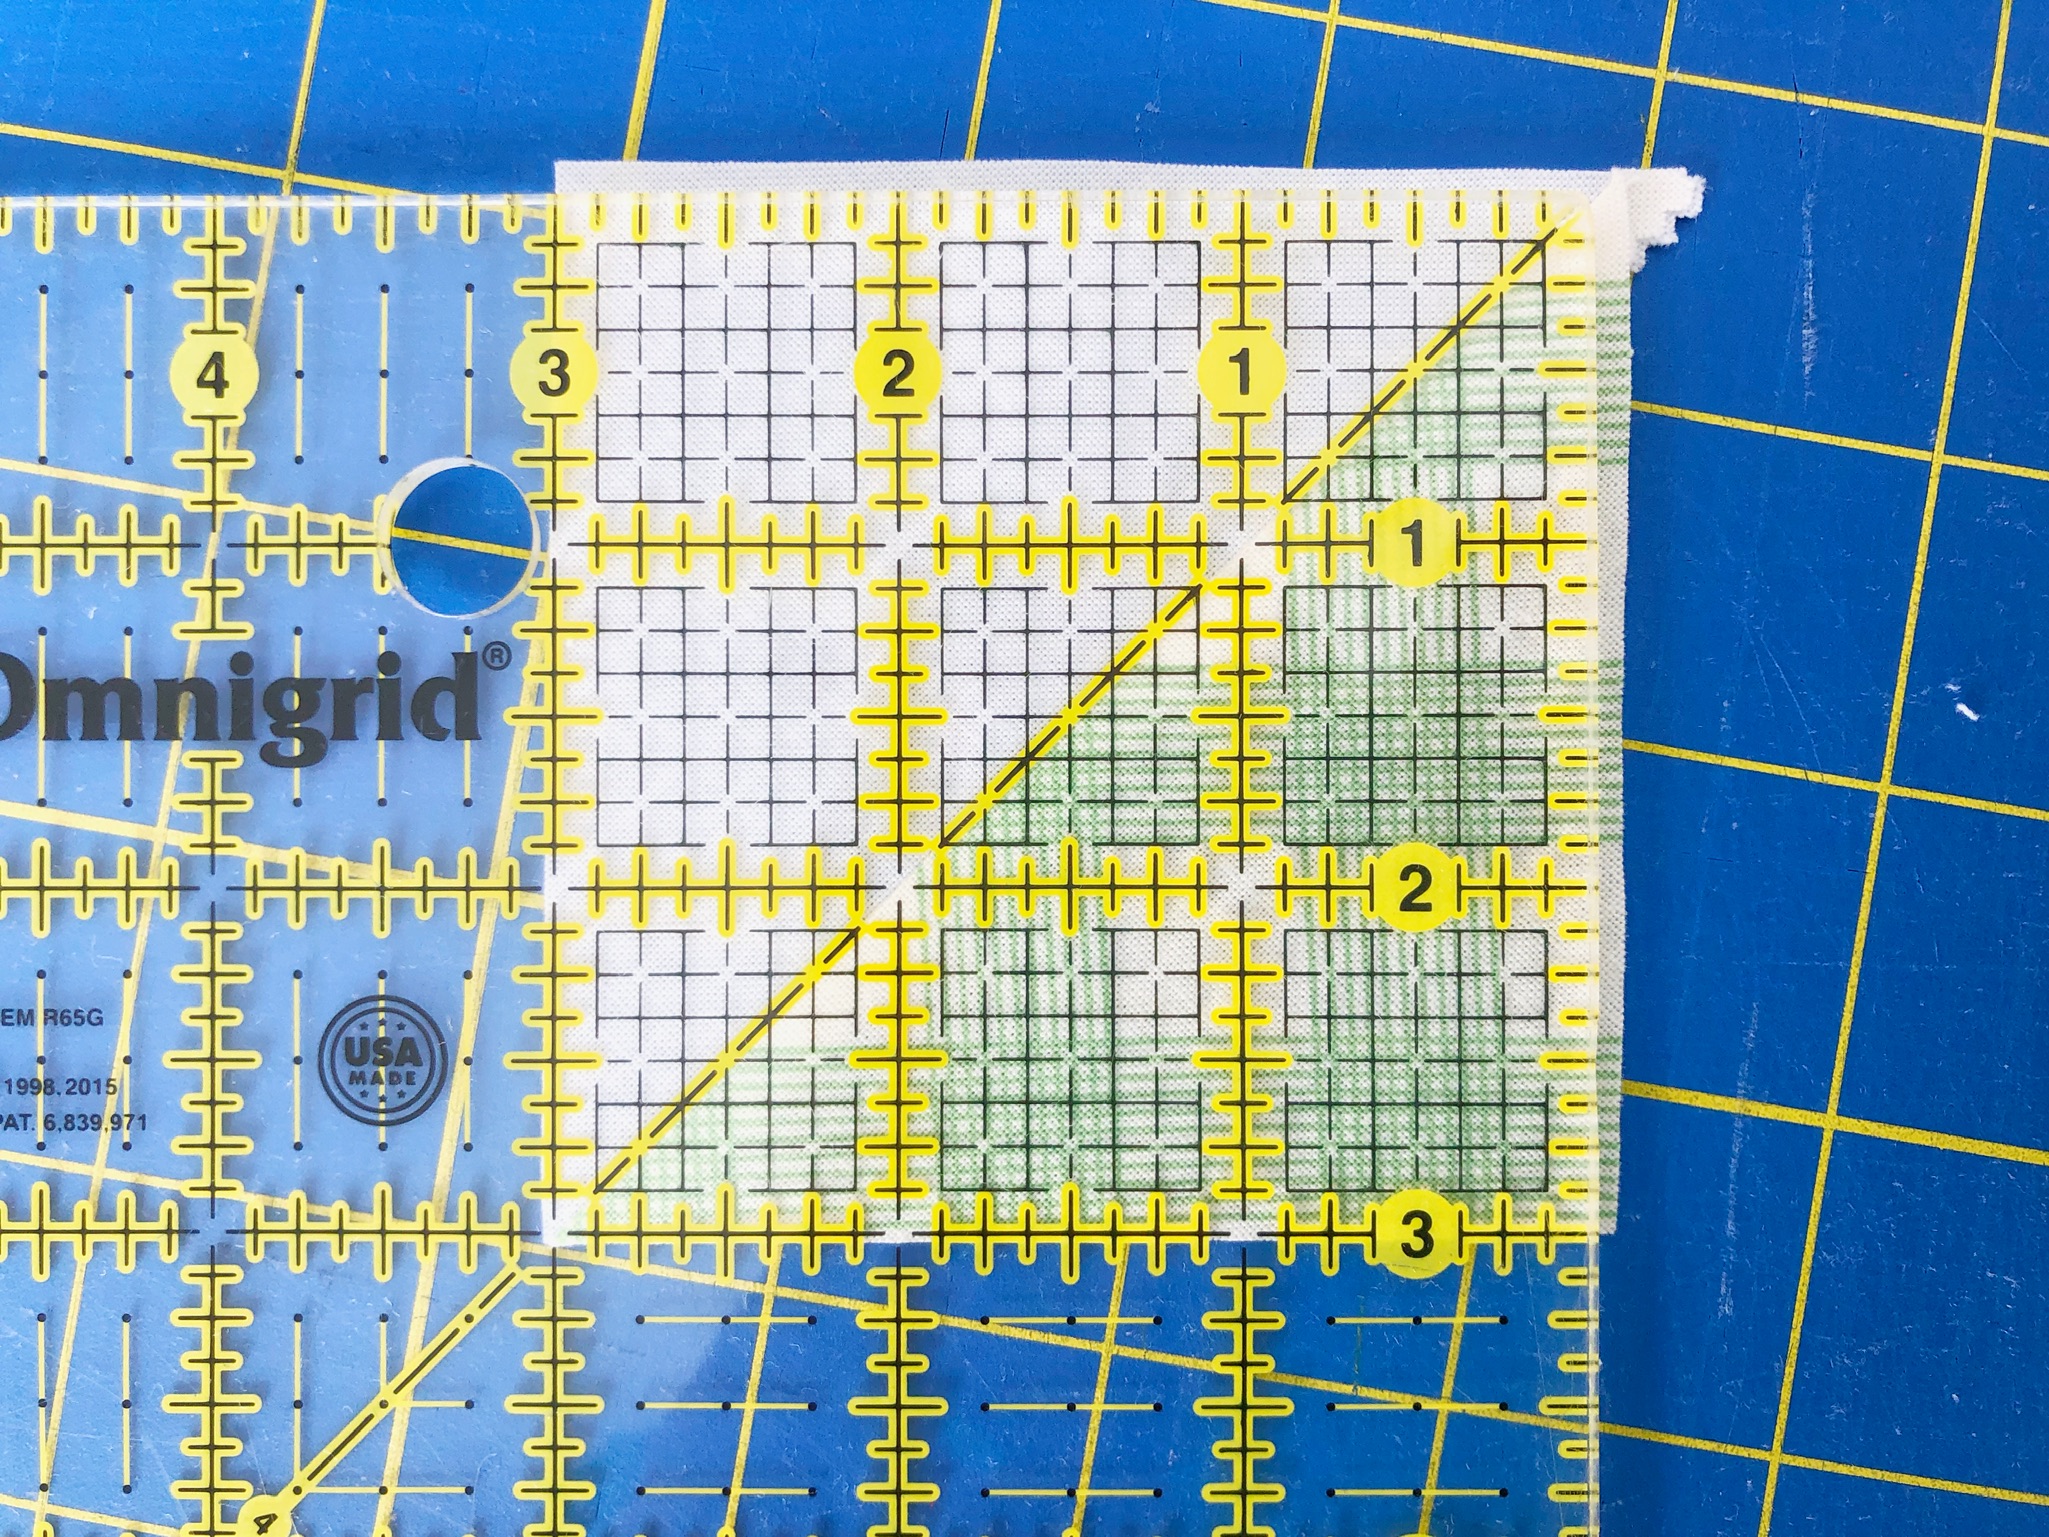
Trim away the excess with your rotary cutter.
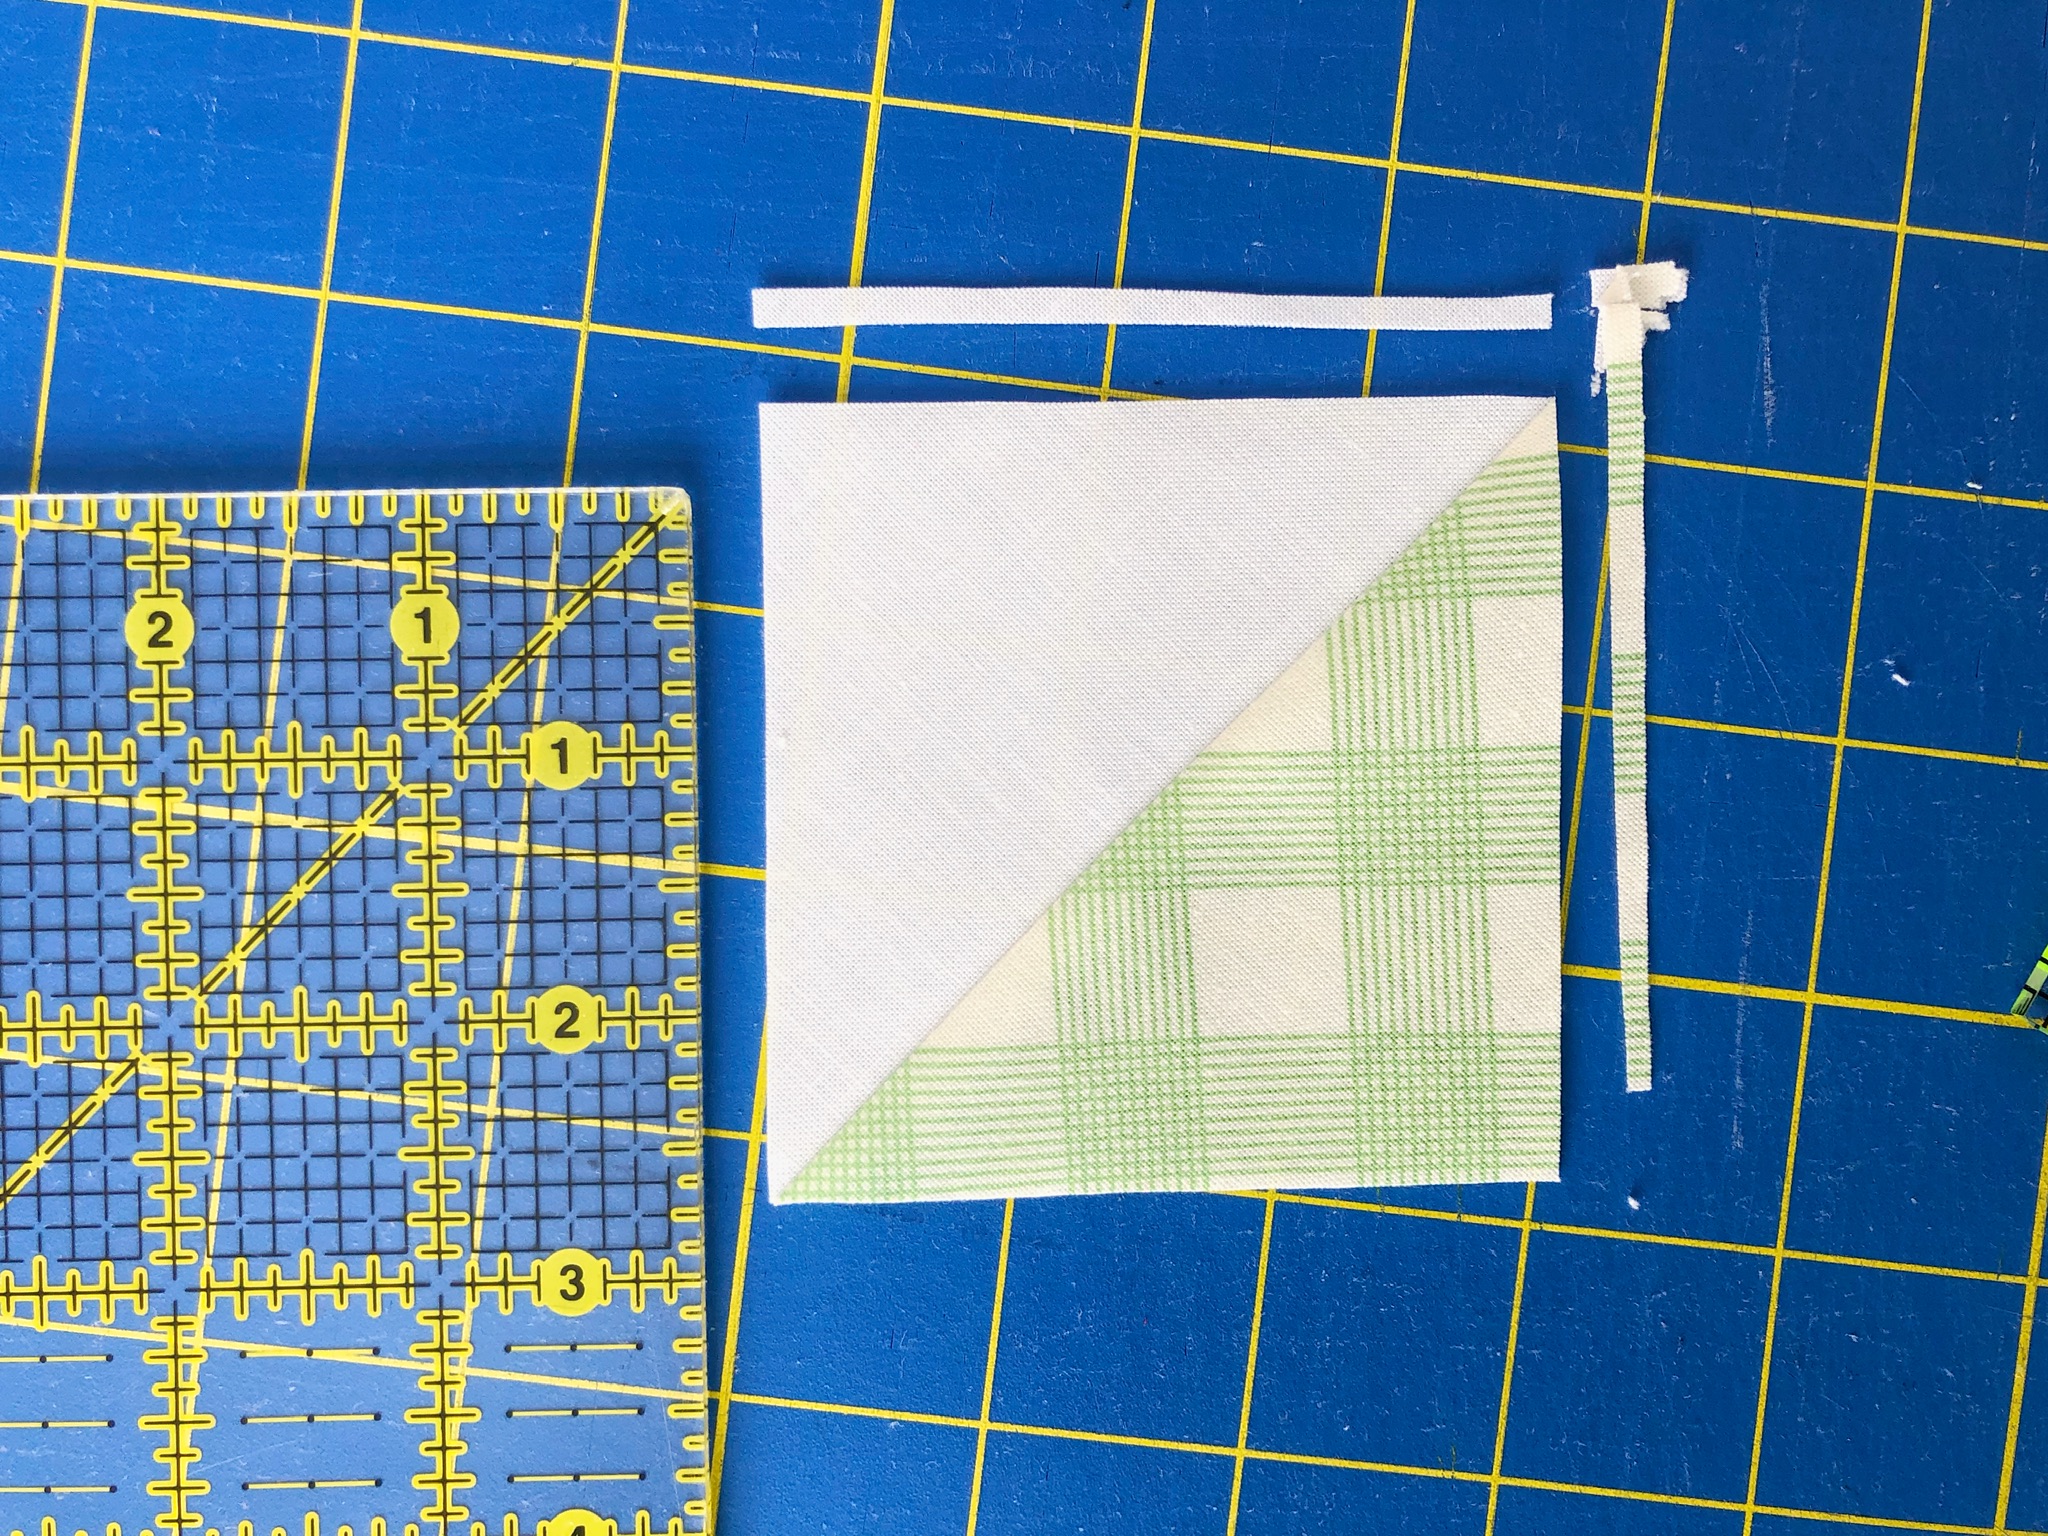
Repeat these steps until you have 400- 3" square HST.
MAKE THE PINWHEELS
Next you will make the pinwheels. Gather 4 HST. Lay them out as shown below. Sew the top two together. Then sew the bottom two together. Press the seam allowances in opposite directions. Sew the top row and the bottom row together.

Repeat until you have 100 pinwheels.
BLOCK ASSEMBLY
Now we will assemble the blocks. Gather 4 pinwheels, 1- 2.5" Cheeky square, and 4- 5.5" x 2.5" jelly roll pieces. Lay the block out as shown below.

Sew the top row together, the middle row together, and the bottom row together. For the top and the bottom rows, press the seam allowances in, toward the jelly roll strip. For the middle row, press the seam allowances out, toward the jelly roll strips.
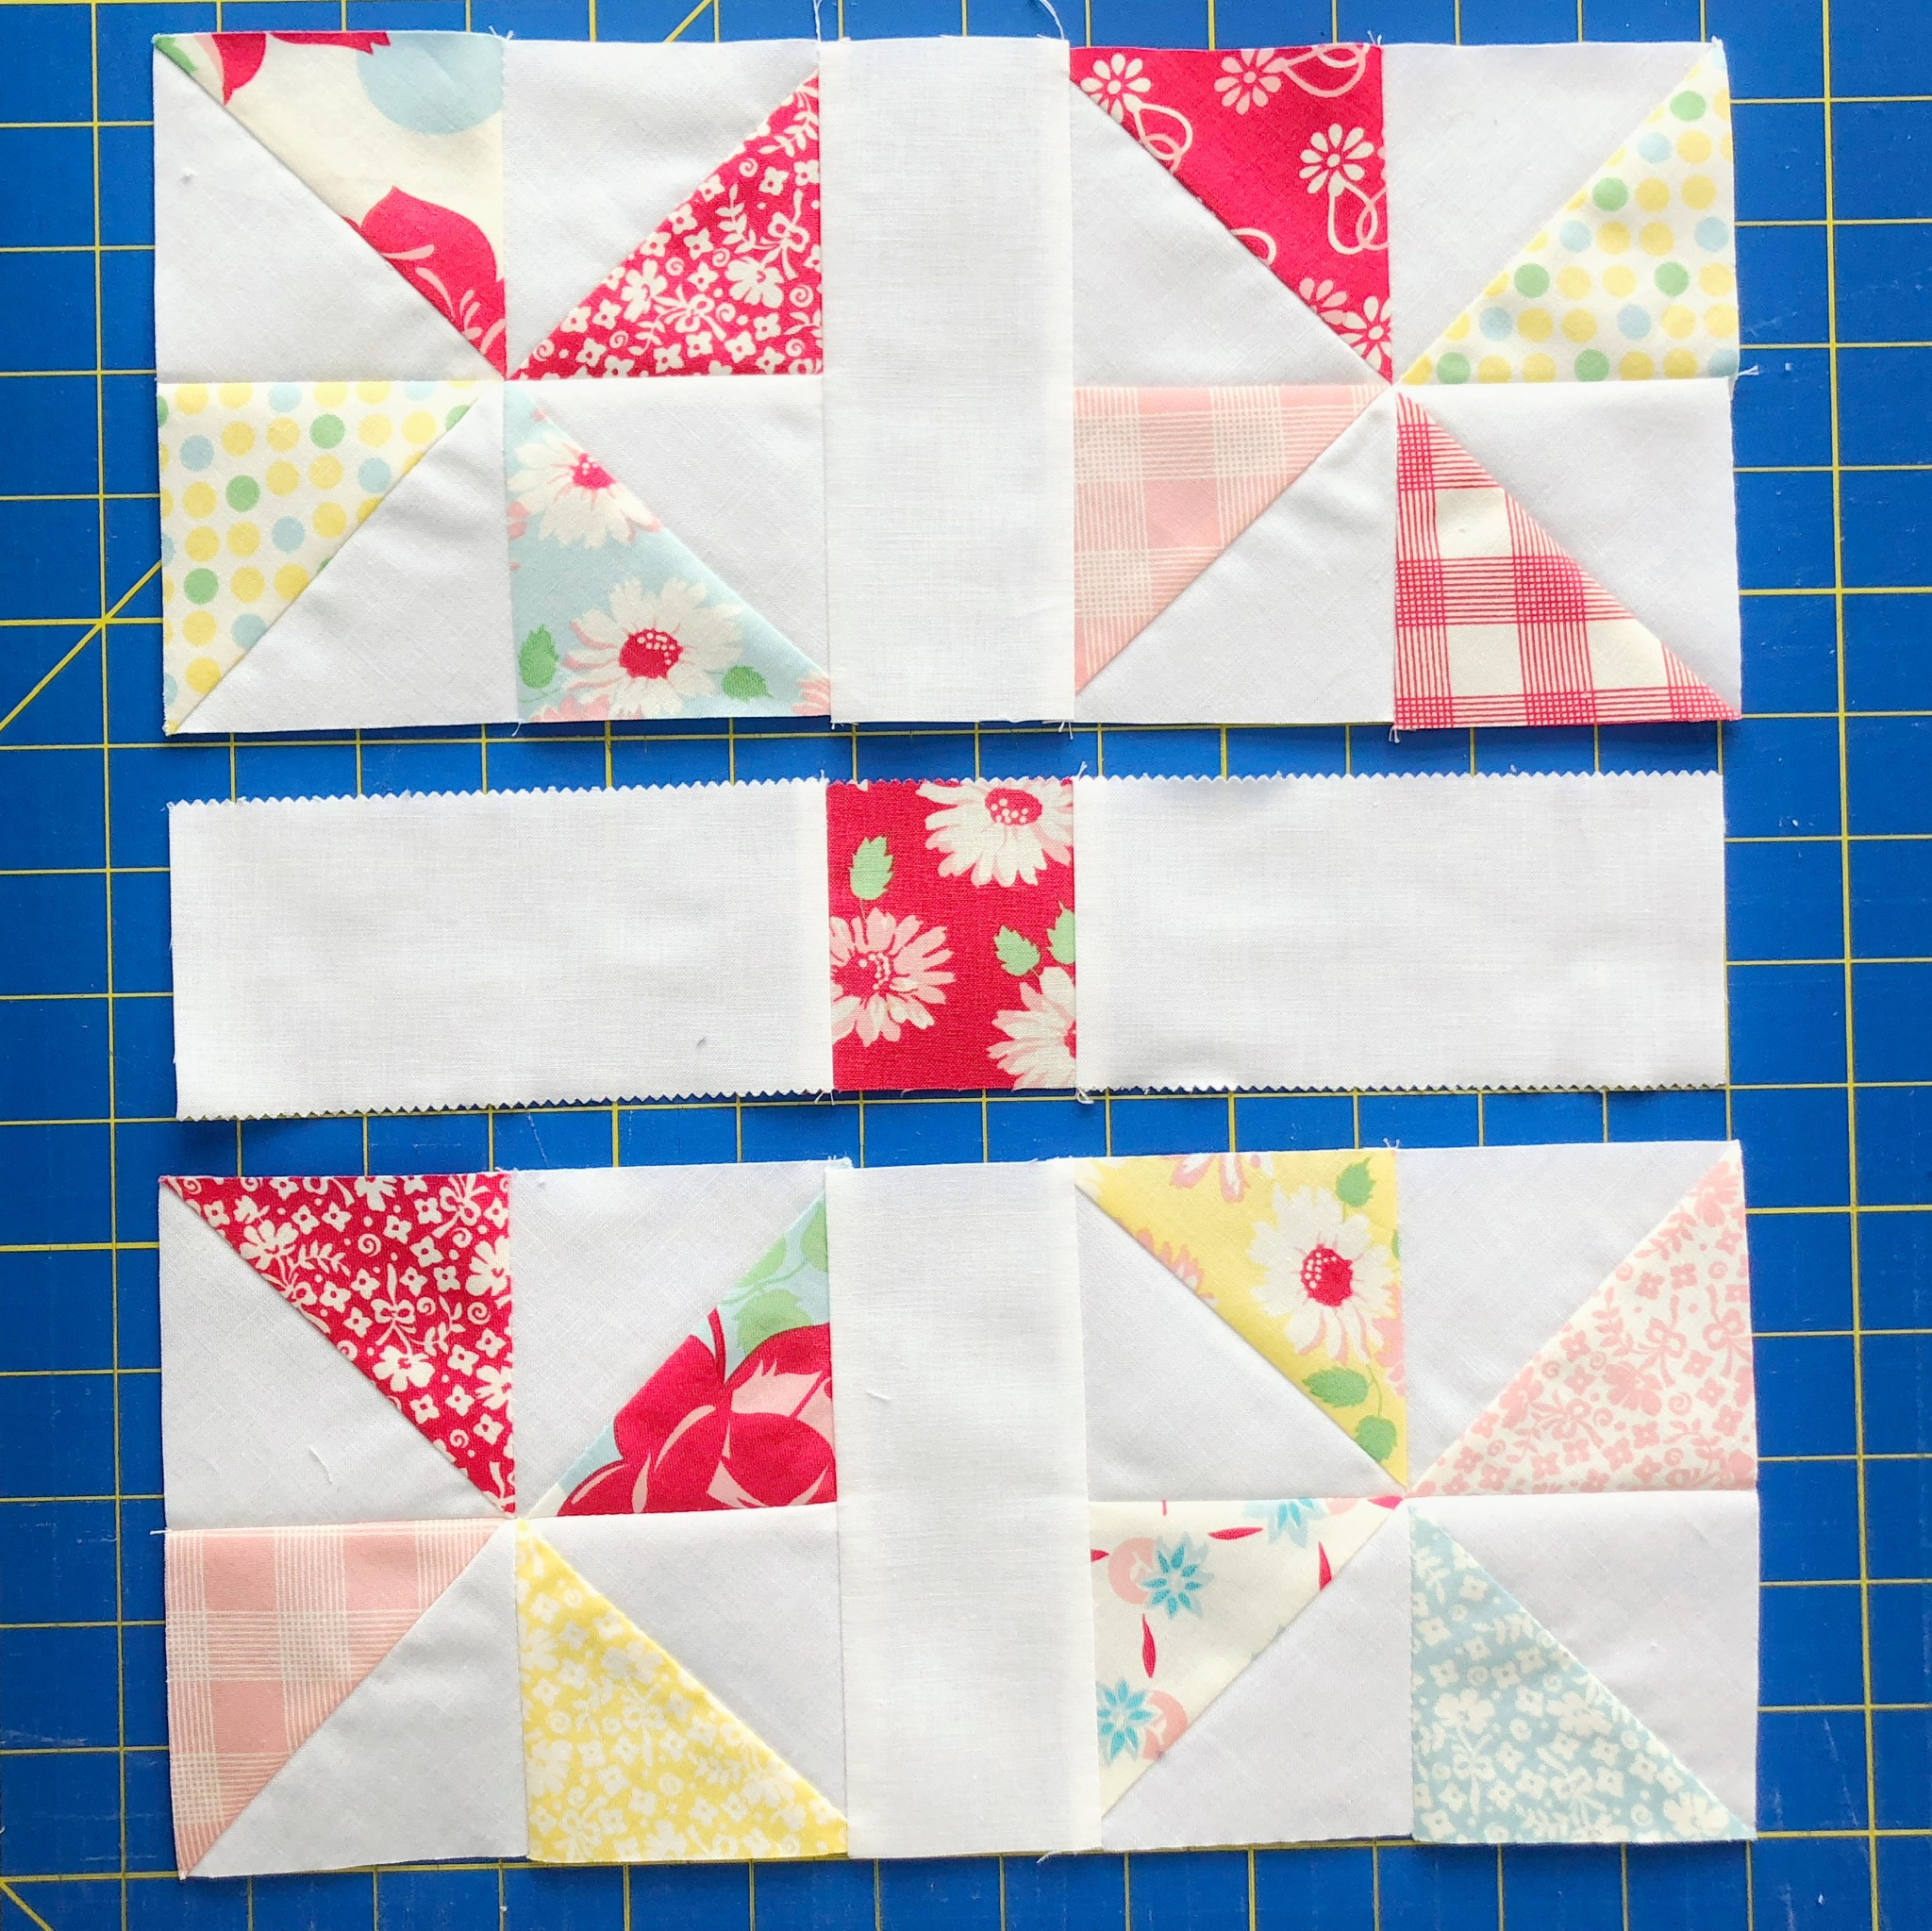
Then sew the top row to the middle row and bottom to the middle.
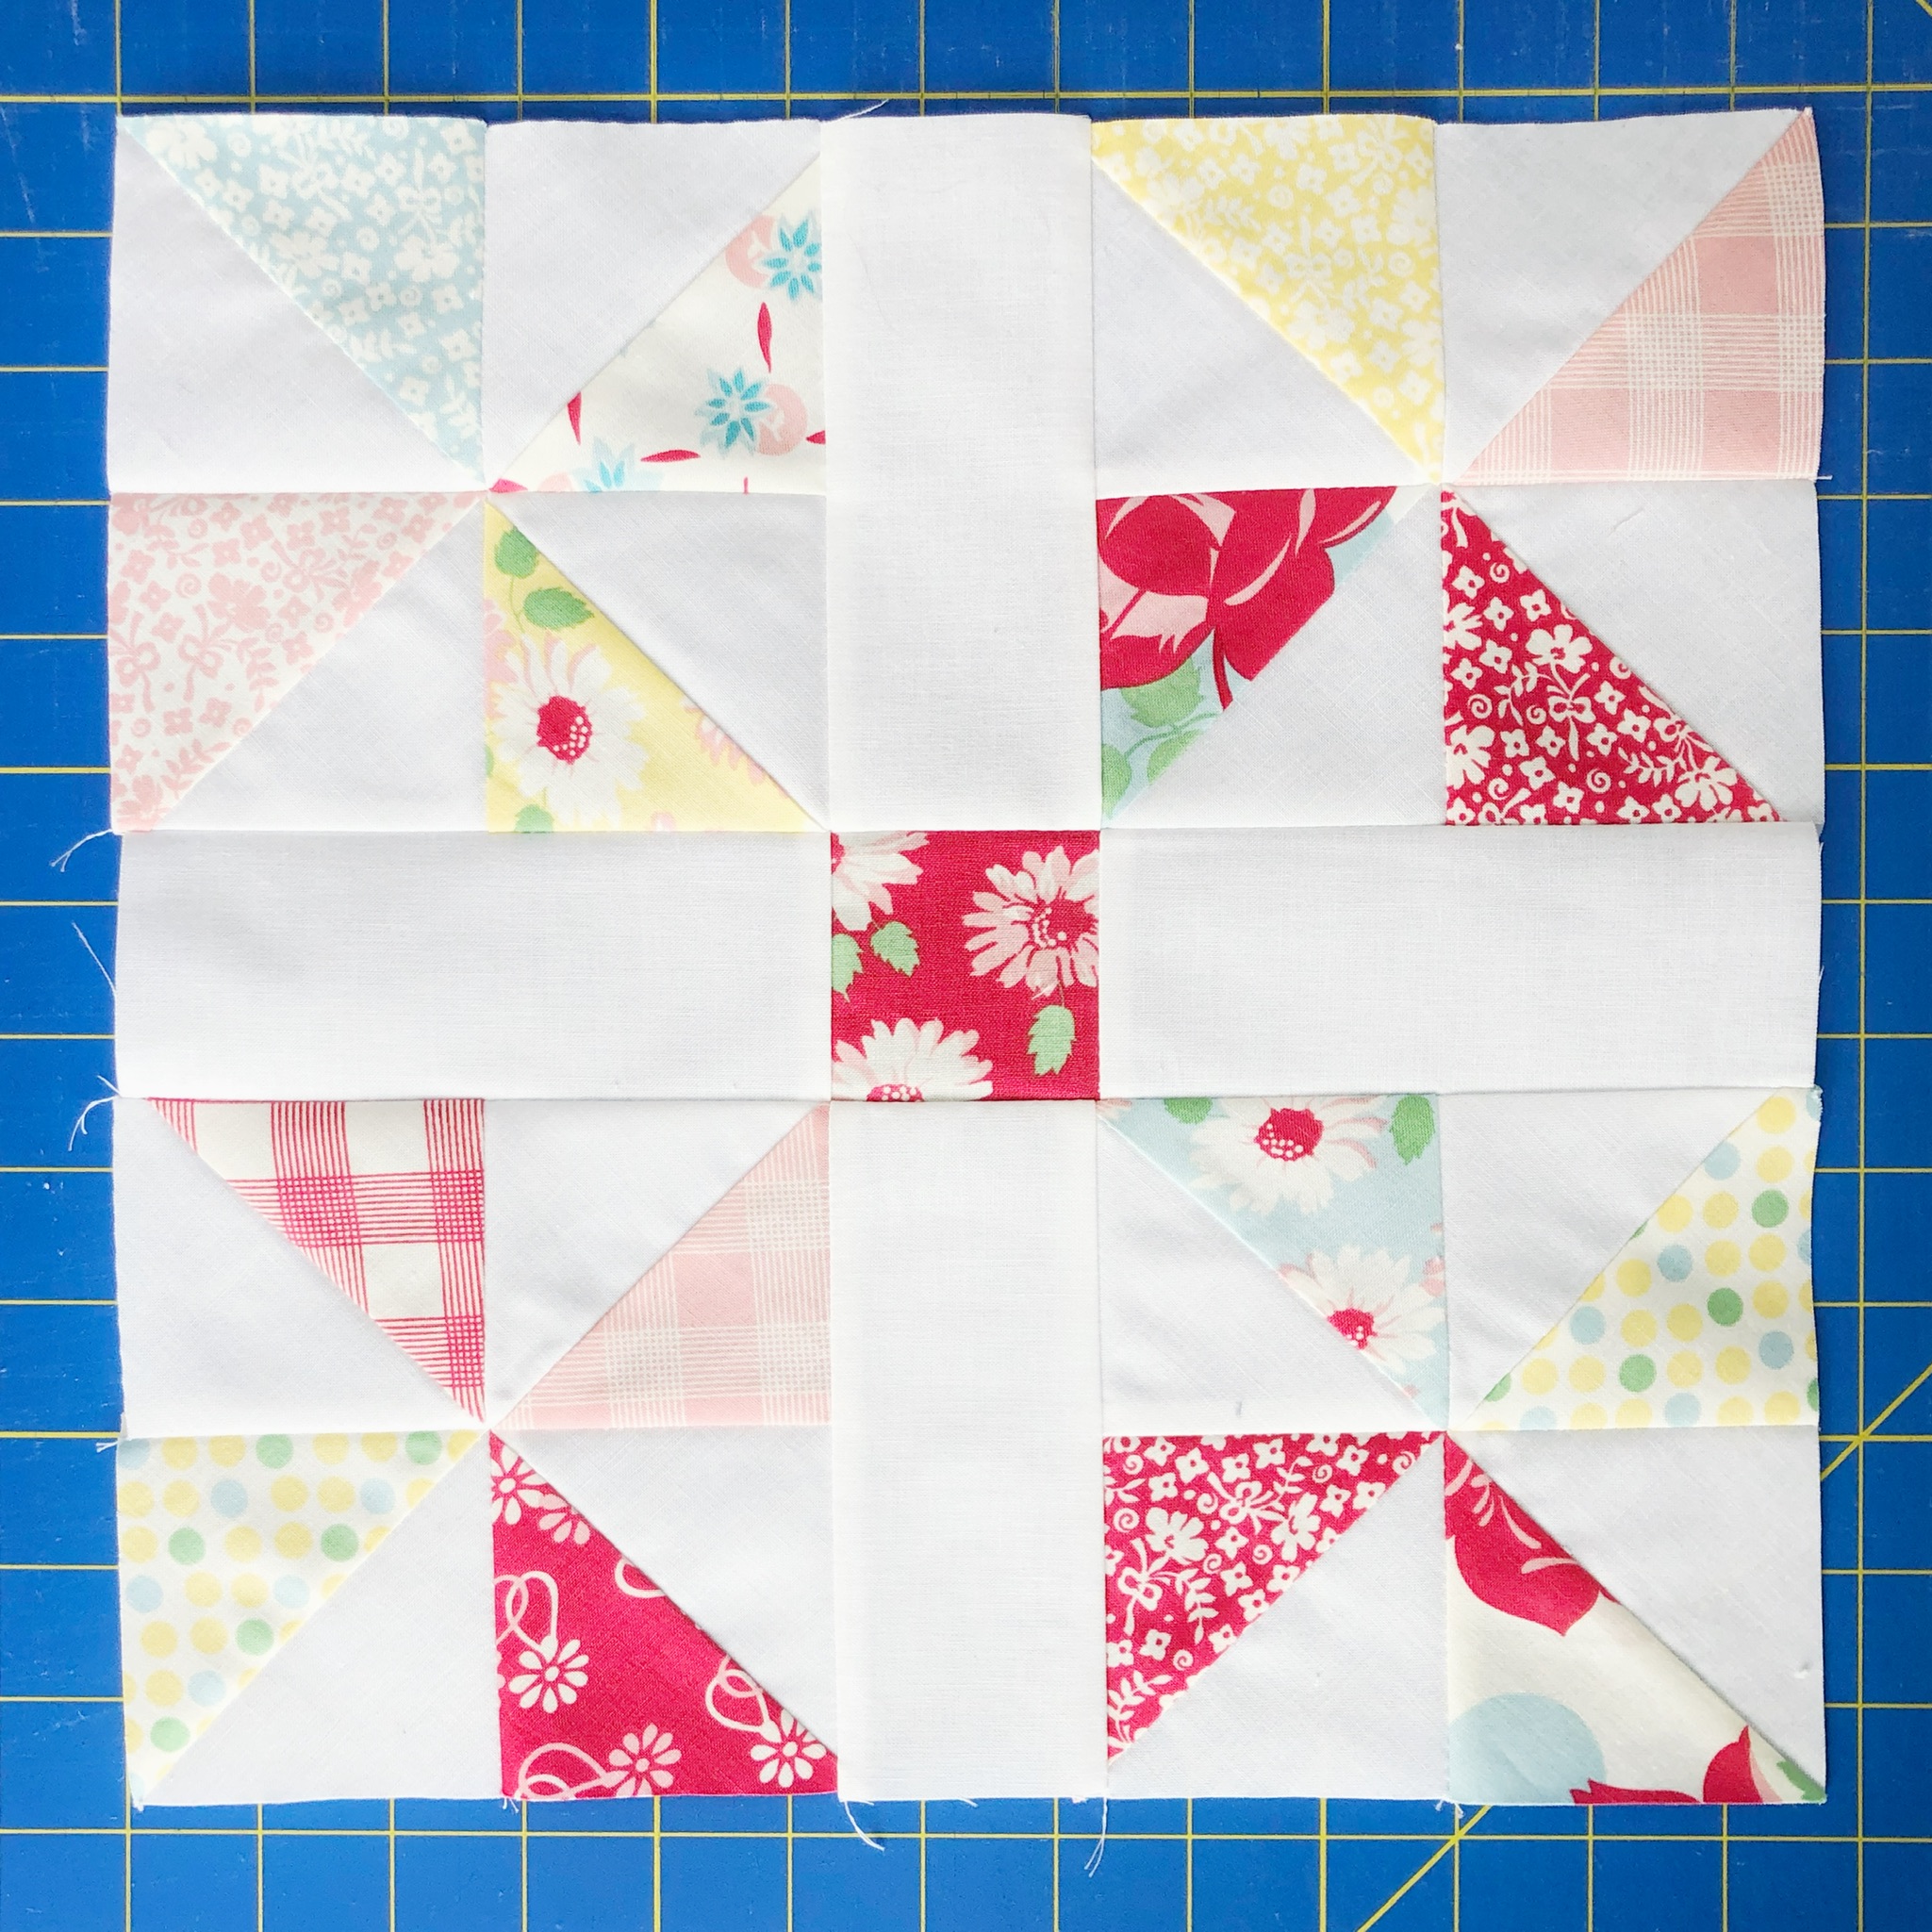
The block will measure 12.5" square, unfinished. Repeat this process until you have 25 blocks.
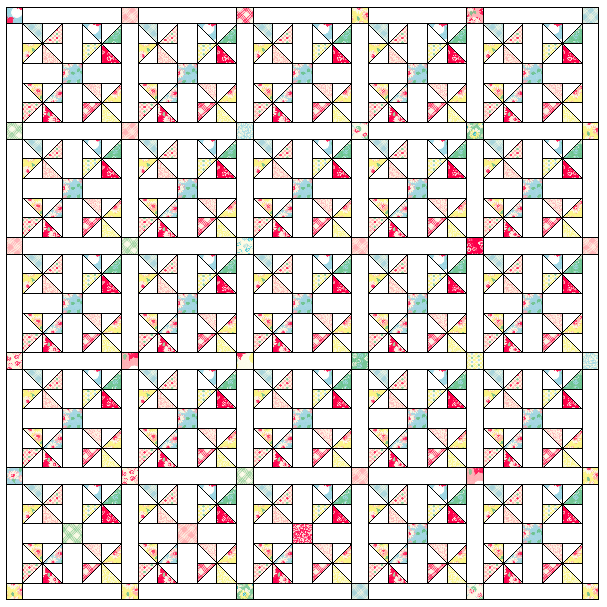
QUILT TOP ASSEMBLY
Gather the blocks you made, the remaining 2.5" Cheeky squares, and the 12.5" x 2.5" jelly roll pieces. Sew the sashing rows and block rows as shown in the layout below.
Gather the 8- 4.5" x WOF strips. Piece 2 strips together, end to end, to yield 1- 4.5" x 84" strip. Repeat 3 more times. To add your border, sew a border piece to the right and left sides of the quilt top. Then sew a border piece to the top and bottom of the quilt top.
Baste, quilt, and bind according to your preferred methods.

![]()
This quilt finishes at 80" x 80".
I hope you enjoyed this tutorial and found it easy to follow! Please let me know if you have any questions. I would be happy to help! Come follow me on Instagram- @jessicadayon- where I share my latest projects, patterns, and quilt-alongs. Hope to talk to you there!
Jessica Dayon
{blog: Jessica Dayon}
{instagram: @jessicadayon}
![]()
Posted in:
Comments