Welcome to Moda Fabrics!
Dashing Stars Quilt
Dashing Stars Quilt
Published:
Nov 28 2015 - 23:00
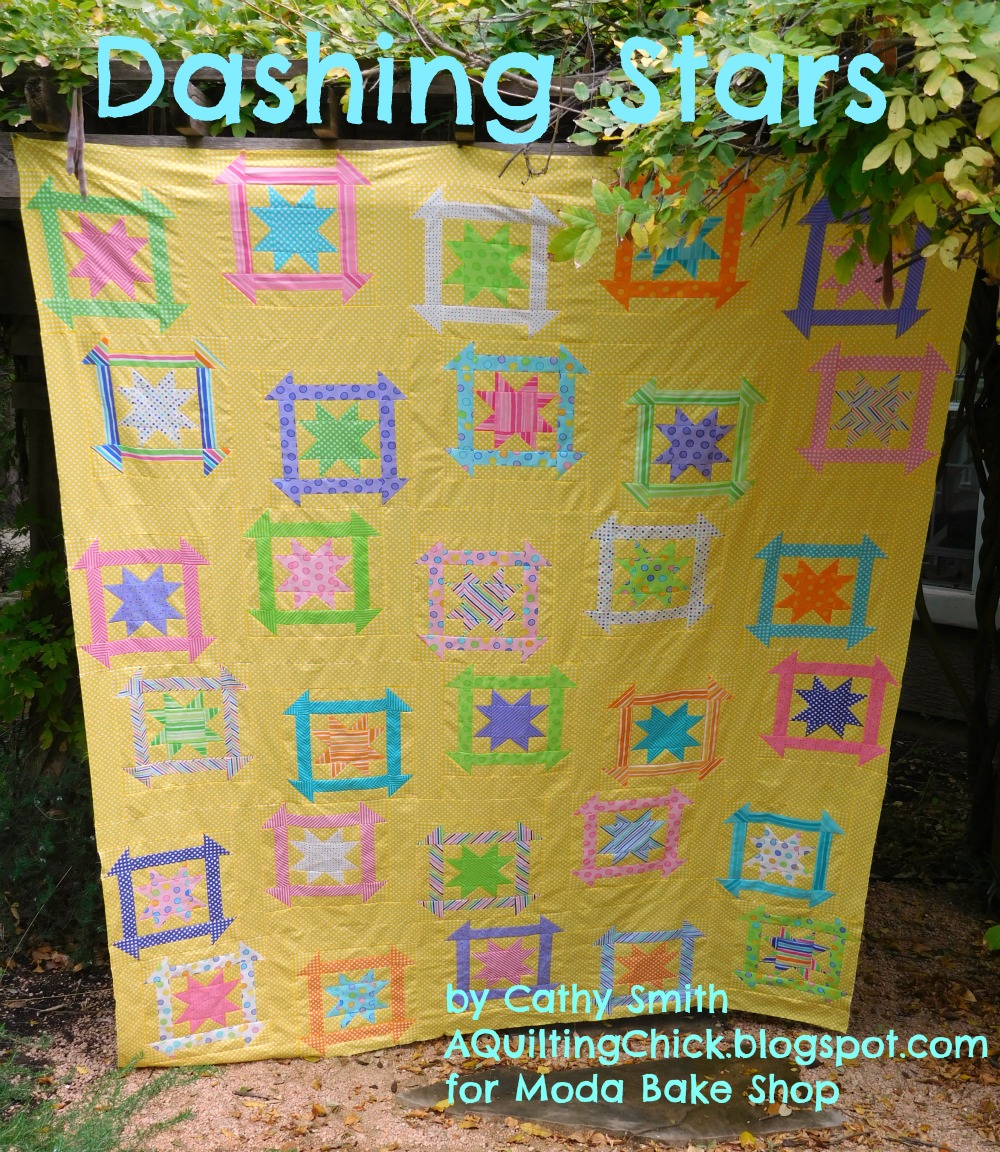

Hi all! It’s Cathy again from A Quilting Chick, here to share with you my latest project for Moda Bake Shop, Dashing Stars. Dashing Stars is such a fun quilt! The blocks have such movement and just seem to dance across the quilt top. I truly hope you enjoy this pattern as much as I did. This quilt would be so pretty in a special little girls bedroom! Let’s get started!
This quilt/project finishes at 85" x 102".
![]()
1 Fat Quarter Bundle {Dot Dot Dash by Me and My Sister Designs}
7 yards 22263-12 Dots Everywhere in Yellow for background fabric
7-1/2 yards backing fabric
1 yard binding fabric
![]()
From the background fabric, cut:
(30) 5-1/4” squares
(120) 2-1/2” squares
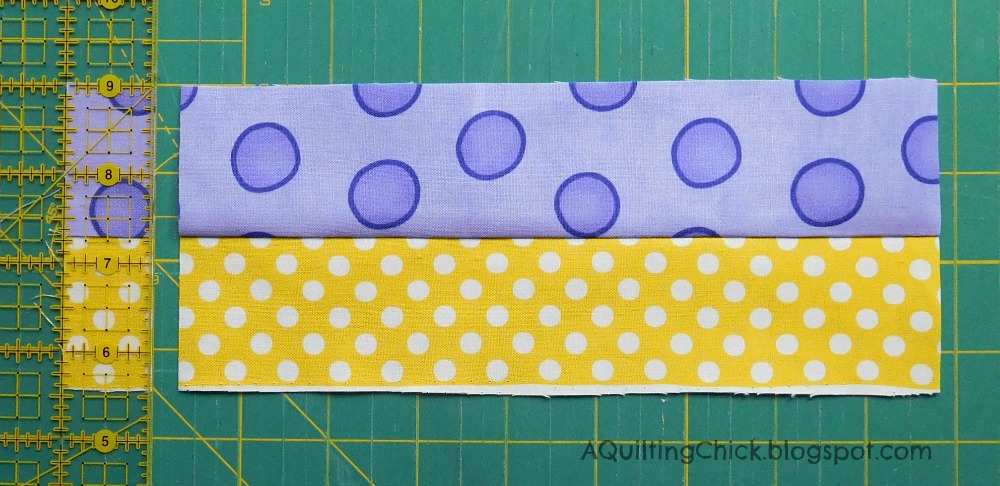
(60) 2” x 18” strips
(30) 5-1/2” squares
(30) 14-1/2” x 3-1/2” strips
(30) 17-1/2” x 3-1/2” strips
From your fat quarter bundle, choose (30) fat quarters that work well with, and don't blend into, your background fabric. From each fat quarter, cut:
|
Label as Star |
Label as Churn Dash |
|---|---|
|
(4) 2-7/8” squares, draw diagonal on back |
(2) 2” x 18” strips |
|
(1) 4-1/2” square |
(1) 5-1/2” square |
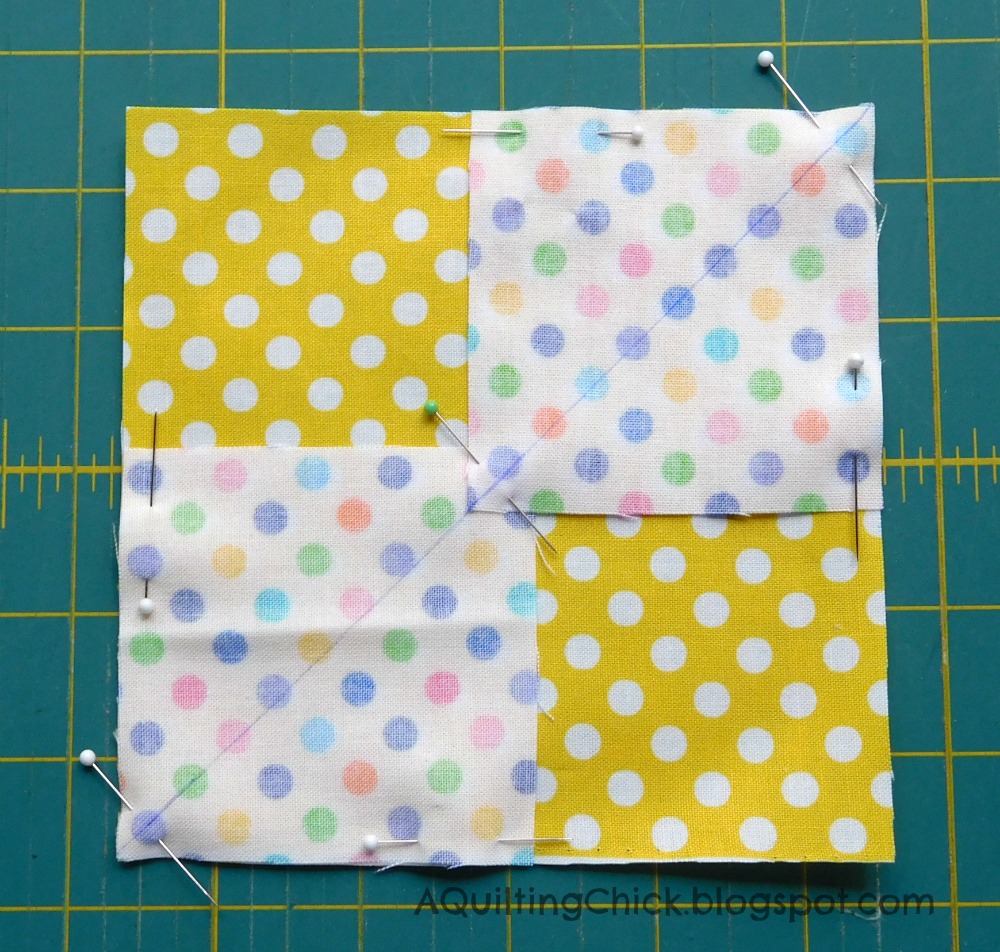
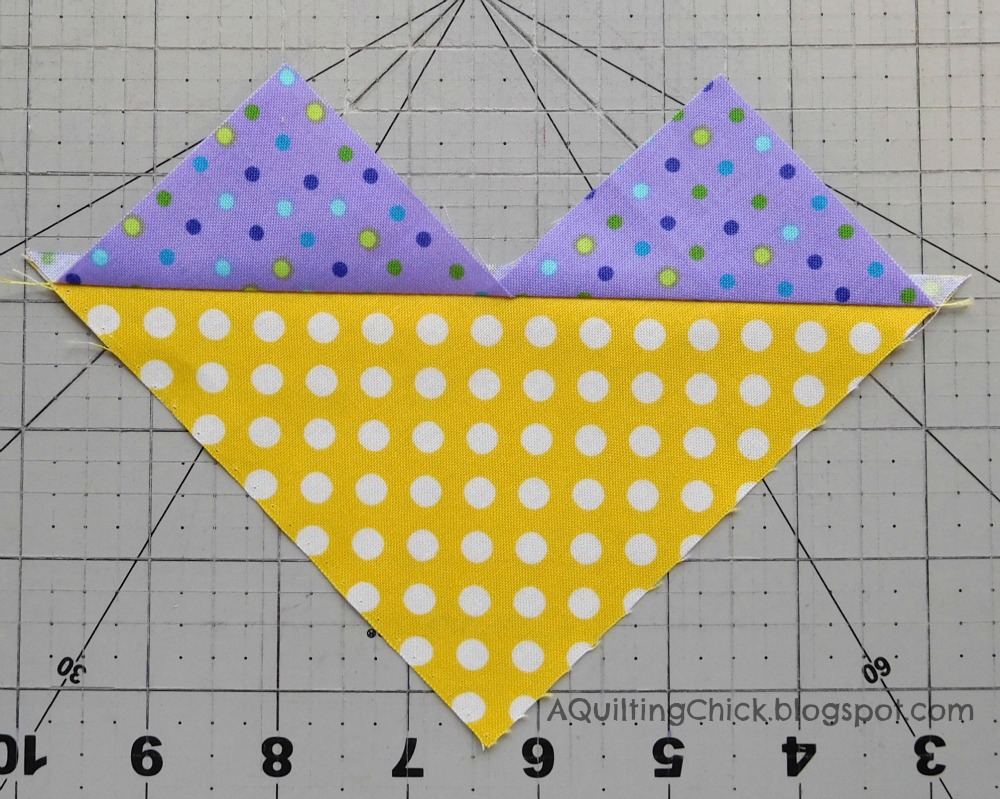
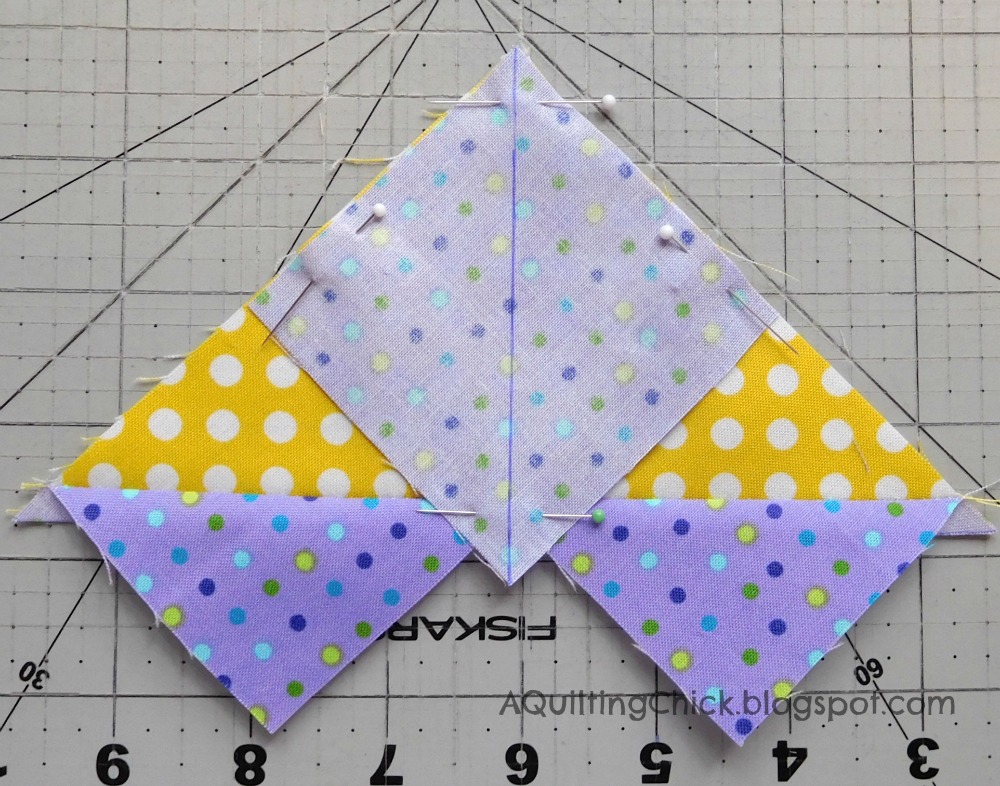
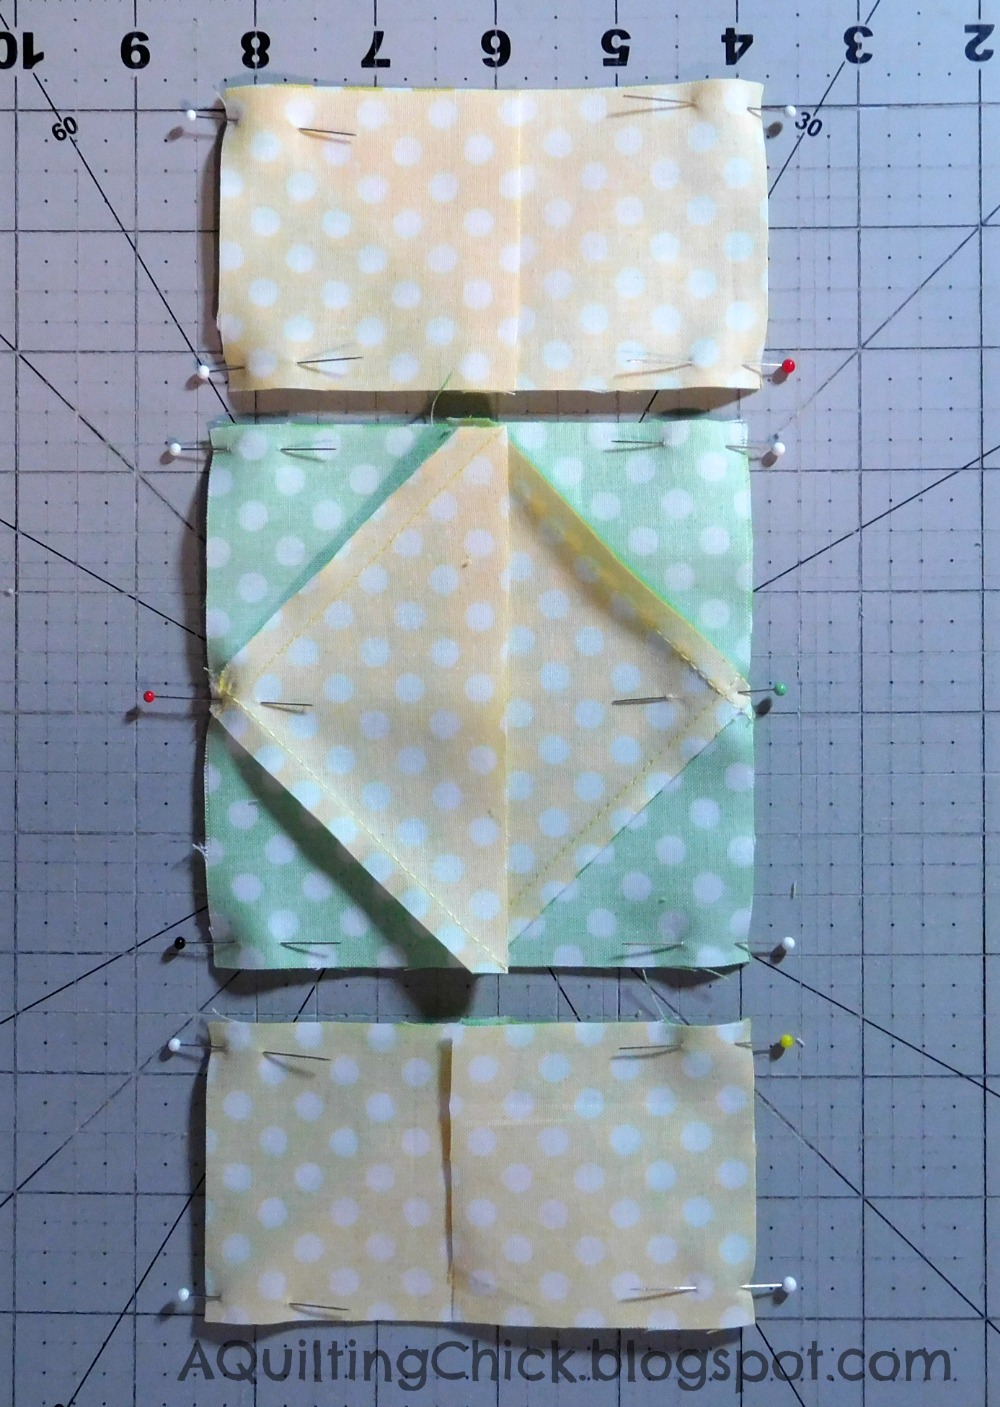
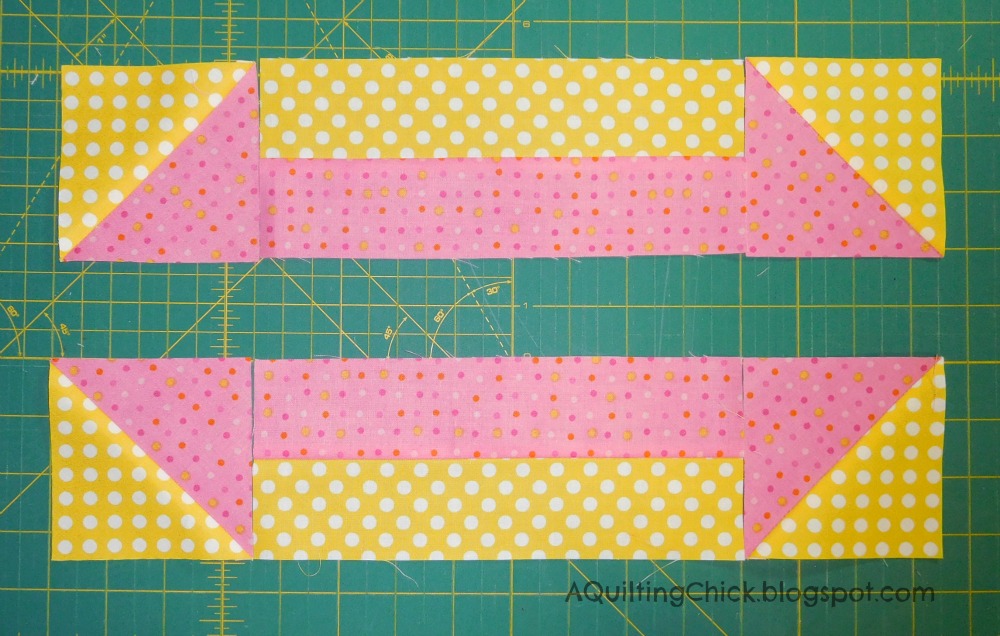
Sewing Instructions
All sewing instructions assume a scant 1/4" seam allowance. We will be making 4 (9/16/30/36) blocks. The following directions are to make ONE block. Repeat to make the quantity needed for your size quilt.
|
 |
|
 |
|
 |
|
 |
|
 |
|
 |
|
 |
|
 |
|
 |
|
 |
|
 |
|
 |
|
 |
|
 |
|
 |
|
 |
|
 |
|
 |
|
 |
|
 |
|
|
|
 |
|
 |
|
 |
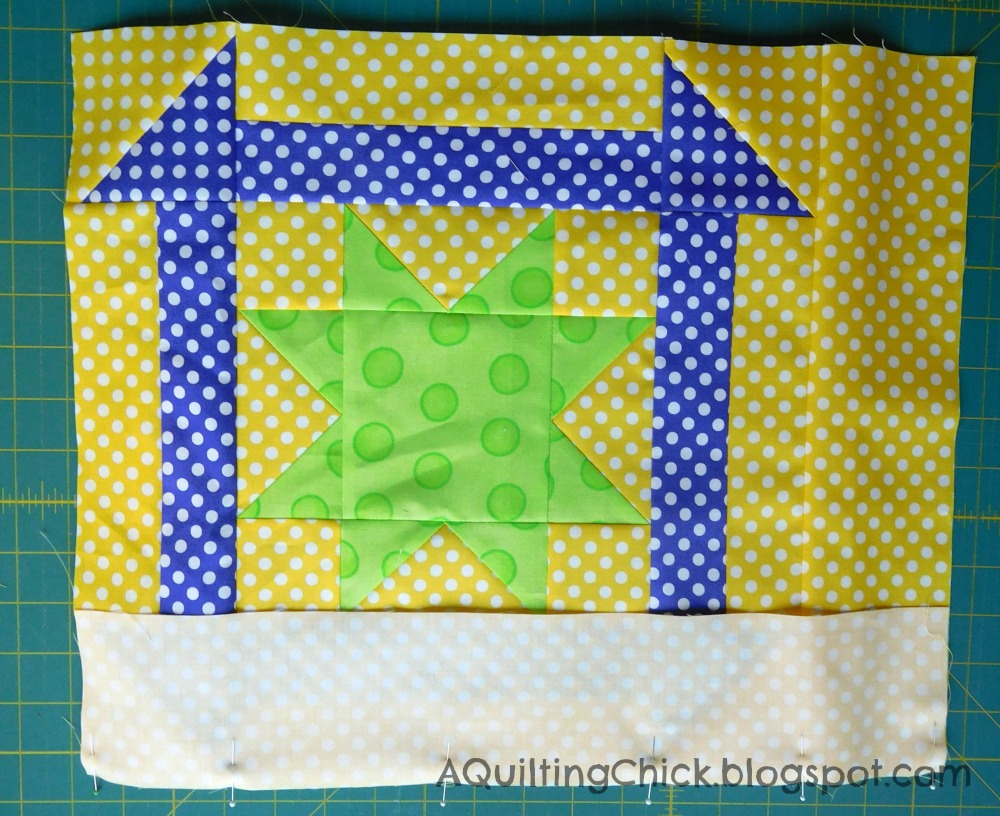
Arrange your blocks in a pleasing manner, using the diagram below as a guide. I'm showing you two rows below, but repeat the layout twice more to complete all 6 rows. Make sure you watch the sides that your sashing is on. This makes your blocks dance!
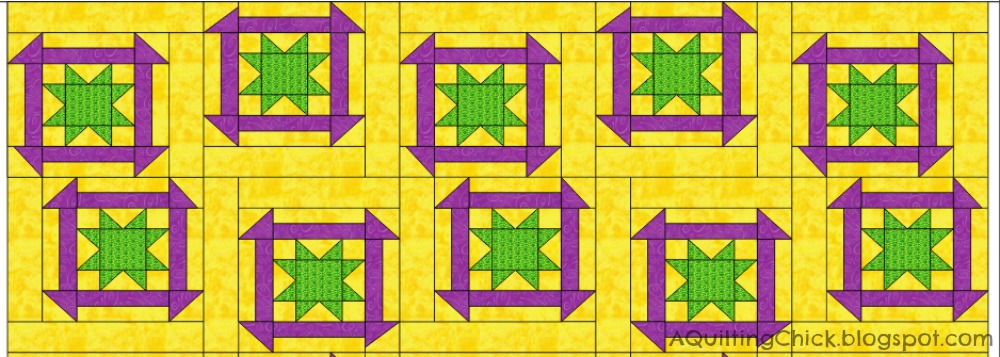
Now sew your blocks into rows, watching to make sure you don't mess up the alignment, then sew your rows together to complete your quilt top!! Quilt and bind as desired.
![]()
This quilt finishes at 85" x 102".
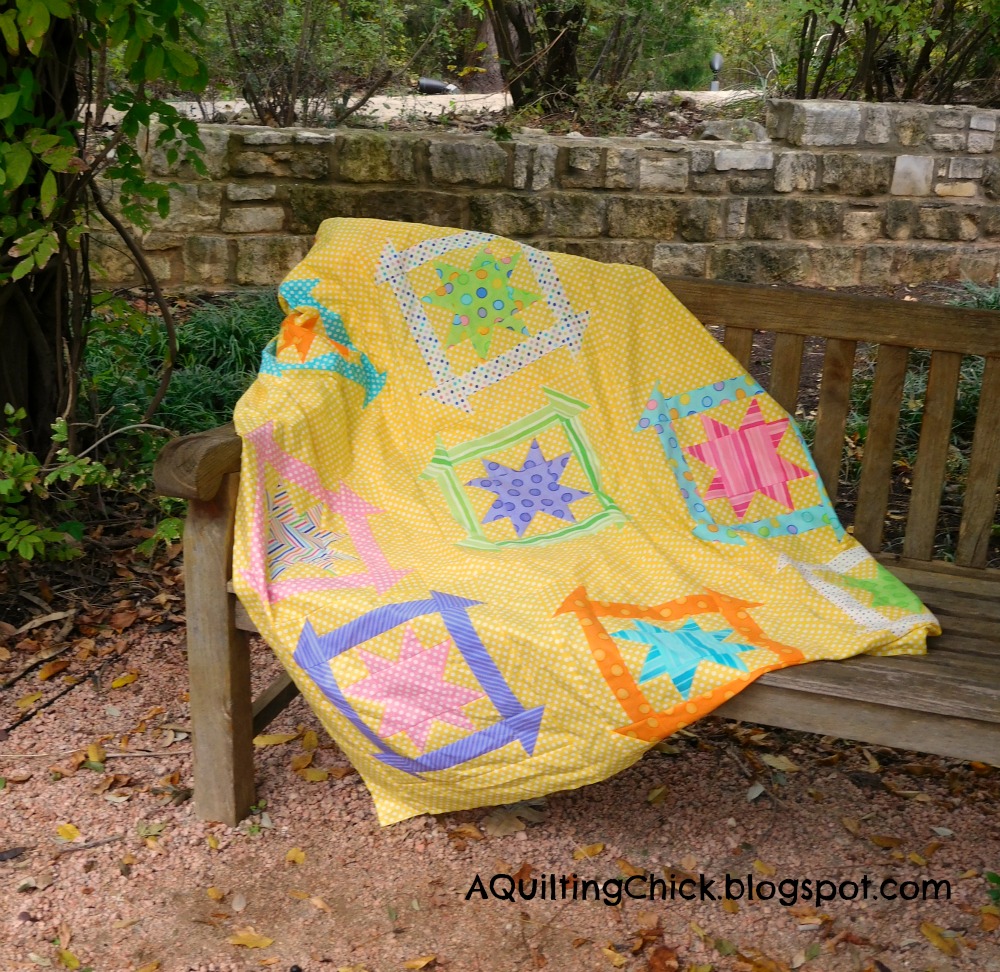
Every time I see this quilt, I fall in love with it a little bit more. It has so much movement and the fabrics are so bright and cheerful that you can't help but smile! Please stop by my blog at AQuiltingChick.blogspot.com and see what else I've been up to. I truly hope you enjoy making this one as much as I did!
*hugs*
Cathy Smith
AQuiltingChick.blogspot.com
![]()
Posted in: