Welcome to Moda Fabrics!
Fade Away Quilt
Fade Away Quilt
Published:
Apr 12 2015 - 23:00


Hello All! I am very excited to make my first guest appearance here at the Moda Bake Shop. I'm Leah Nebergall of Simply Quilts. I am a wife, mother, farmer and a born quilter!
Today I am going to show you how to make my Fade Away quilt that uses Ombre strips from the Color Theory line by Vanessa Christenson of V and Co. Vanessa is one of my favorite designers and I have made many quilts using her fabrics. I love her color choices and the modern prints of her fabrics.
This quilt features one simple block to construct and lots of negative space for quilting fun! Lets get started!
![]()
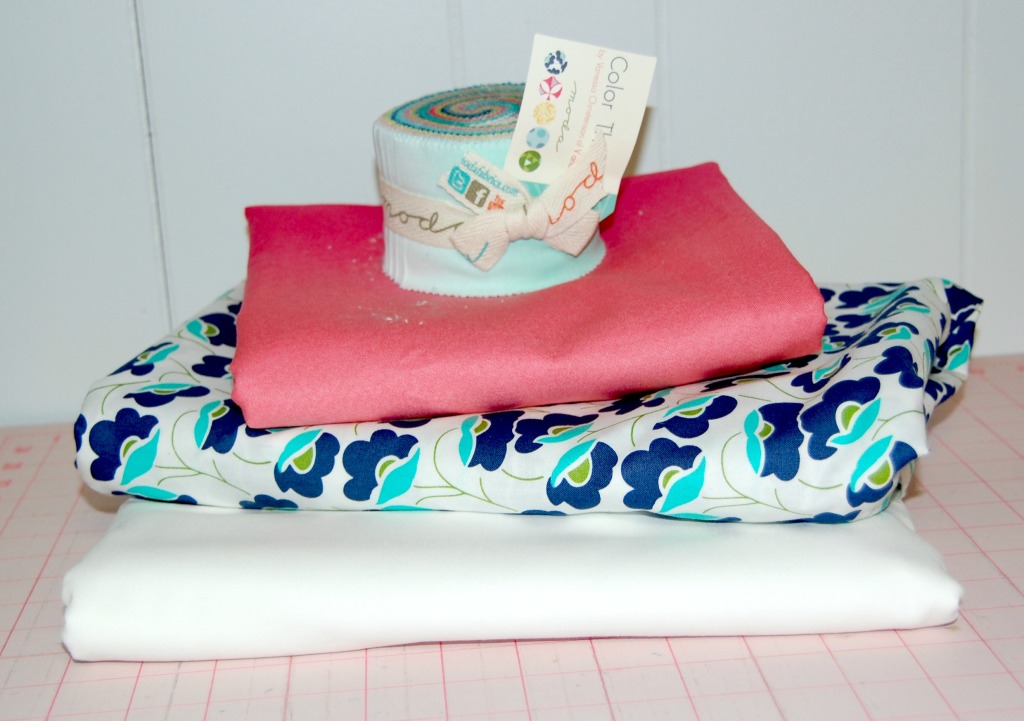
For this project you will need:
1 Color Theory Ombre Jr. Jelly Roll
3 yards Moda Bleached White
1/2 yard binding fabric (for 2 1/4 binding)
4 yards backing fabric
![]()
Cutting Instructions:
From the Bleached white:
3 strips 16" x wof
1 strip subcut into (2) 16" x 16 1/2" then pieced with a wof strip to make 60.5"
7 strips 8" x wof
sub cut into: (1 piece) 8"x 38 1/4"
(1 piece) 8" x 28 1/2" & (1 piece) 8" x 8"
(4 pieces) 8" x 23" & (4 pieces) 8" x 15 1/2"
(1 pieces) 8" x 8"
4 strips 2 1/2" x wof
sub cut into: (68) 2 1/2"x 2 1/2" squares
12 strips from the ombre jelly roll
4 colors, 3 strips each, I used Pink, Purple, Teal and Grey

1. Starting with pressed, starched strips, layout close enough to cut all at once every 7 inches. Only cut one strip at a time of each color.
2. Carefully stack the 7" pieces into one neat stack making sure that they are stacked in order of cutting so each color value is in the same place in each pile. Notice how the top of the pile is all the darkest pieces.
3. Making sure all the stacks are lined up neatly, sub cut the piles into 4 1/2" and 2 1/2" pieces.
4. Repeat with next 2 sets of strips.

5. This is the layout of each block. Make sure to keep the color placement in each block the same.
6. Working from smallest pieces to largest, begin to assemble the block. Start by flipping the colored block onto the white and sewing together.
7. Press seam open to the dark and place back into the block layout.
8. Flip the pieced section onto the small strip next to it and piece together.

9. Press toward the longer strip and layout again.
10. Connect the fourths, pressing seams opposite directions.
11. Connect the halves and press open. If you pressed the halves in opposite directions you will have a perfectly matched center and your first completed block.
12. Square up your blocks to measure 8 inches, making sure to use the center point to square.
Repeat with the next 17 blocks. These blocks can be chain pieced but you have to be VERY organized with your piecing.
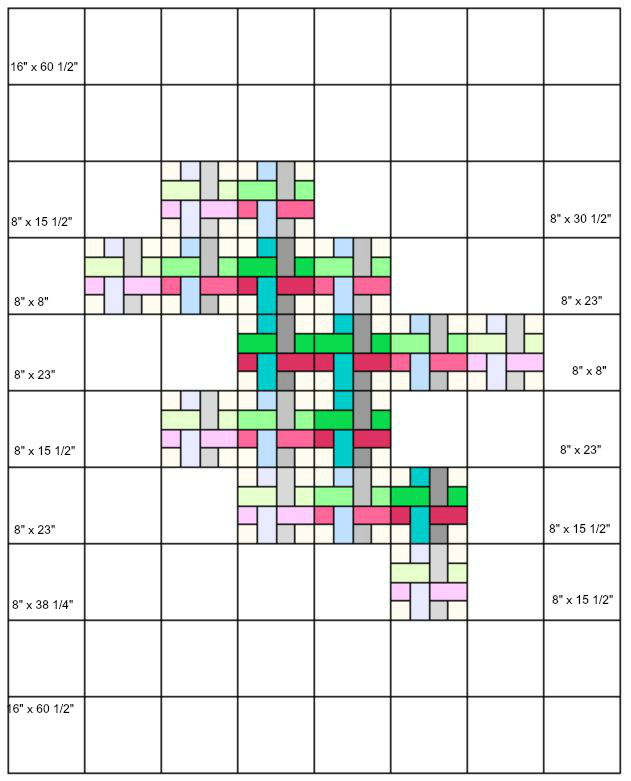
Layout your quilt using the above layout as a guide. Sew the rows together from left to right pressing after each row is completed. Sew the rows together from the top to bottom until the top is complete. From here baste, quilt and bind as desired.
![]()
That's all there is to it! Now you have a super fun and easy quilt with a finished size of 60" x 76". And you have enough left over strips to make another project too!
Leah Nebergall
{Simply Quilts}
![]()
Posted in: