Welcome to Moda Fabrics!
Shark Tooth Quilt
Shark Tooth Quilt
Published:
Jan 6 2015 - 23:00
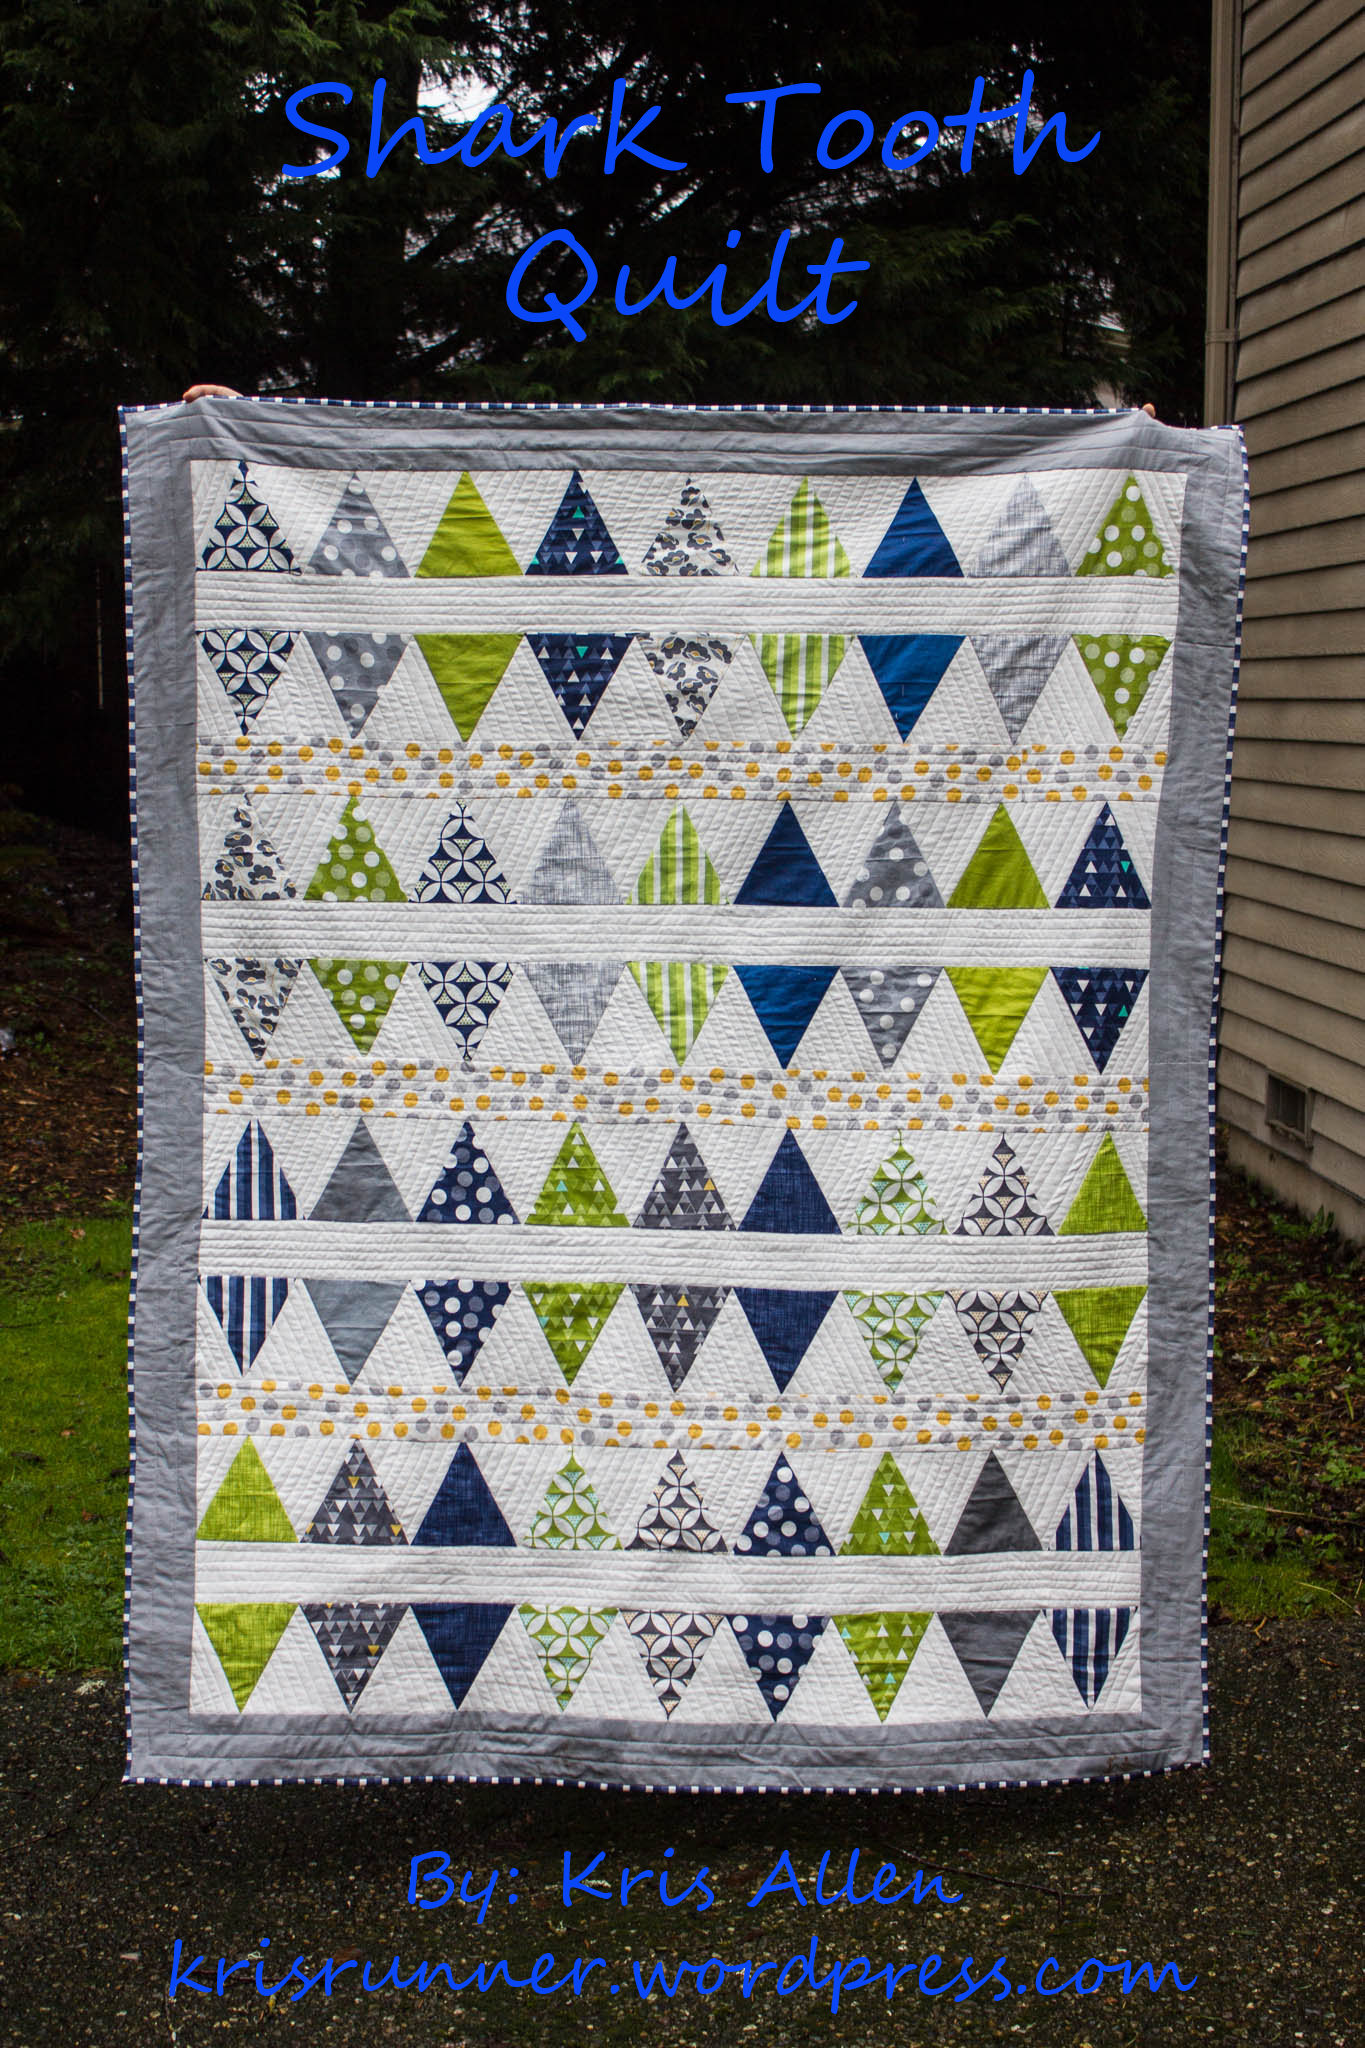

It is great to be back and share with you my Shark Tooth Quilt. We had a great time this summer looking for shark teeth on the beaches in North Carolina. It is perfect for a boy, but I'm not sure I'm going to let my son have it. I love the loves that V and Co have used this their Color Theory line. Would love to have you stop by my blog and say hi anytime and see what I have going on.
![]()
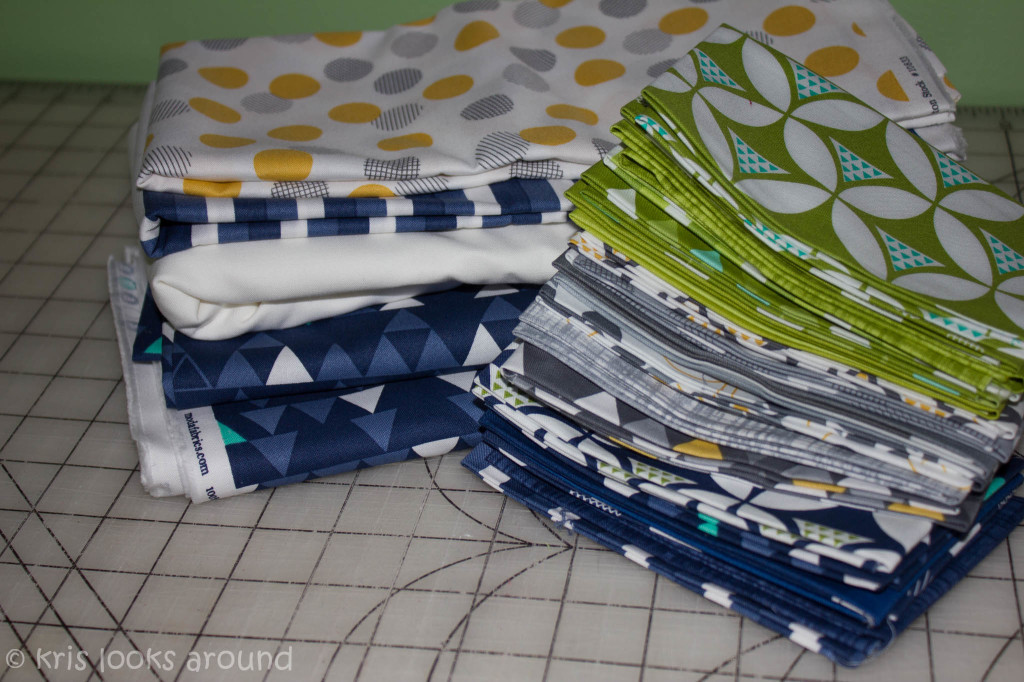
1 Fat Eighth bundle: Color Theory by V and Co.
2 yards Snow Bella Solids
1 yard Steel Bella Solids
½ yard Mustard 10833 Color Theory - sashing
½ yard Navy 10835 Color Theory - binding
3½ yard Navy 10832 Color Theory - backing
Peaky and Spike Multi Sz Ruler8289 Michell Marketing#1 Manufacturer Item:8289
![]()
You will want to pull out the colors you want to use for your quilt. I choose to use all the greys, lime greens and navys. (saving the pinks, teals and mustards for another project.)
Cutting instructions:
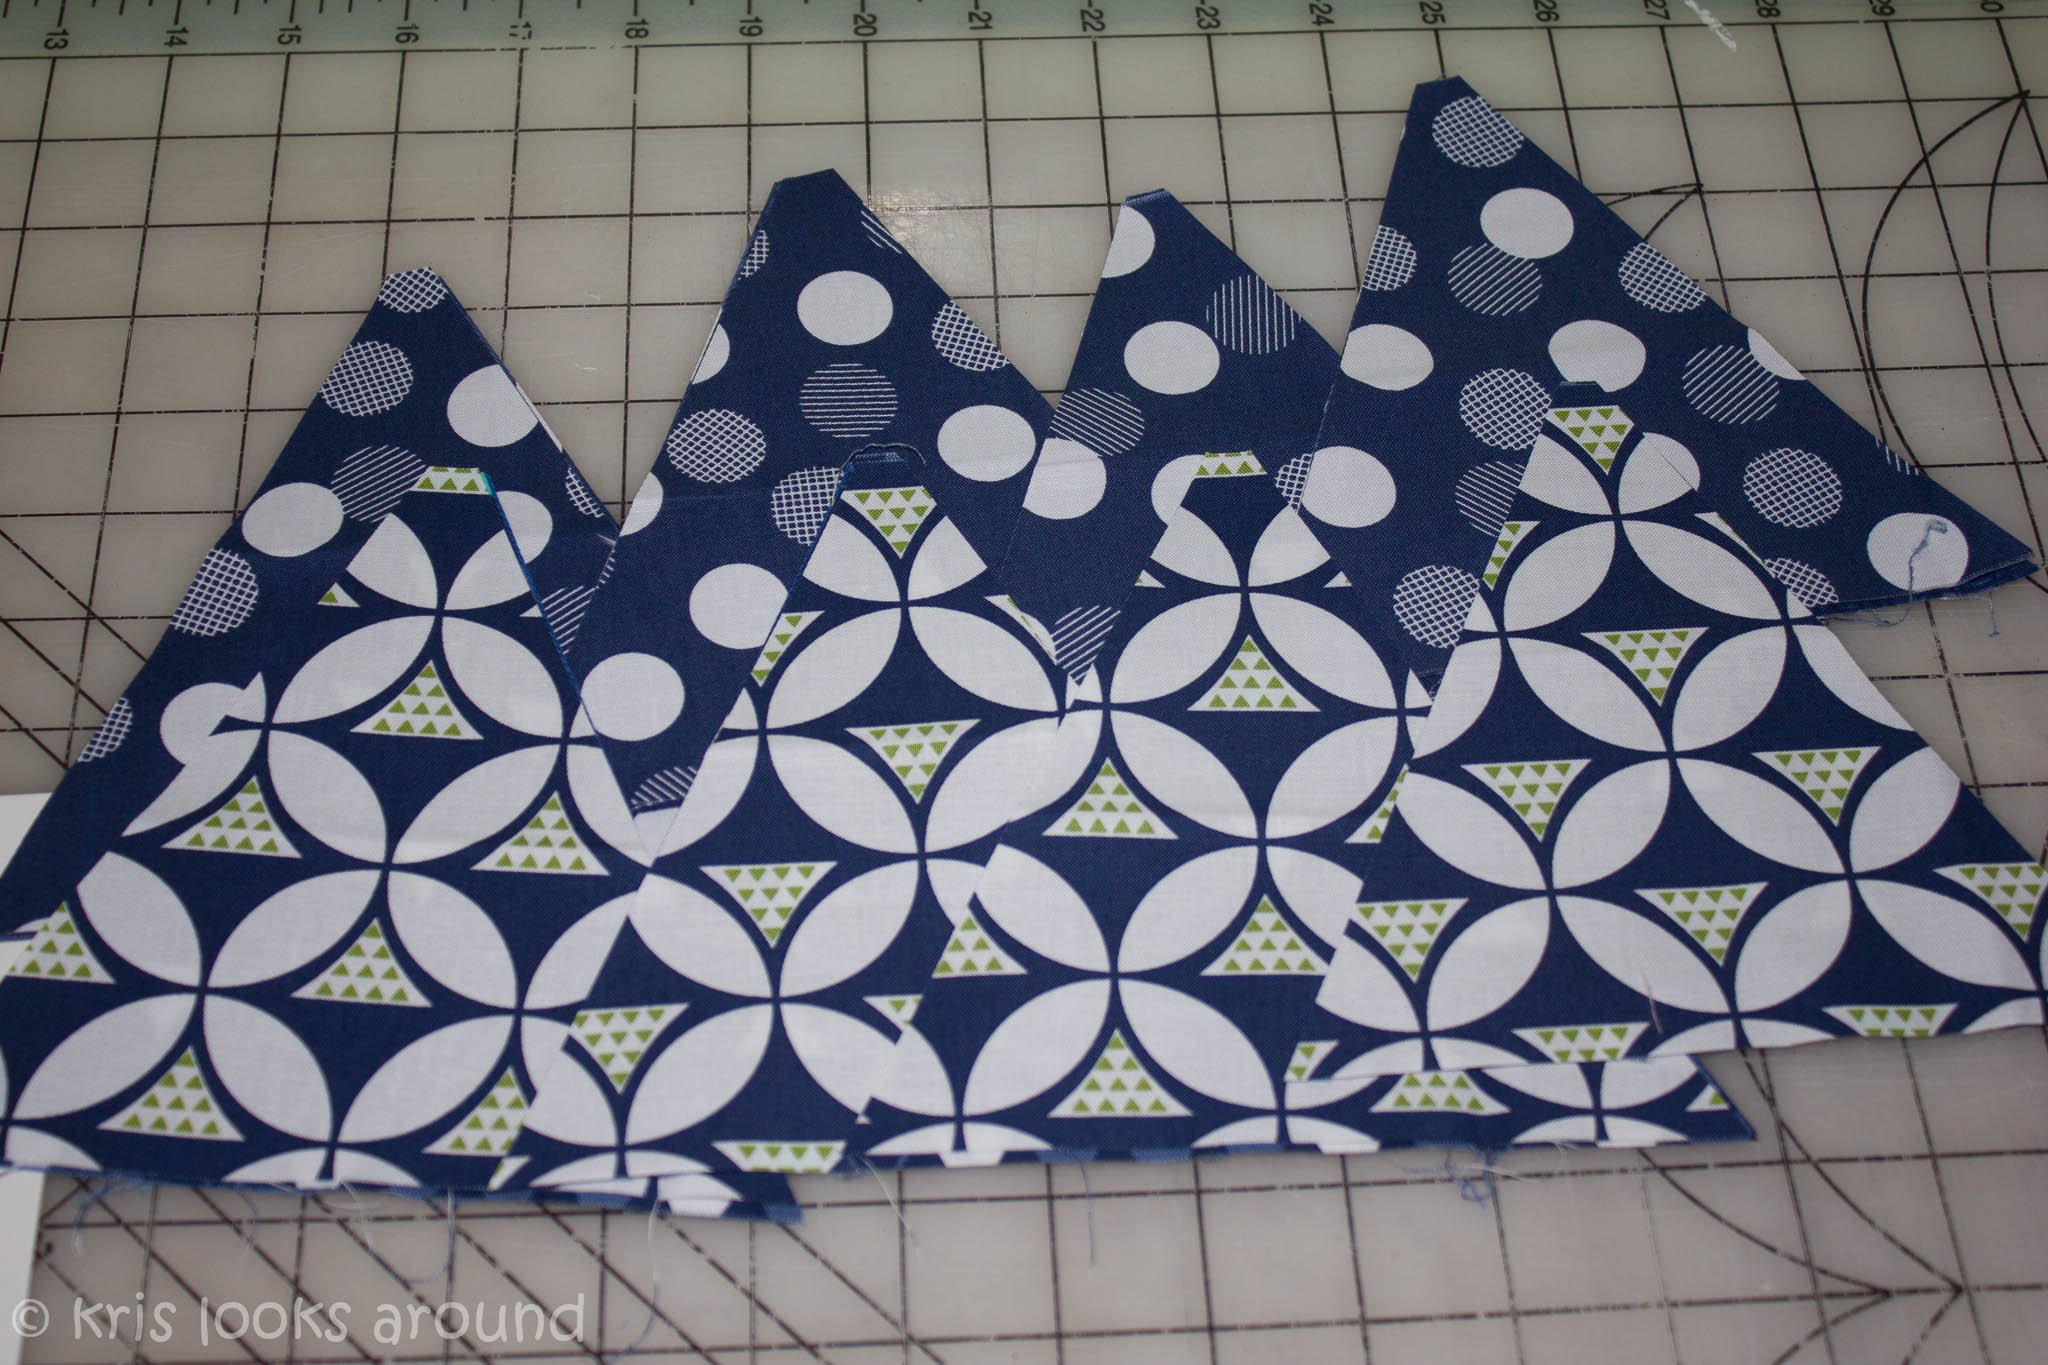
Triangles: (I use a triangle ruler to make this very easy - see ingredients for type)
1. Color Theory print material : Cut 6" strips from your fat eighth's so you have a piece that is a 6"x20" rectangle.
You will then use your ruler to cut 4 - 6 inch triangles from every color (I used 18 different materials) for a total of 72 triangles.
2. Snow solid: Cut a total of 64 full triangles and 16 half triangles. (you can get 11 triangles and 2 half triangles from every 6"xWOF of snow or 10 triangles and 4 half triangles )
Sashing:
Snow solid: Cut 5 - 3½" x WOF of the solid snow fabric. One of your stripes you will need to cut into 4 - 10"x6" rectangle.
Mustard print: Cut 4 - 3½" x WOF of the print mustard fabric. One of your stripes you will need to cut into 4 - 10"x6" rectangle.
Outside Border:
Steel Bella Solid: Cut 6 - 4½" x WOF of the solid Steel Fabric. Two of your stripes you will need to cut from each a 10" x 4½" and an approx 4½" x 30" (rest of the WOF) -giving you a total of 2 - 10"x 4½" rectangle and 2 - 30"x4½" rectangle.
Great job you have cut out all that you need for your quilt!
Sewing Instructions:
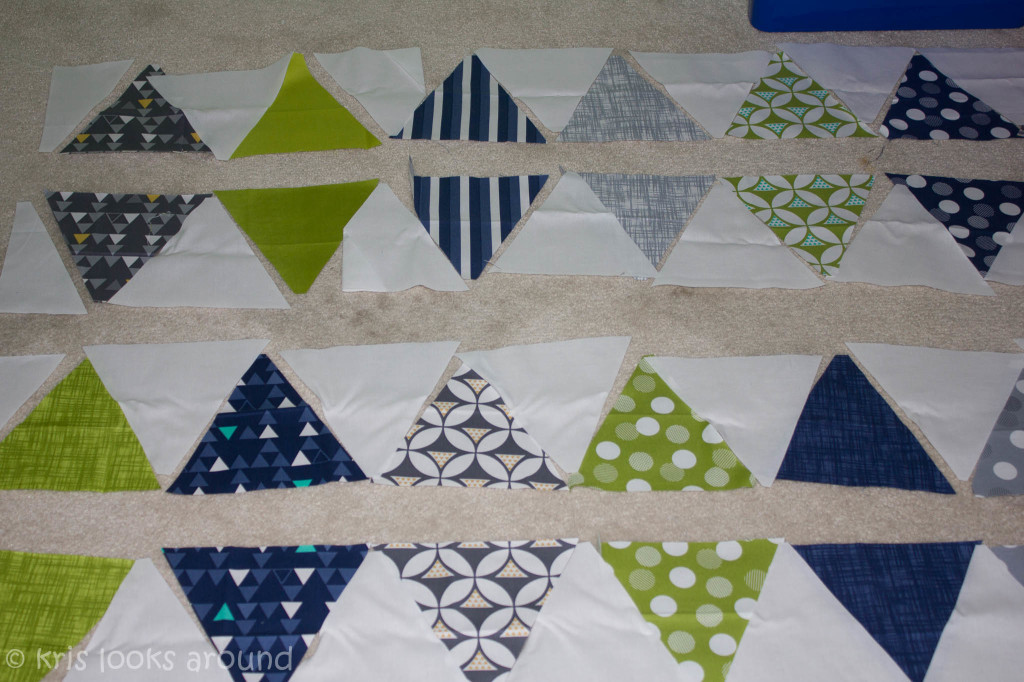
You will now want to lay out your triangles on the floor. One row will have the triangles facing up and the next row will have the triangles facing down. I choose to have the same color opposite of each other. I also alternated the colors, trying to give a lot of variety. There are 8 rows total making 4 sets of top and bottom triangles (pictures below shows two sets.)
Each row will have 9 print triangles, 8 solid triangles and 2 half solid triangles.
Once I had the colors where I wanted I added all the white triangles and half triangles.
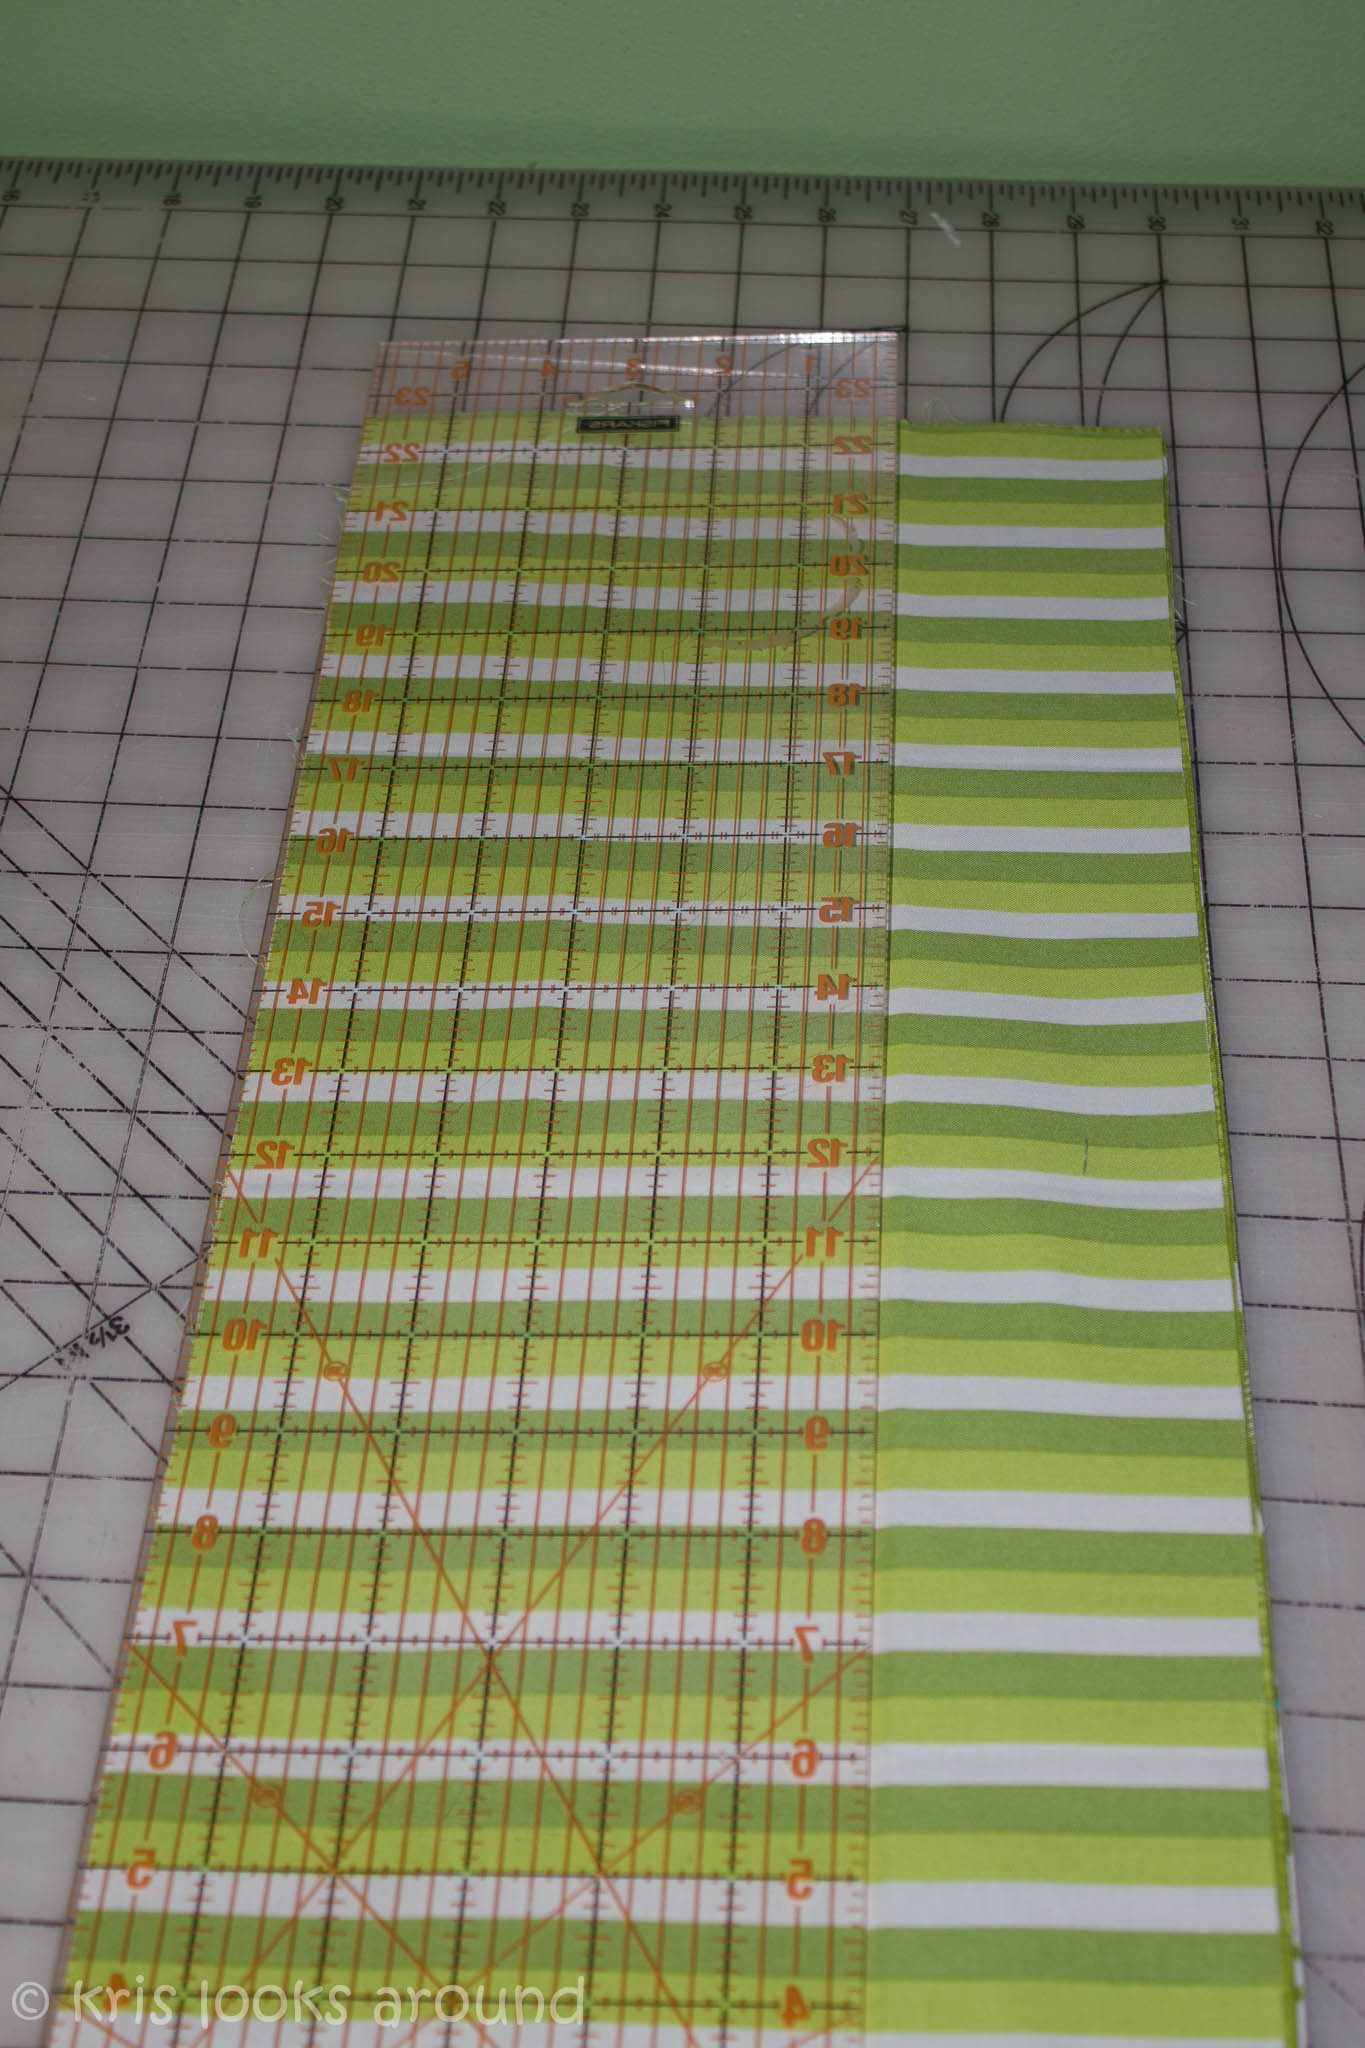
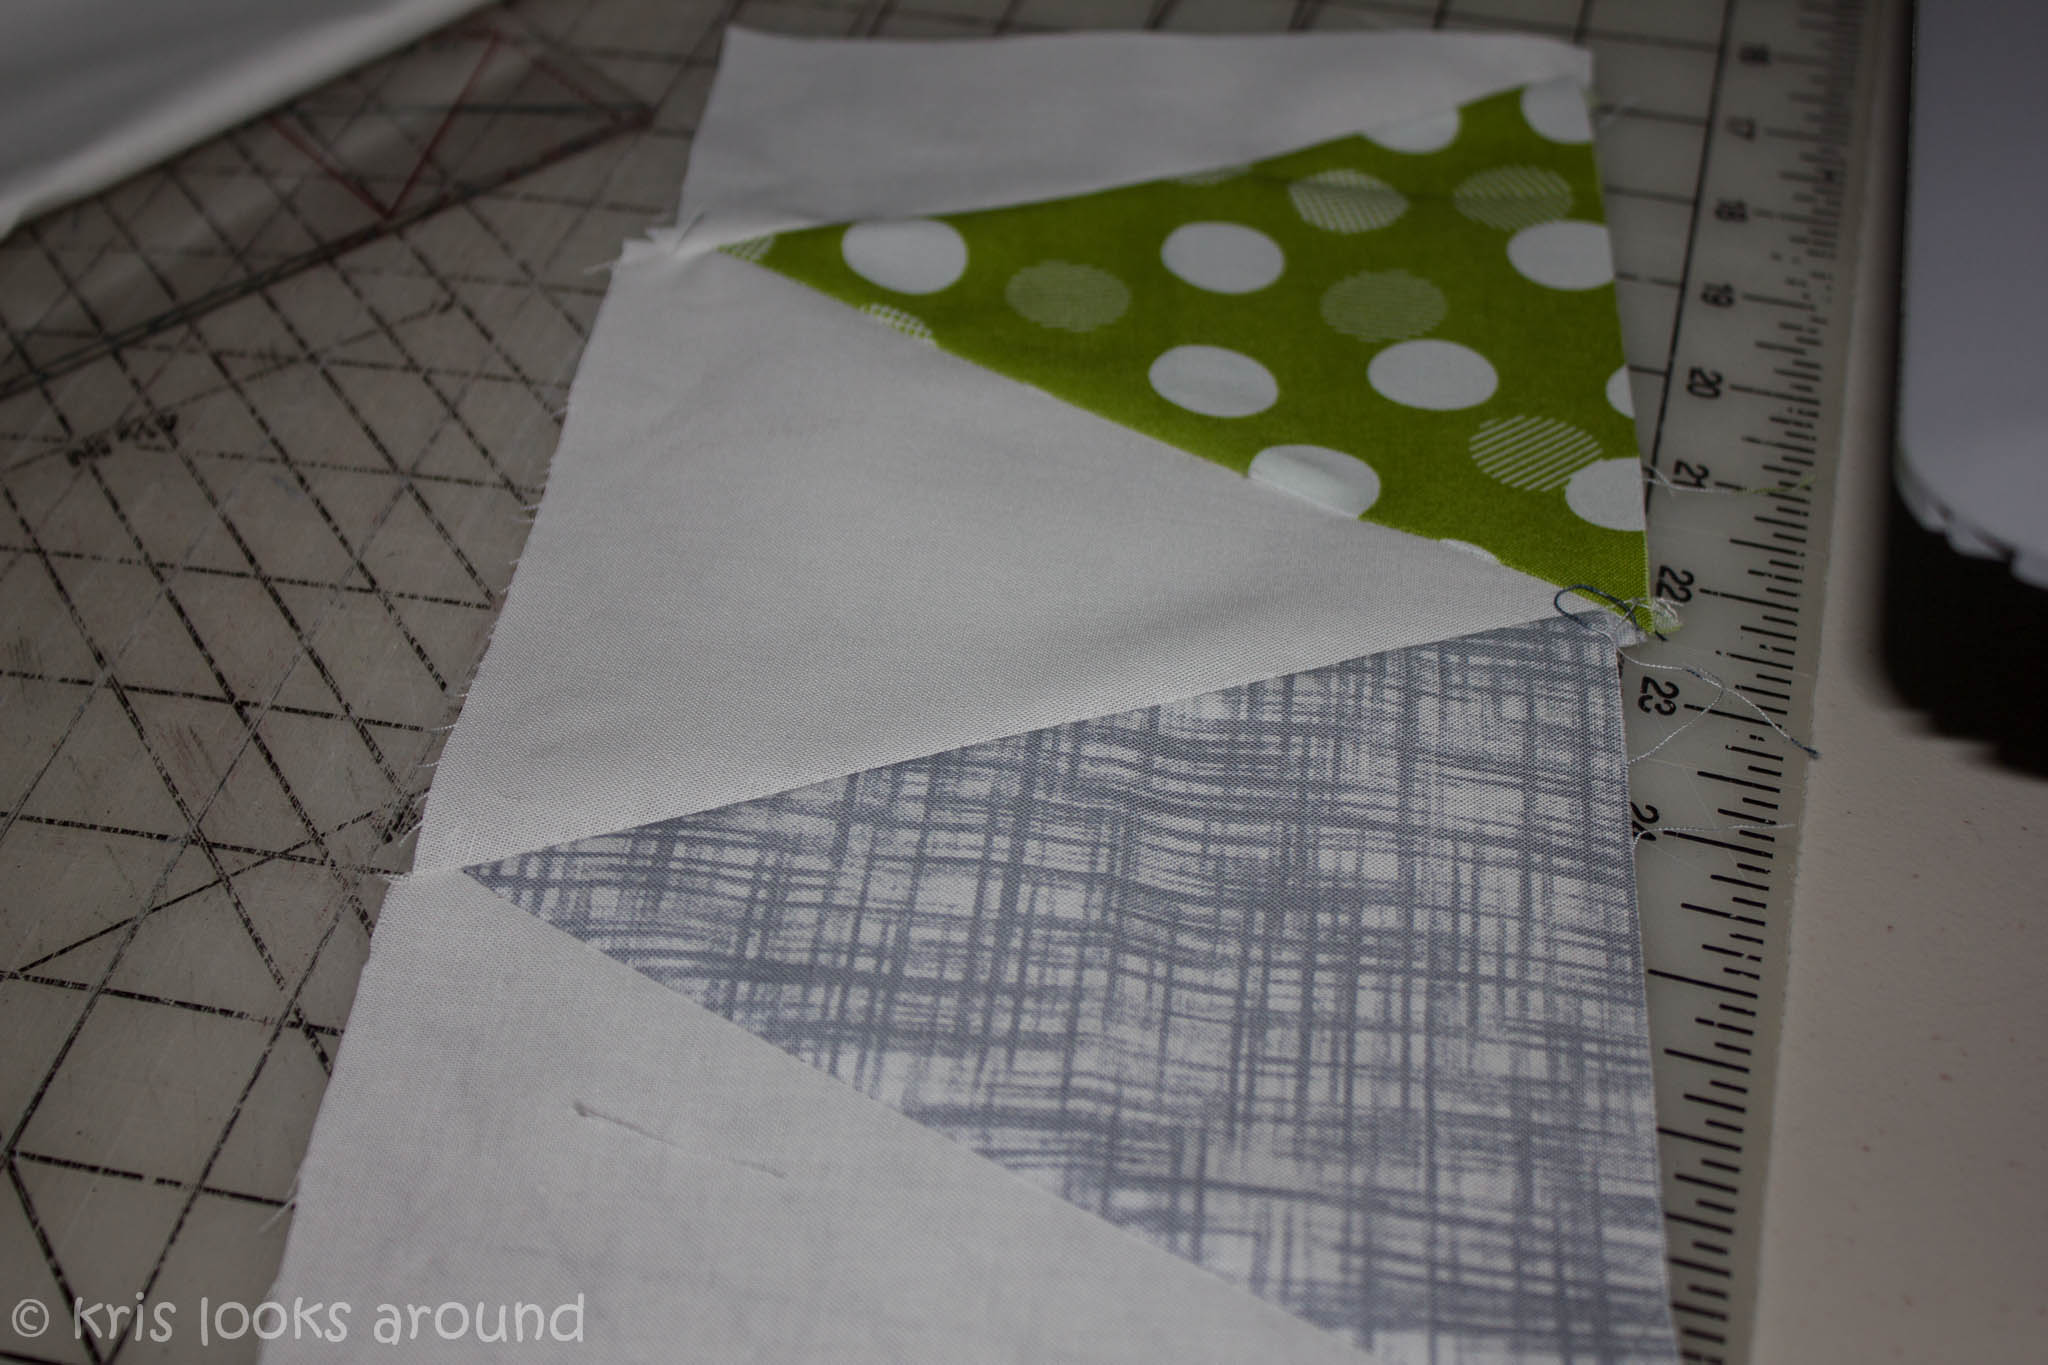
You will want to sew each row of triangles. One tip I learned is to make sure that your triangles look like they are overlapping a bit when you sew. See picture below ( you can see both parts of the green strip and the white):

If they lay onto of each other perfectly then you have matched the wrong ends an it will not create a straight line when you iron it.
Iron as you add each triangle to your row.
Once you have sewed all 8 rows to triangles together you will want to now add the sashing:
Sew a 3 1/2" x WOF to a 3 1/2 x 10" snow solid to create a strip which is approx 50" x 3 1/3 rectangle. It will be a bit long so don't worry we'll trim it. You will want to do this 3 more times for a total of 4 snow white sashing.
You will add a snow sashing between the long flat ends of the triangles that match.
To help your points line up you will want to make sure that you are sewing where the X marks the spot - see picture below:

Trim the extra sashing once you have sewed it to the triangles. You should have 4 sets of 2 rows of trianges with a white sashing inbetween.
Sew a 3 1/2" x WOF to a 3 1/2 x 10" mustard print to create a strip which is approx 50" x 3 1/3 rectangle (just like you did with the snow sashings). It will be a bit long so don't worry we'll trim it. You will want to do this 2 more times for a total of 3 mustard print sashings.
I then added a mustard print in between the 4 sets triangles. See picture below:

Sew a 3 1/2" x WOF to a 3 1/2 x 10" steel solid to create a strip which is approx 50" x 3 1/3 rectangle (just like you did with the snow sashings). It will be a bit long so don't worry we'll trim it. You will want to do this 1 more times for a total of 2 steel solid sashings of this length.
Sew a 3 1/2" x WOF to a 3 1/2 x 30" steel solid to create a strip which is approx 70" x 3 1/3 rectangle (just like you did with the snow sashings). It will be a bit long so don't worry we'll trim it. You will want to do this 1 more times for a total of 2 steel solid sashings of this length.
To create the steel grey border you will sew the 3 1/2 x 50" steel rectangle to the top and bottom of your triangles rows. Trim off extra steel fabric. Next sew the 3 1/2" x 70" steel rectangles to the sides of your quilt (triming off the extra) to complete your border.

You can now sandwich with the backing and batting and I choose to machine quilt with straight line quilting in the white triangles and along the sashing, leaving the color triangle unquilted so they would pop.


Next bind your quilt, then wash it for the extra crinkle feel. Head to your closest couch or bed and cuddle up with your favorite hubby, kid or book!
![]()
One 58"x70" quilt (before you wash it - it will shrink once you wash it)
Would love to see the quilts you make. Put a picture in the comment section on my blog!
Hope you have a great day sewing!
Kris Allen
{krisrunner.wordpress.com}
![]()
Posted in: