Welcome to Moda Fabrics!
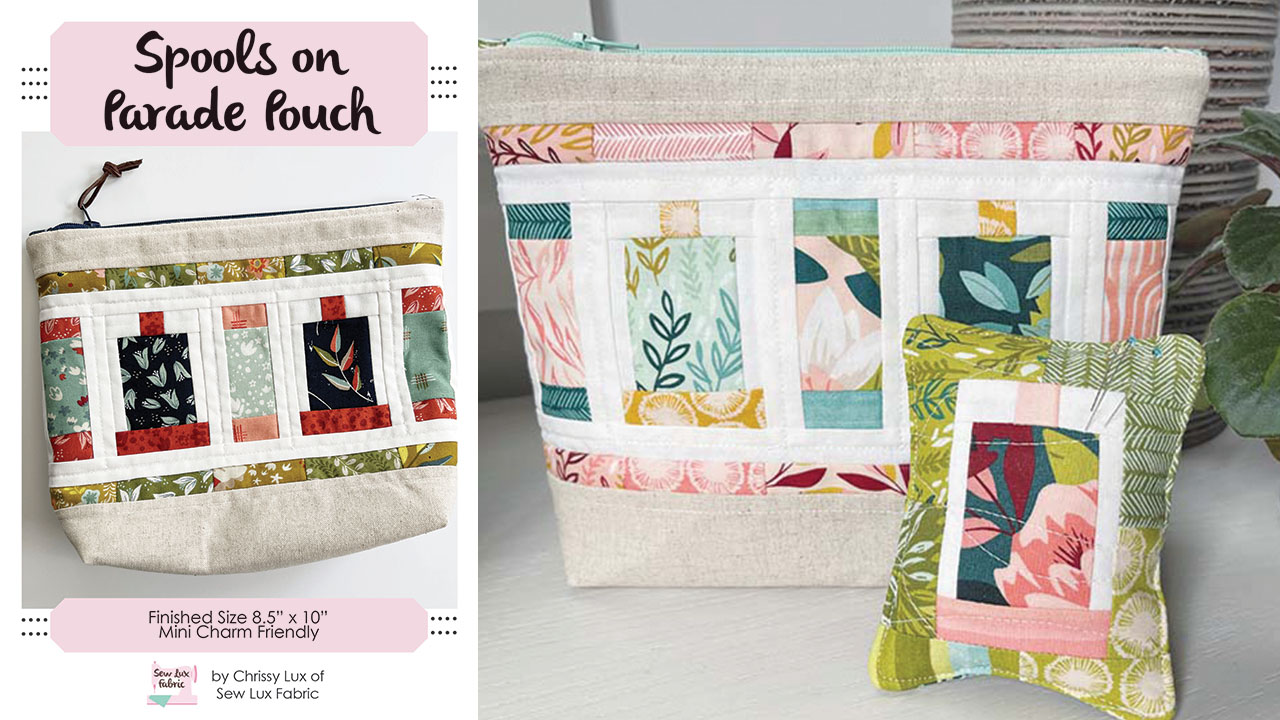
POUCH CLUB: SPOOLS ON PARADE
POUCH CLUB: SPOOLS ON PARADE
Published:
Jan 18 2024 - 08:00

Materials Needed:
You will need the following to complete this project:
- 1 Mini Charm Pack
- 1 F8 Linen for Exterior
- 1 F8 Solid for Block Background
- 1 FQ for Lining
- (1) 10" or longer zipper
- 1/3 yard Interfacing (Pellon SF101 or similar)
- Spools on Parade Pouch Pattern SLF1607
Paper and PDF patterns as well as kits are available in our shop at Sew Lux Fabric or ask your local quilt shop to carry the paper pattern and kit one up for you!
Note: Be sure to check out the video on our YouTube channel linked at the end of this post for additional tips and video to support this tutorial.
For this pouch, we are using the new Willow collection by 1Canoe2.

Step 1: Piece the Spools
Select the prints you would like to feature in the spools. Small scale and tonal prints work best for the spool caps & ends because the pieces are quite small. As you select prints, consider if you would like to coordinate the pieced border strips in one color/shade or not (in my pouch, I chose all pinks for the border strips).

Step 2: Piece the Pouch Front
Add the sashing strips between spools and above and below the spool panel. Then the scrappy border strip above and below.
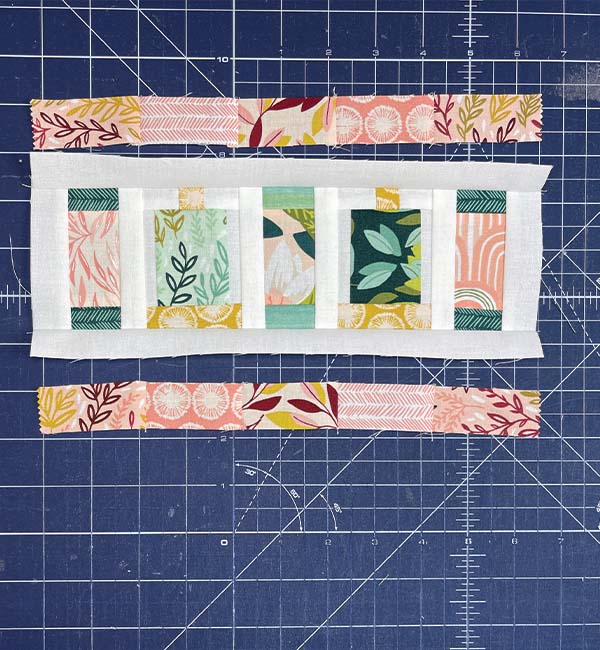
Finishing the front by adding the linen strips to the top and bottom as instructed in the pattern.
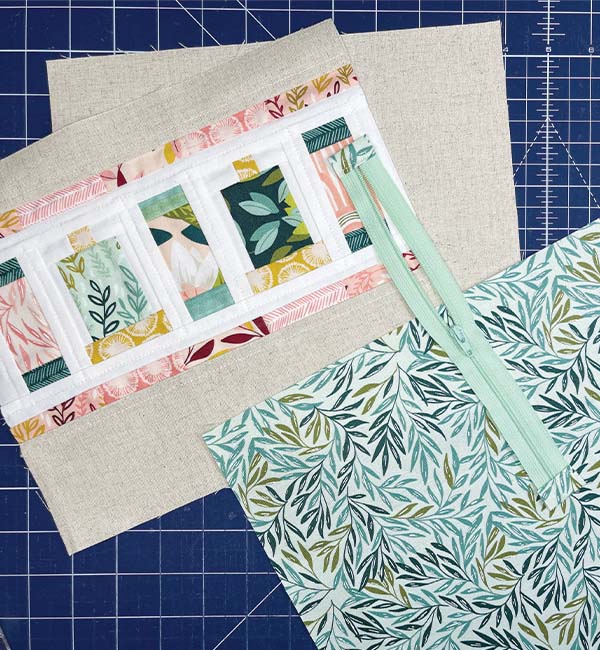
Follow the directions in the pattern to adhere interfacing to the exterior; and to shape the bottom corners of the exterior and lining rectangles.
Step 3: Prepare & Install the Zipper
Follow the directions in the pattern to make and add tabs to the ends of the zipper.
Align the zipper with the top edge of the pouch, centering it and leaving about 1/2" on either side.
Install the zipper using a zipper foot and top stitch the exterior & lining in place. (Refer to video linked below.)
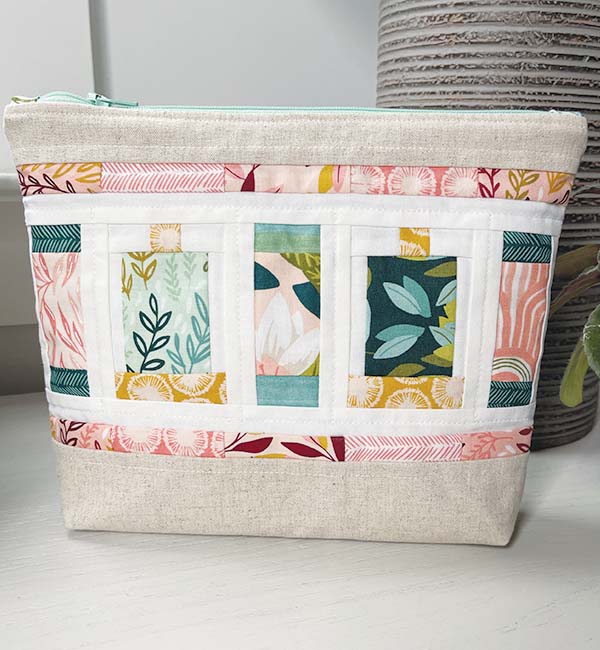
Step 4: Finish the Pouch
Arrange the pouch so that the exterior is RST and the lining pieces are RST. Make sure the zipper is half open and pin or clip in place around all four sides and sew closed, leaving a 3-4" hole in the bottom of the lining. Box the corners as instructed in the pattern (shown in the video).
Turn the pouch right sides out through the hole in the bottom of the lining, press well and close the opening by hand or machine.
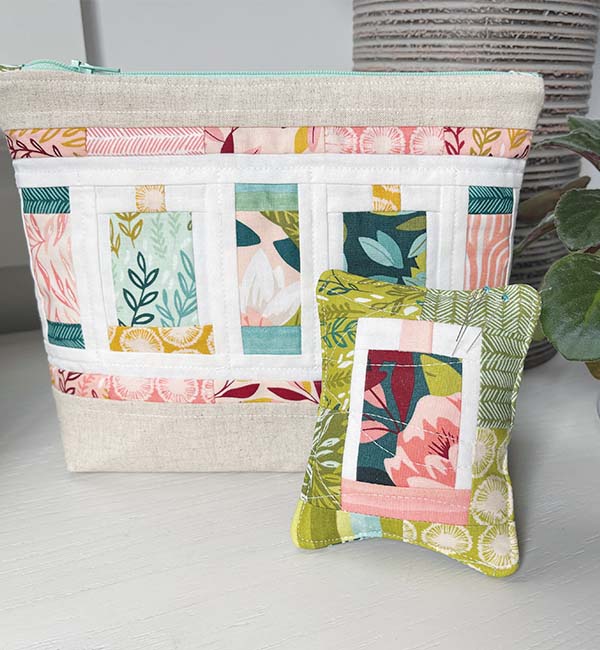
BONUS PINCUSHION
This pattern includes instructions to make a BONUS pincushion using leftover Mini Charms. You'll piece a large spool and add a scrappy border. And then piece a scrappy backing.

Quilt both the front and back and trim to size as indicated in the pattern.
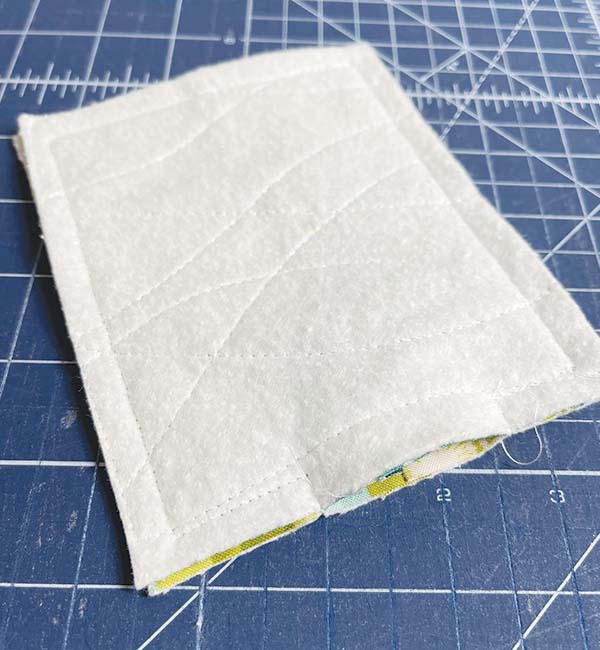
Sew the quilted rectanges right sides together and leave a hole in the bottom for turning. You can stuff pinnies with poly-fill or walnut shells or whatever your preference. Slip stitch the opening closed or sew closed by machine.
For more details and video of the steps above and some additional tips, check out the video.
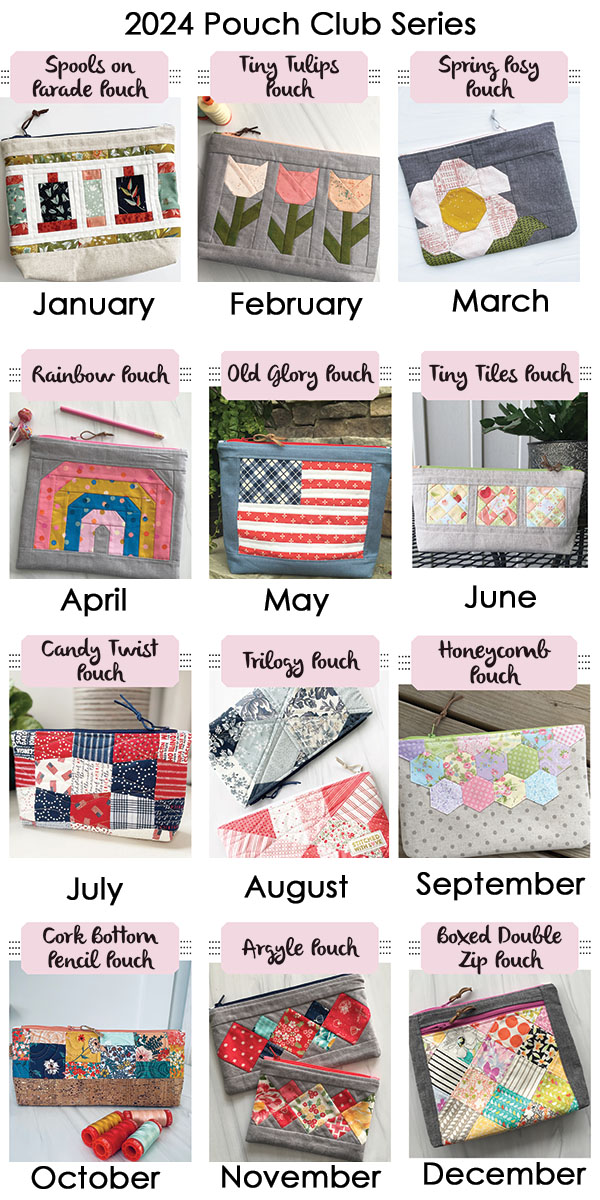
Next month, we will be making the Tiny Tulips Pouch to celebrate Spring arriving soon! See you back here on February 15 for our next installment of the Pouch Club Series. You can also check out our 2024 Club offerings here so you never miss a kit or pattern!
Ask your local shop to carry patterns and kits for these and many other great projects.
Posted in:
Comments