Welcome to Moda!
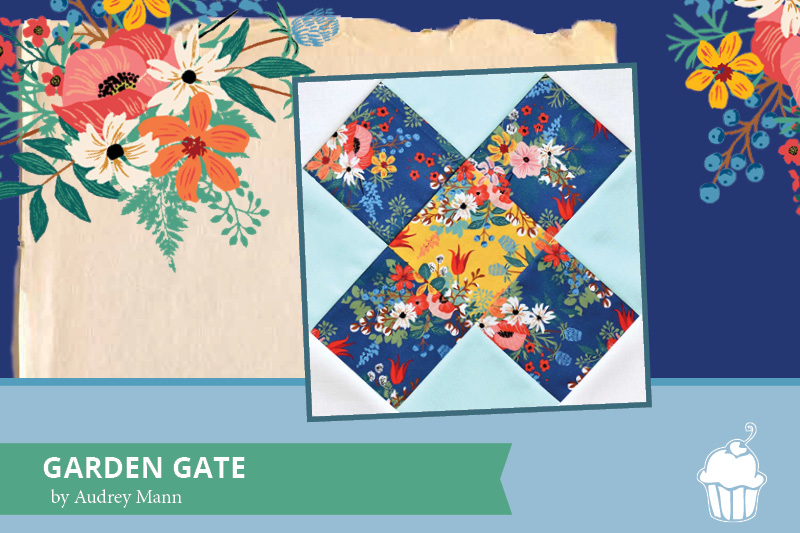
Garden Gate - BONUS*
Garden Gate - BONUS*

![]()
4", 6" or 12" block
![]()
4” BLOCK
From Fabric 1, cut:
[A] (1) 3¼” square, cut twice on the diagonal
From Fabric 2, cut:
[B] (4) 1⅞” squares
From Fabric 3, cut:
[B] (1) 1⅞” square
From Background fabric, cut:
[C] (2) 1⅞” squares, cut once on the diagonal
6” BLOCK
From Fabric 1, cut:
[A] (1) 4¼” square, cut twice on the diagonal
From Fabric 2, cut:
[B] (4) 2⅝” squares
From Fabric 3, cut:
[B] (1) 2⅝” square
From Background fabric, cut:
[C] (2) 2⅜” squares cut once on the diagonal
12” BLOCK
From Fabric 1, cut:
[A] (1) 7¼” square, cut twice on the diagonal
From Fabric 2, cut:
[B] (4) 4¾” squares
From Fabric 3, cut:
[B] (1) 4¾” squares
From Background fabric, cut:
[C] (2) 4¼” squares cut once on the diagonal
![]()
STEP 1. MAKE CENTER
Take care with your triangles! The bias edges can stretch easily.
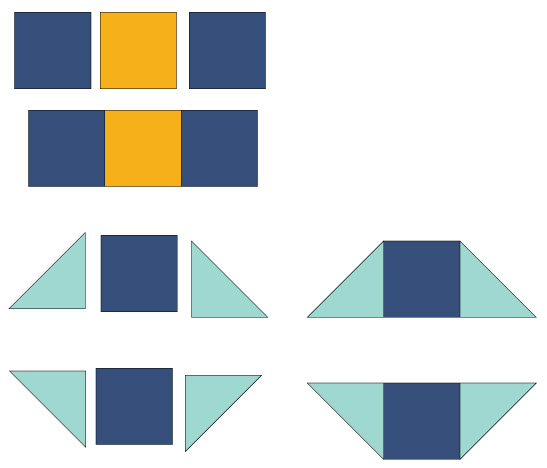
Join B squares as shown. Press.
Join B square with 2 A triangles as shown. Repeat.

Join units to create block center.

STEP 2. COMPLETE BLOCK
Add background triangles to the corners and press to complete the block.

Audrey Mann
instagram: @theclothparcel
shop: The Cloth Parcel
Note: The Printer-Friendly PDF does not include the correct size for the Corner Triangles on the 12" block. Piece C should be 4¼", not 3⅞”.
Find all Summer in the Garden posts by clicking {HERE}.

Comments