Welcome to Moda Fabrics!
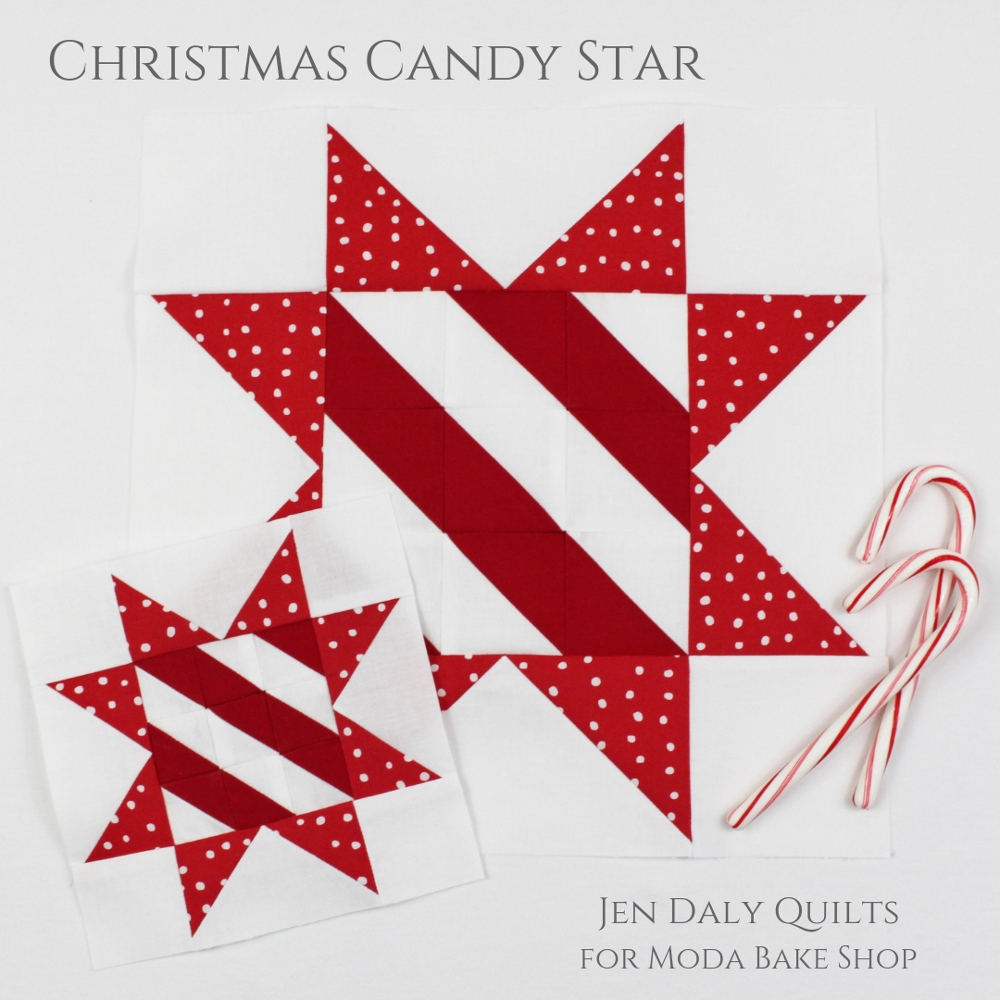
Dec 17: Christmas Candy Star
Dec 17: Christmas Candy Star
Published:
Dec 16 2018 - 23:00
![]()
Welcome back to the Moda Bake Shop's Countdown to Christmas! I'm Jen Daly and I'm excited to be here again with a new block for Day 17! Candy canes and peppermint sticks were the inspiration for my cheery Christmas Candy Star block featuring a Sawtooth Star with a candy striped center made of half square triangles—sew sweet!
This block finishes at 6" or 12" square.
![]()
| 6" Block | 12" Block |
|---|---|
| From white fabric, cut: (4) 2" x 3½” rectangles, (9) 2" x 2" squares | From white fabric, cut: (4) 3½” x 6½" rectangles, (4) 3½" x 3½" squares, (5) 3" x 3" squares |
| From solid red fabric, cut: (5) 2" x 2" squares | From solid red fabric, cut: (5) 3" x 3" squares |
| From red print, cut: (8) 2" x 2" squares | From red print, cut: (8) 3½” x 3½" squares |
![]()
The following instructions are for the 6" block. The 12" block is made exactly the same way, but the 12" block patch sizes are listed in the brackets [].
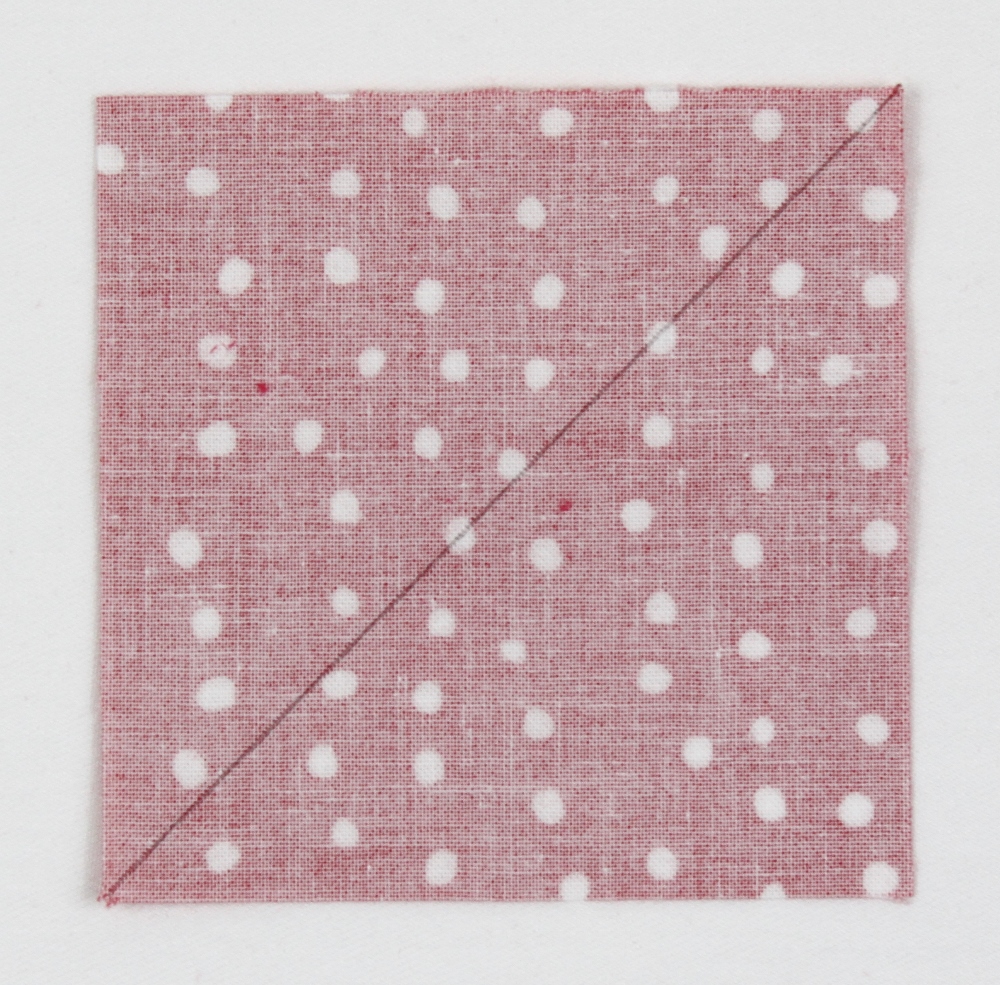
Make the Half Square Triangles (HSTs)
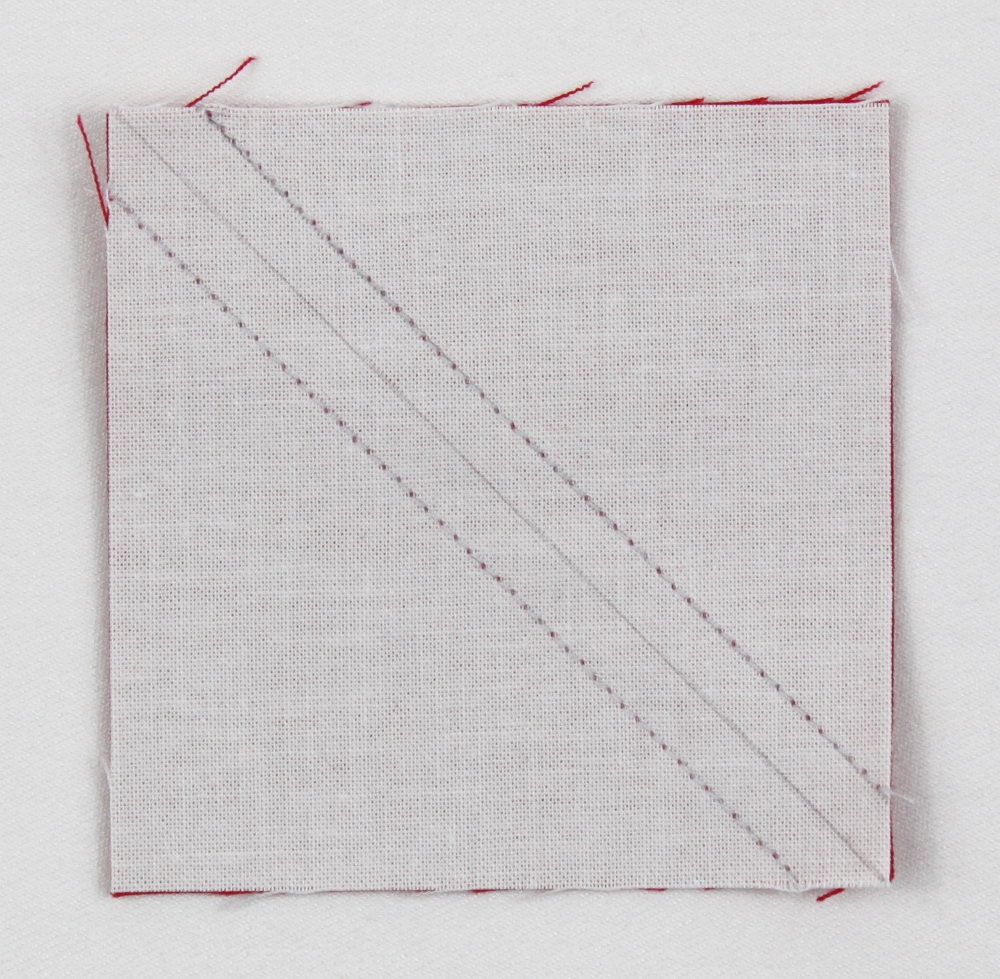
- On the wrong side of a white 2" square [3" square] use a pencil to lightly draw a diagonal line from corner to corner. Layer the marked white 2" square [3" square] atop a solid red 2"square [3" square] with right sides together.

2. Stitch the pair together a scant ¼" from either side of the drawn line. Press to set seams.
3. Cut the unit in half on the drawn line to make 2 half square triangle units ("HSTs").
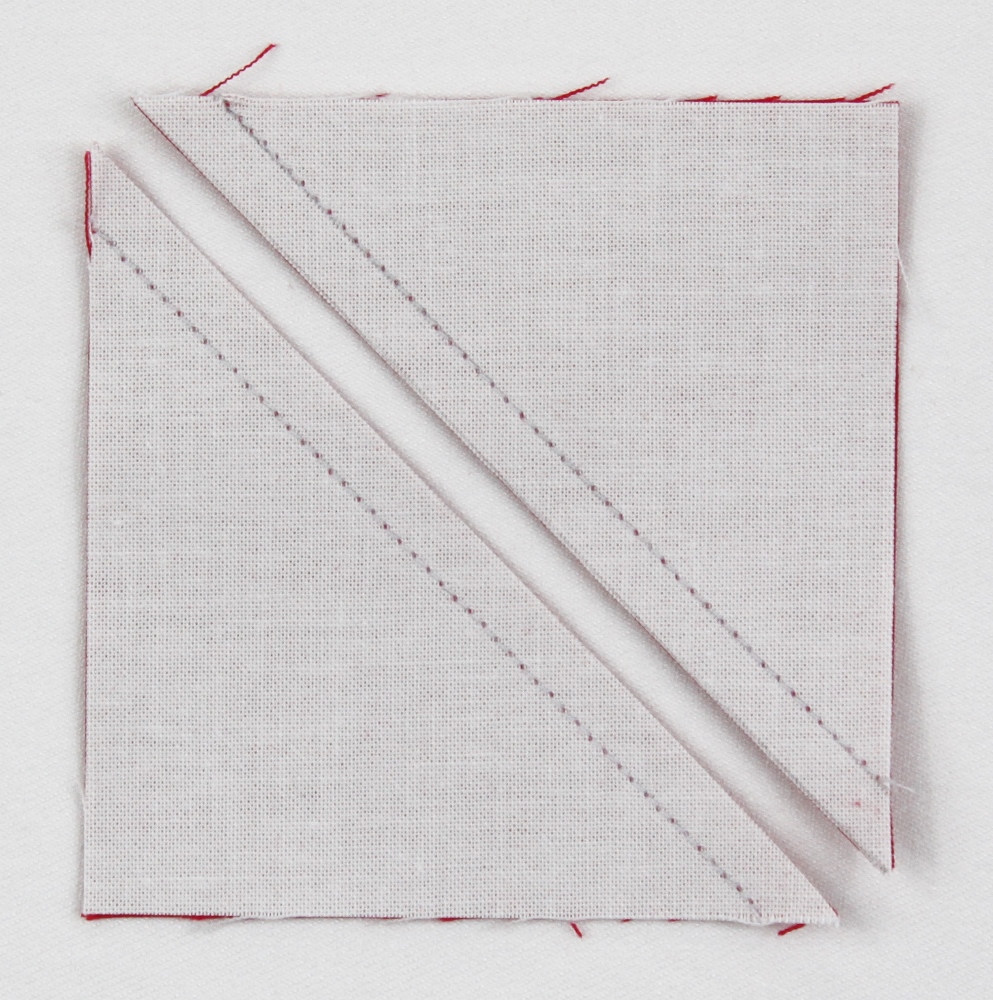
4. Press the seam allowances toward the red and trim the HSTs to measure 1½" x 1½" [2½" x 2½"] unfinished.

5. Repeat steps 1-4 with 4 additional white 2" squares [3" squares] and 4 additional red solid 2" squares [3" squares] to make 9 HSTs total (you'll end up with one extra).

Make the Candy Striped Center
- Lay out 9 HSTs in 3 rows of 3 HSTs each as shown.
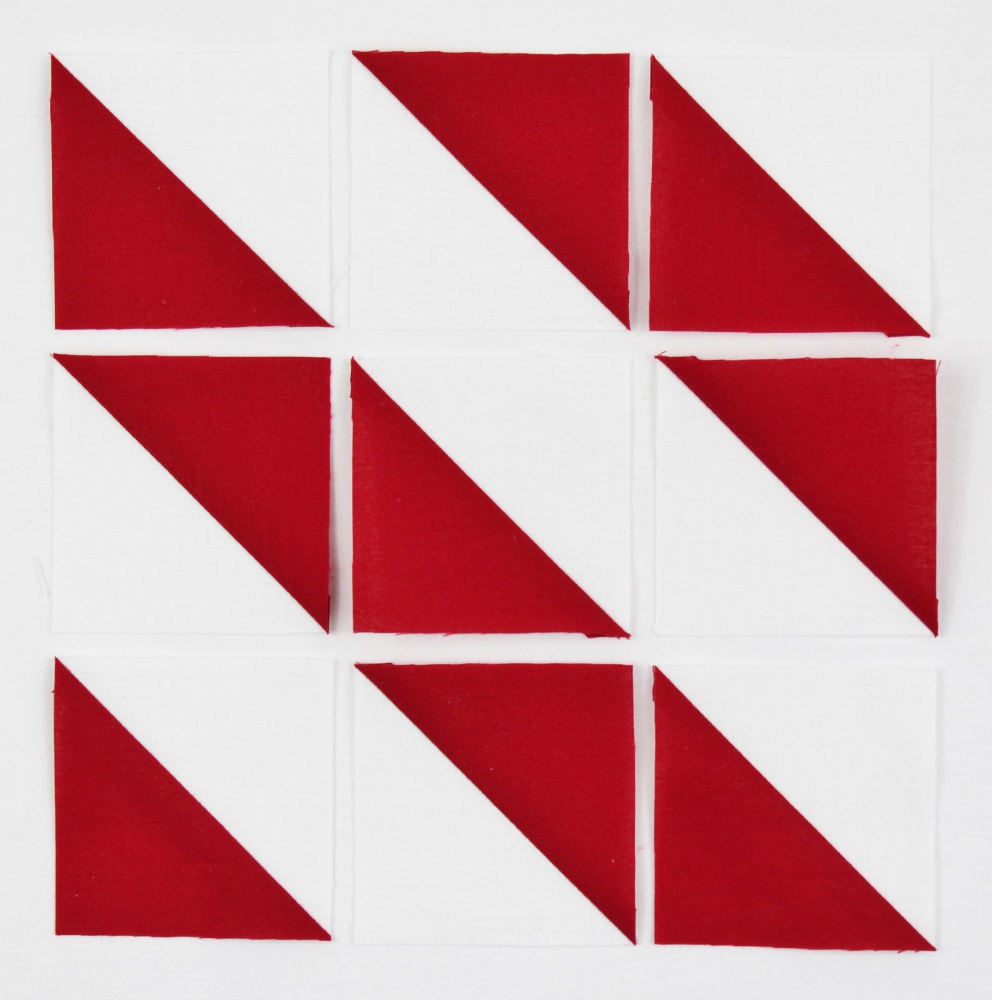
2. Join the pieces in each row. Press the seam allowances in the top and bottom rows toward the right. Press the seam allowances in the center row toward the left.

3. Join the rows together, pressing seam allowances open, to make a candy striped center measuring 3½" x 3½" [6½" x 6½"] unfinished.
![]()
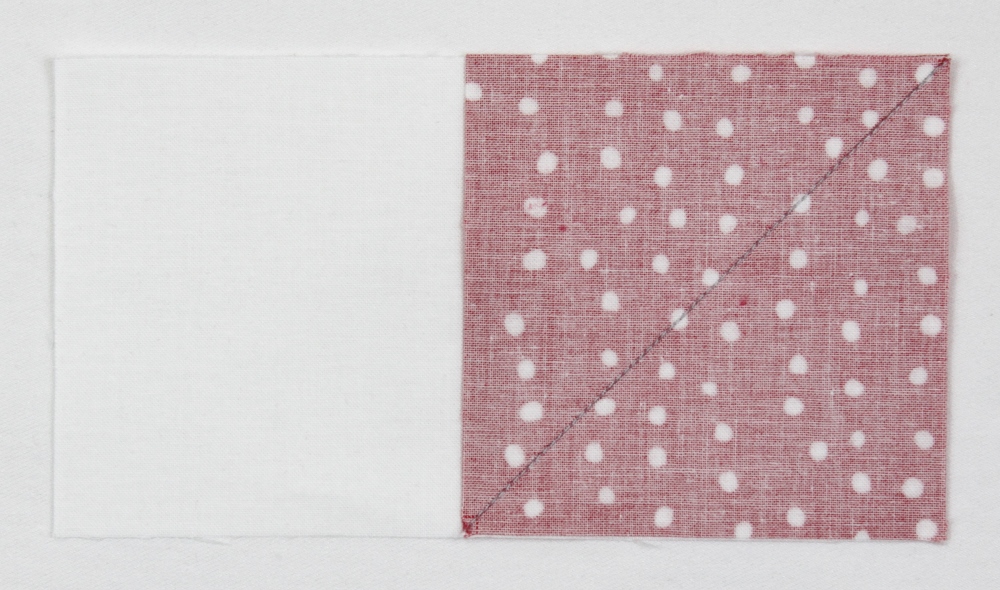
Make the Flying Geese units (star points)
- On the wrong side of 8 red print 2" squares [3½" squares] use a pencil to lightly draw a diagonal line from corner to corner.
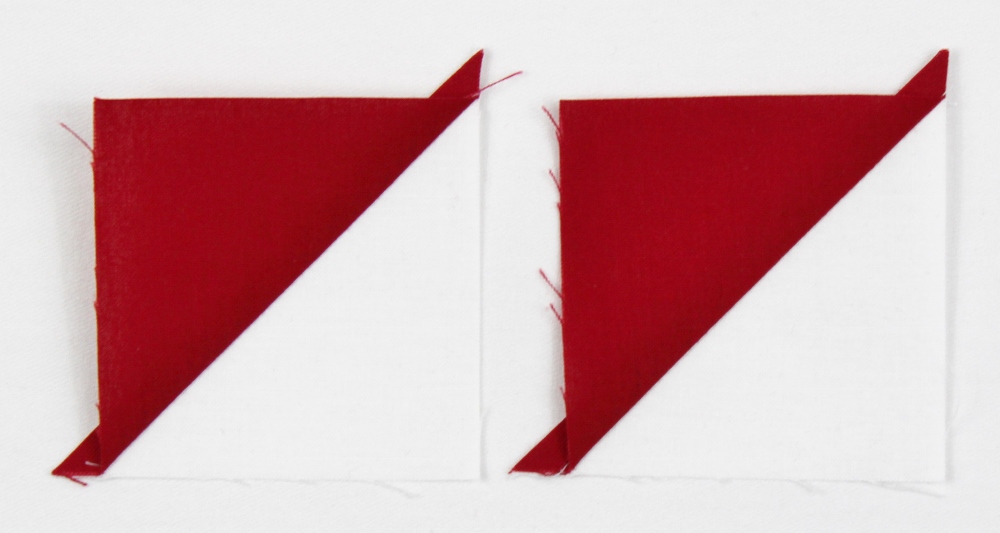
2. Layer a marked red print 2" square [3½" square] atop one end of a white 2" x 3½" rectangle [3½" x 6½" rectangle] with right sides together. Stitch the pair together along the drawn line. Press toward the red and trim seam allowance to ¼".
3. Layer a marked red print 2" square [3½" square] atop the opposite end of the same white 2" x 3½" rectangle [3½" x 6½" rectangle] with right sides together as shown. Stitch along the drawn line. Press toward the red and trim seam allowance to ¼" to make a Flying Geese unit.
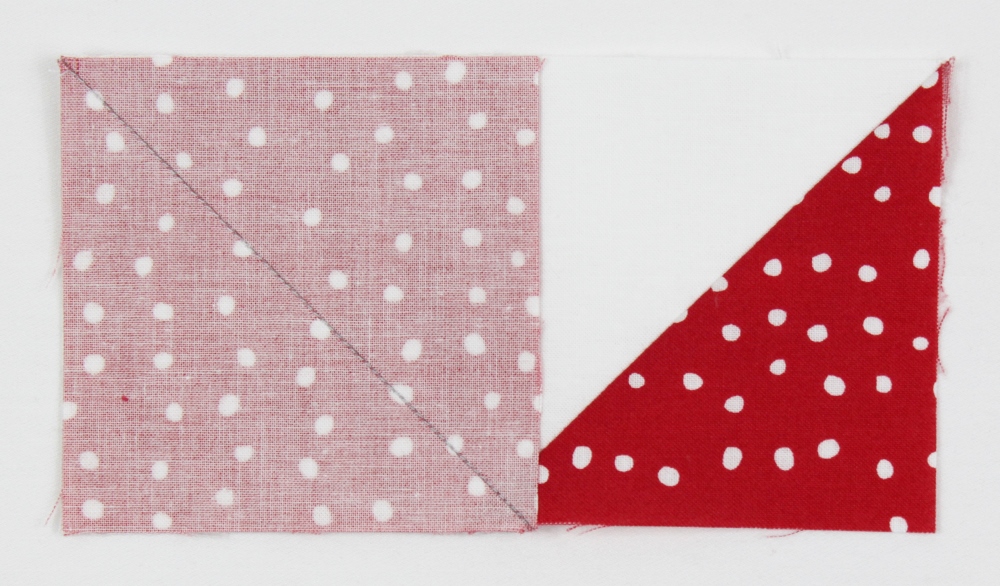
4. Repeat to make 4 Flying Geese units measuring 2" x 3½" [3½" x 6½"] unfinished.

Assembling the block
- Sew a white 2" square [3½" square] to opposite ends of 2 Flying Geese units to make 2 star point rows. Press seam allowances away from the white squares.

2. Sew a Flying Geese unit to the left and right sides of the candy striped center. Press seam allowances toward the Flying Geese units.

3. Sew a star point row to the top and bottom of the unit from step 2.

4. Press seam allowances toward the star point rows to complete your block.

![]()
This block finishes at 6" or 12" square.

Thank you so much for following along today and I hope you have fun making this block! If you post your finished block on Instagram, please tag me @jendalyquilts—I'd love to see what you make!
Jen Daly
{blog: JenDalyQuilts.com}
{instagram: /jendalyquilts}
{shop: Etsy.com/shop/JenDalyQuilts}
{facebook: /jendalyquilts}
![]()
Posted in: