Welcome to Moda Fabrics!
Reverse Applique Christmas Pillow
Reverse Applique Christmas Pillow
Published:
Oct 31 2018 - 23:00

![]()
Hi fellow bakers! This is Mona from Kentucky Whittaker Creations. I'm excited to share a fun project with you today.
I started sewing about two years ago. As my experience grew, I wanted to try new things. I came across reverse applique and decided to give it a try. I made a Kentucky pillow using this technique. I loved the raw edges and since then have made several other pillows using this method.
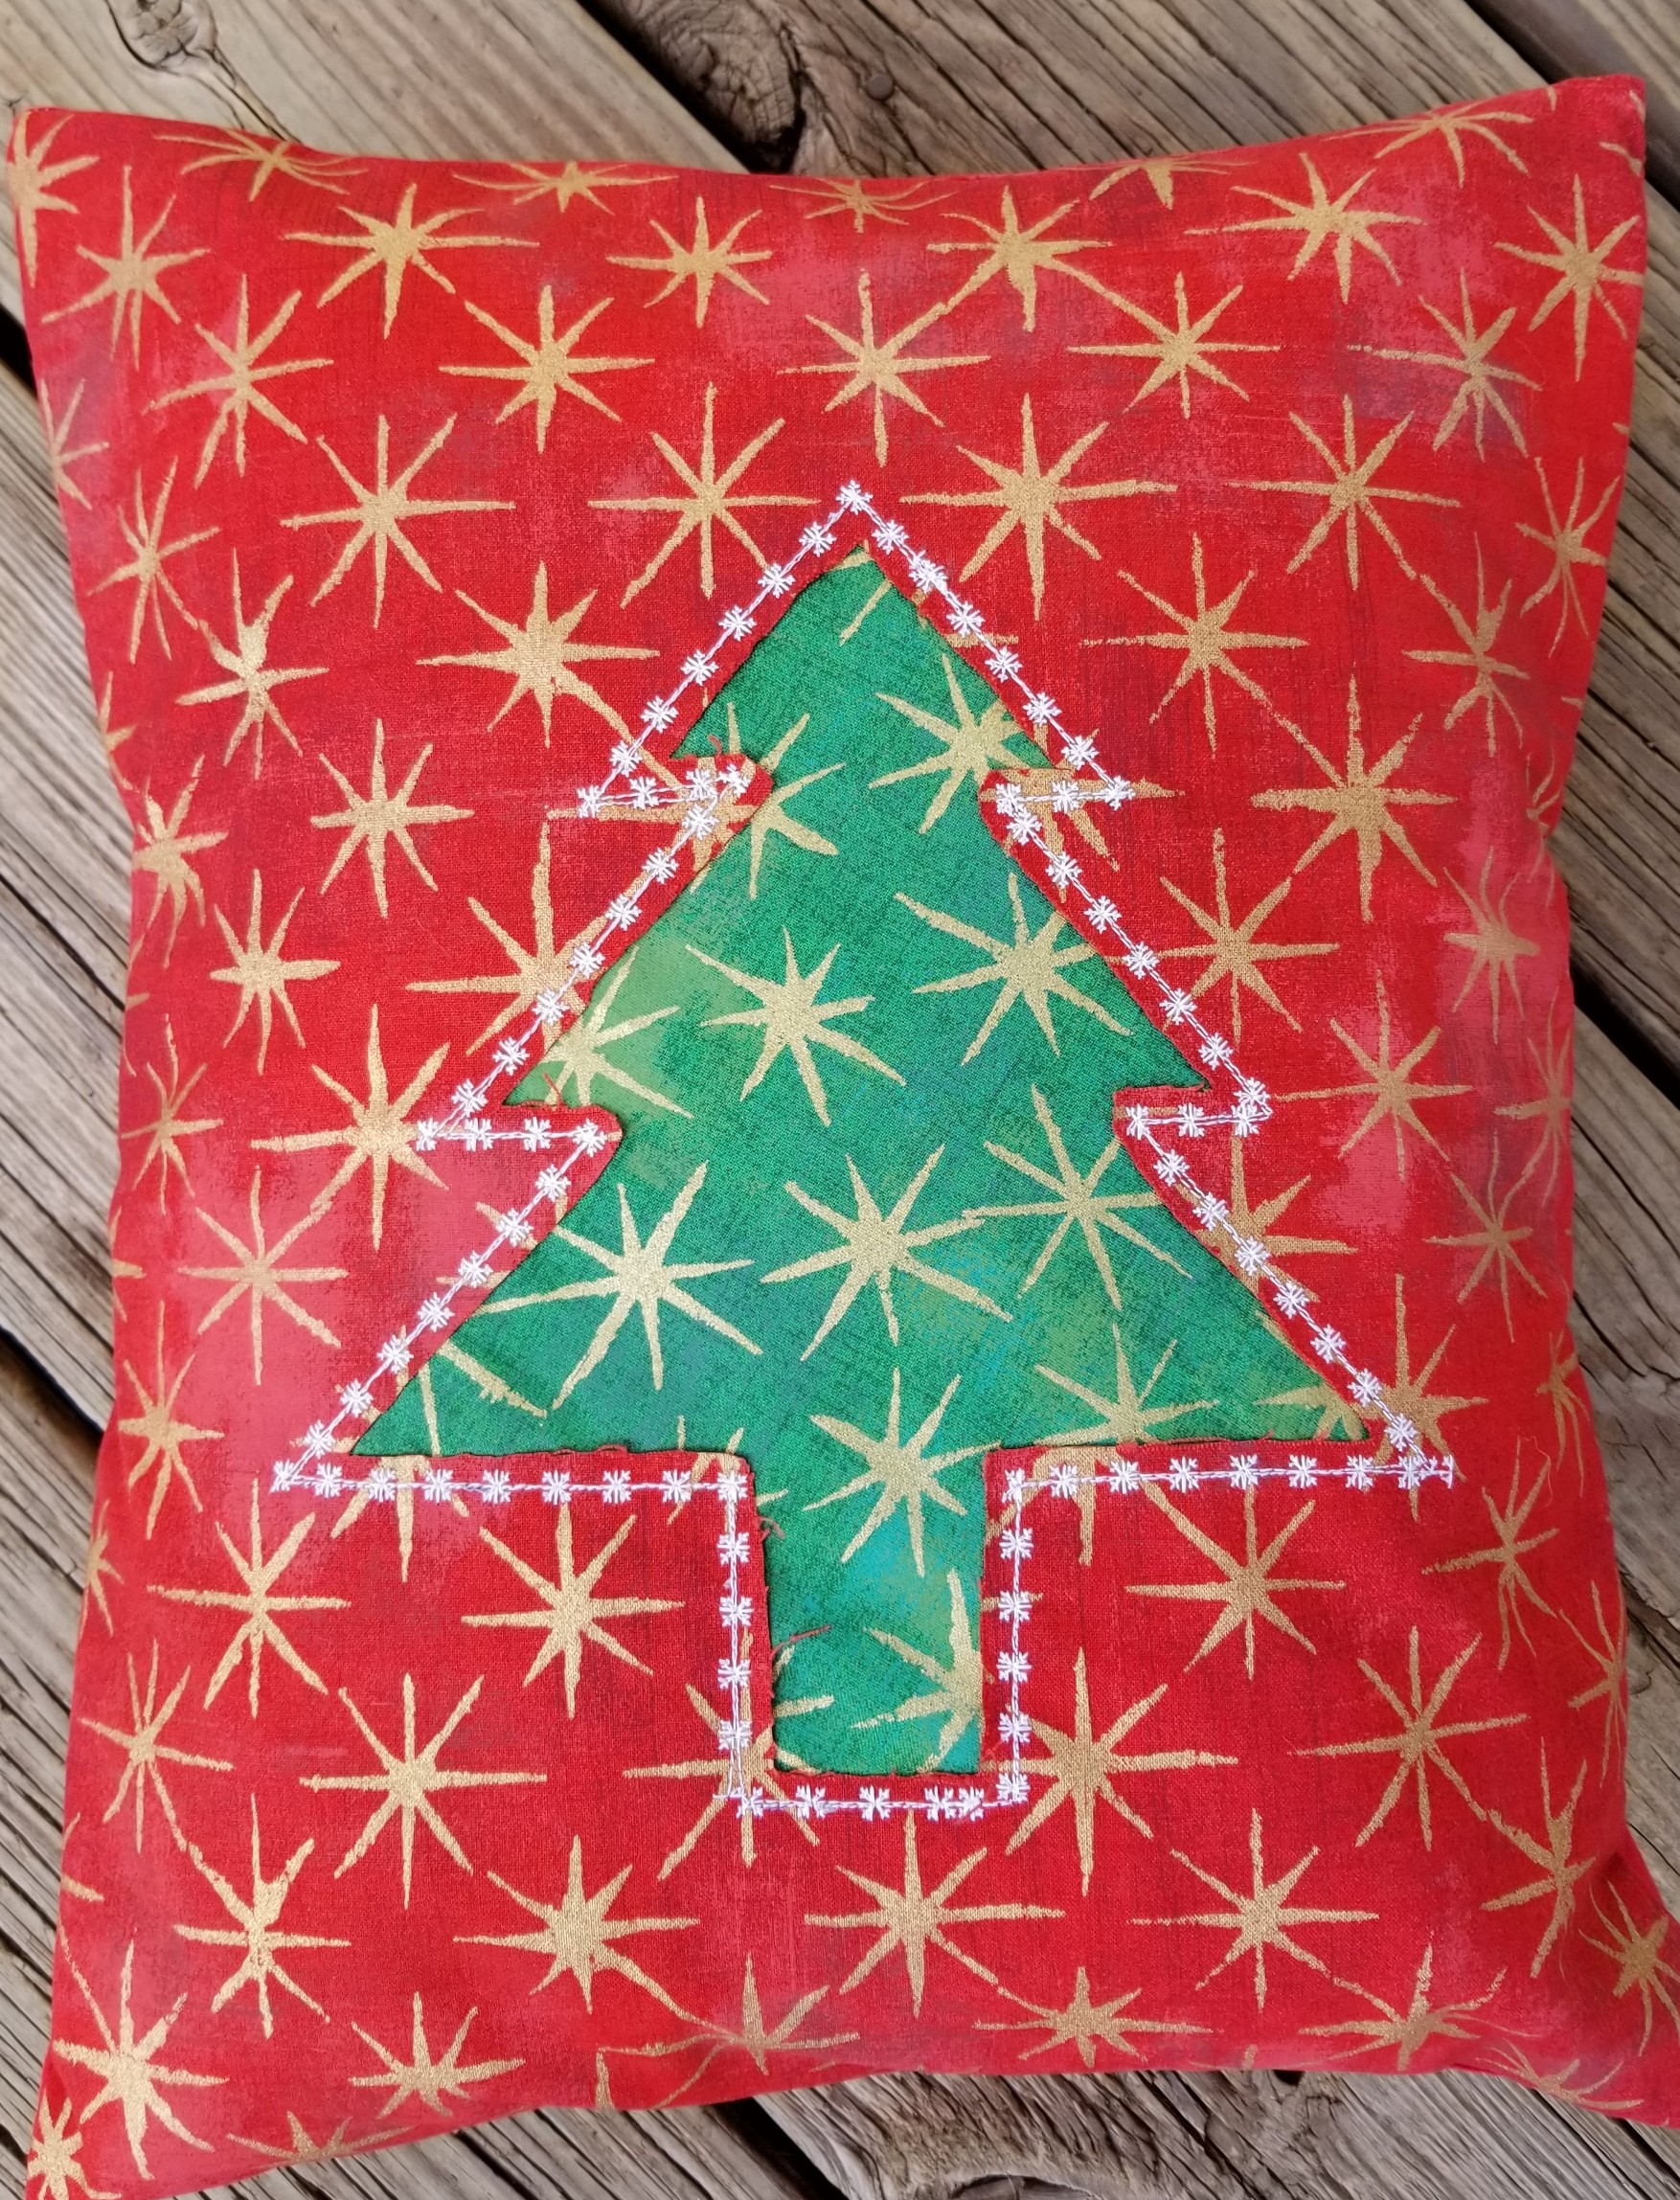
Today, we're going to make a Christmas pillow using the reverse-applique, raw-edge technique.
This pillow finishes at 12" x 16".
![]()
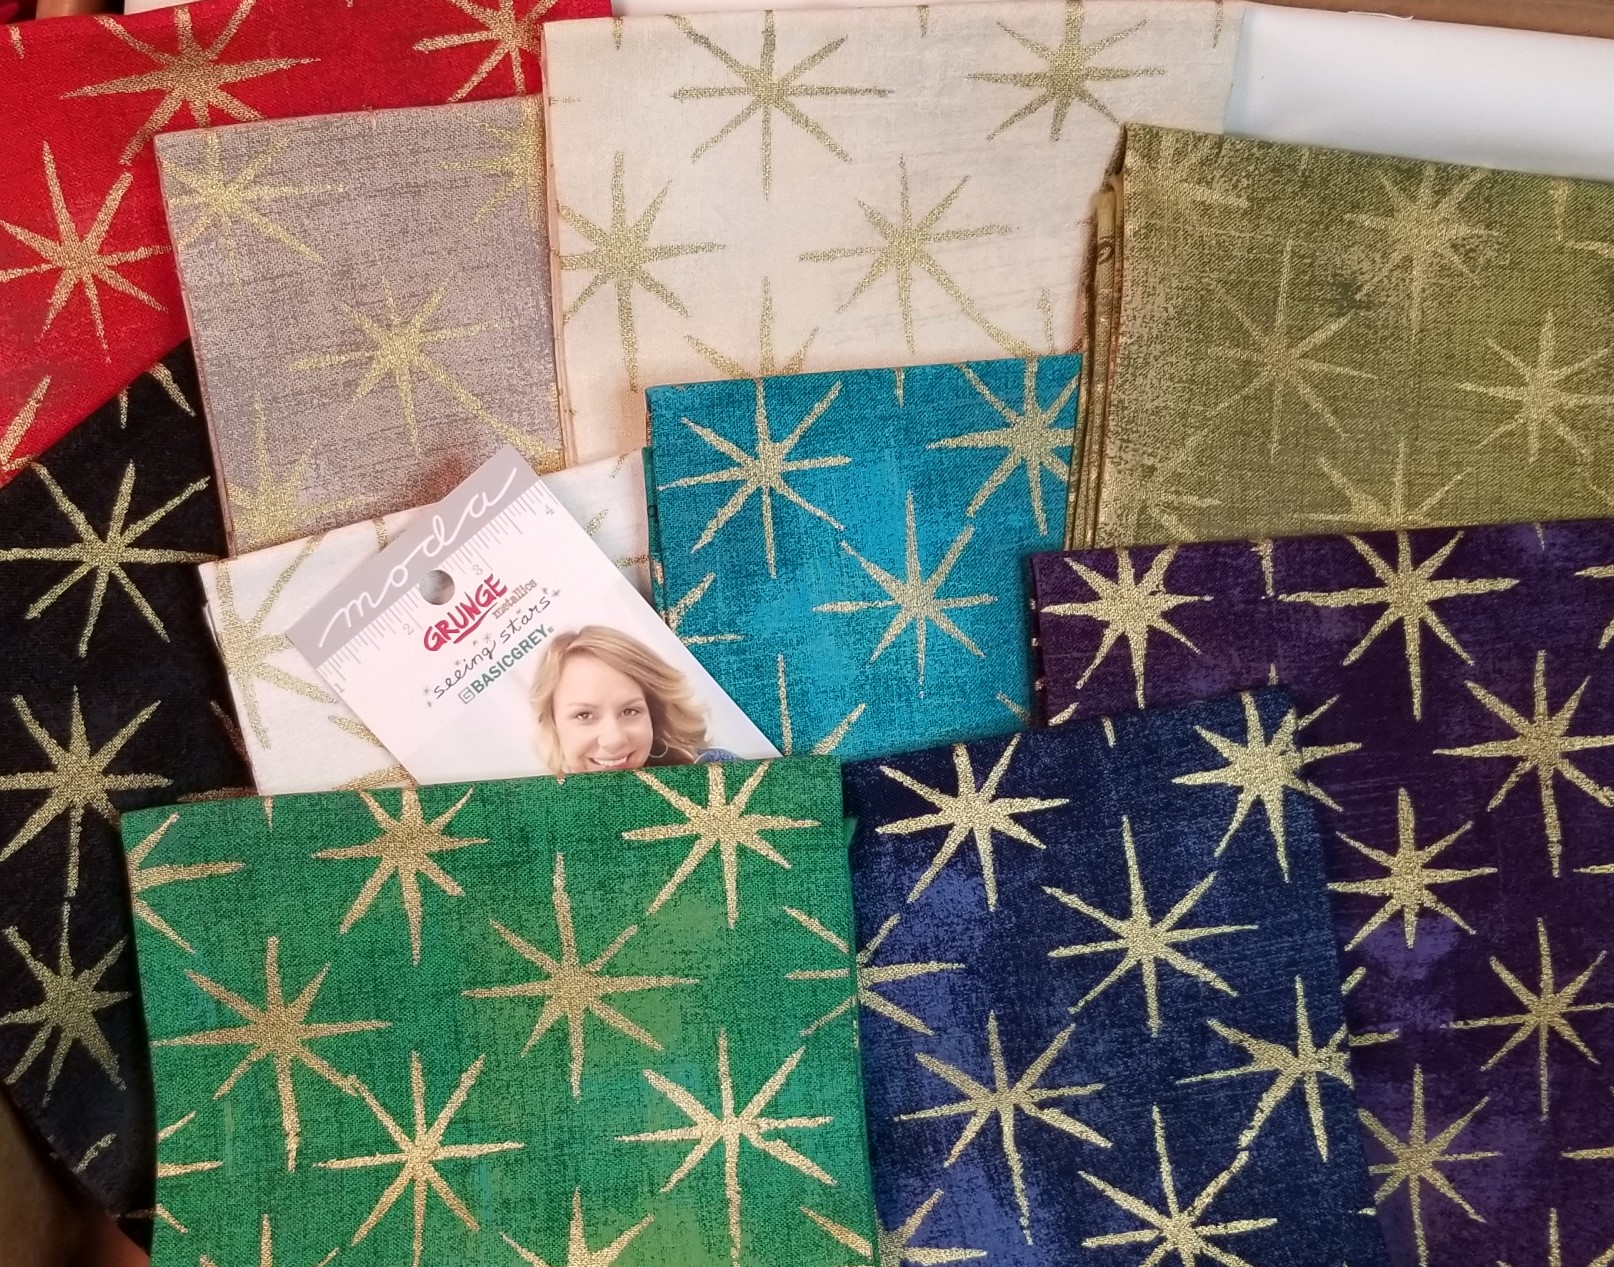
- Front of pillow:
- 1 - Grunge Seeing Stars Metallic Fat Quarter Bundle (I used the Cherry and Kelly fat quarters)
- Back of pillow:
- 1/3 yard Grunge Cherry
- Lining fabric
- 1/2 yard Bella Solids Off White
![]()
- Printer (to print the tree outline)
- Freezer paper (or other paper with temporary adhesive)
- light box (optional)
![]()
Note: Regarding the fabric for the back of the pillow - I was going to use the Bella Solids Off White but had some of the Grunge Cherry on hand. Any fabric will work with the back of the pillow, just make sure that it complements the colors on the front.
Reverse Applique:

- The first thing you need to do is print the tree outline. If you are unable to print the outline, you can always draw a tree (approx measurements 8.5" tall x 7.5" wide).

- Now you will trace the tree onto the non-slick side of a piece of freezer paper. (Freezer paper is great - you can pick it up at your local grocery store and it has a ton of uses!)
- Trim the freezer paper so that there is approximately one inch extra paper around the tree.
- It's okay if you don't have a light box - it just might be a little harder to see your tracing lines.
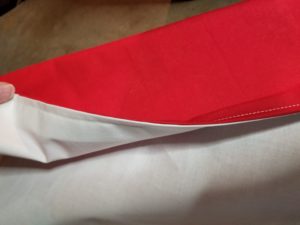
- Without steam, iron the tree onto the center of the red fat quarter.

- Layer the red fat quarter on top of the green fat quarter. Pin the fabrics together around the tree, making sure not to cross the lines of the drawing (we don't want to sew over any pins!).
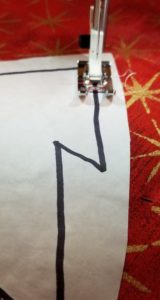
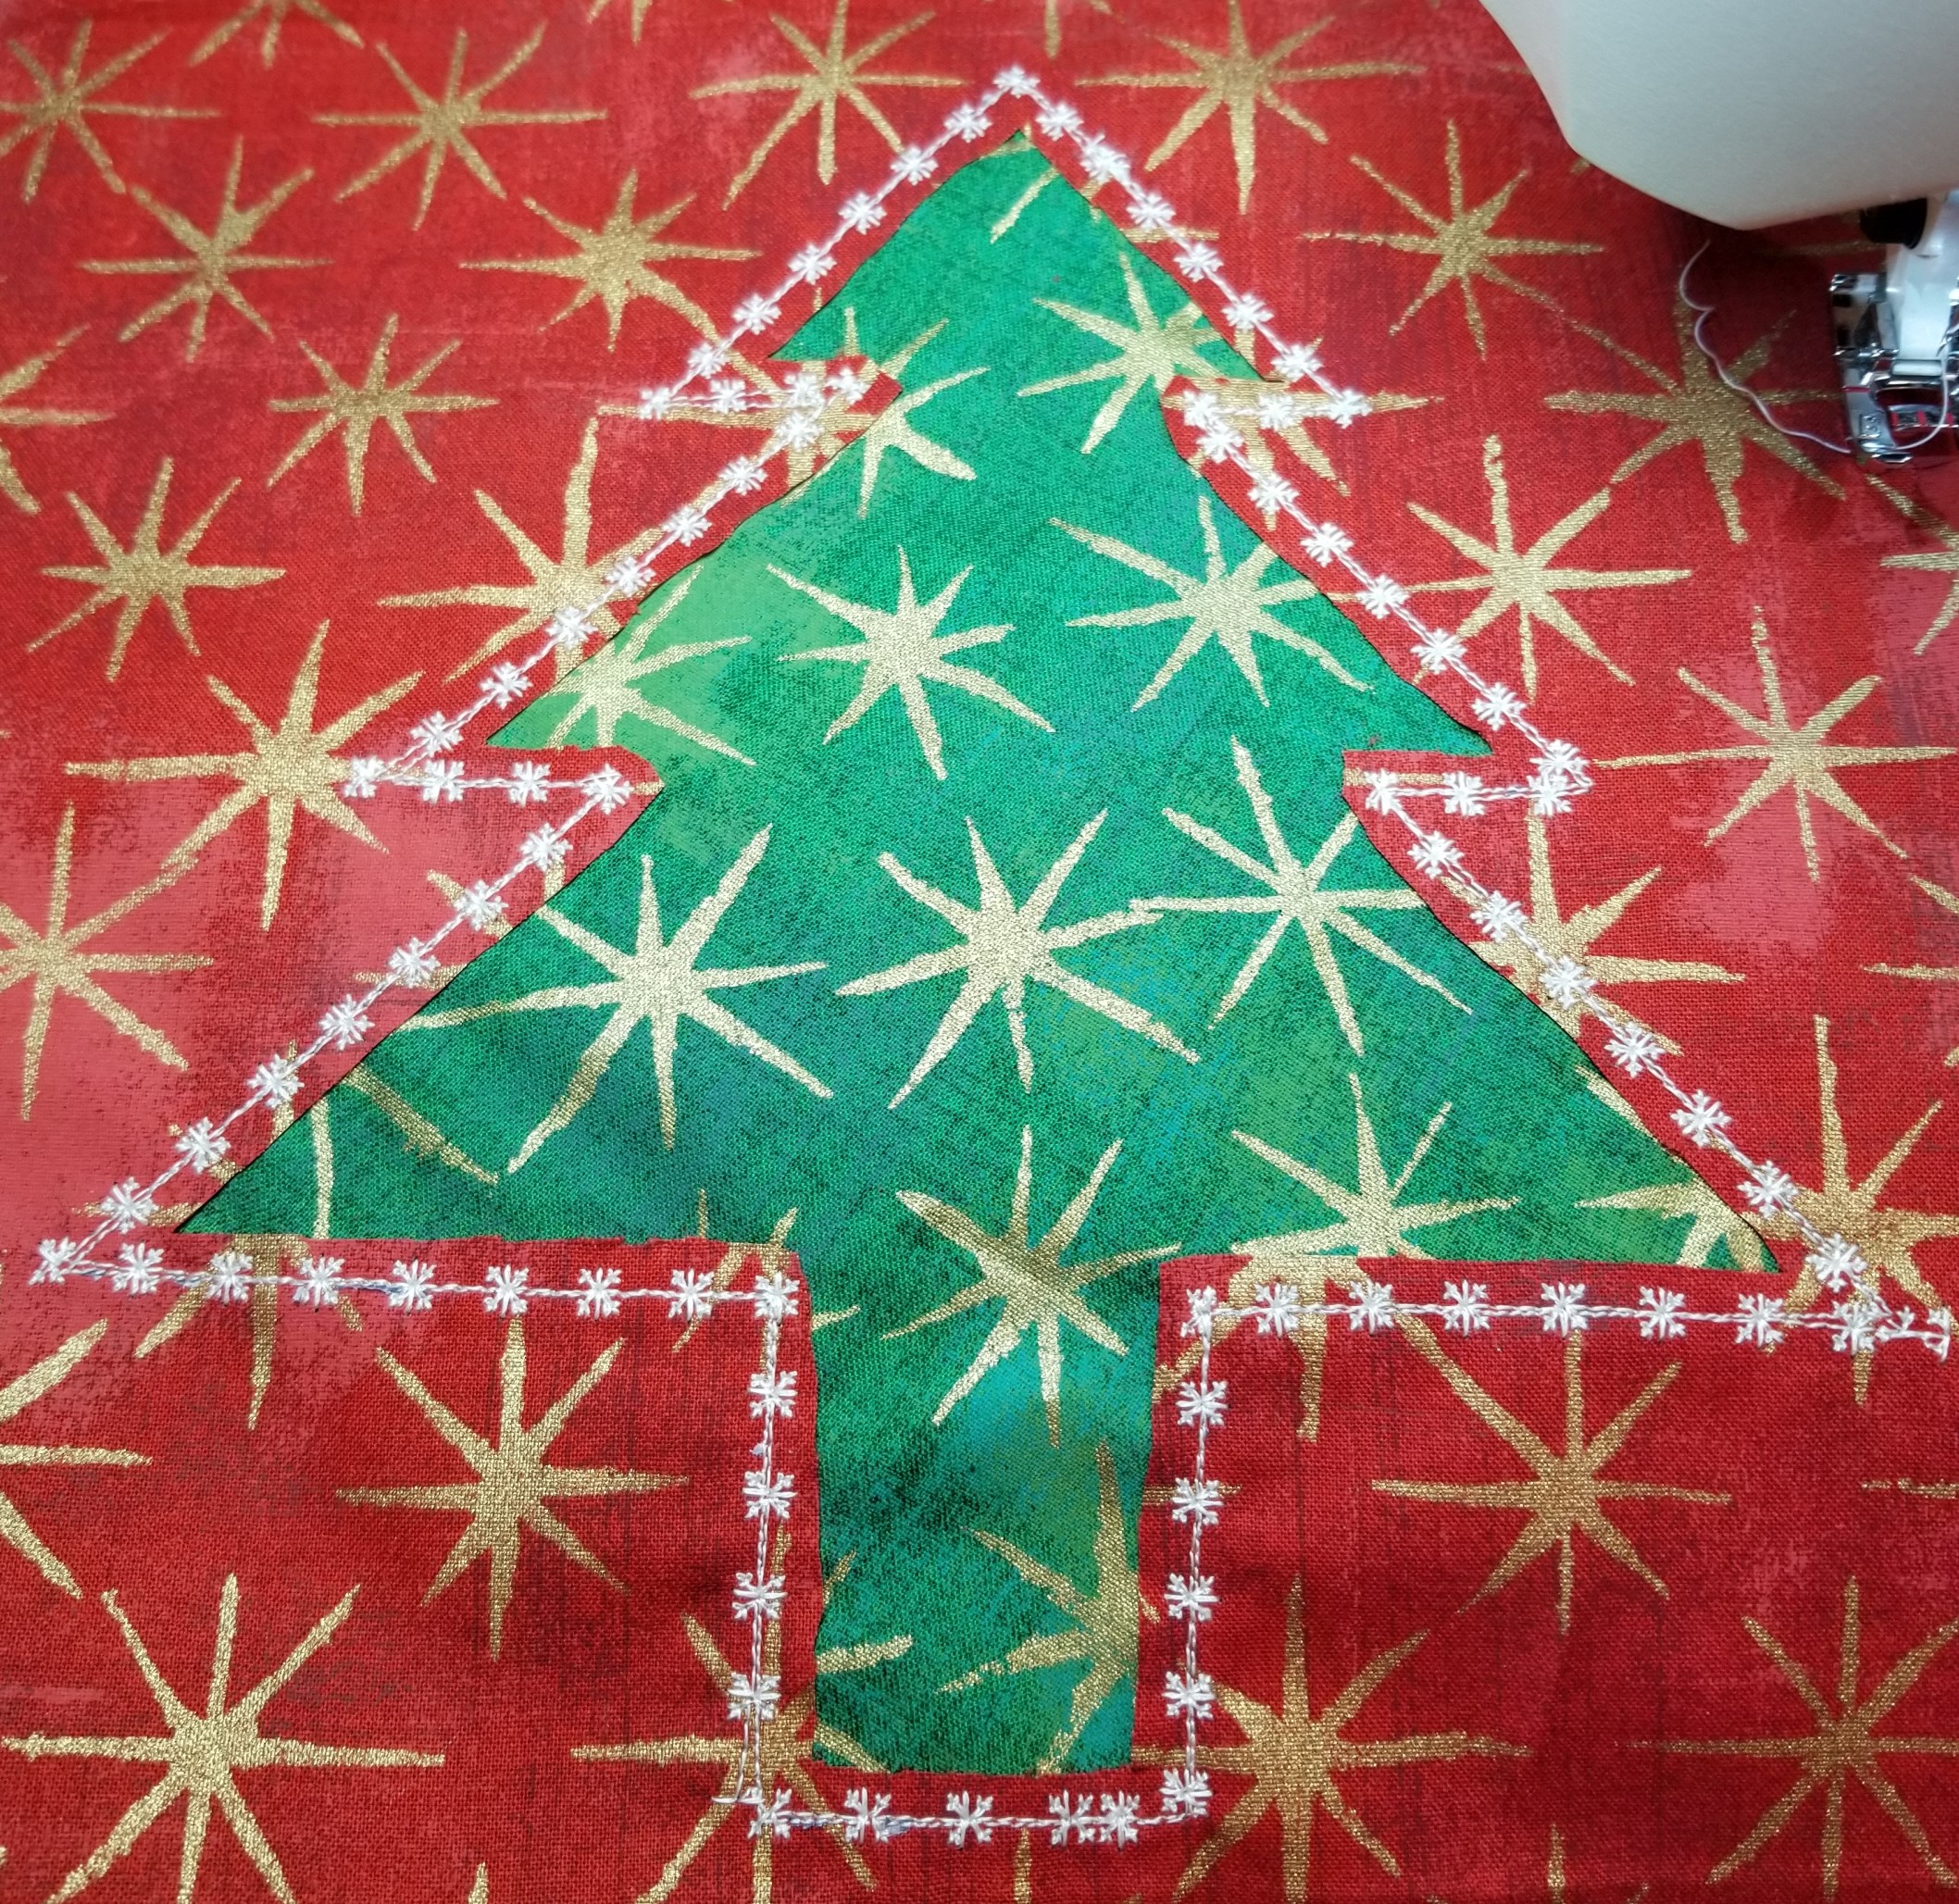
- Stitch on the outline of the tree using a short stitch length (I used 1.5 mm). This makes it easier to tear the paper away later. Don't fret if you don't stay exactly on the line.


- After you've stitched the entire outline, tear away the freezer paper. Trim the green fabric on the back so that you only have 1/2 - 1" of excess fabric around the outside of the tree.
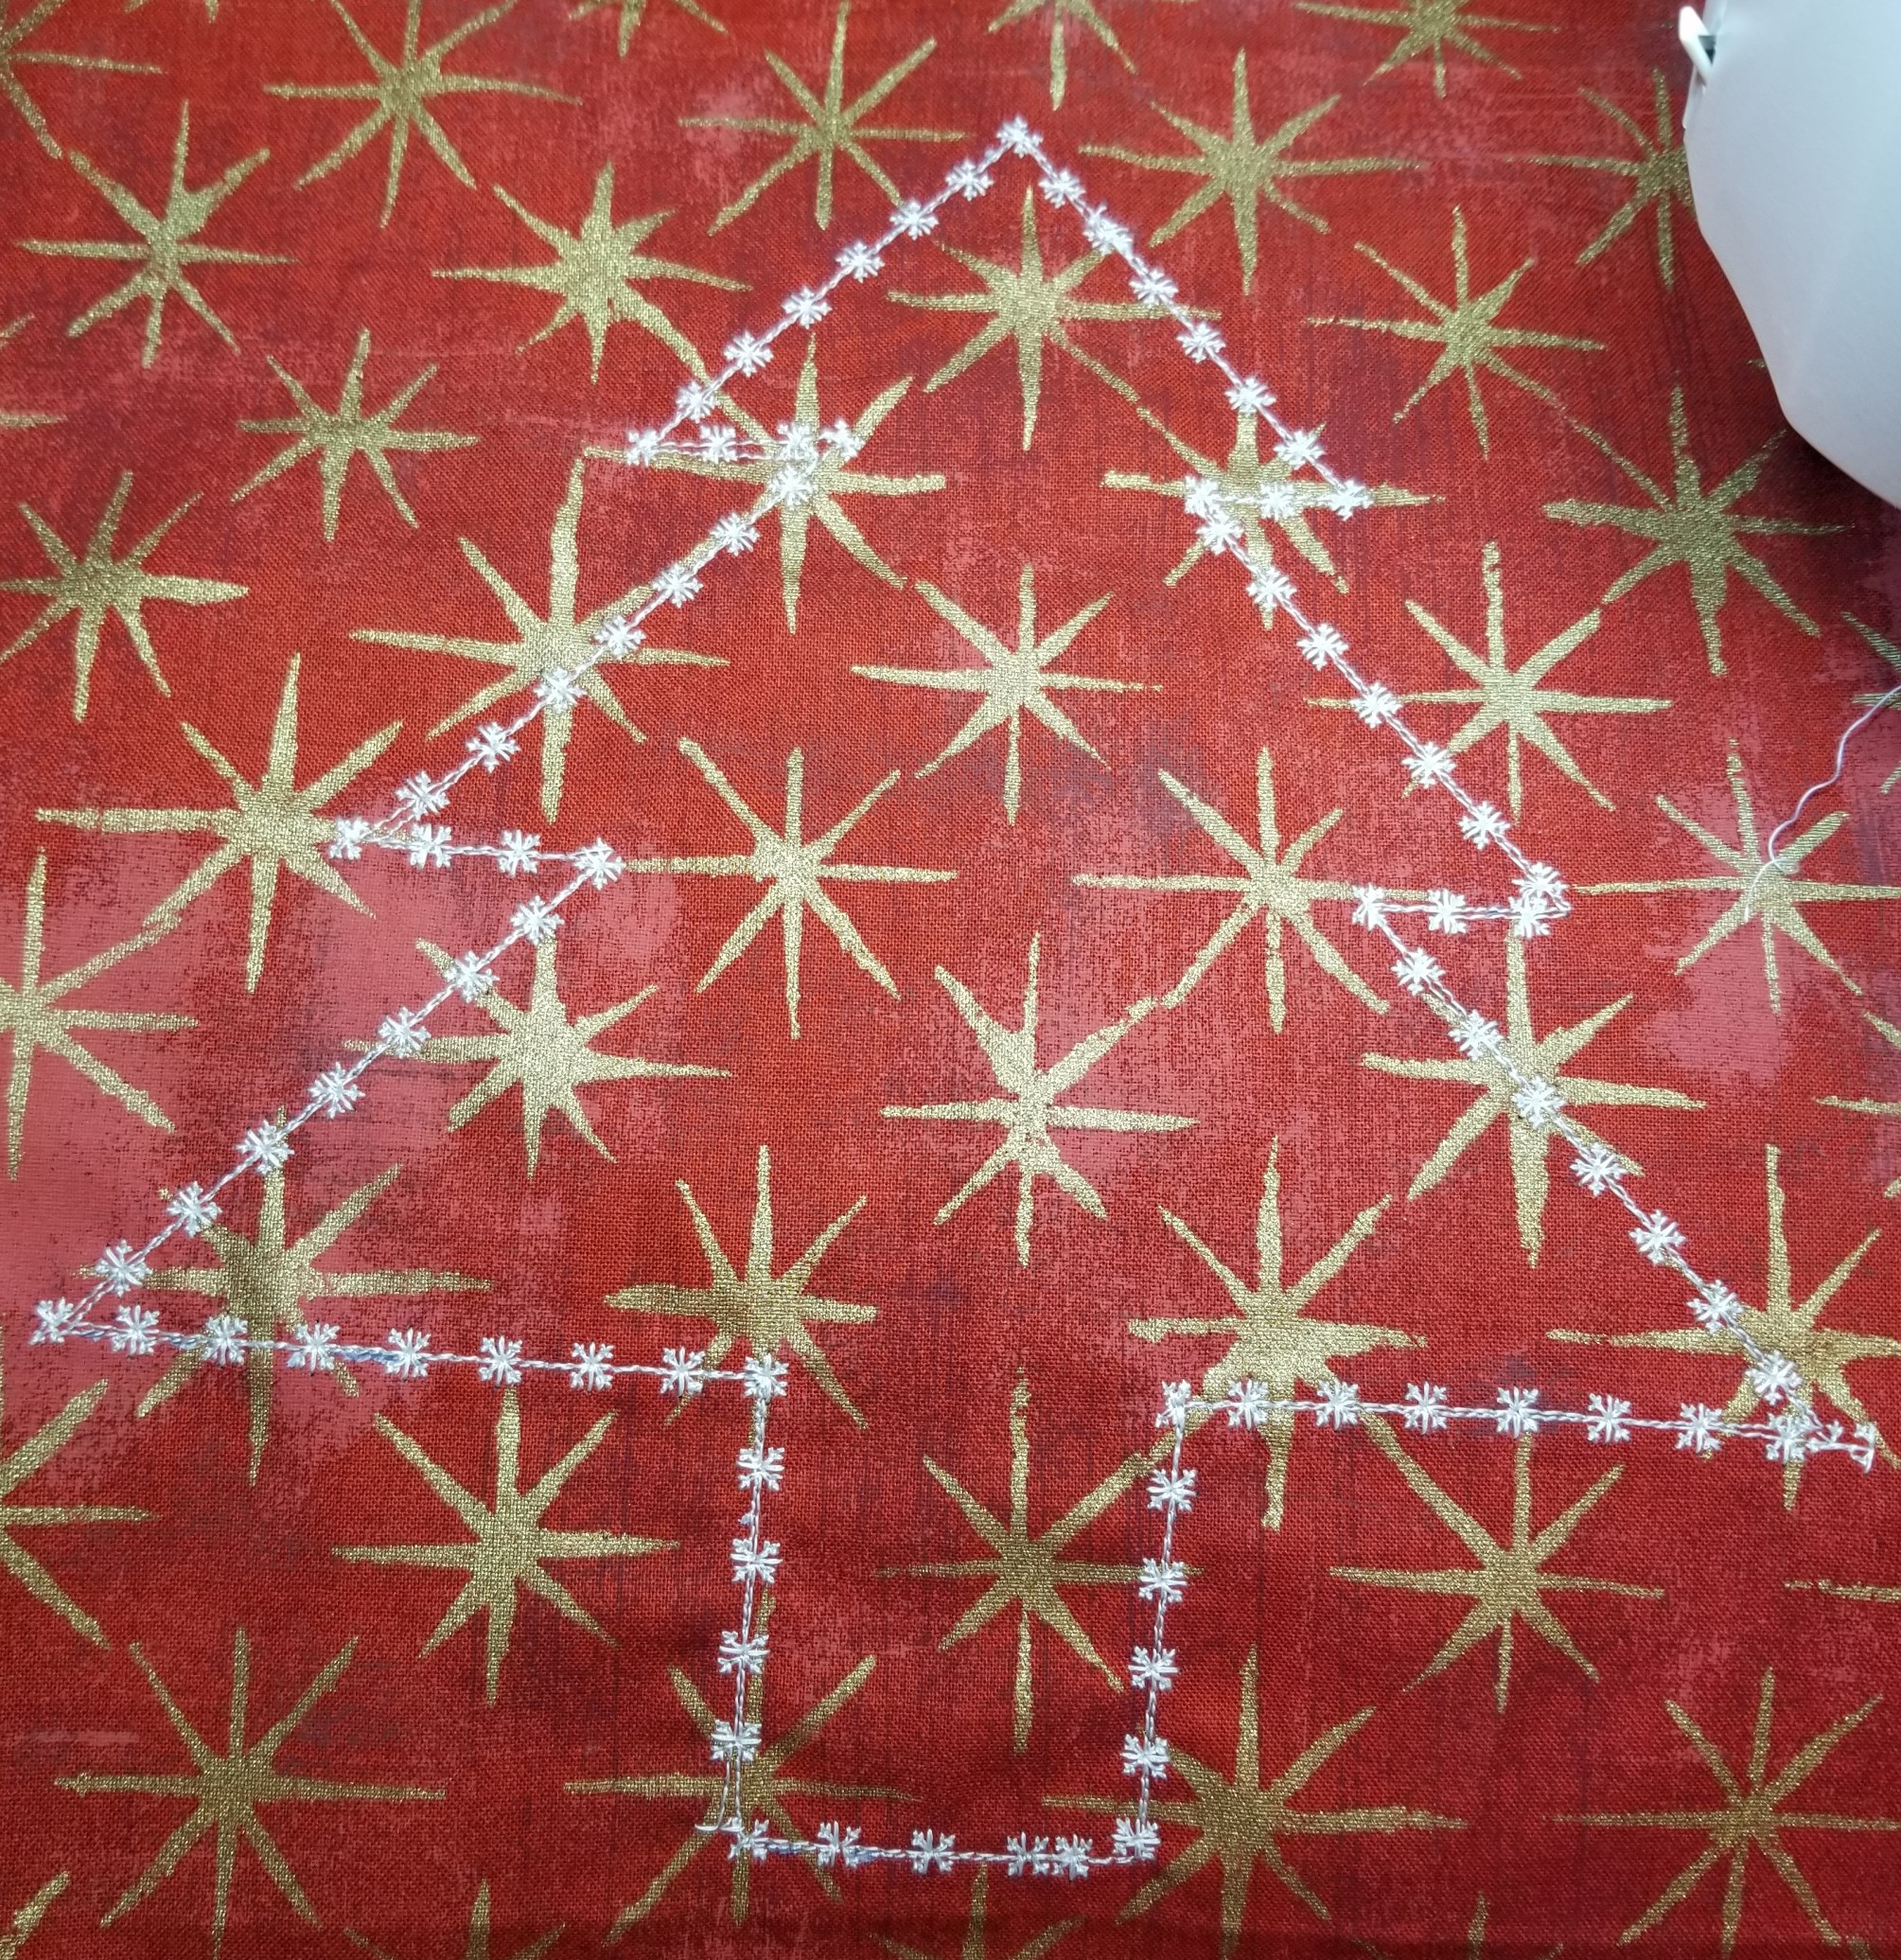
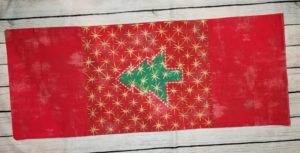
- Now you are going to do a decorative stitch over the tree outline. I used a snowflake stitch, but anything will do - even a zig-zag.
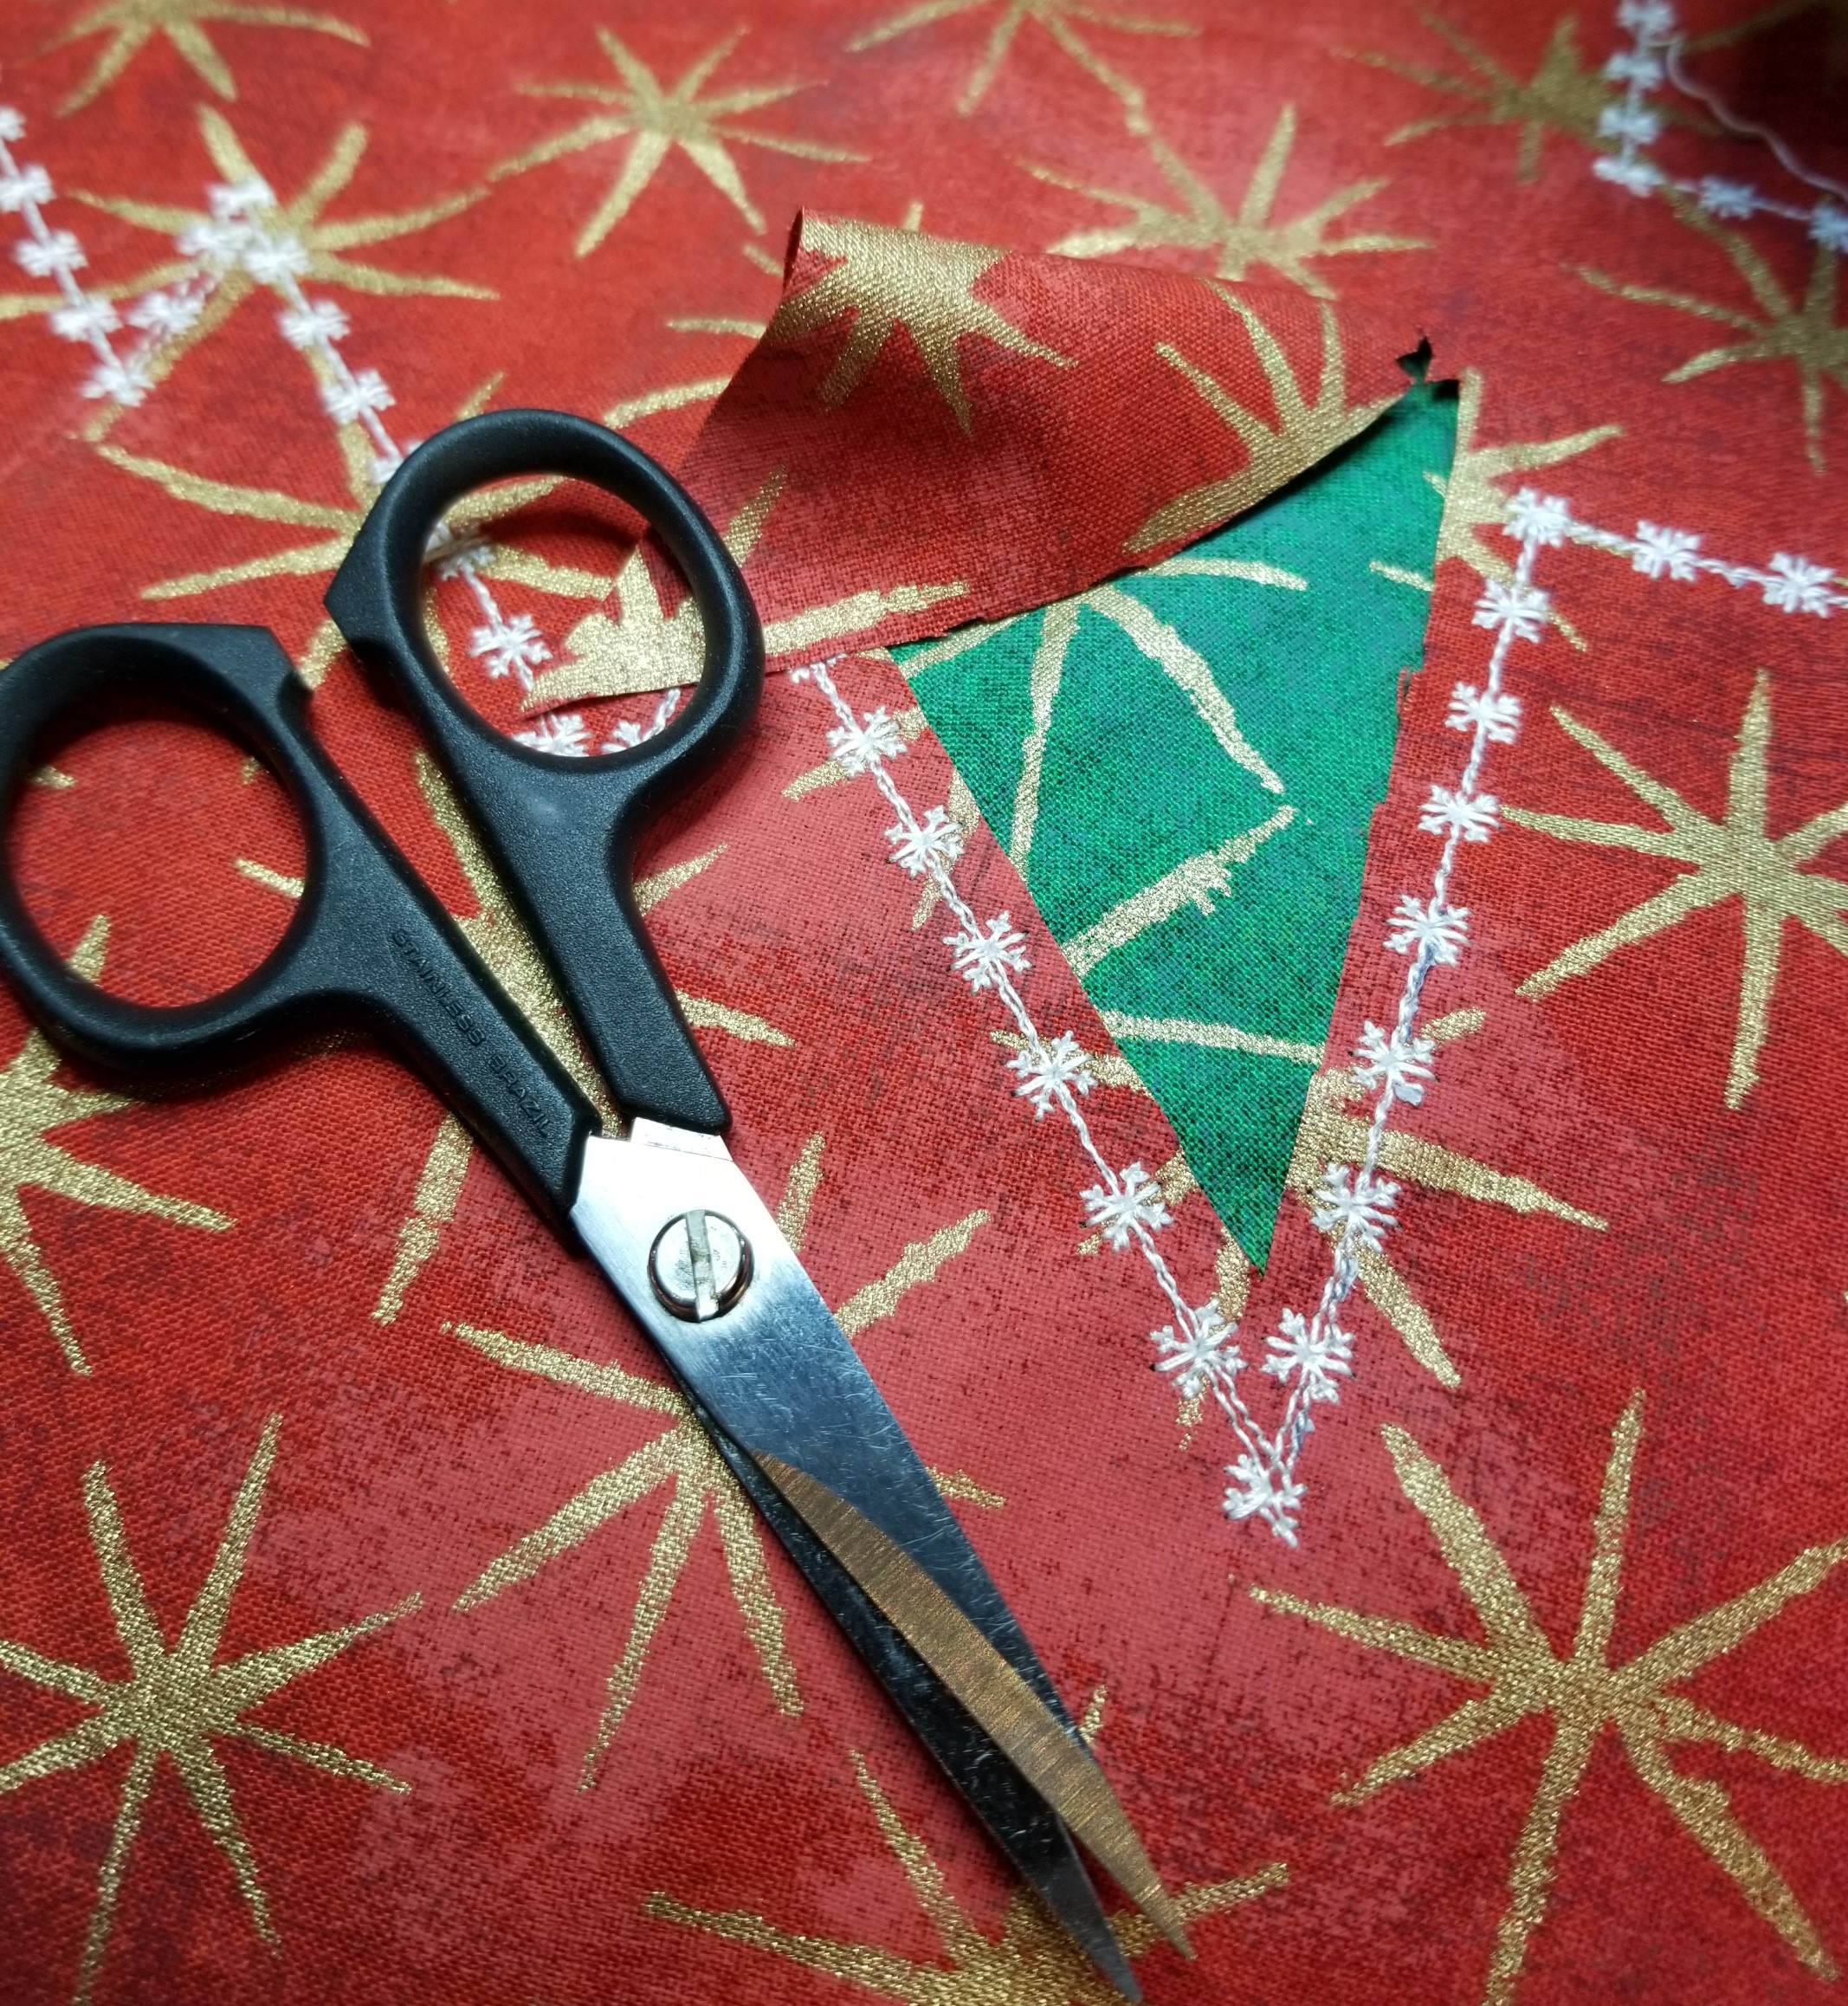
- Next, you are going to cut the red fabric out of the inside of the tree outline. You want to make sure that you don't cut the second layer (the green fabric). You will leave between 1/8-1/4" of fabric remaining. Over time, this will fray and it will add "texture" to the pillow!
Now that we have the applique out of the way, let's make the pillow!
Making the pillow:
Exterior of pillow:
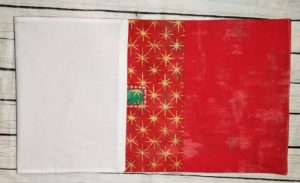
- Trim your pillow front piece to 15" wide by 16" tall, making sure to keep the tree centered.
- Cut two pieces of your back fabric - each 15" x 12"
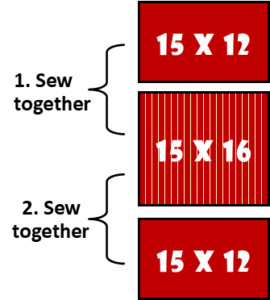
- Sew each of the back fabric pieces to the front piece, using a 1/2" seam.

Lining of pillow:
- Cut one piece of the pillow lining - 15" x 38:
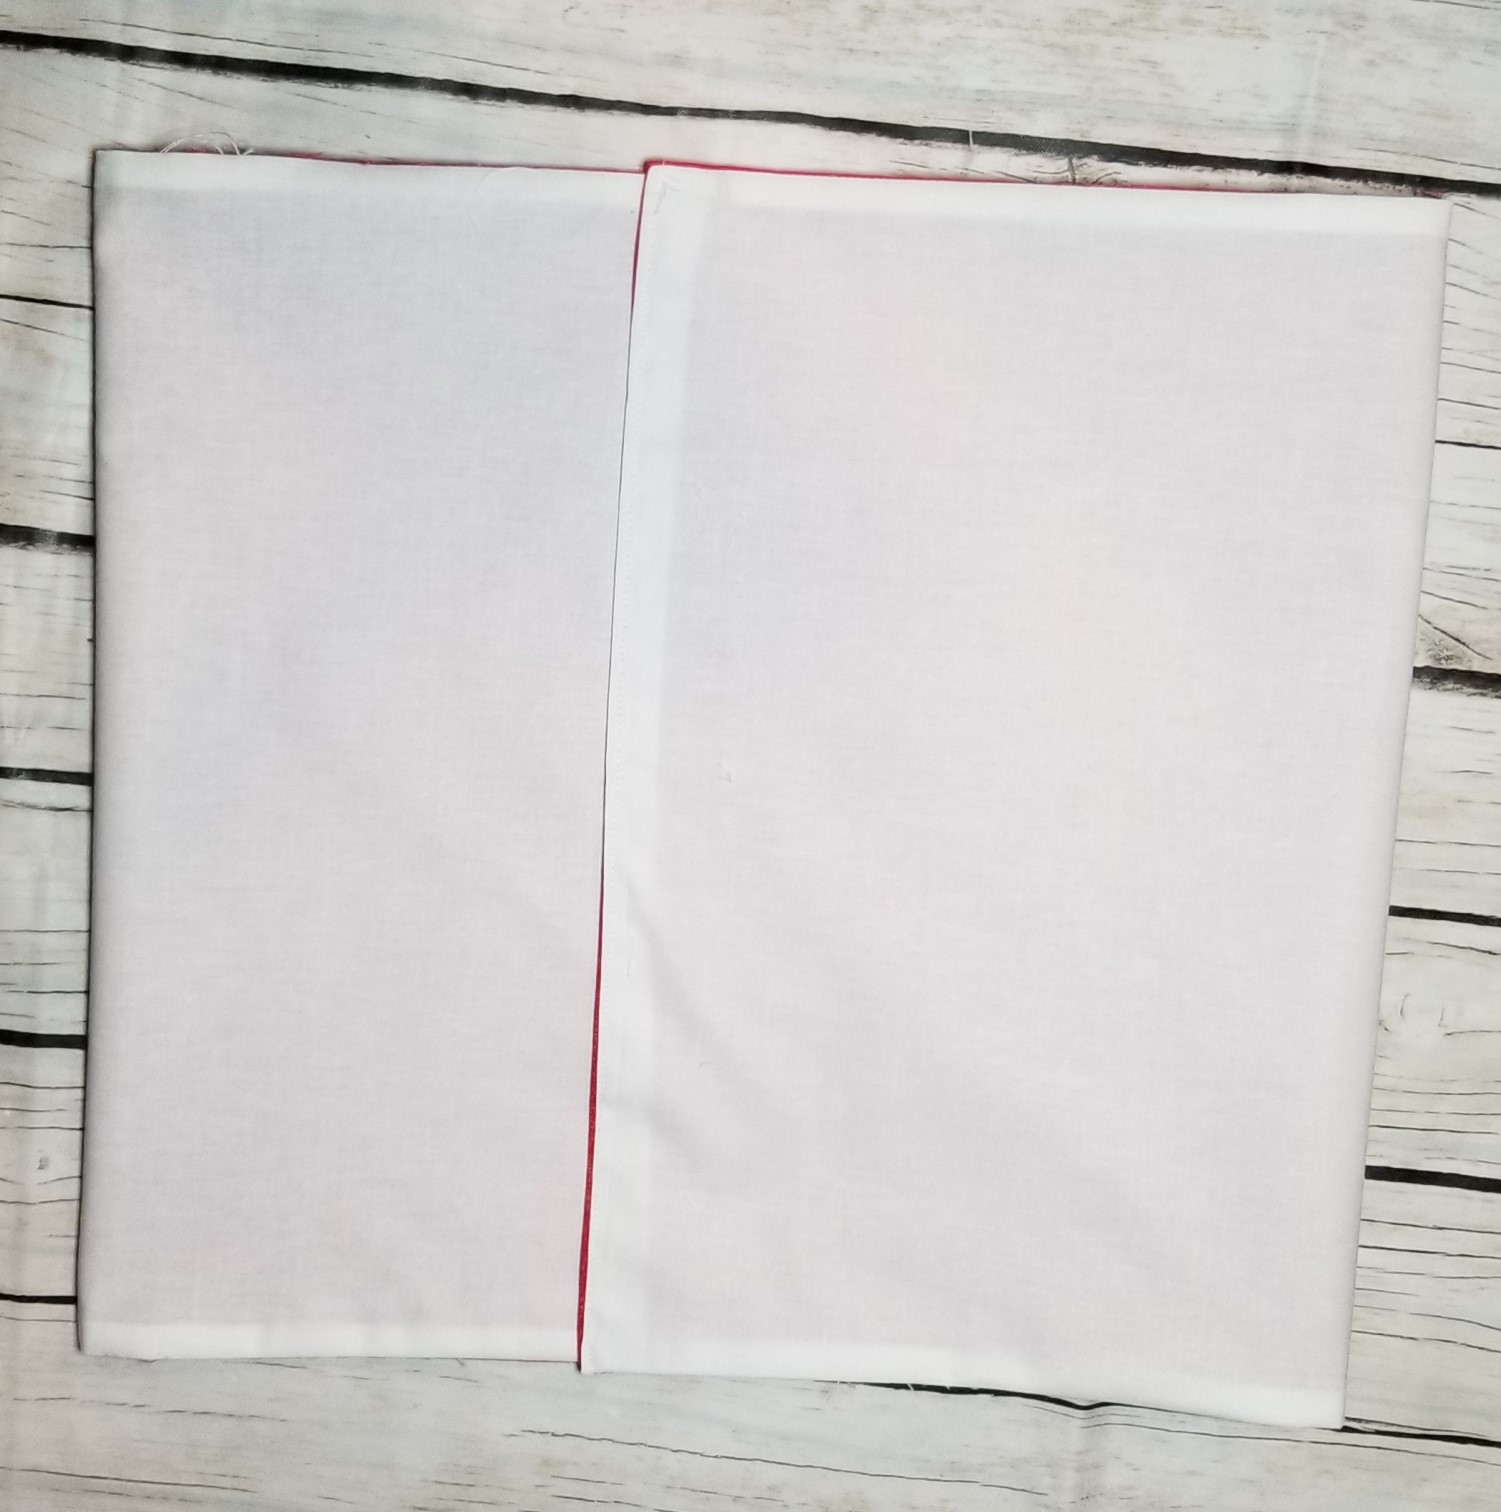
Make a french seam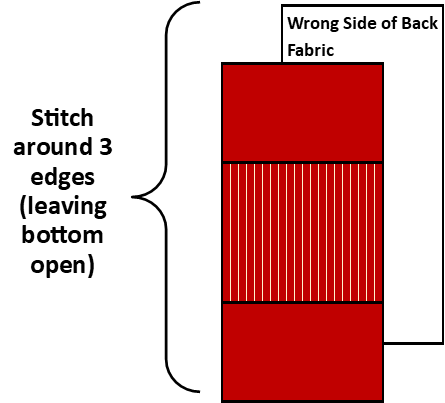
- With fabrics wrong sides together, sew along 3 sides, using a 1/4" seam. Leave the bottom open.
- Trim your corners and turn so that right sides are together. Press.
- Using a 1/2" seam, sew the same 3 sides.
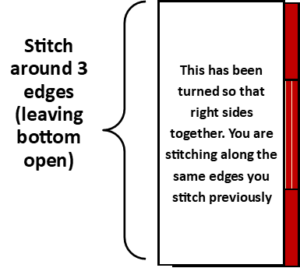
- Turn the fabric again so that you now have what looks like a long pillowcase. Press. The only raw edge should be at the bottom.
- Turn the raw edge in approximately 1". Stitch the edge.
- By doing this, you won't have any raw edges in your pillow!


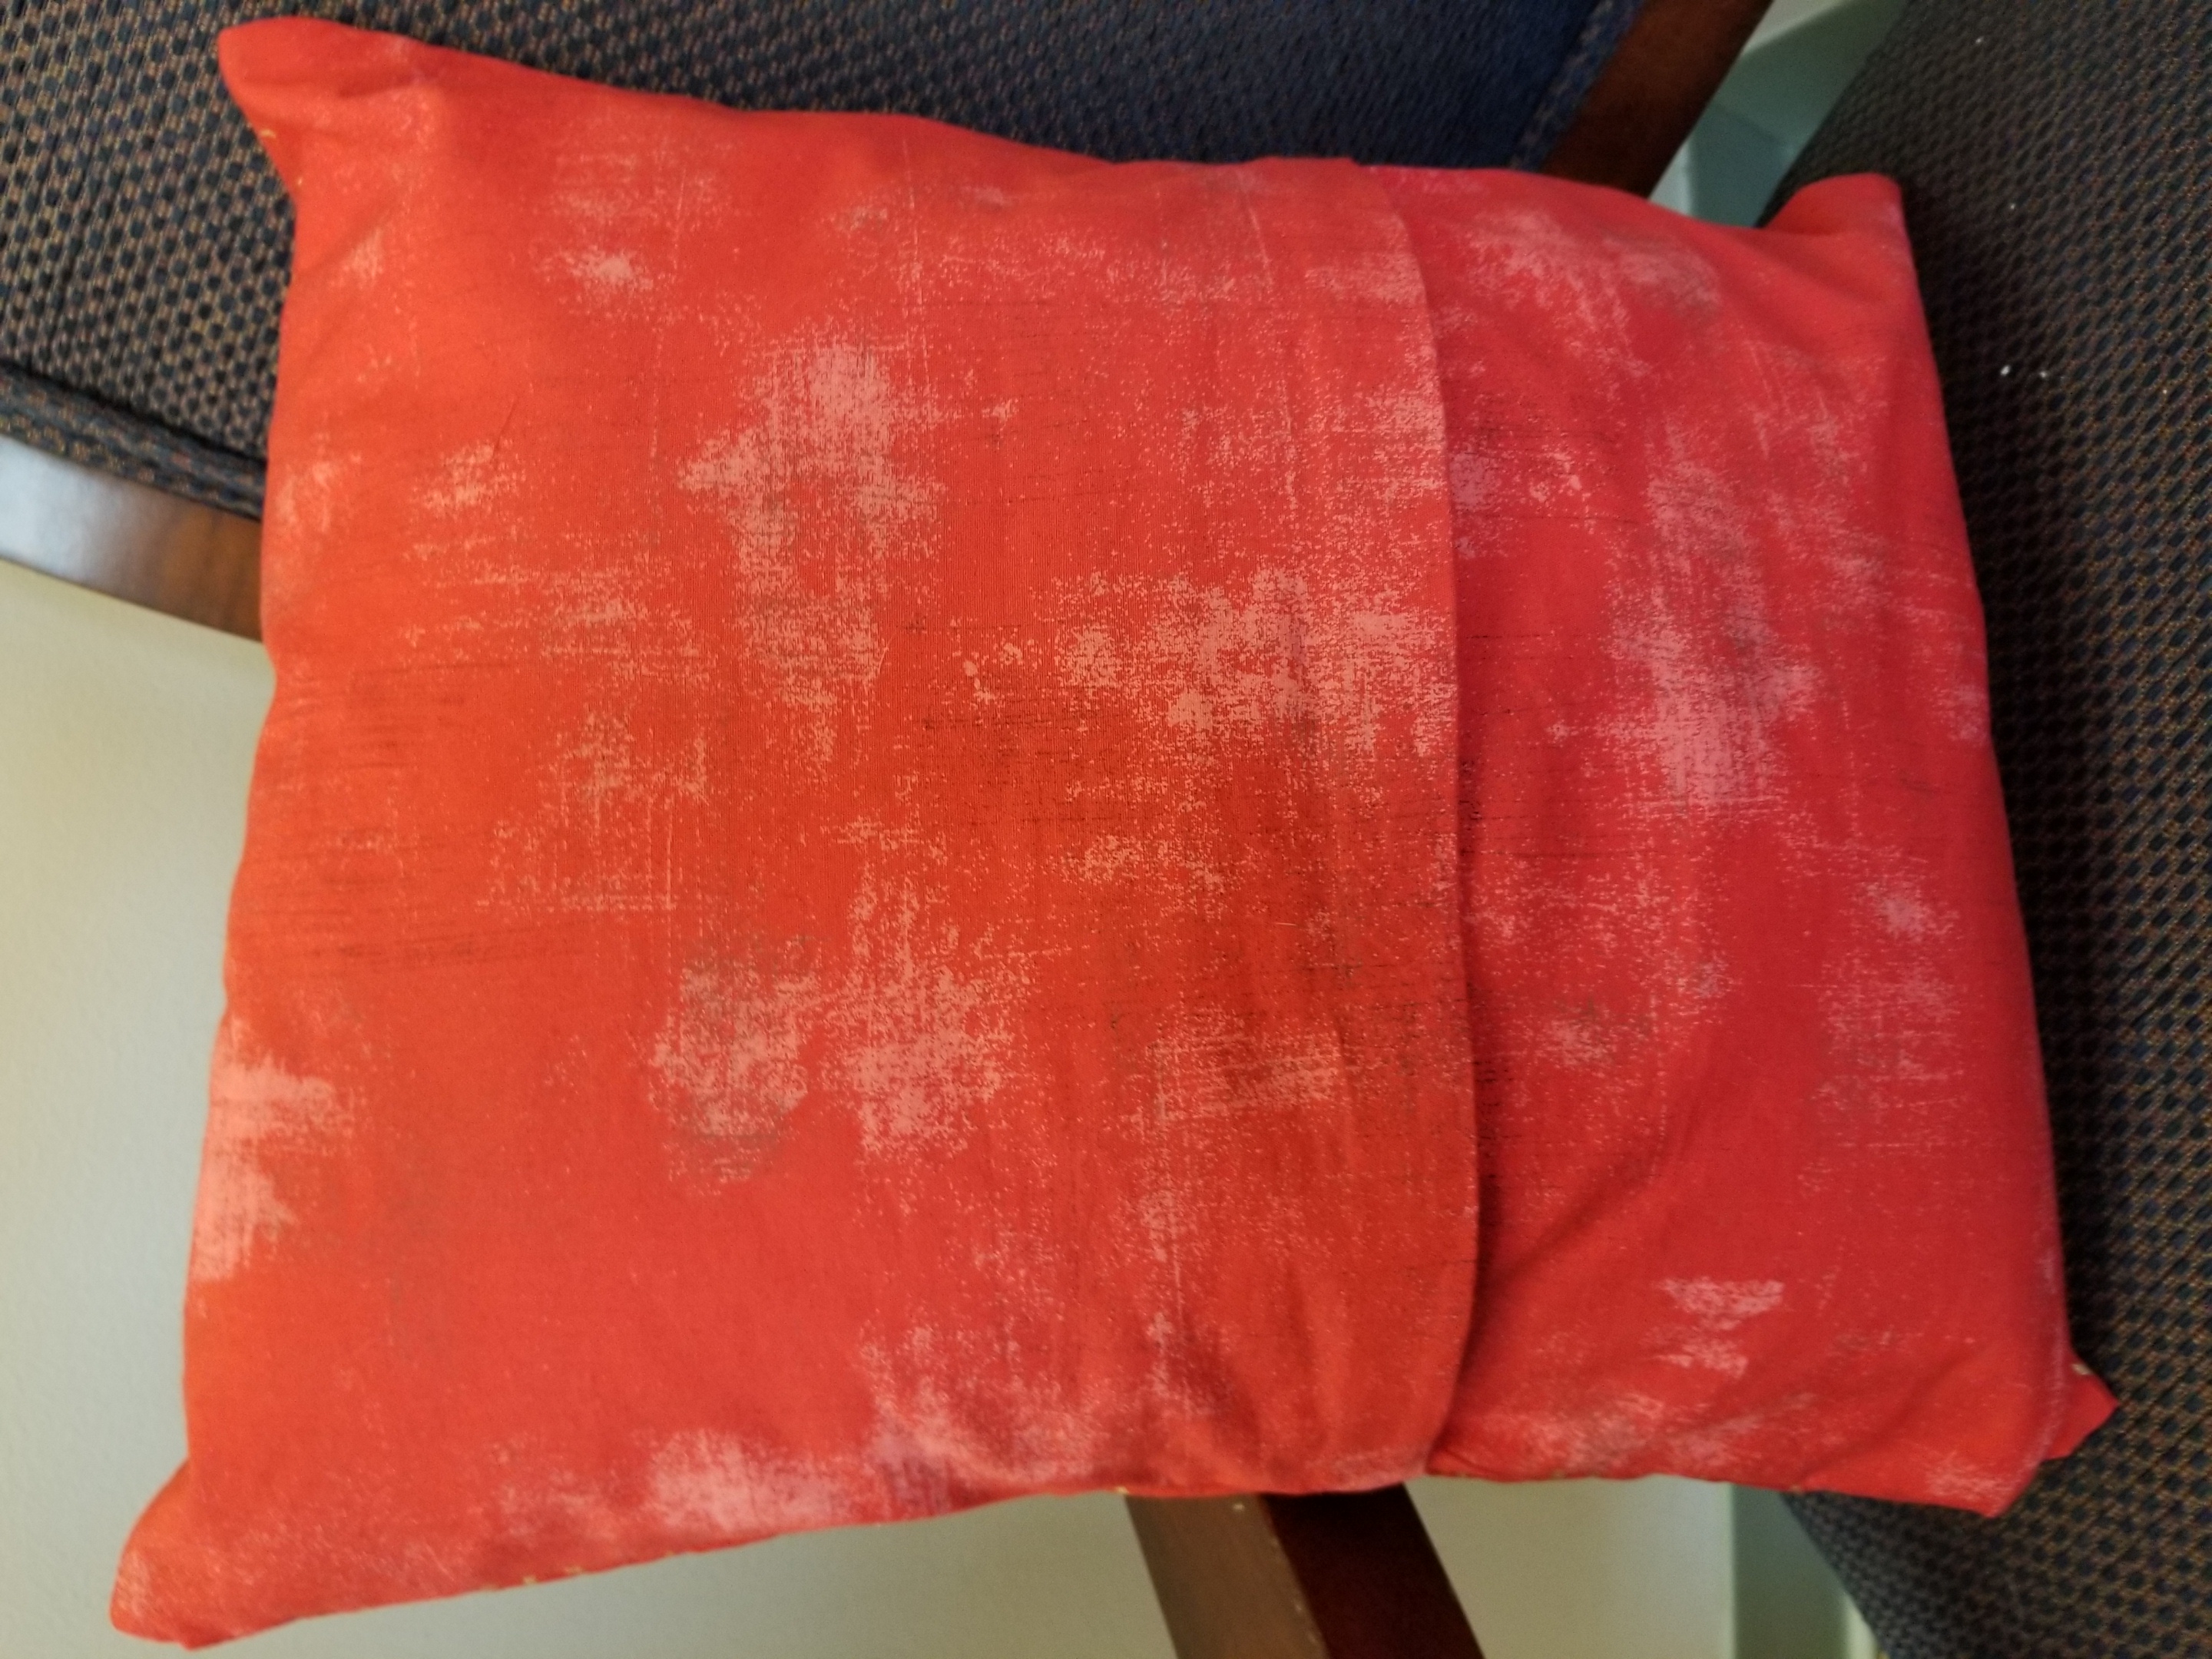
Final Assembly:
- Place the project on the table (or floor) with the tree side up. You're going to make a "C" fold
- Fold the top portion of the pillow covering toward the middle, using the seam from the front section as a guide as to where to make the fold. Pin along the outer edges of the case.
- Fold the bottom portion of the pillow cover toward the middle; again, using the seam from the front section as a guide. This will overlap the previous fold. Pin along the outer edges.

- Using a 1/2" seam, stitch along the two outer edges making sure to reinforce the areas where the folds overlap.
- Turn right side out and you're done!


![]()
This pillow finishes at 12" x 16".
Thanks for reading along. Please follow me on Instagram to keep up with my latest projects.
Mona Phelps
[blog: Kentucky Whittaker Creations]
[instagram: @mona.phelps]
[facebook: facebook.com/ky.whittaker.creations]
![]()
Posted in:
Comments