Welcome to Moda Fabrics!
Building Blocks: Quarter Square Triangles
Building Blocks: Quarter Square Triangles
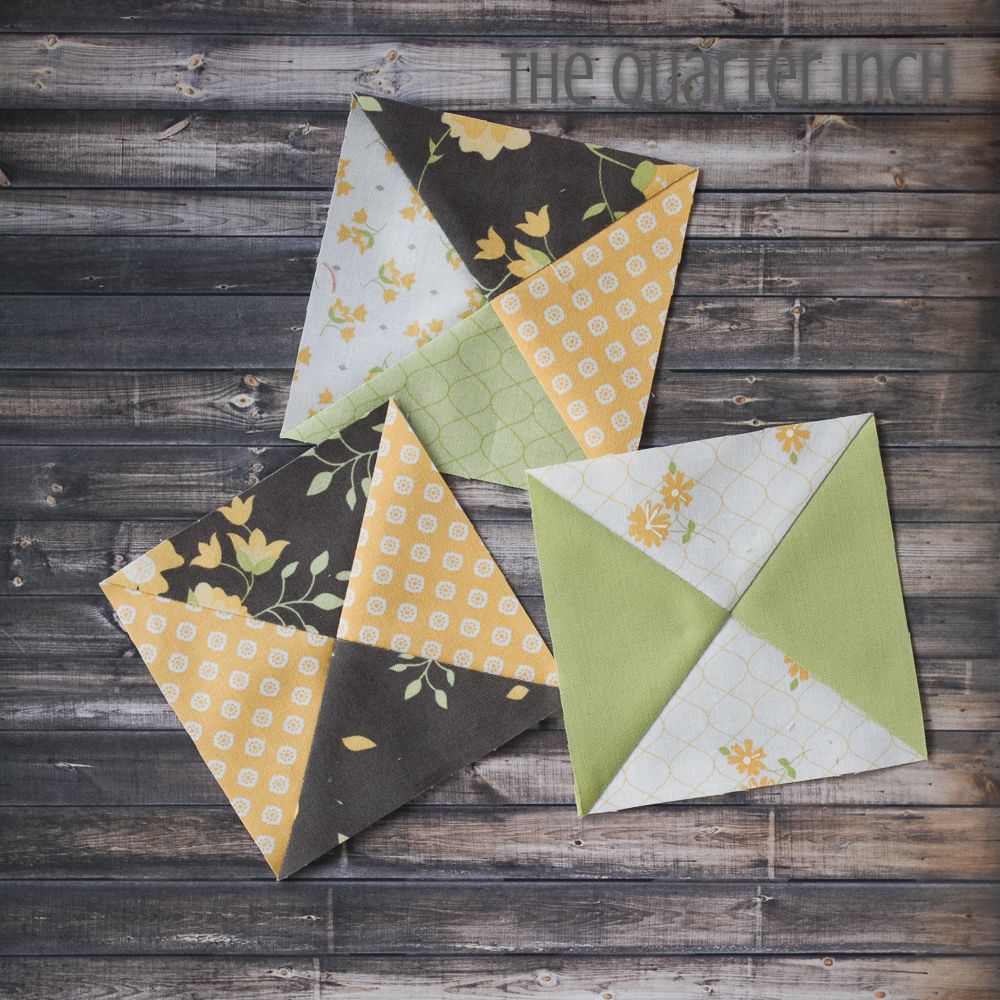
Hello, Bakers! I am here today to discuss quarter square triangles and show you two ways to construct this building block. Adding the quarter square triangle to your quilting repertoire opens up some fun piecing possibilities. One step more advanced than the ubiquitous half square triangle, the quarter square triangle (commonly abbreviated QST) consists of four right triangles that form a square.
You will need two squares cut the same size. Each pair of squares will make two quarter square triangle blocks.
Cut the squares at least 1 ¼" larger than you want the finished block to measure. I prefer to cut the squares a big large and trim later, so I cut mine at least 1 ½" larger.
When using 5" charm squares to make QSTs, blocks will measure 4” after trimming and will finish at 3 ½” in your quilt.
When using 10" layer cake squares to make QSTs, blocks will measure 9” after trimming and will finish at 8 ½” in your quilt.
I will walk you through two techniques to construct QST blocks. Both techniques begin as if you were making a half square triangle block.
Draw a line diagonally across the back of one of the squares. Stitch ¼” away from each side of the line. (I used contrasting thread so that the lines are more visible in the photo.)
Cut along the drawn diagonal line.
Technique 1:
Without moving the fabric, cut along the other diagonal.
Press the pieces open.
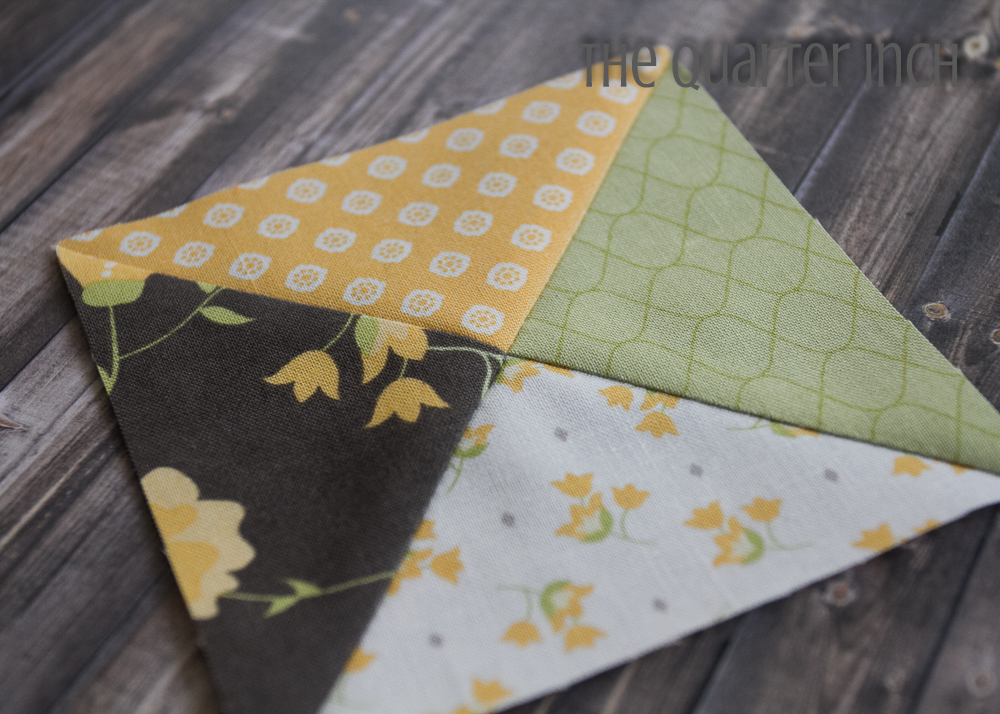
With seams nestled together, pin the triangles together and sew to form a square. Trim blocks (see below).
Technique 2:
Press the half square triangles open. Nestle the seams together, making sure fabrics are laying so that the same fabric is not laying on top of itself (that is, you do not want white on top of white and green on top of green in this example).
Draw a line diagonally.
Sew a ¼" on each side of the drawn line. Cut on the drawn line. Trim blocks (see below).
Trimming QST Blocks:
I prefer to piece my HST and QST blocks a bit large and then trim down. There may be quilters who piece a perfect block each time, but I prefer to just assume I'm going to square everything up on the backend! This has the added benefits of simultaneously trimming the dog ears and providing clean, crisp edges.
When trimming, I like to use a square ruler that is slightly bigger than my block. A large ruler can be a bit unwieldy. For QSTs, it's important that your ruler has a clear 45-degree line marked.
First, figure out half of your unfinished block measurement. My samples are made with 5" charm squares. They will be trimmed to 4". Half of 4" is 2"--pretty straightforward! If you are trimming to a quarter inch, you may end up measuring to an eighth inch. No worries! You may find it handy to place a bit of tape or otherwise mark the measurement if you are trimming multiple blocks. This measurement will be the center point of the block.
Place the center line (2" in this case) going through the point where the four triangles intersect, taking care to position the 45-degree mark over one of the diagonal seams. The 45-degree line may not always lay perfectly on your seam; position it as close as possible, making sure the center measurement doesn't shift over in the process.
Trim two sides. Rotate the block and repeat on the other two sides.
The look of the QST can vary depending on whether you use a background fabric as one of your two squares or use all focal fabrics. You may want to keep mixing up the fabrics for a scrappy look with four different triangles in each square.
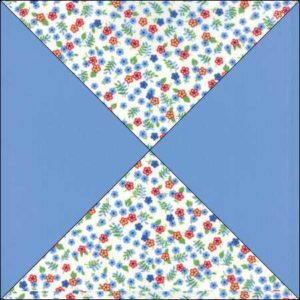
The quarter square triangle block appears in many quilt patterns, both traditional and contemporary. Two well-known quilt blocks that use the QST are the hourglass block and the Ohio Star block.
You can find QSTs in several past Moda Bakeshop projects. I love Peta Peace’s Gooseberry Star Patch Quilt. She uses negative space brilliantly in this neat QST quilt.
I made All in Good Time, an hourglass quilt with a piano key border, using squares cut from a layer cake.
I hope you find many beautiful quilt patterns using the versatile quarter square triangle. Happy sewing!
Christine Weld
{blog: The Quarter Inch}
{instagram: Christine Weld}


Comments