Welcome to Moda Fabrics!
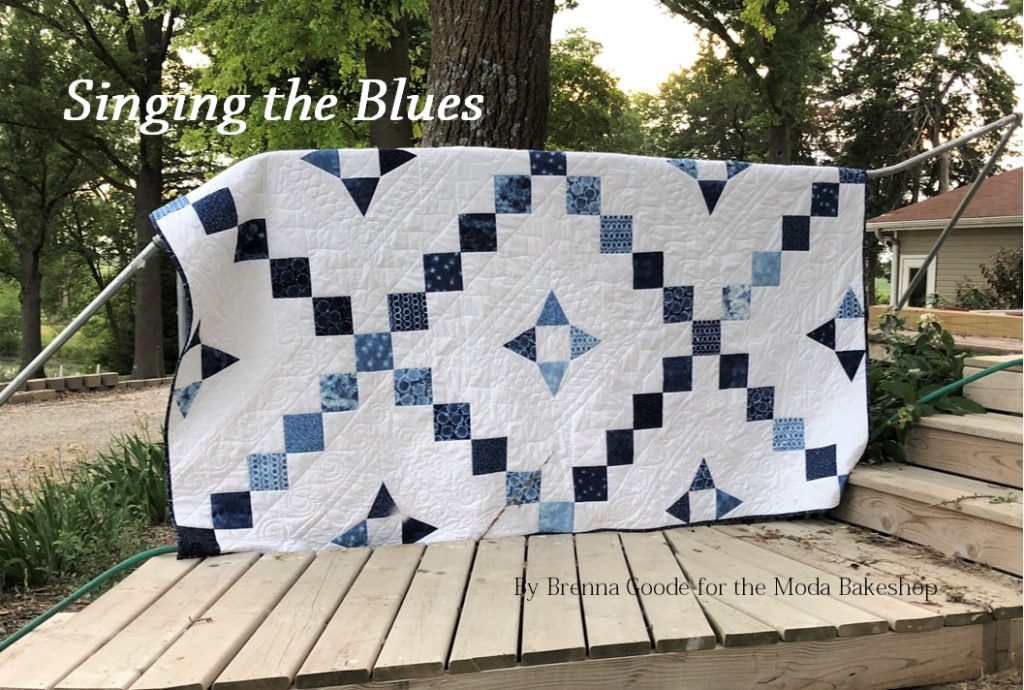
Singing the Blues Quilt
Singing the Blues Quilt
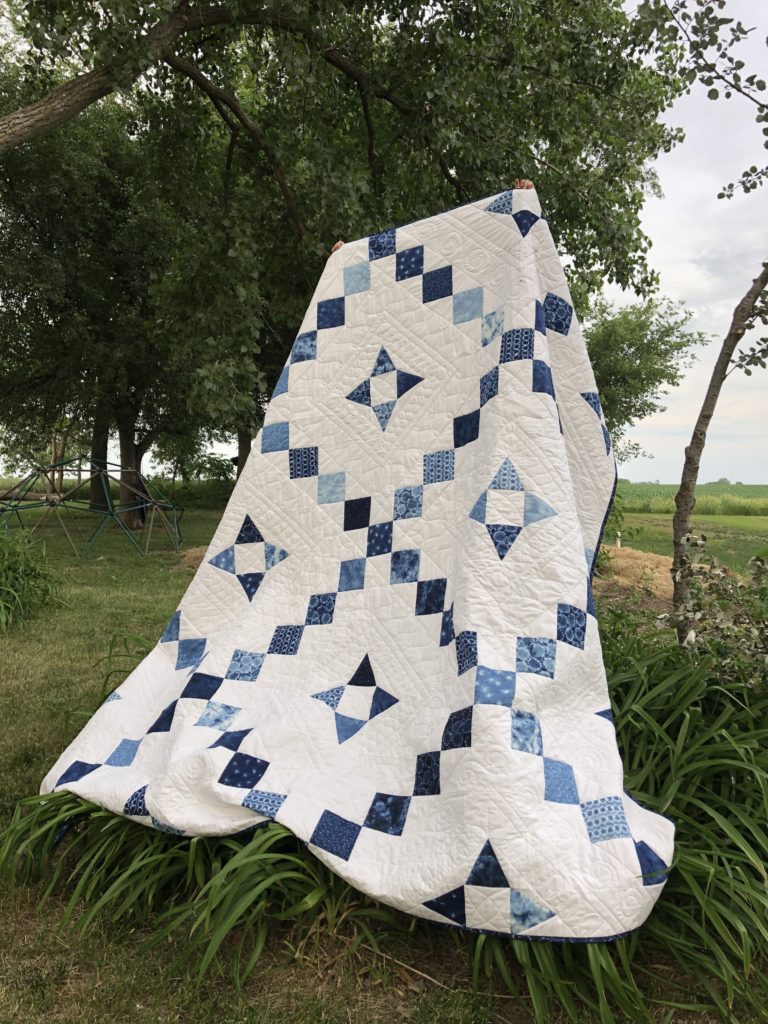
Hello, all! When I saw the Shibori style Yuki fabrics, I just fell in love with them, and knew I wanted to try my first monochromatic quilt. Blue and white is such a classic combination, and I wanted to do a simple and easy quilt with lots of area to show off machine quilting. This is queen-sized as well, so it will make a great addition to a bedroom. I hope you enjoy it!
This quilt/project finishes at 94.5" x 94.5".
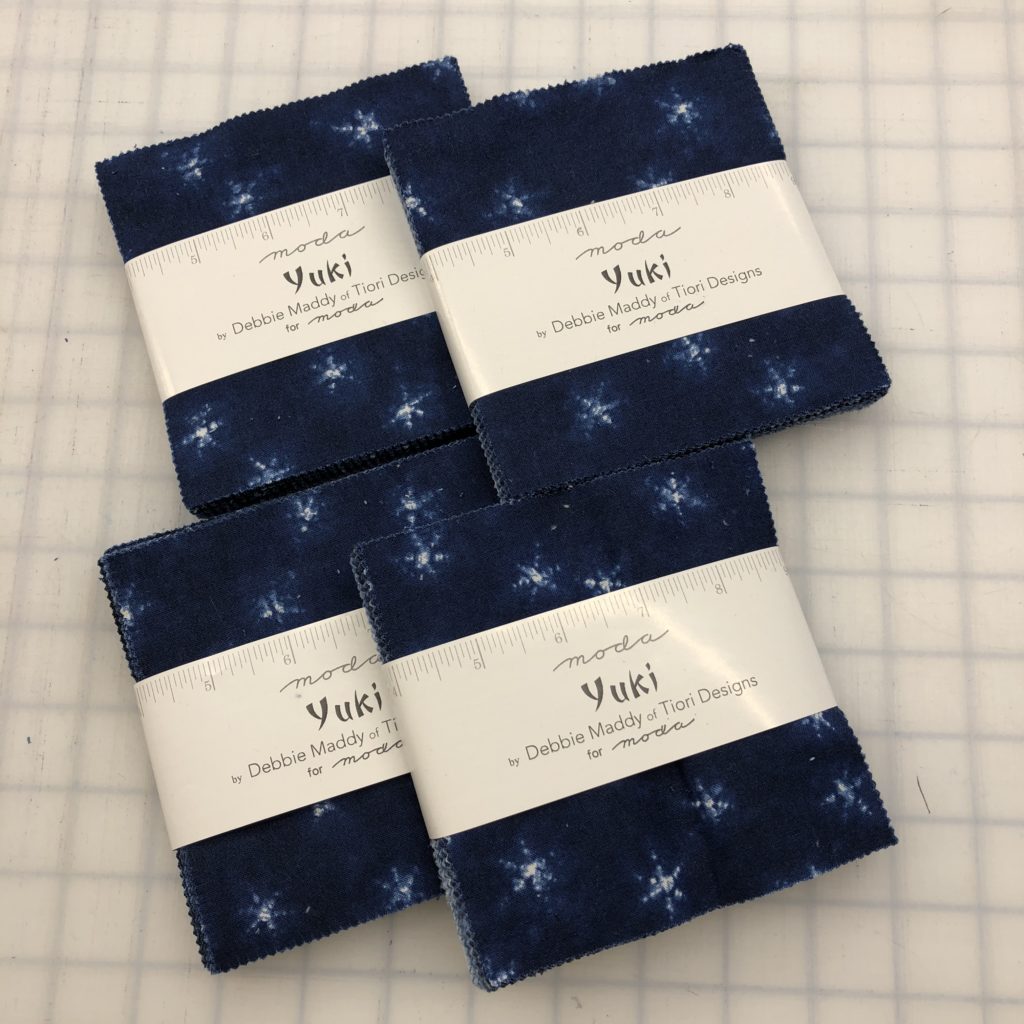
3 Charm Packs of Yuki (although four are pictured, three is sufficient)
7 yards background fabric - Bella Solid in white
1 yard binding fabric
8 yards backing fabric
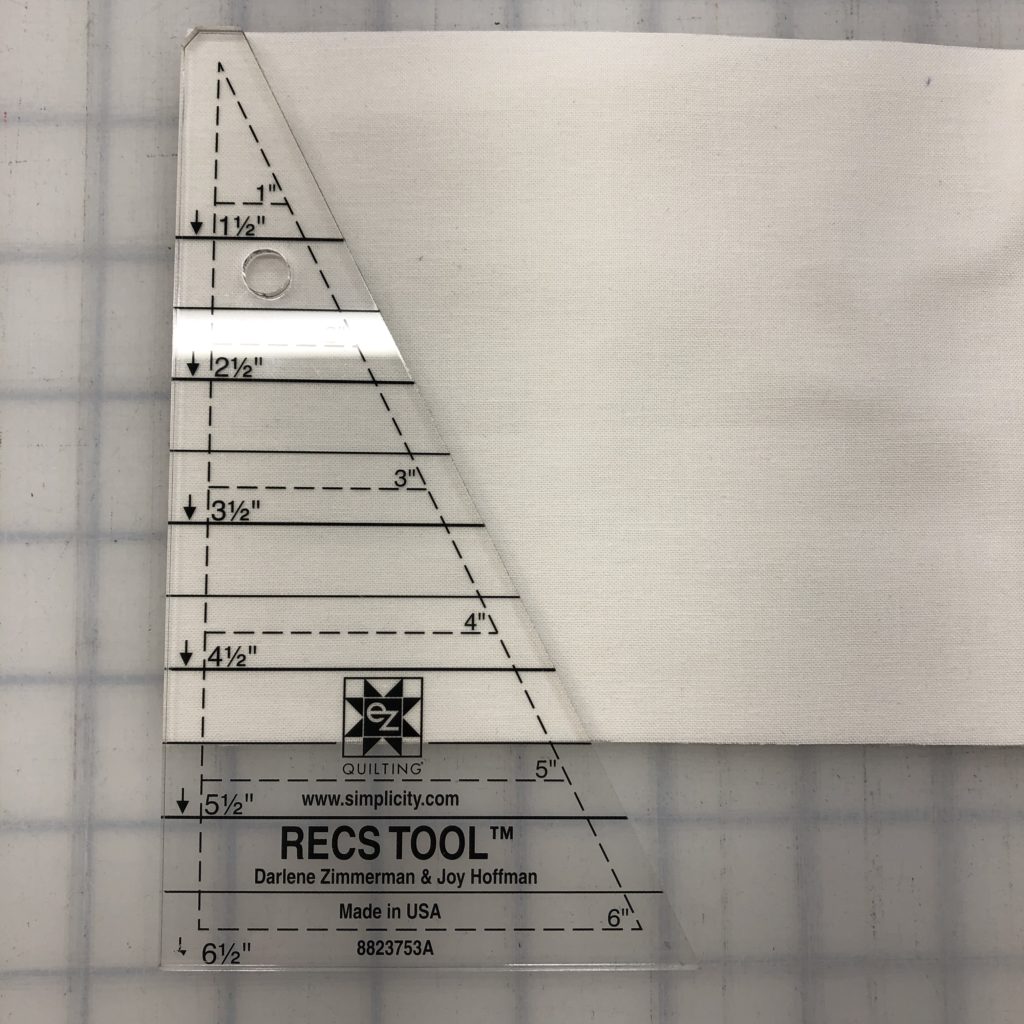
Tri-Recs ruler
Cutting - First, cut 3 strips of 5 inch by WOF of your background fabric and set aside. Next, take your fabric and cut it LENGTHWISE into 5 inch strips. This allows for less waste, as with the longer pieces, you'd end up with a fair amount of unusable lengths if you cut it width-wise.
Cut the following background pieces:
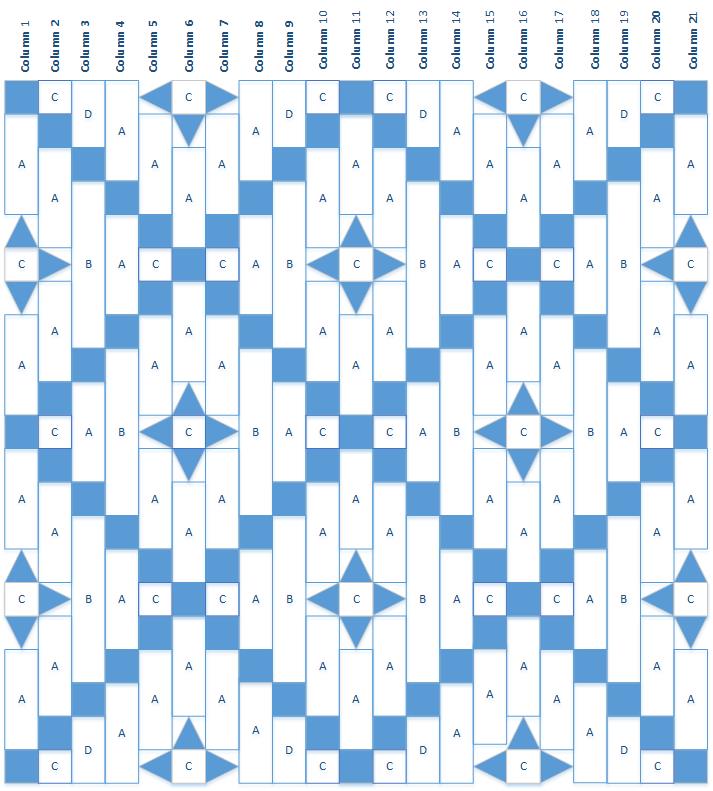
Piece A: Cut 72 pieces 5 inches by 14 inches
Piece B: Cut 12 pieces 5 inches by 23 inches
Piece C: Cut 32 pieces 5 inches by 5 inches
Piece D: Cut 8 pieces 5 inches by 9.5 inches
Label each pile and set aside for the construction process.
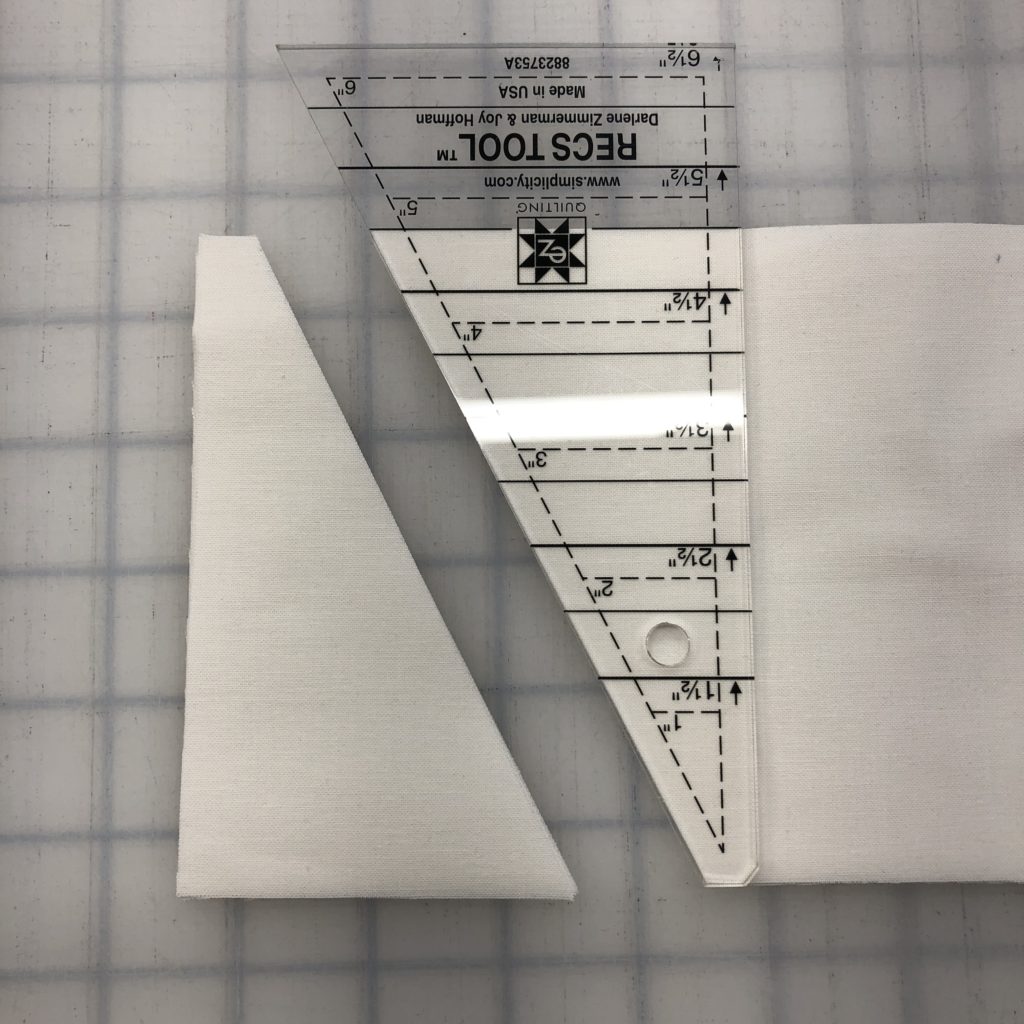
First, make the star point pieces. Take the 5 inch by WOF pieces, and use the smaller of the Tri-Recs ruler to cut the background of the star points. Cut an even left edge, then line up the 5 inch line with the bottom of the fabric, and cut.
Rotate the ruler 180 degrees. Cut along the right hand side. You'll need a total of 80 of these pieces.
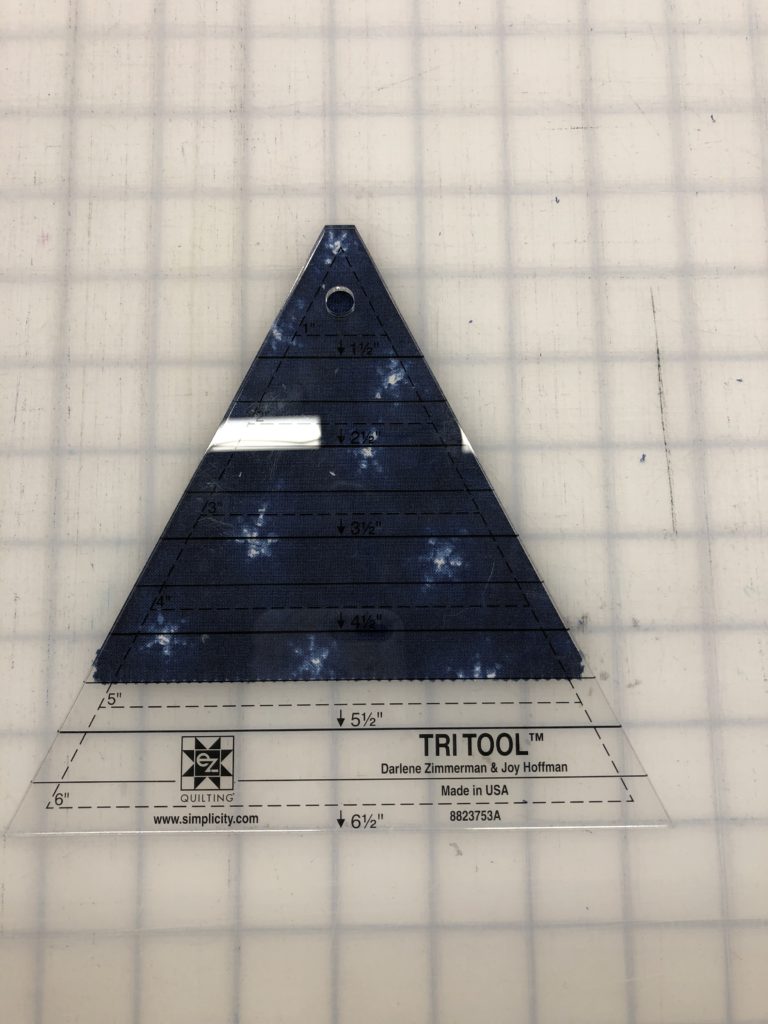
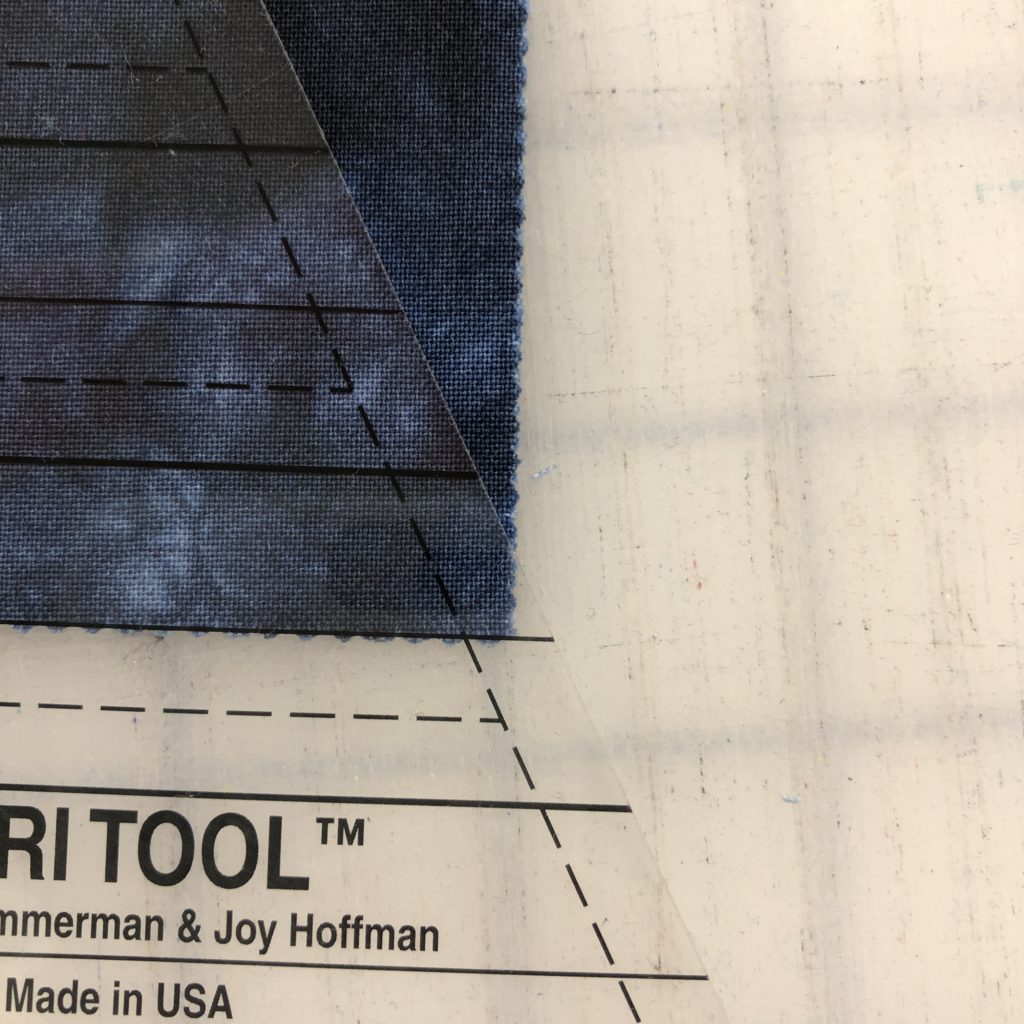
Now take your charm squares, and using the center portion of the ruler, line up the five inch line. Cut off the two side pieces.
You will end up with a slightly cut off corner; that's okay and just keep the ruler as centered as possible on the bottom edge of the charm square.
Assembling the top:
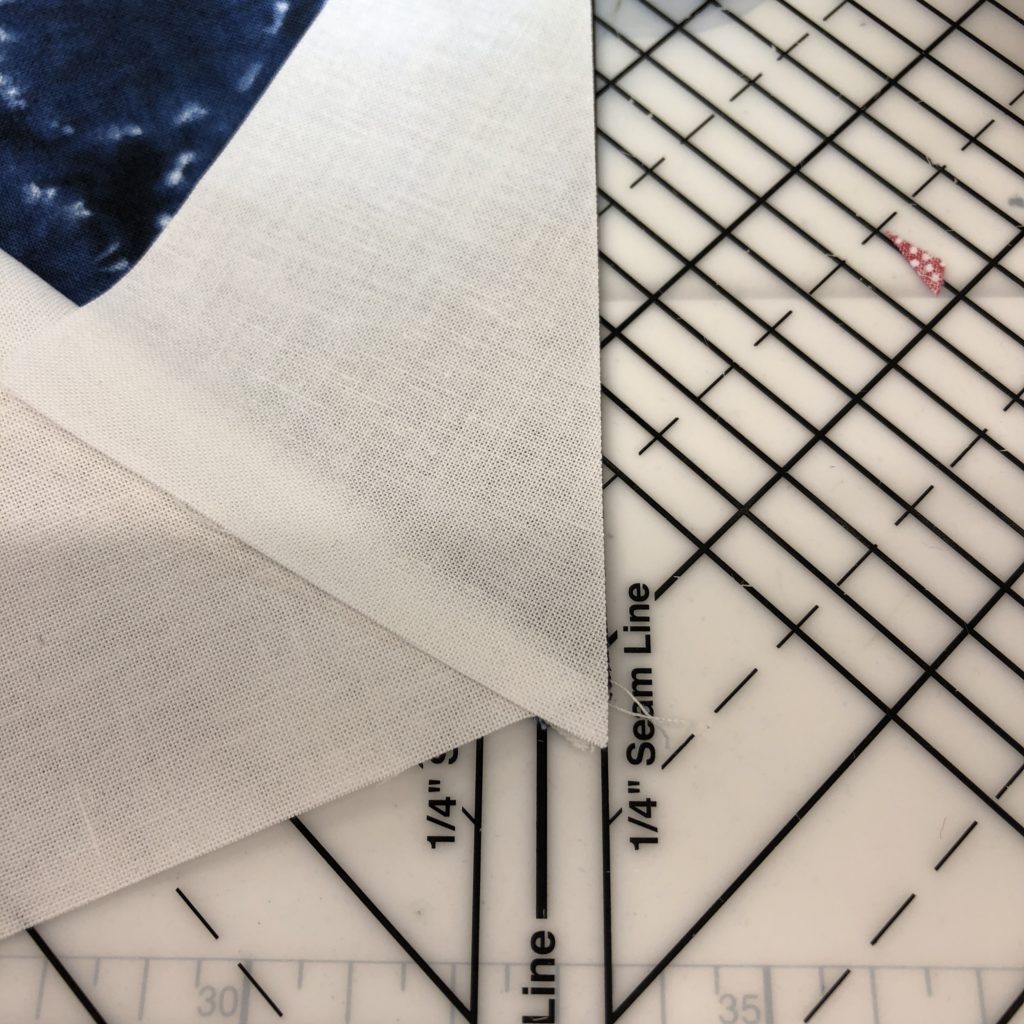
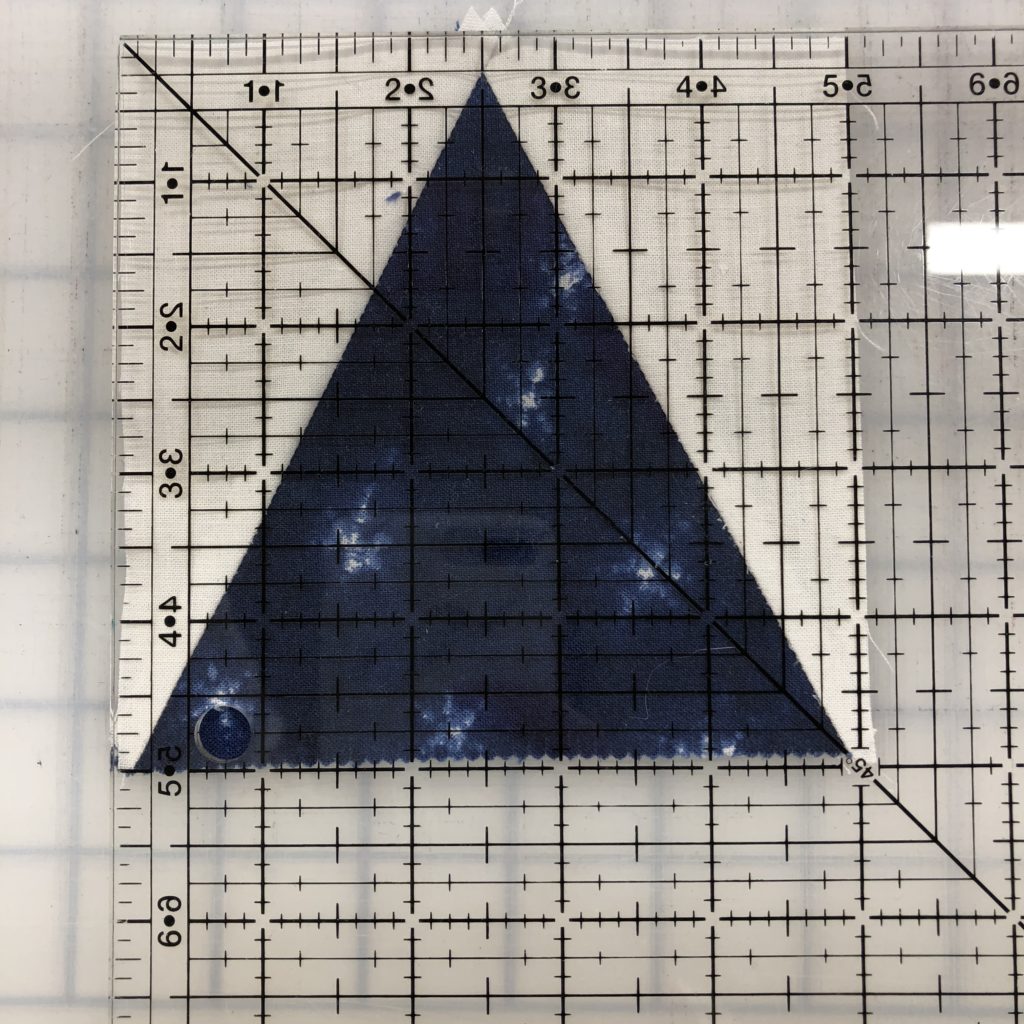
Take one of your white background triangles, and sew onto the sides of your center piece. Press to the dark side. Take an additional background triangle and sew onto the opposite side. You'll offset the pieces slightly so that the edges match up at your 1/4 inch seam allowance.
They should finish at five inches square. Square with your ruler and trim off the dog ears. You'll need 40 of these units.
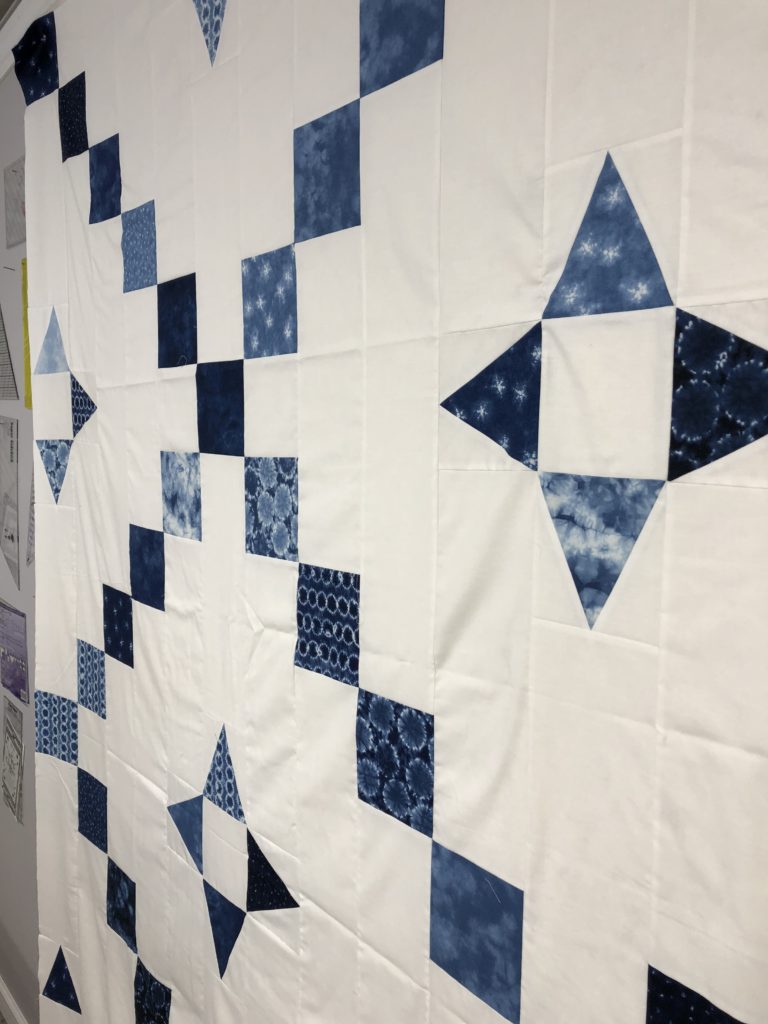
The quilt is constructed in columns. With the monochromatic nature of the Yuki fabric, I didn't have to worry too much about fabric placement. If you're using a different line, you may want to lay out at least the charm squares and triangle-star points on a design wall or other surface to make sure you like the color distribution.
For Column 1, take one charm square, and sew onto one end of a Piece A. Attach one star point, point facing up, then add a piece C, then a star point facing down, and continue in this manner until you've completed the entire column. Press seams towards the darker fabrics.
For Column 2, start with a Piece C and a charm square, and continue on in this same manner. Assemble all 21 columns.
You can sew the columns together in any way you prefer. I found it easiest to sew into pairs, and then sew the pairs into larger units until the top was completely assembled. If you consistently pressed to the darker fabric, most of your seams should nest well.
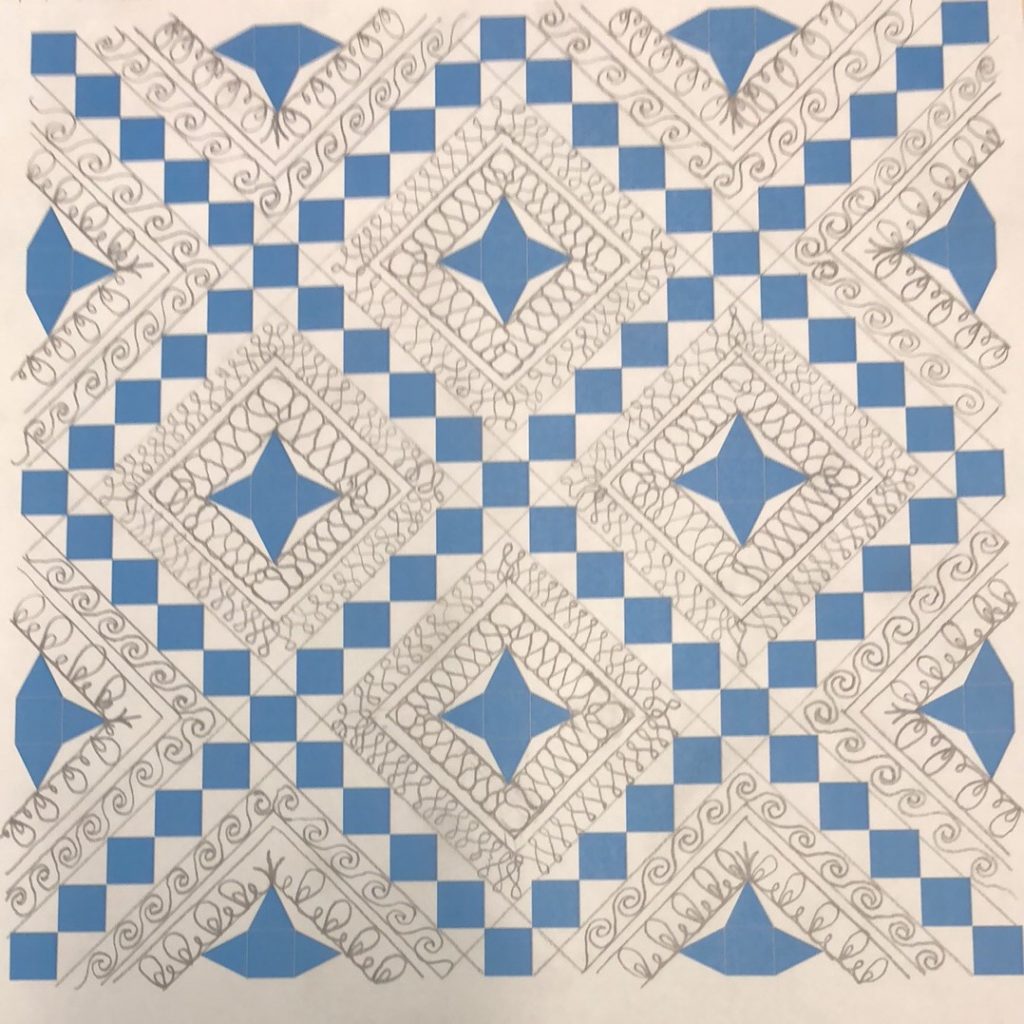
Piece together your backing fabric into your desired size, baste and quilt. There are so many options for quilting with this much negative space. I sketched out several different options, but eventually settled on this one.
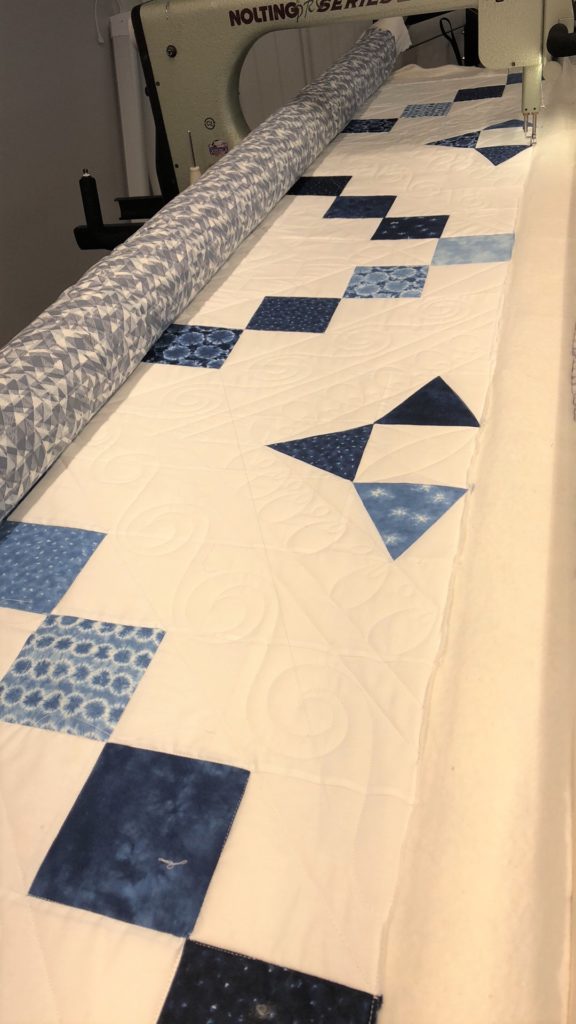
This just gives a little better example of the scale. I also outlined each square with stitching in the ditch.
Cut 10 strips of the binding fabric to your preferred binding width, and bind.
This quilt finishes at 94.5" x 94.5".
You can stop by my blog for more pictures of the finished product. I'd love to see any versions you make!
Brenna Goode
Quilting in the Heartland

Comments