Welcome to Moda Fabrics!
Regent Street Star Quilt
Regent Street Star Quilt
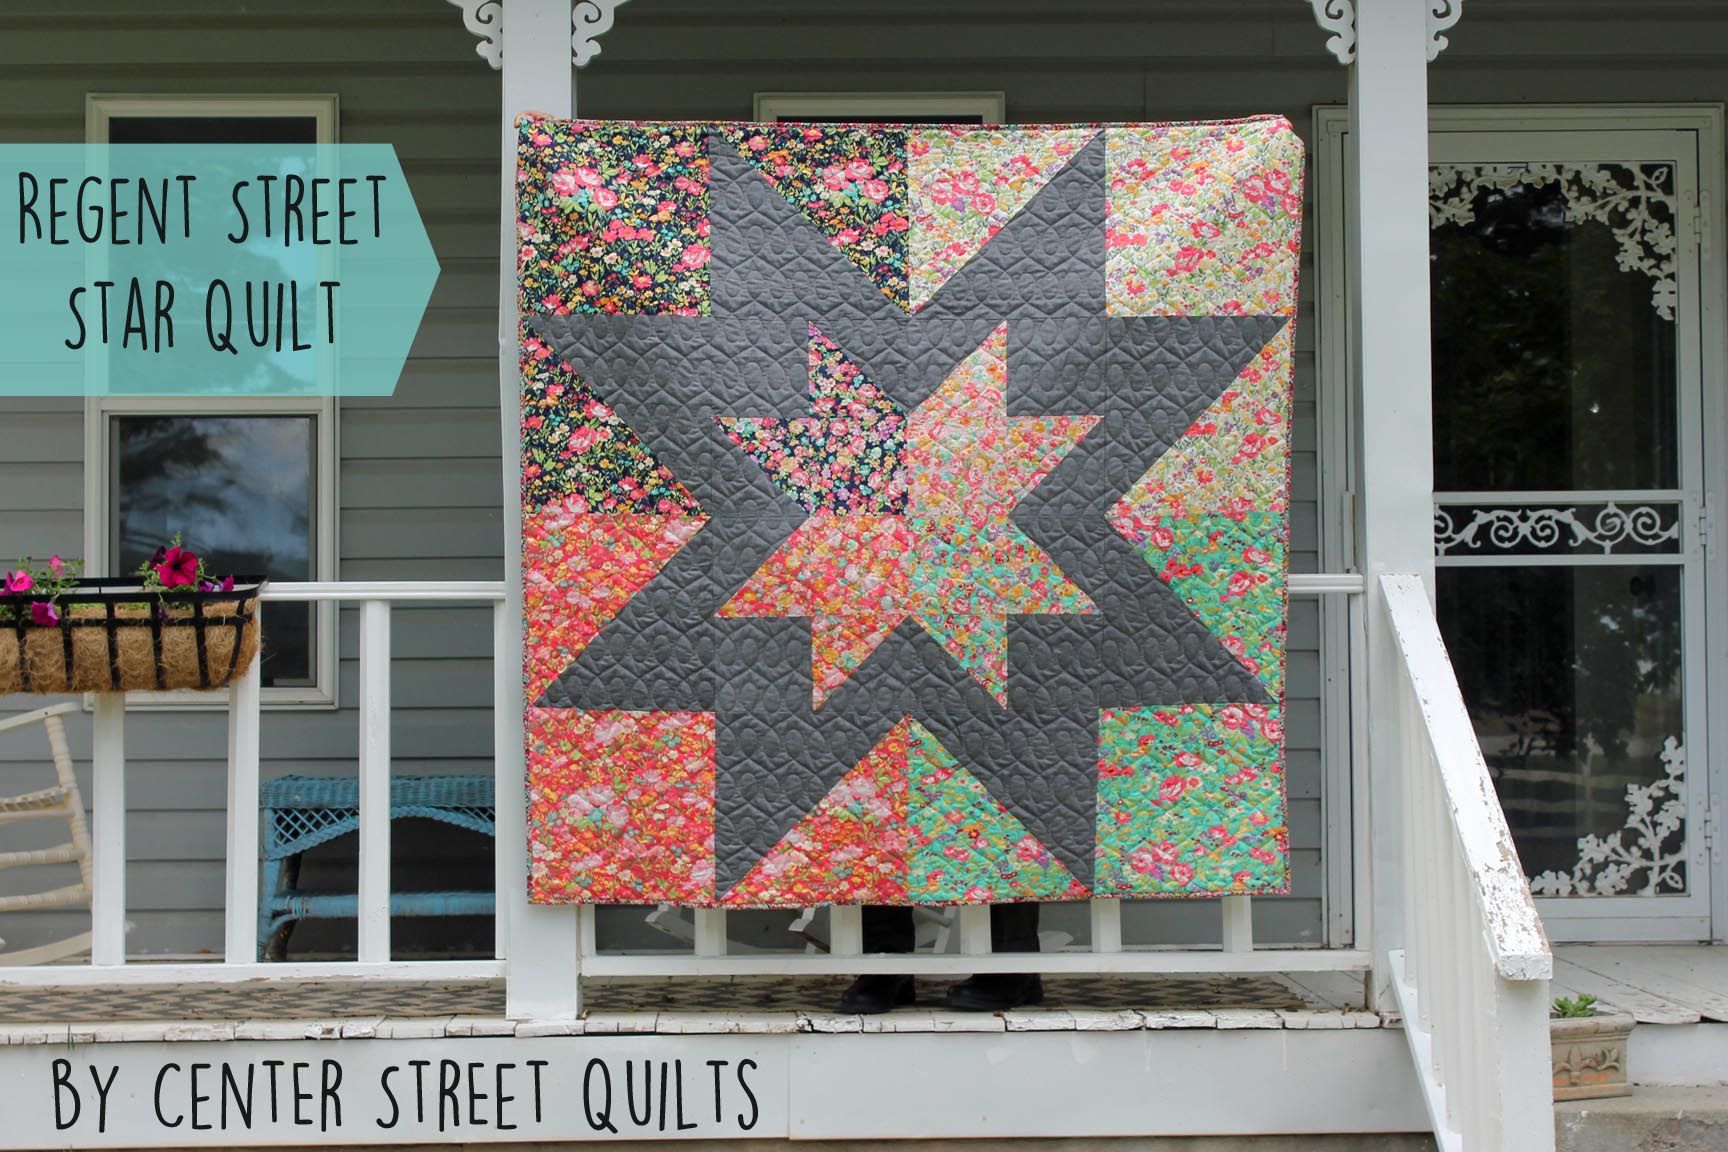
Hi, it's Kristina from Center Street Quilts here to share a super simple (but equally striking) quilt with you today. The Regent Street Star quilt was created with two goals in mind: showcasing gorgeous fat quarters and creating a beautiful quilt in record time. Intricate quilts are great, but the Regent Street Star quilts shows that simple quilts can be just as impactful! So let's gather some fat quarters and get sewing!
This quilt finishes at 64" x 64".
12 Fat Quarters grouped into four different colors {Regent Street Lawns 2018}
1 1/2 yards background fabric {Moda Crossweave in Black}
4 yards backing fabric
5/8 yards binding fabric
Cutting Instructions
Separate the fat quarters into four (4) groups of three (3) fat quarters each. Within each group, the fat quarters should be similar in color to create four distinct colors in the four quarters of the final quilt. I chose three navy florals, three light pink florals, three aqua florals, and three medium/dark pink florals.
Choose four fat quarters (one of each color) and cut a 17" x 17" square out of each fat quarter.
Choose four more fat quarters (one of each color) and cut a 16.5" x 16.5" square out of each fat quarter.
From the last four fat quarters, cut one 8.5" x 8.5" square and one 9" x 9" square from each. For a total of (4) 8.5" x 8.5" squares and (4) 9" x 9" squares.
From the Background fabric, cut:
- Four (4) 17" x 17" squares
- Four (4) 9" x 9" squares, and
- Four (4) 8.5" x 8.5" squares
From the binding fabric, cut (7) 2.5" x WOF strips
Assembling the Quilt
We'll start by assembling all of the half-square triangles.
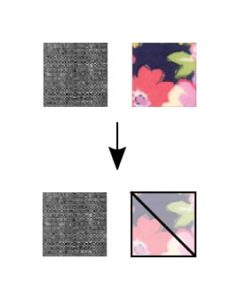
Gather one of the 9" x 9" background squares and one of the 9" x 9" squares from a fat quarter. Draw a line diagonal from corner-to-corner on the wrong side of the fat quarter square
Place the squares on top of each other, right sides together.
Sew two seams on either side of the drawn line, 1/4" away from line.
Cut on drawn line and press seams toward darker fabric. Trim the half-square triangles to 8.5" x 8.5".
Repeat with remaining 9" x 9" background and fat quarter squares to yield a total of (8) 8.5" x 8.5" half square triangles.
Gather the (4) 17" x 17" background squares and the (4) 17" x 17" squares cut from fat quarters and repeat the half-square triangle process to yield (8) half-square triangles. Trim these (8) half -square triangles to 16.5" x 16.5" and set to the side.
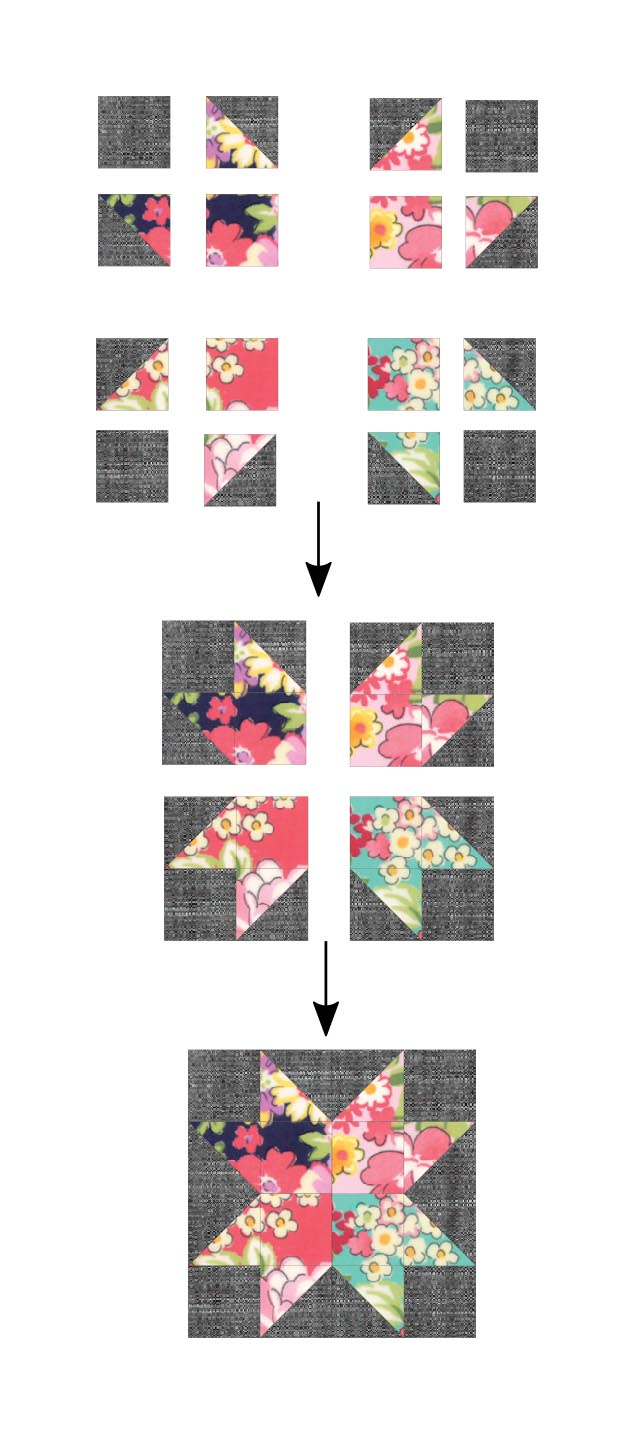
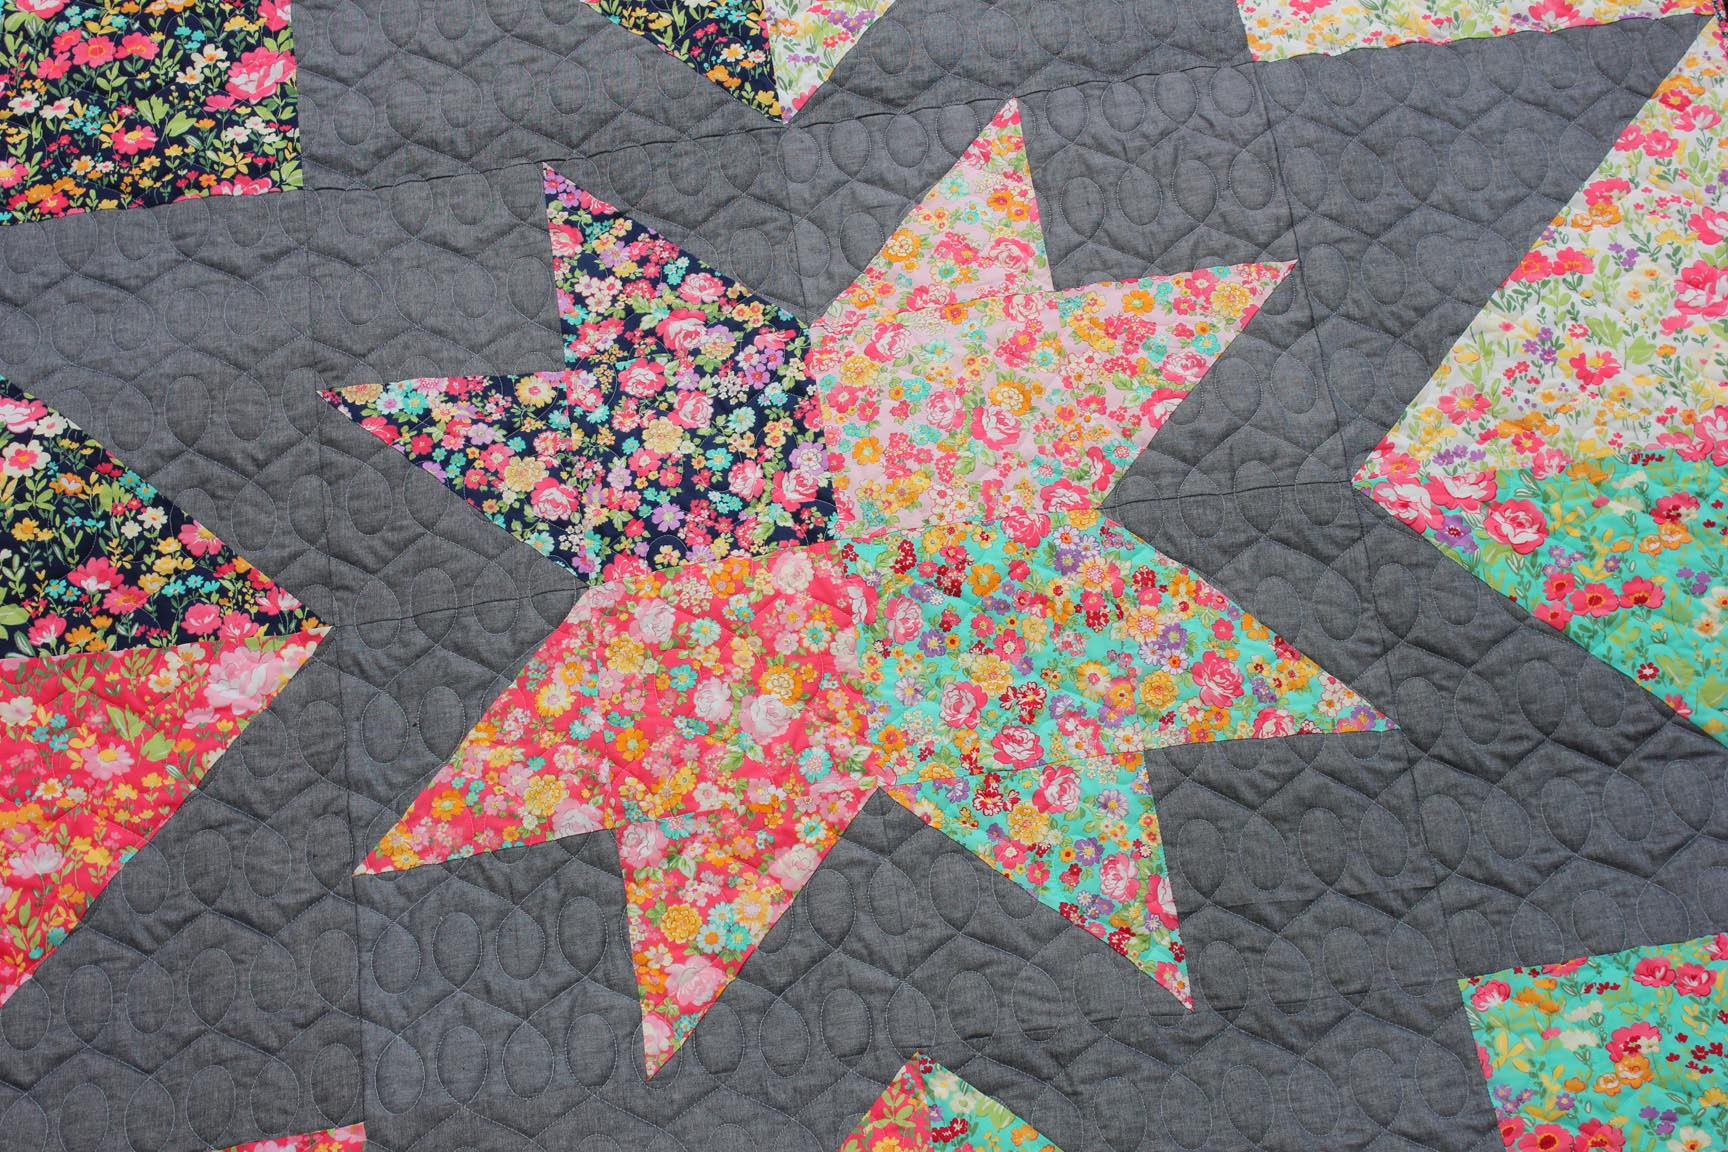
Now we're ready to assemble the inner star. Lay out the (8) 8.5" x 8.5" half square triangles, along with the (4) 8.5" background squares, and the (4) 8.5" x 8.5" fat quarter squares as shown below. Take care to place like colors in the same quadrant of the inner star (navy is in top left, light pink is in top right, etc.). Sew each quarter of the inner star together, then sew the four quarters together, pressing the seams open.
Now we can assemble the rest of the quilt. Lay out the full quilt as shown below, with the center star in the middle, and the 16.5" half square triangles and 16.5" fat quarter squares around the outside. Again, arrange the pieces so like colors are in the same quadrant. Sew the top row together and the bottom row together, pressing seams open. Sew the half-square triangles on the right and left sides of the inner star together, pressing seams open. Then attach the half-square triangles to the inner star and sew the top row and bottom rows to the inner star piece.
Quilt and bind as desired.
The Regent Street Star Quilt finishes at 64" x 64".
Thank you for following along with my Regent Street Star quilt today. It might just be the easiest and fastest quilt I've ever sewn! And with the Regent Street Lawns making up the majority of the quilt, it's definitely the softest quilt I've ever sewn, too! If you haven't had a chance to work with Moda Lawn fabric, you are missing out. The lawns are amazingly smooth and make for an ultra-cuddly quilt!
If you want to check out more of my quilting adventures, you can follow along on instagram (@centerstreetquilts), facebook (Center Street Quilts) or my blog (www.centerstreetquilts.com). Happy sewing!
Kristina Brinkerhoff
{www.centerstreetquilts.com}


Comments