Welcome to Moda Fabrics!
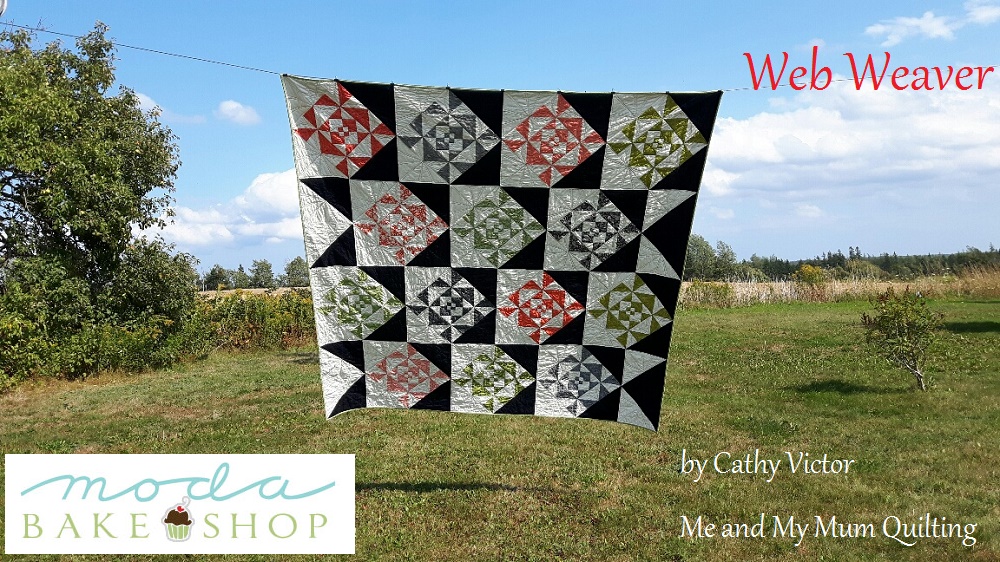
Web Weaver Quilt
Web Weaver Quilt
Published:
Sep 21 2017 - 23:00
![]()
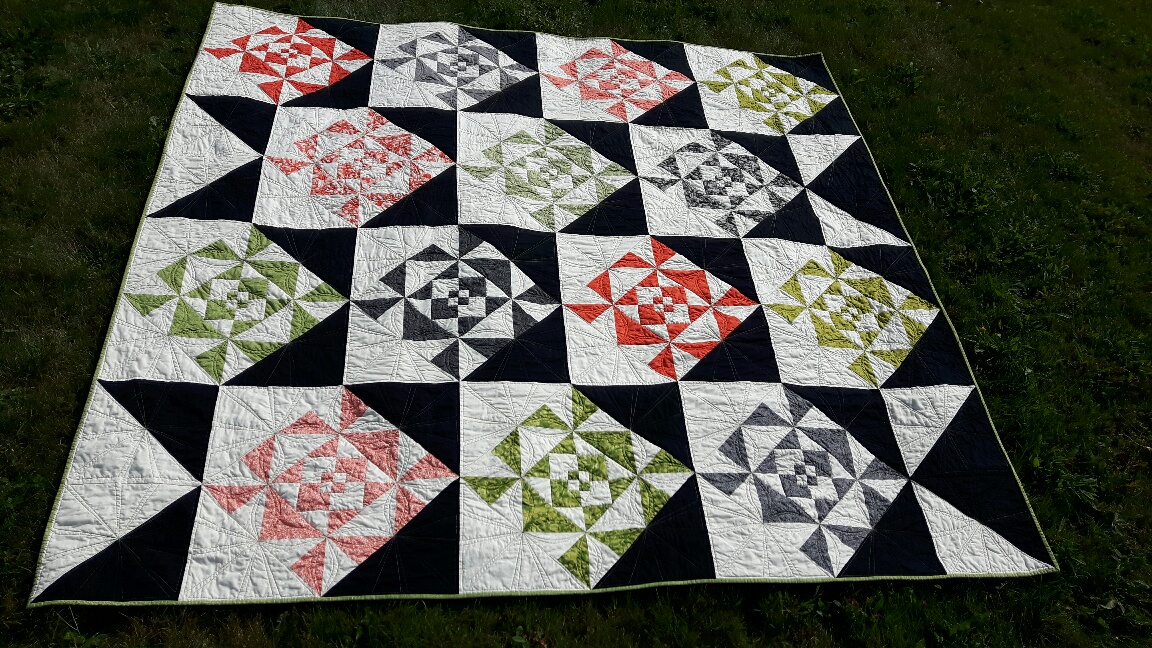
Hi Folks, It's Cathy Victor from Me and My Mum Quilting. I am so pleased to be sharing another quilt design with you. I call this quilt "Web Weaver", as the design was coming together I felt like a spider making its web. The quilt has a modern setting with lots of negative space to play in. The block is assembled in 3 rounds. You can stop with the central block, continue with the second round for an equally stunning block that would still look awesome as a quilt. Or go one more round, setting the blocks on point with a visually dynamic setting that makes the blocks look like they are floating on black & white rectangles. With Halloween just around the corner I also think this quilt would look amazing in traditional Halloween colors!!! Enjoy!
This quilt/project finishes at 90" x 90".
![]()
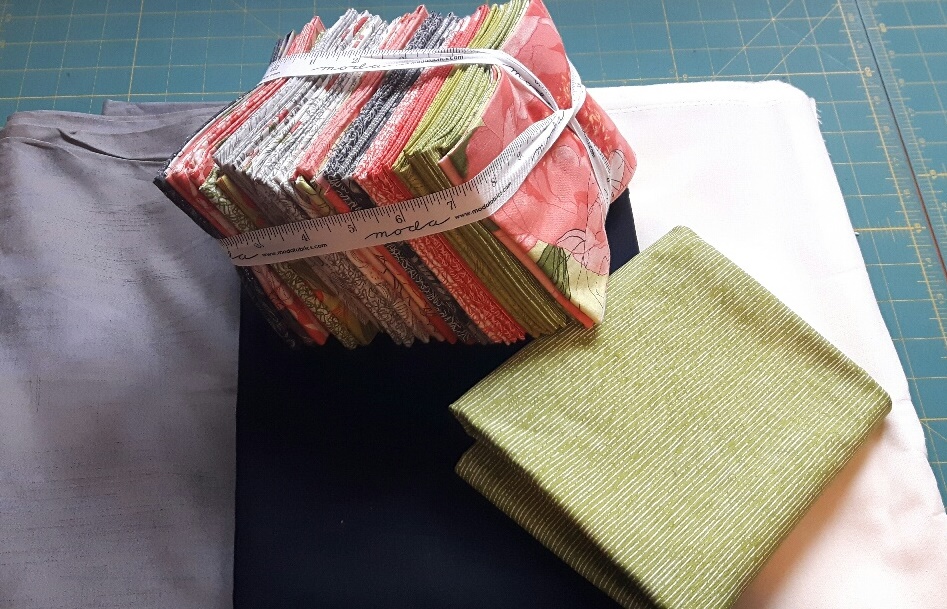
1 x Fat Quarter Bundle {Blushing Peonies by Robin Pickens 48610 AB}
4 1/2 yards Bella Solids Snow - background fabric {9900 11}
2 1/2 yards Bella Solids Black - accent fabric {9900 99}
3 yards Grunge grey - wide backing fabric {11108 163}
3/4 yards Blushing Peonies binding fabric {48615 16}
![]()
We will be using 14 Fat Quarters from the bundle. I chose fabrics that had the smallest prints or that "read" as solids. Here are the fabrics I have chosen to use. ( You can set the remaining Fat Quarters aside for another project)

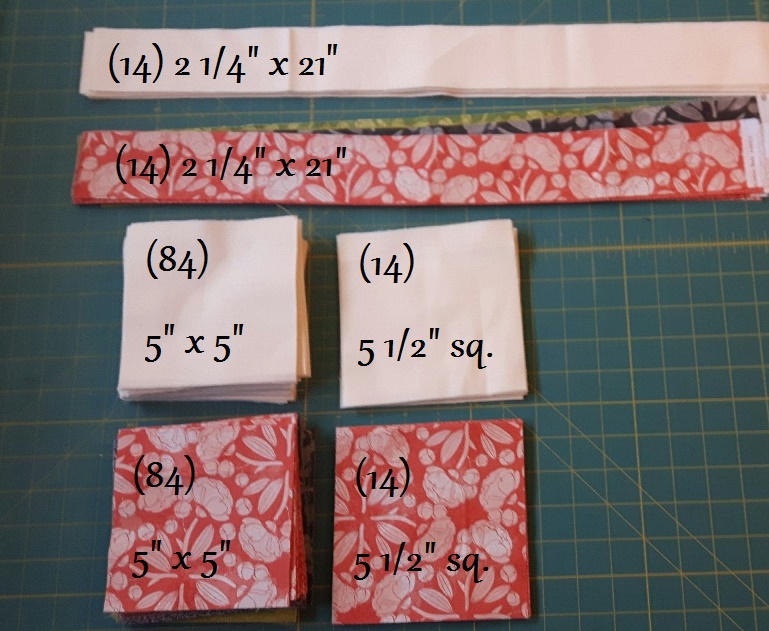
How to cut each of your Fat Quarters:
You will be cutting strips from your fat Quarters that measure 22" long.

Cut (1) 2 1/4" x 22" strip.
Cut (1) 5 1/2" strip x 22" strip, Sub cut into:
- (1) 5 1/2" x 5 1/2"
- (2) 5" x 5"
Cut (1) 5" x 22" strip, Sub cut into:
- (4) 5" x 5"

You will have a fabric strip leftover, which can be set aside for another project.
Background (Light) cutting:
Cut (6) 12 1/2" strips into:
- (18) 12 1/2" x 12 1/2"
Cut (7) 2 1/4" x 22" strips into:
- (14) 2 1/4" x 21" strips
Cut (2) 5 1/2" strips into:
- (14) 5 1/2" x 5 1/2"
Cut (11) 5" strips into:
- (84) 5" x 5"
Accent Black cutting:
Cut (6) 12 1/2" strips into:
- (18) 12 1/2" x 12 1/2"
Central Block Assembly:
Now we can begin assembling the centre of the block. You will be using the following pieces for each block:
- 2 1/4" strips
- 5 1/2" squares
- 5" squares
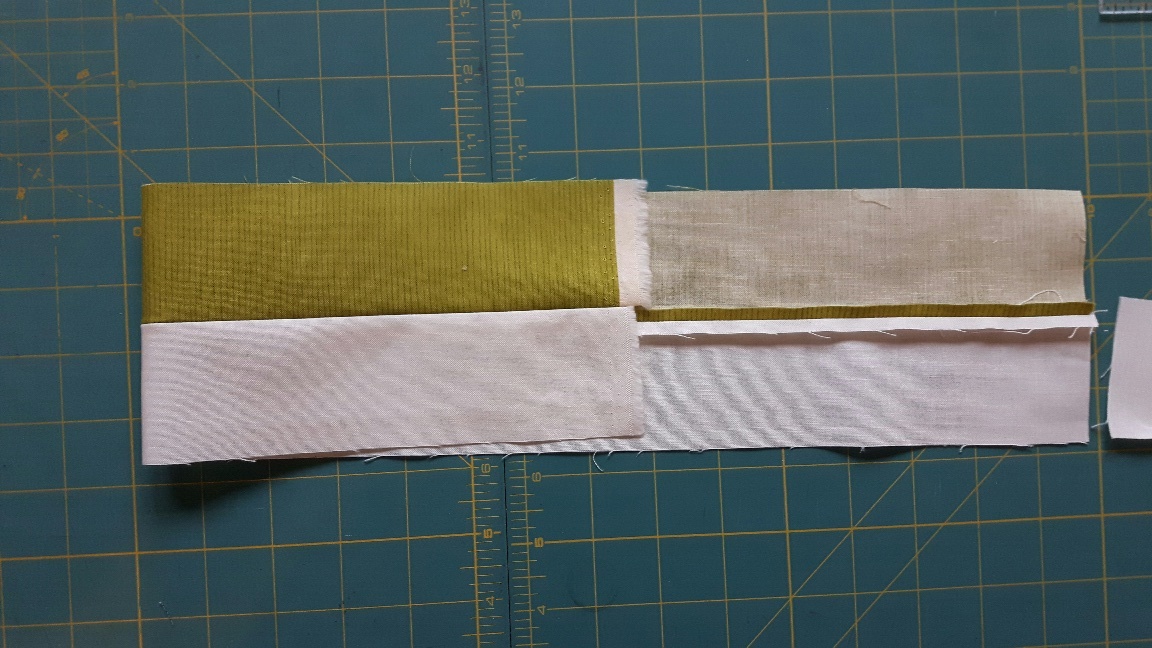
Step 1:
Begin by Sewing each of your coloured 2 1/4" strips to a Background strip. Press open.
Step 2:
Next grab the 5 1/2" x 5 1/2" squares, and cut them once on the diagonal:
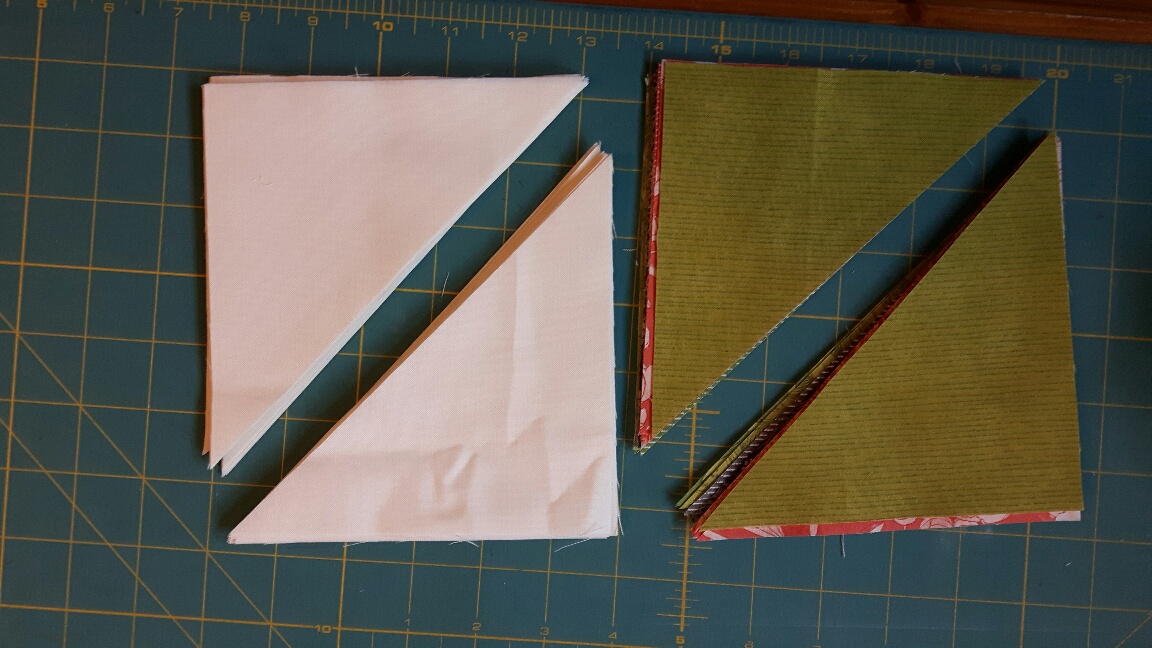
Step 3:
Place these triangles on opposite sides of your strip set, so that the Coloured triangles are on the Background strip, and the Background triangles are on the Coloured strip.
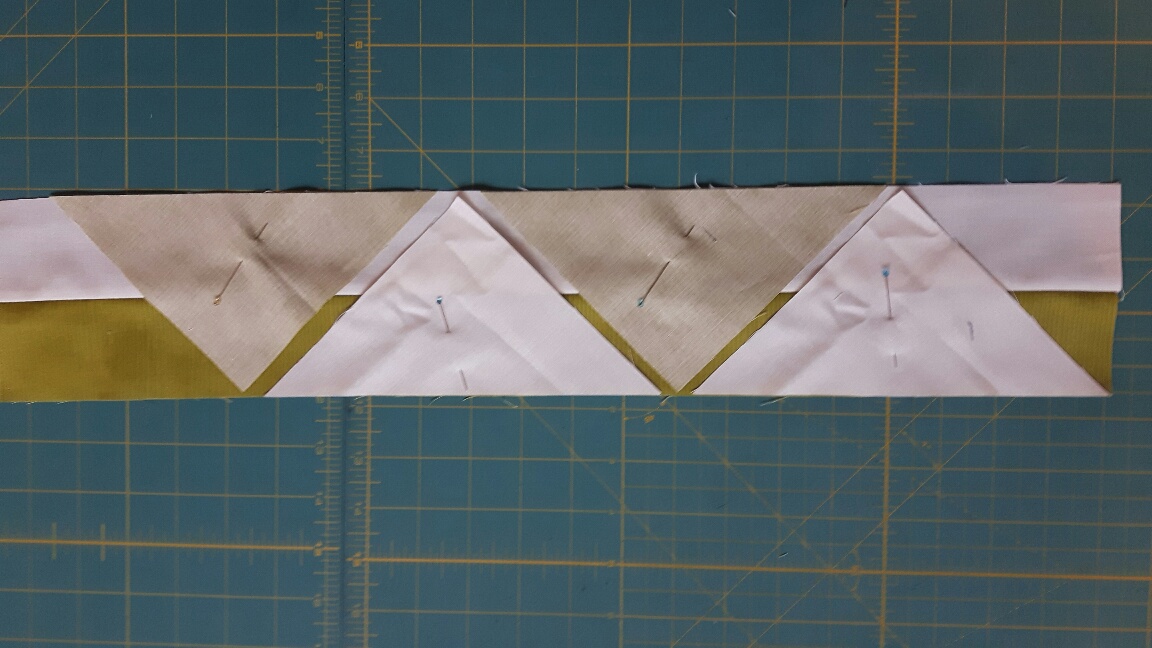
Pin triangles in place and sew down one side of the strip, then the opposite side:
Step 4:
Now we can cut the units apart. Using the triangles as a guide, align your ruler so it lays along the edge of the triangle and trim. Rotate to the other side of the triangle and trim again.
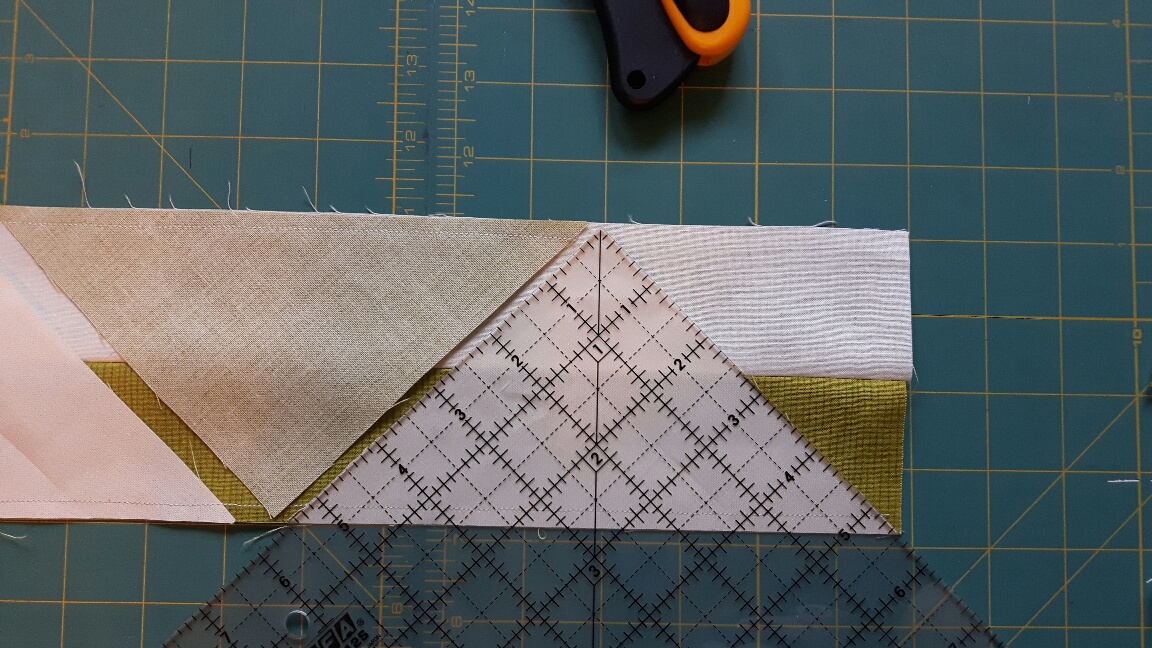
Repeat until all 4 units are trimmed and separated. Press the seams open.

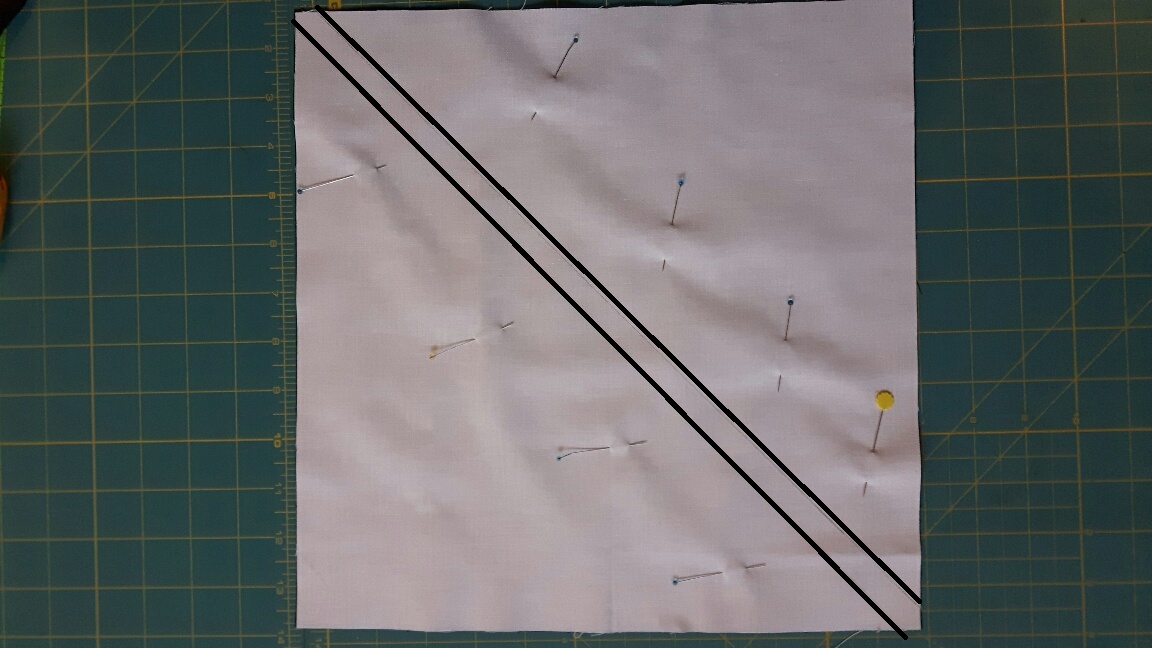
Step 5:
Now we will cut each of our 4 pieced squares once on the diagonal. Be sure to cut through the middle seam like in the photo below, NOT parallel to the centre line.

Step 6:
Rearrange the blocks so they are laid out like the photo below.

Step 7:
Sew the triangles into square units, matching the seams where they intersect. Use pins to keep things from shifting. Press the seams open.

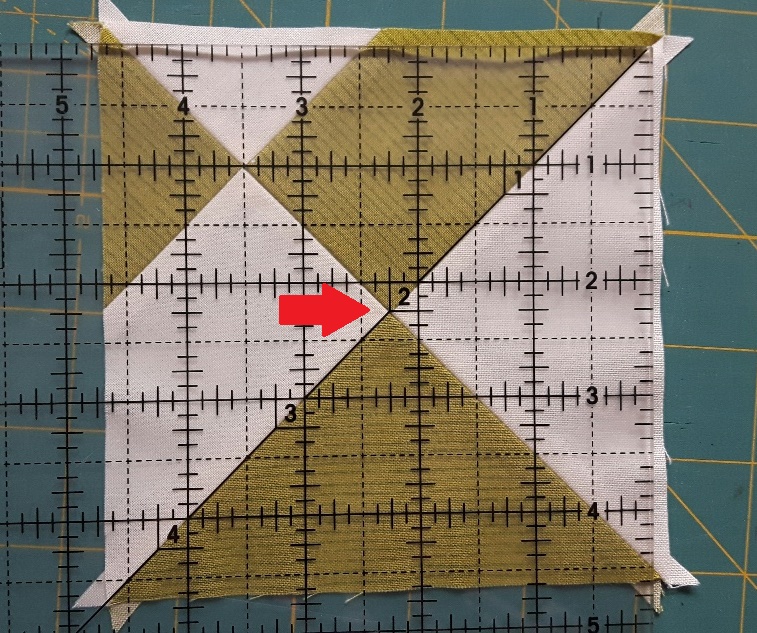
Step 8:
Now we trim the blocks to 4 1/2". Align the 2 1/4" junction of your square ruler with the centre point of the block and aligning the diagonal line with the seam. Cut away the excess on top and right side. Rotate the block and trim the remaining 2 sides.
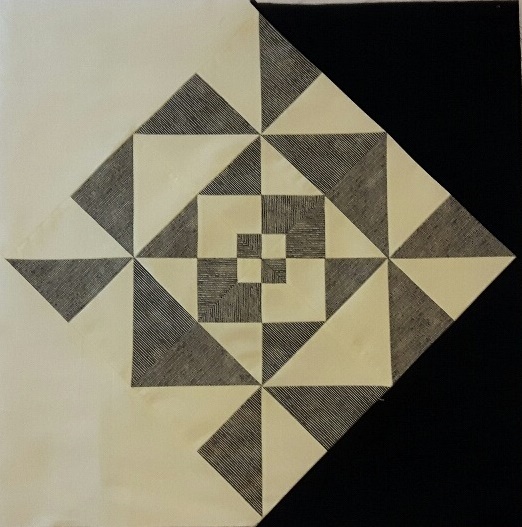
Step 9:
Once all the blocks are trimmed to 4 1/2", we can assemble the centre block. Lay out the previous units like the photo below, Sew together, pinning where the seams meet and pressing open. The block should measure 8 1/2" x 8 1/2". Repeat for all 14 coloured fabrics. As you can see this makes a very nice block as is, but I chose to go a couple more rounds. You can stop here or proceed to Step 10 for further instructions....

Step 10:
We will be making Half Square Triangles. Grab the matching stack of (6) coloured and (6) Background 5" x 5" squares. Place a (Coloured/BG) pair right sides together and draw lines 1/4" away from the centre diagonal. Sew on both of the drawn lines. Using a rotary cutter or scissors cut between the sewn lines. Each pair will yield 2 HSTs.
Trim these units to measure 4 1/2" x 4 1/2".
Repeat to yield 12 HSTs per block.

Step 11:
Arrange the matching HST units with the centre blocks like the photo below, I found it easiest to make the "Flying Geese" units first: (2) BG geese and (2) coloured geese. Then I sewed the corners to each end of the top and bottom row. Sew the side geese to the centre block. Lastly sew the rows together into a completed block. Press all seams open.
Repeat for all 14 blocks.

Again you could stop here... these blocks finish at 16 1/2" x 16 1/2".
I decided to set the blocks on point and have every other row staggered,
Step 12:
To have some rows stagger I decided to piece (4) half blocks. To do this grab (4) each of Black and White 12 1/2" squares. Make HSTs using the same method as Step 10 above. Press seams open. Trim to 12 " x 12".
Yield: 8 Black & White HSTs.
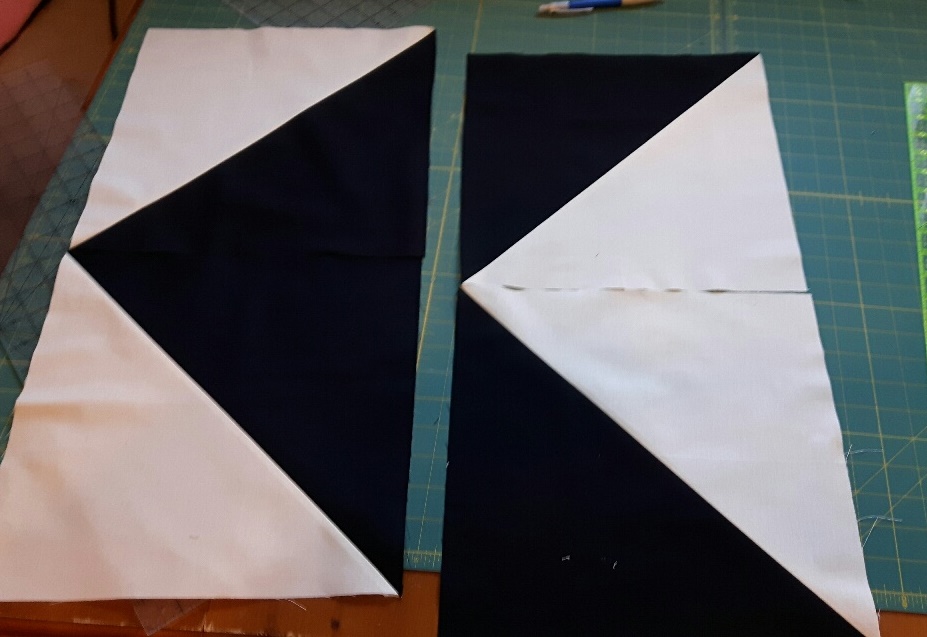
Step 13:
Sew the Black & White HSTs into opposite sets of Black & White Flying Geese blocks. Make (2) Black Geese and (2) White Geese. Press seams open.Set aside.
Step 14:
Layout your blocks in a way that pleases you (a design wall is helpful for this step, but anywhere that you can get a sense of how the blocks are situated in the completed quilt is good). Once you are pleased with the block placement take a photo of the layout so you don't get your placement mixed up as you sew the corners to the blocks.
Be sure that all the blocks are situated in the same way. ( My outer coloured triangles were always positioned at the top and bottom of the block.)
Step 15:
Adding corners to the coloured blocks.... With the remaining 12 1/2" Black & White squares, cut once diagonally to yield: 28 triangles of each.
Begin by finding the centre point of the triangles. Finger press so you can match with the centre point of the block. Add your first triangle to one side of your block. Use lots of pins and try not to stretch the triangles as you sew them in place. Remove the dog ears and press seam open. Proceed around the block placing triangles in the same manner, making sure that one side of the block receives the White triangles and the other side the Black. Be consistent with the placement of your triangles so that all the blocks look like the photo below. Press all seams open. I used a bit of spray starch to make sure the block was laying very flat.
Repeat for all 14 blocks.

Step 16:
Now we need to trim the Block. We are looking to have 1/4" past the points where the triangles were added to the corners. Using a long ruler (6" x 24"), align a straight horizontal line with the centre seam and slide the ruler so that the long edge extends 1/4" past the point. Trim away the excess. Repeat for all 4 sides. The block should measure between 23" and 23 1/4". The actual measurement would be 23 1/8", but I found mine were actually within that 1/4" range. It was more important to me that all the blocks had 1/4" past the points on all 4 sides, rather than that they were all exactly the same measurement. ( after all 1/8" either way is pretty minimal in a block that is 23"+).
Step 17:
Assemble the blocks into rows, making sure to pin all the points where the seams meet. Also pin at the top and bottom, so your rows will be the same height.
For Row 1 and 3, sew 4 blocks into each row.
For Rows 2 and 4, begin with the appropriate Half blocks from Step 13 and add these to opposite ends of 3 full blocks. ( See the photo below for proper placement of the Half blocks)

IMPORTANT: The Half blocks have not been trimmed yet. You can either :
- Measure the height of the adjacent block and trim the Half blocks to match or
- Align the centre points of the half blocks to the centre point of the adjacent block and pin . Sew from the centre point out to both ends without pulling on either block and trim excess after the block is attached to the row.

Step 18:
After trimming the excess height from the half blocks you must also cut away the excess width.... Align your long ruler so that the edge aligns where the black and white meets at a point. Cut away the excess.

Step 19:
You can now assemble your rows into your completed top. Quilt as desired.
Step 20: Binding
Cut out (9) strips to your desired width ( 2" - 2 1/2"). Bind using your preferred binding method. Enjoy!!!
This quilt finishes at 90" x 90".

I hope you like my Web Weaver quilt, and that you give it a try. If you make a Web Weaver block or quilt, I would love to see it. If you would like to see some other layout options please visit my blog here
Cathy Victor
{Me and My Mum Quilting}
![]()
Posted in:
Comments