Welcome to Moda Fabrics!
Scrappy Table Runner
Scrappy Table Runner
Hi, I'm Kristin Esser from Simple. Handmade. Everyday. and I'm thrilled to share with you one of my favorite small projects--a Christmas table runner. In addition to my blog, I also share my creative adventures over on Instagram. I'd love to connect with you there!
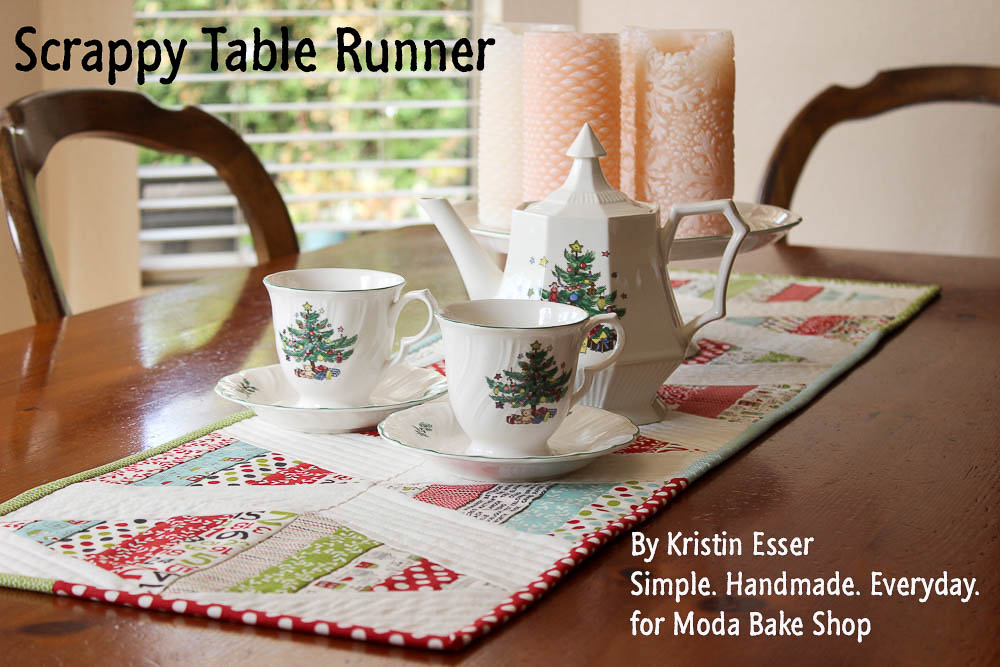
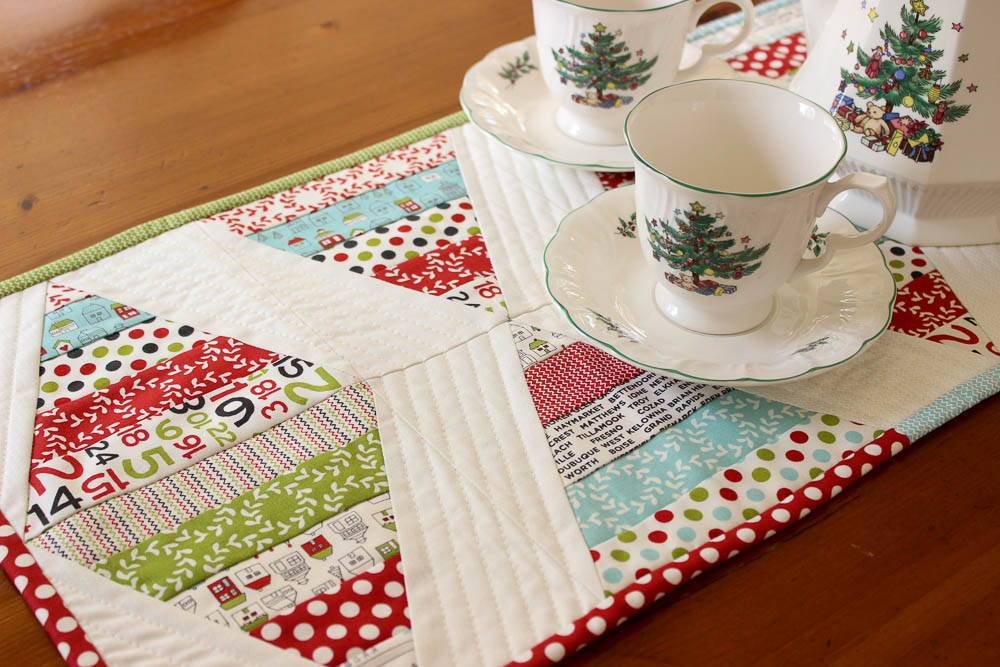
I personally think that you can't have too many table runners--they are such an easy and fun way to switch up kitchen decor for the seasons, holidays, or just everyday. This project has so many possible variations--it can be done scrappy, or with a single print fabric in the triangles, or even switch it up and use a background fabric as the triangles and the print fabric for the zig-zags. There are so many possibilities! If you use a fun print for the backing, then it's even reversible! And even better--it be completed beginning to end in a weekend.
This project finishes at 12" x 42".
1 Jelly Roll® {Hometown Christmas by Sweeetwater}
1/2 yard background fabric {Hometown Christmas Vanilla 5663 21}
1/2 yard backing fabric {Hometown Christmas Multi 5660 11}
1/2 yard binding fabric {or use leftover Jelly Roll strips}
Cotton quilt batting, such as Warm and White or Warm and Natural
Triangle in a square Bloc Loc ruler, 6"
CUTTING
- Select 16 jelly roll strips and trim them to 22" x 1 3/4"
- Select 4 additional jelly roll strips and trim to 22" x 2"
- Cut 2 strips of background fabric to 6 7/8" x WOF
BLOCK ASSEMBLY
Sew together one 2" strip and four 1 3/4" strips into a strip sets, with the 2" strip on top . Create a total 4 strip sets like this.
I find the easiest and most accurate way to make the triangle in a square block is with the Bloc Loc ruler set. This is an unfinished 6.5" square.
Using the triangle template, cut out 14 triangles. Here is a video that shows how to use the Bloc Loc ruler set.
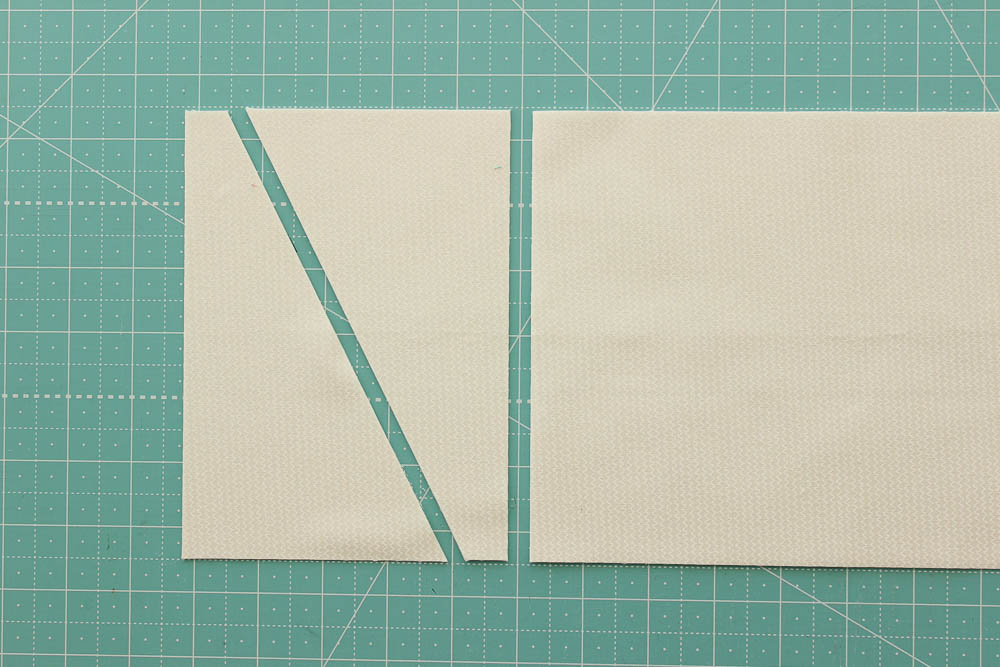
Using the second template, cut the background fabric. You should have 14 sets of 2.
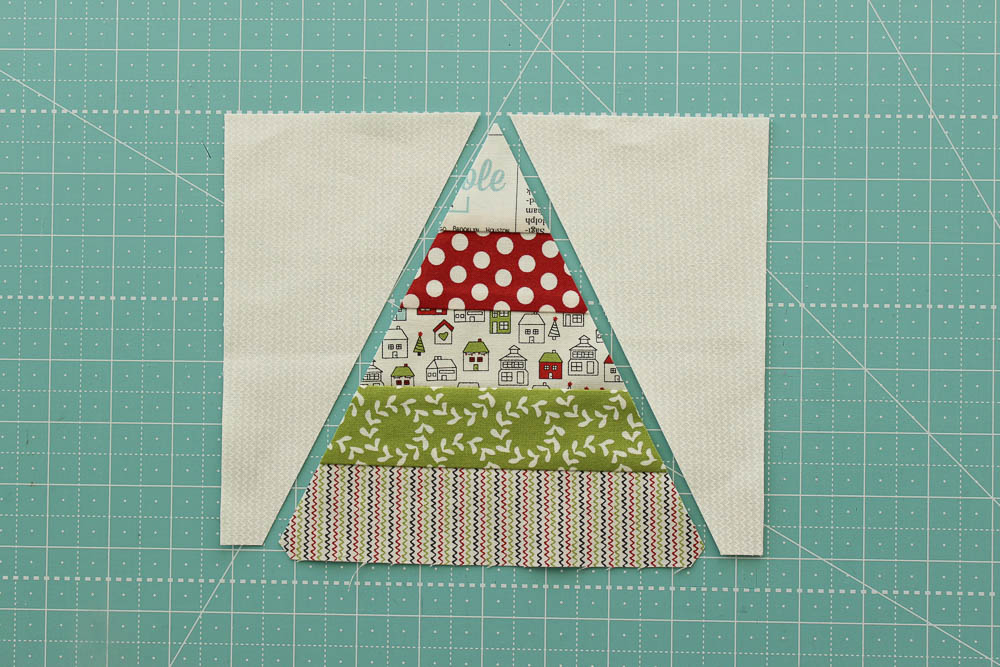
Lay out the triangle and background pieces as shown.
Position the background fabric on the left side of the triangle as shown and stitch. Press open.
Position the remaining background fabric on the right side of the triangle as shown and stitch. Press open.
Repeat for remaining 13 blocks.
Using the Bloc Loc ruler, trim to perfection! The assembly part of this project goes so much smoother when the blocks are are perfectly uniform.
TABLE RUNNER ASSEMBLY
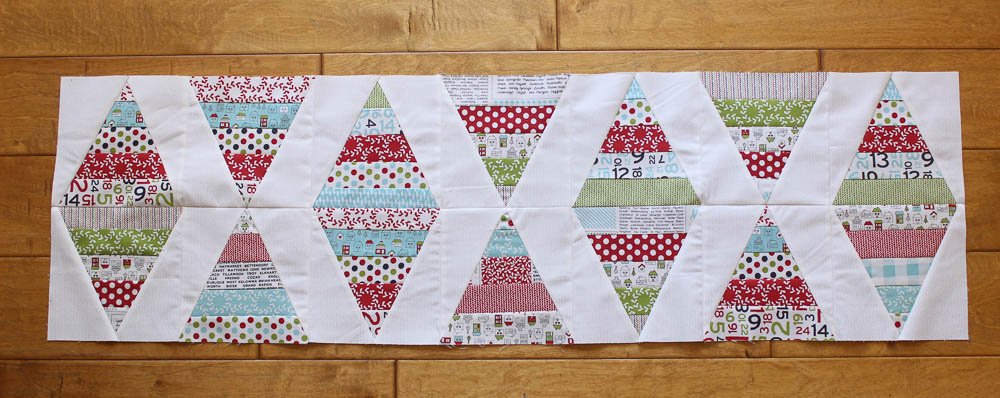
Layout blocks as shown and sew them together. Instead of sewing them in rows, I do them as 4-patches and then sew the 4-patches together. I find that I get more accurate nesting seams than when I stitch full rows together.
Baste and quilt as desired. I simply did straight line quilting with a walking foot in the background areas only, using Aurifil 2311.
Bind. I trimmed six leftover Jelly Roll strips to 2 1/4" and sewed them end to end to create the binding.
This project finishes at 12" x 42".
You many consider whipping up a few of these table runners as gifts--you can make 3-4 out of a single Jelly Roll. Enjoy!
Kristin Esser
{Simple. Handmade. Everyday.}





Comments