Welcome to Moda Fabrics!
Jelly Roll Market Bag
Jelly Roll Market Bag
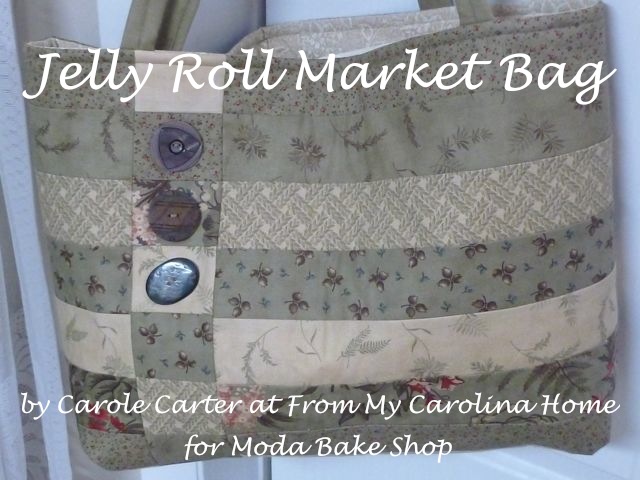
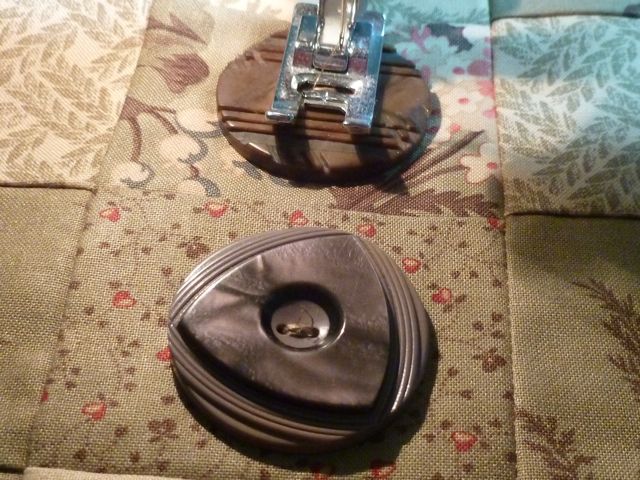
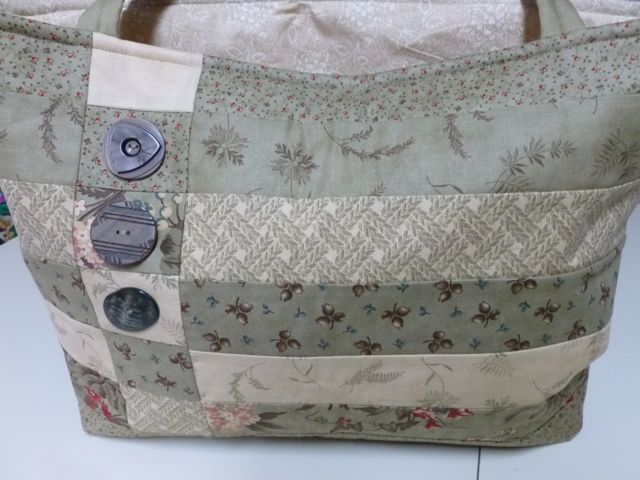
I had leftover strips from the last Moda jelly roll project (the Pin Woven Tote), and I really liked these soft, sage green colors. I also had these wonderful large buttons suitable for a coat. Knowing I will never make a coat, I had an idea for using them on another tote. I like the way this turned out, and it is very simple.
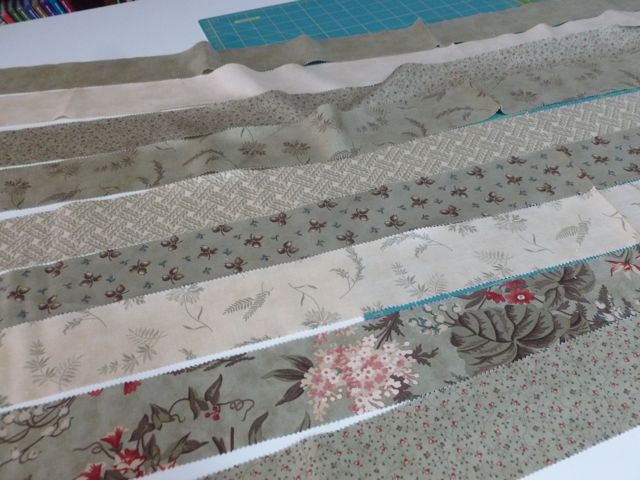
9 jelly roll strips
2 strips of batting 1-inch x 20 inches
Optional stabilizer, interfacing,fusible fleece or similar
Lining fabric 16 inches x 40 inches
3 large buttons
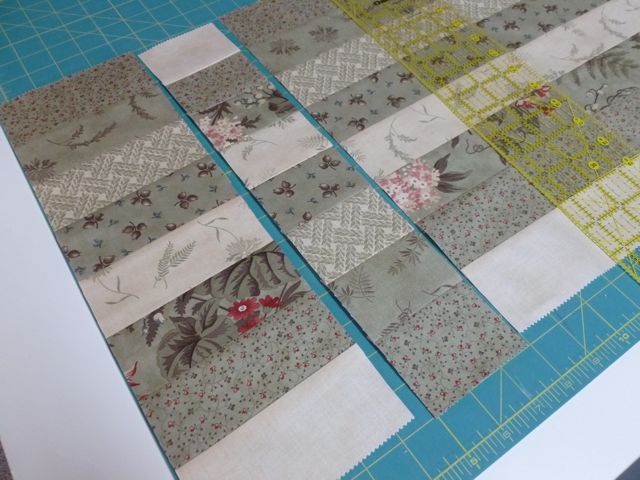
Select one jelly roll strip for handles and set aside. Arrange eight jelly roll strips in a pleasing matter.
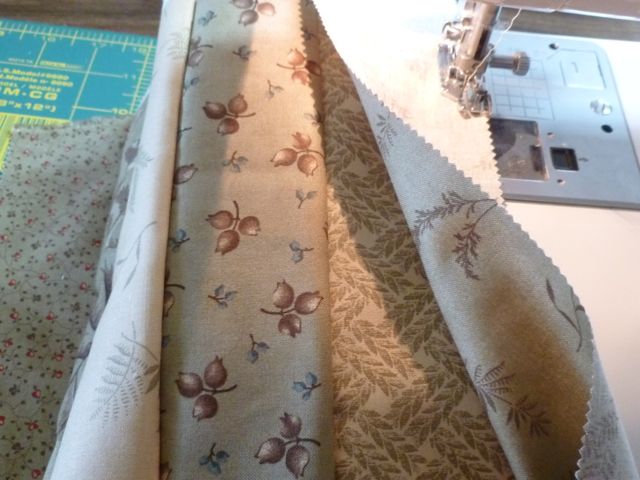
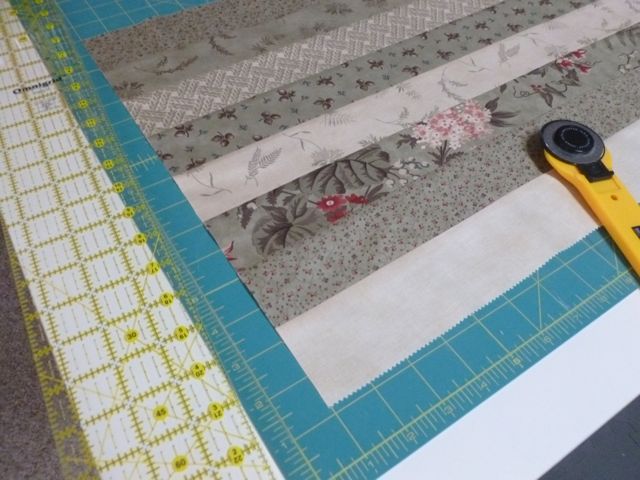
Sew together on the long sides to make a fabric piece 16-1/2 x 40 inches.
Press the seams in one direction. Remove the selvedge edges on one edge with a rotary cutter making a straight end.
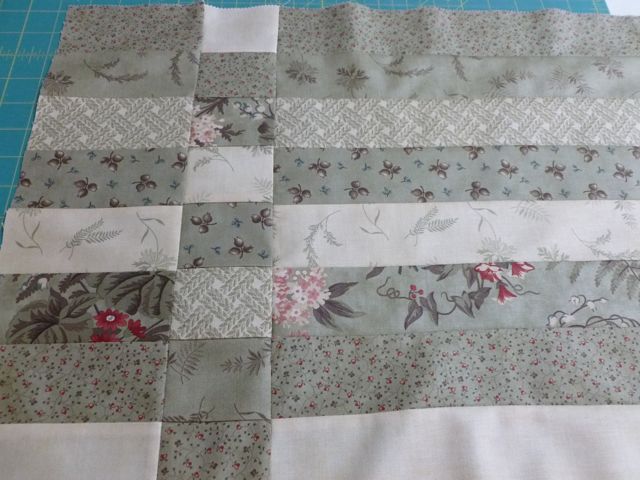
Measure five inches down and cross cut the strips. Measure three more inches and make a second cross cut. Reverse the direction of the strip created.
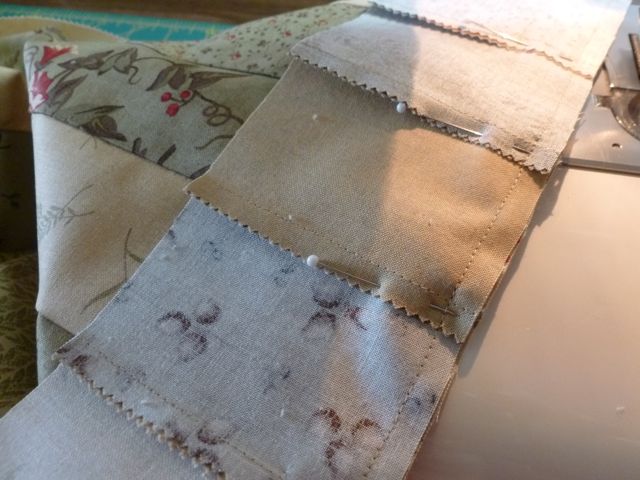
Sew back together nesting the seams.
Repeat for the other end.
Optional, add fusible interfacing or fleece, or other stabilizer to the wrong side of the strip piece to add body to the bag. If quilting is desired, complete that at this point. I only added some interfacing to give the bag a bit more body. I did not quilt it.
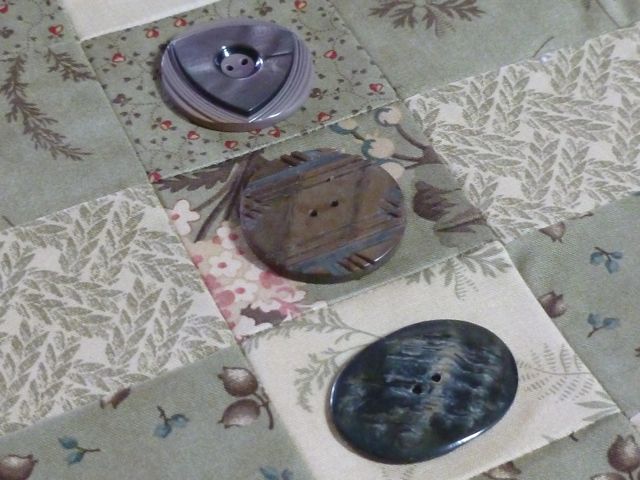
Add buttons or other embellishment if desired to three of the squares on the front side of the bag, leaving the top square empty, and starting with the second one. I made the left side reversed strip the front of the bag. The reversed strip on the right will end up on the back side of the tote.
If you can, drop the feed dogs and put the buttons on by machine using a zigzag in place stitch.
Sew the short ends of the strip pieced section together, and across the bottom of the bag. Leave the top open. Press seams open.
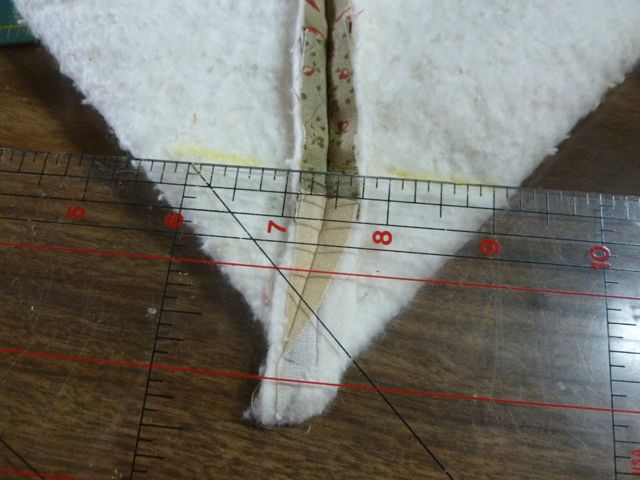
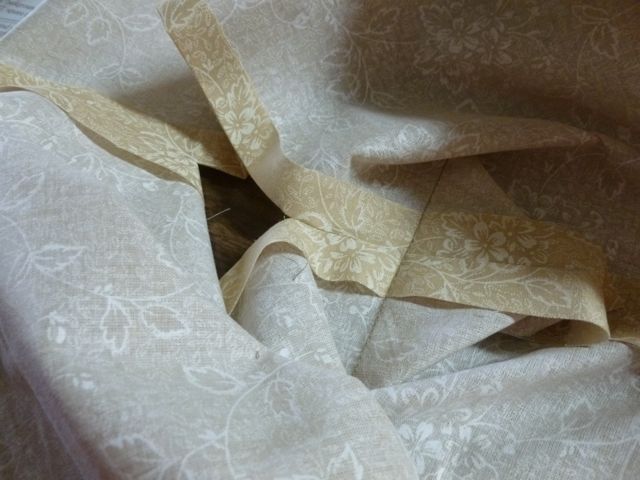
Box the corners by pulling the front and back apart right sides together, creating a triangle at the bottom of the bag and aligning the bottom seam in the center - see photo. Then, measure two inches in from the point, and sew a line of straight stitching across the corner. Repeat for the other side.
To make handles, remove the selvedge edge, and cut the reserved jelly roll strip in half crosswise, creating two strips 2-1/2 x 20 inches.
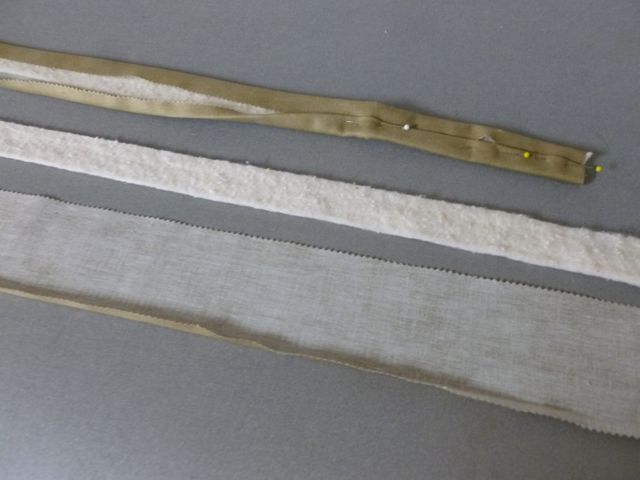
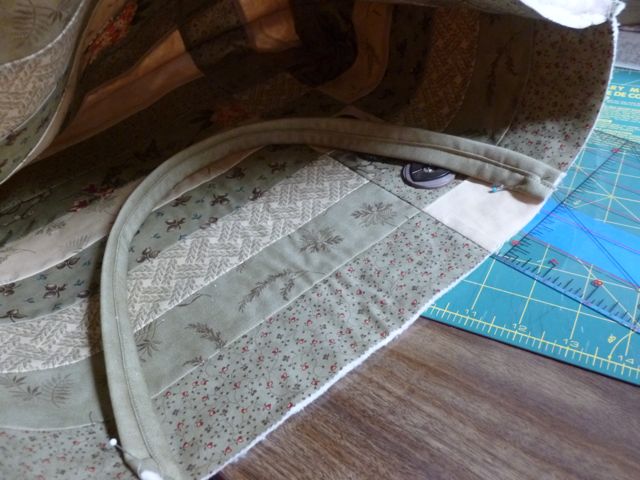
Turn under 1/4-inch on one long side of each strip to the wrong side and press. Place a 1-inch wide batting strip in the center of the wrong side of the strip.
Wrap the raw edge over the batting and press.
Wrap the folded edge over the raw edge to the center of the handle, covering the raw edge, pin and press.
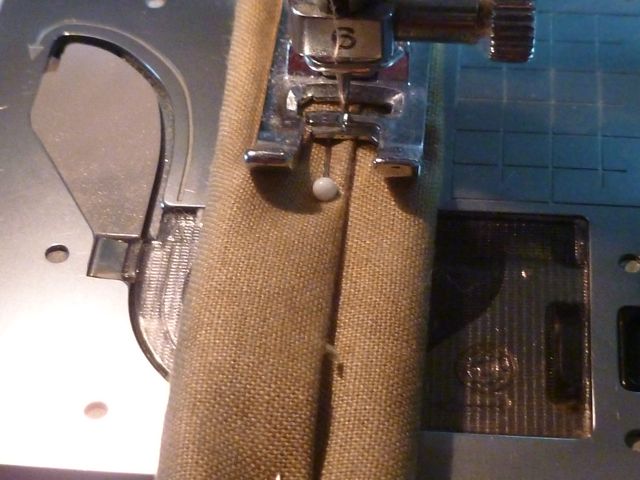
Sew a line of stitching along the folded edge securing the edge. Optional, sew additional lines on either side creating three lines of stitching for handle strength, and decorative interest.
Place the handle ends five inches in from the sides on the front side, seam side up (right sides together).
Stay stitch 1/4 inch from the edge. Repeat for the handle on the back.
Sew lining sides and bottom, leaving an opening for turning. Box corners. Turn lining right side out.
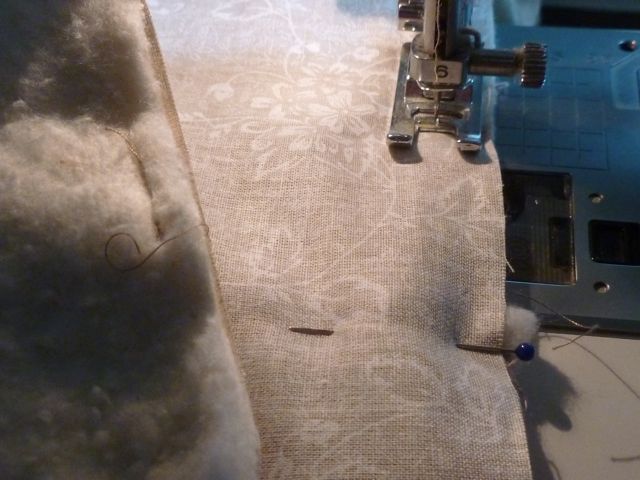
Place the lining inside the bag right sides together, matching the side seam. Pin the top edge, and stitch with a 1/2-inch seam.
Turn bag right side out through the opening in the lining. Whip stitch or machine stitch the opening in the lining closed. Press the top seam.
Topstitch 1/4 inch from top edge. If a closure is desired, center hook and loop tape pieces on either side of the inside at the top and topstitch in place.
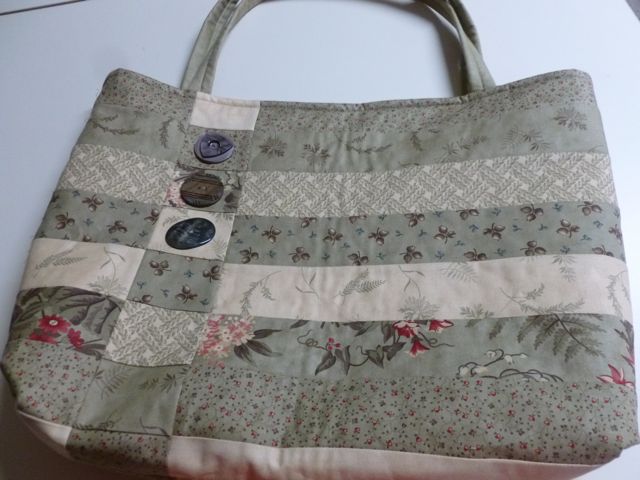
All done!
One Market Bag.
This bag is very simple, yet with style, and can be made in an afternoon! So why do I call it a Market Bag? Well, for my flea market finds, of course!! I'd love to invite you to visit my blog, From My Carolina Home, for more fun projects, quilt alongs and mystery quilts! So, what do you think of my Jelly Roll Market Bag? Do you have any leftover strips for a market bag?
Carole Carter
From My Carolina Home

