Welcome to Moda Fabrics!
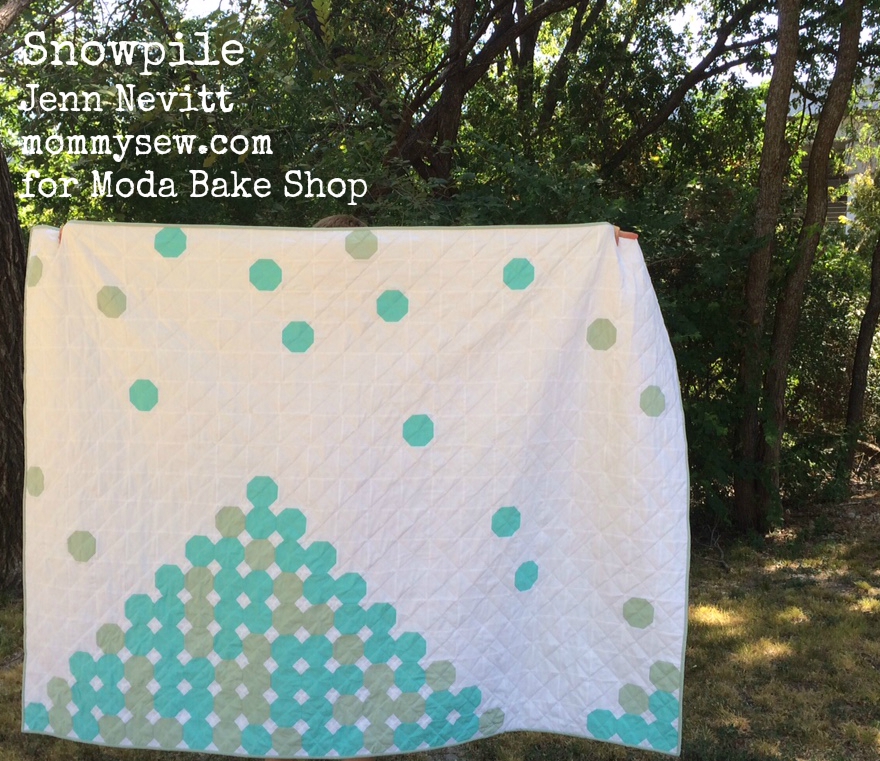
Snowpile Quilt
Snowpile Quilt
Published:
Aug 13 2015 - 23:00

This quilt finishes at 80" x 59".
![]()
Two Junior Layer Cakes of Moda Bella Solids - I used Home Town Sky and Robins Egg
4 yards of white bleached Bella Solid for background
4 1/2 yards of coordinating Bella Solid for backing
1/2 yard of coordinating Bella Solid for binding
![]()
I first made this quilt for my oldest son - I loved the idea of using Snowball blocks to make a big pile of snowballs! Those not in the pile are coming down to land in it. I also liked the idea of making a quilt that had a horizontal design, instead of a vertical one.

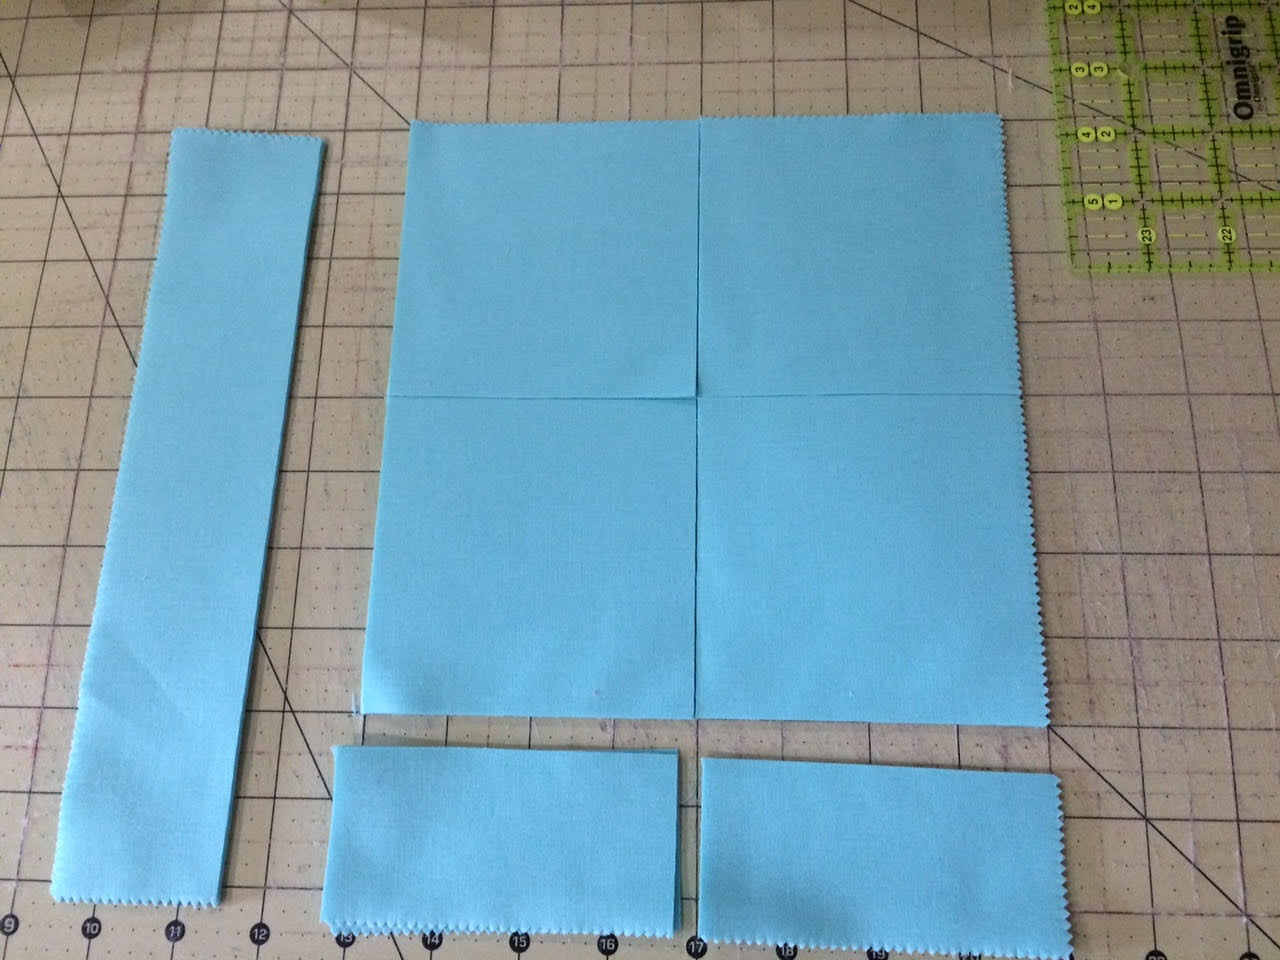
Begin by cutting your layer cakes into 4” squares. You will need to use 27 10” squares total to cut your 4” squares. You will need 105 4” squares, so you will not need to cut each layer cake slice.
From background fabric, cut 29 4” strips, sub cut into 4” squares. You will need a total of 291 background squares.
From background fabric, cut 15 1.5” strips, sub cut into 1.5” squares. You will need a total of 420 1.5” background squares.

On the back side of each 1.5” square, draw a diagonal line from corner to corner. Repeat for all 1.5” squares.
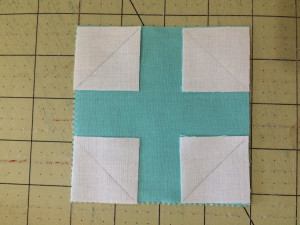
Lay out the 1.5” squares on top of the 4” wintry squares, aligning your corners, and with the diagonal line laying across the corner.


Sew on the line, and trim the seam allowance to 1/4”. I did these one square/corner at a time, but I am showing you all of them laid out so you can see how the diagonal lines run.

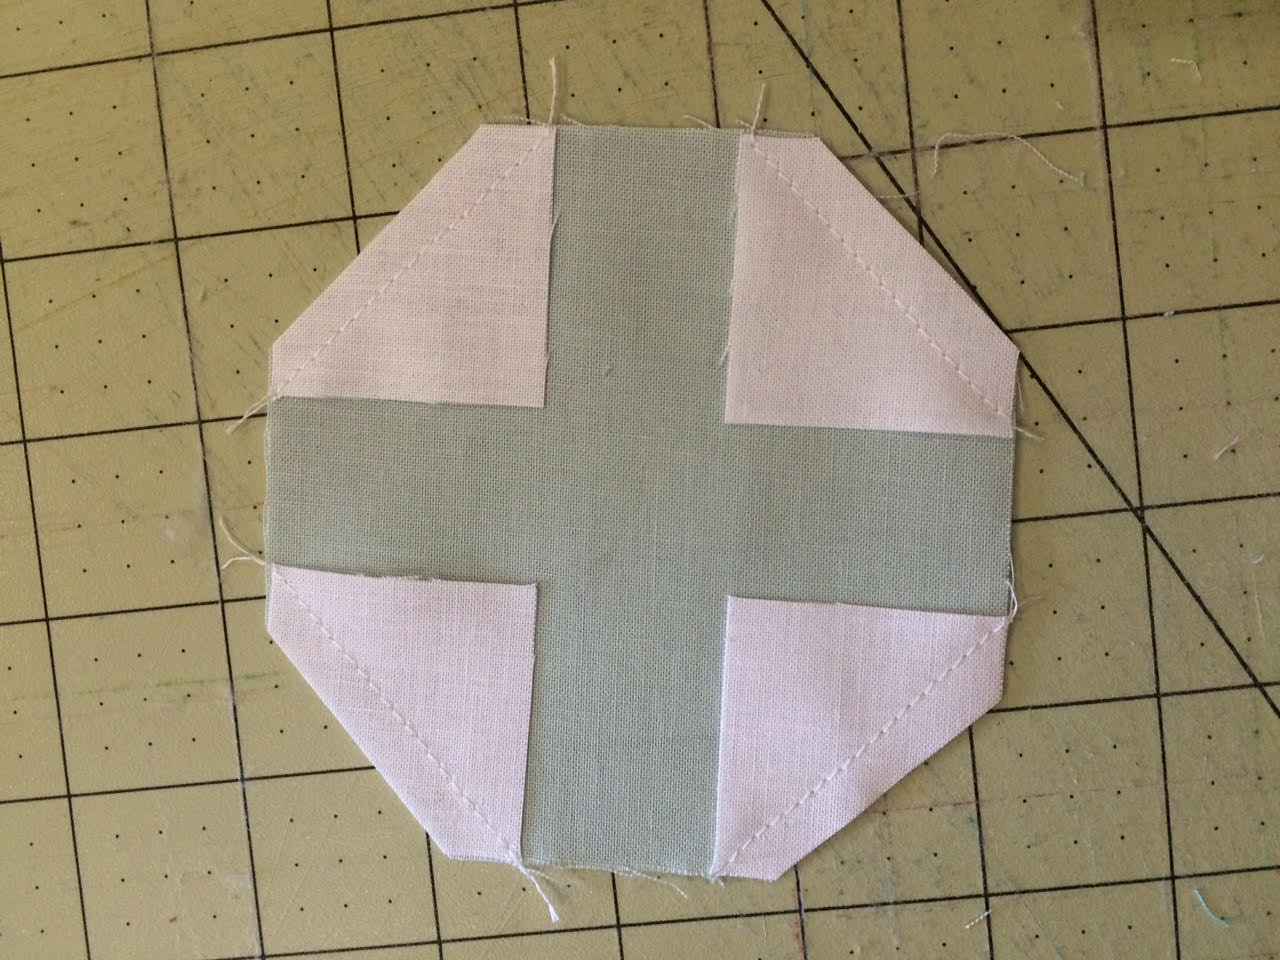
Press open.
Repeat for each corner of the wintry squares.
Now download the layout diagram, and using a design wall (or your floor!) lay out your rows according to the diagram. The X’s on the diagram are for the wintry squares (snowballs). I couldn’t take a picture of this layout for you, as my design wall isn’t wide enough and my playroom floor is rarely clean enough to even baste a quilt!
After you’ve laid out your blocks, sew them into rows, pressing your seams well. Carefully label each row by numbering them top to bottom, 1-17. After you’ve assembled your squares into rows, sew your rows together. Press seams well.
Baste, quilt and bind as desired!
![]()
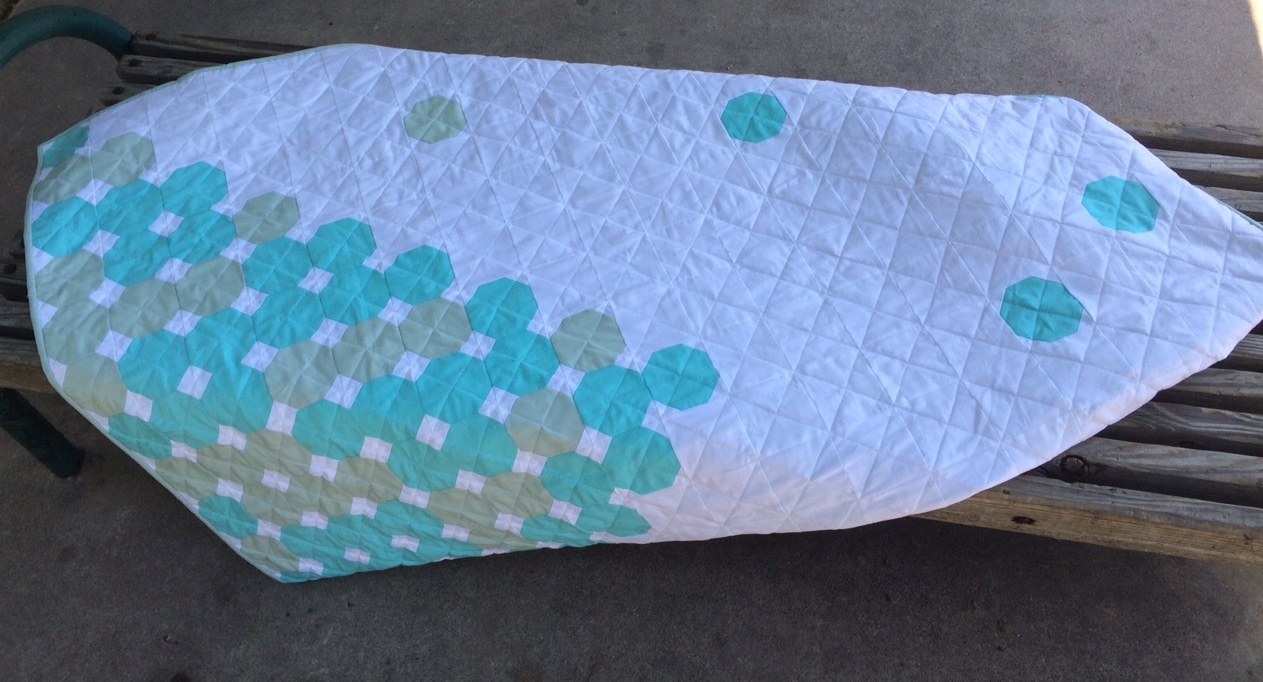
80"x59" Throw size quilt, great for dreaming of cooler weather, or snuggling under during the first snow!
Jenn Nevitt
{mommysew.com}
![]()
Posted in: