Welcome to Moda Fabrics!
Car Trash Bag
Car Trash Bag
Published:
Apr 26 2015 - 23:00


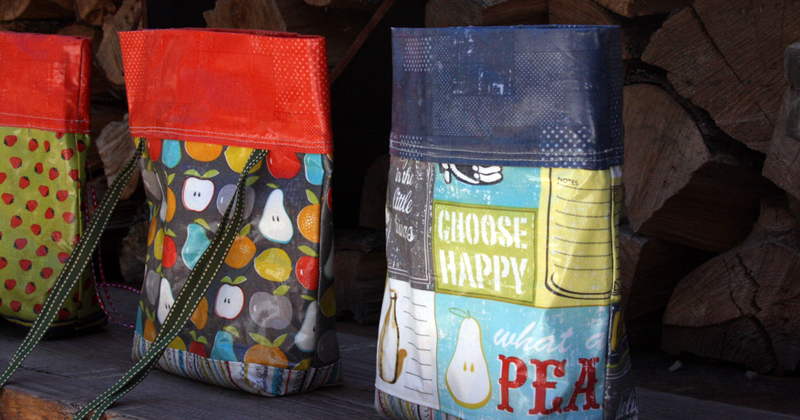
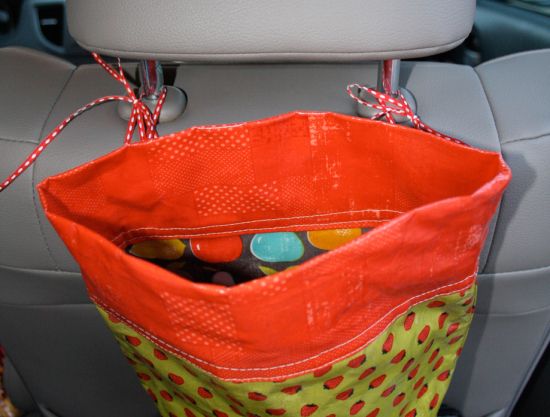
My name’s Elisabeth DeMoo, and I’m thrilled to share my recipe for a super-handy Car Trash Bag. Practical, reversible, and easy to clean (thanks to its vinyl finish), this cute little bag has proven to be the perfect home for all the scattered bits of rubbish that used to cover the inside of my car. The fabric I used is Garden Project by Tim and Beck. I just love it, and hope you do too!!
If you’d like to see more, check out my blog at Brown Bird Designs or follow me on Instagram @BrownBirdDesings.
![]()
4 - 22" x 8" Fusible Vinyl (save one of the largest pieces of paper for latter ironing)
4 - scrap fabric around 22" x 8" (half a fat quarter)
2 - pieces of ribbon 28” long
Fabric Marker
Pins
Rotary cutter, cutting mat and ruler
Thread
Sewing machine
![]()

Make sure you have taken all the threads off the top of the fabrics before starting the fusing process (if you don’t do this, you will have one stock in between the plastic and fabric). Iron the vinyl onto the 4 different fabrics using the instructions that come with your fusible vinyl.
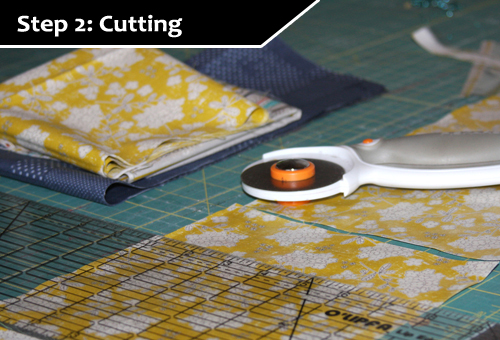
Cut the fabric/vinyl into the following pieces:
A. Outside fabric 2 cuts - 7” x 10.75” | Inside fabric 2 cuts - 7” x 10.75”
B. Outside fabric 1 cut of 5.5” x 10.75” | Inside fabric 1 cut of 5.5” x 10.75”
C. Top fabric 1 cut 7.5” x 21"


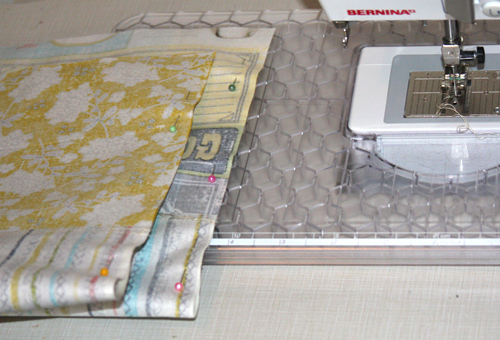
Sew one of the outside As to the long side of outside B. Sew the other outside A to the other long side of the outside B.

Use one of your scrap pieces of paper from your fusible vinyl to iron the seams flat Top stitch. Repeat these steps for the inside fabrics.
Now, the outside fabrics (and inside fabrics) should be a rectangle.

Now, the outside fabrics (and inside fabrics) should be a rectangle.
With the RST find the edges where the seams meet and pin together. Don’t forget to also finish pinning the rest of the edge (do this to both edges) and sew each edge. Repeat these steps for the inside rectangle.

On the bottom corner of the bag, where the seam starts, make it into a point. Measure 1.5" down from the top and draw a line with a fabric marker. Sew on the line, and cut ¼” after the seam. Repeat this step on the other 3 bottom corners (outside and inside fabrics).

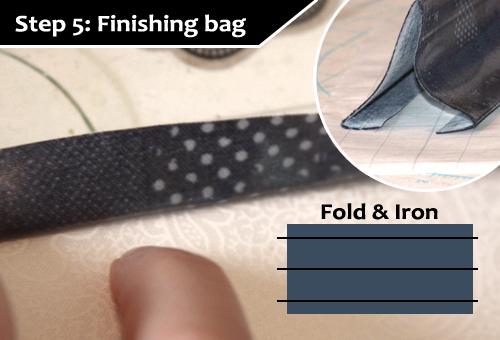
Locate fabric C. Fold the fabric in half (it becomes 3.75 x 21) and iron flat. On each edge fold down ½ inch and iron flat. Sew the short edges together.
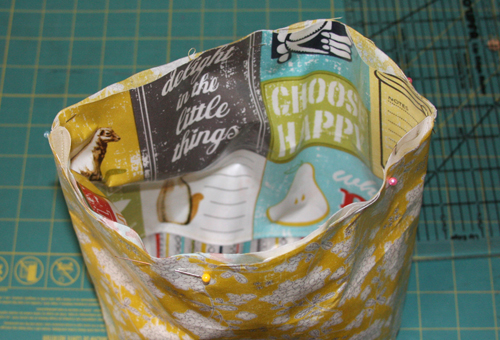
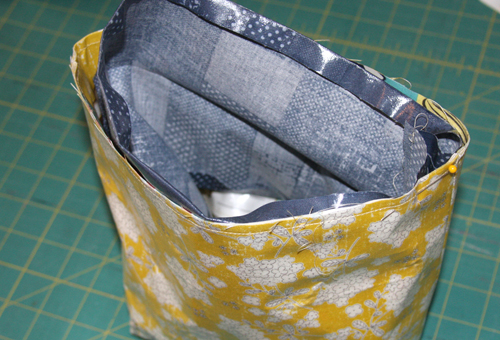
Turn the inside bag so the RSO (right side out), and turn the outside bag to the RSI (right side in) wrong sides are touching. Put the inside fabric inside of the outside fabric, pin and sew the raw edges together.
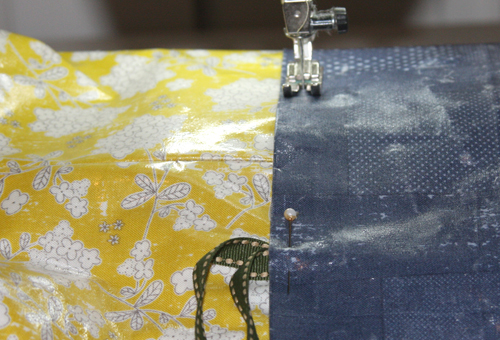
Pin one edge of C (WSO) to the top edge of the outside fabric (RST). Sew all three edges together.
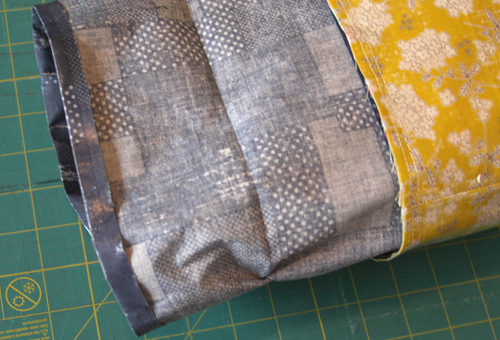
Pull C up and turn down.
The ironed folds will be your guide, use them to fold over the edges of Fabric A. Pin in place. When you get to the back side of the back tuck your ribbon into the folded seam (1.5” away from side seam of the bag). Sew. Top stitch.
![]()
Elisabeth DeMoo
{Brown Bird Designs}
![]()
Posted in: