Welcome to Moda Fabrics!
Sweet Sixteen Quilt
Sweet Sixteen Quilt
Published:
Mar 10 2015 - 10:11
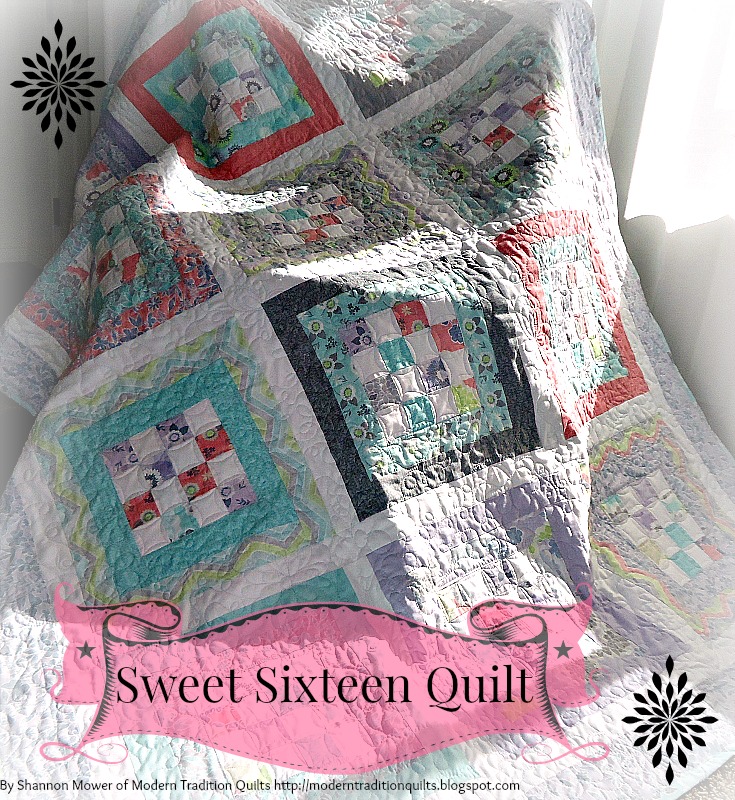

Hello! I am Shannon Mower of Modern Tradition Quilts and it is a pleasure to be with you here on Moda Bake Shop today! I am thrilled to share with you my Sweet Sixteen Quilt--a project made from two jelly rolls--one featuring the "True Luck" line and one jellyroll featuring white strips. Enjoy! This quilt works up surprisingly fast and this fabric line creates a sweet spring-time feel.
![]()
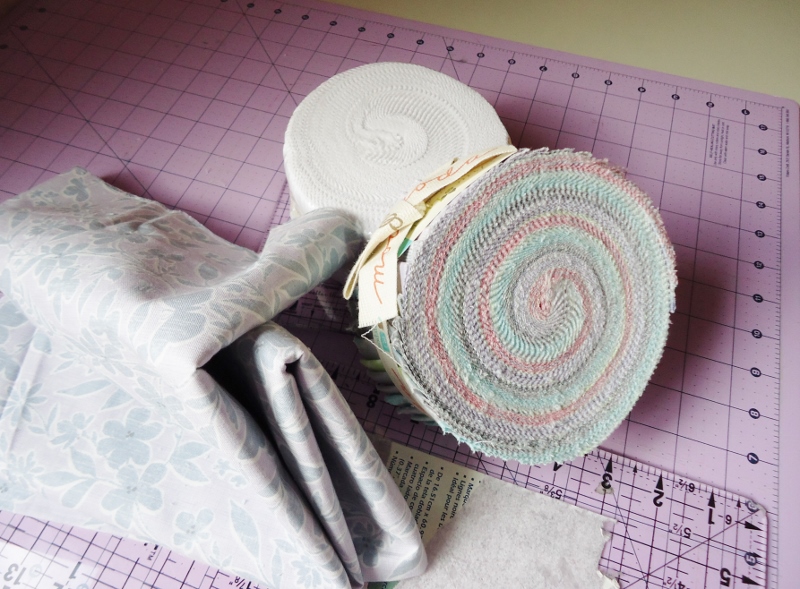
1 Print Jelly roll (“True Luck” shown here)
1 Plain White Jelly roll
1 Yard for outer border if cutting on the Width of Fabric (WOF) or 2 yards if cutting along the length of fabric (LOF)
1 Yard binding
5 Yards backing
![]()
SORTING INSTRUCTIONS:
It is important to sort the colors of your print jelly roll first so that you will have enough strips to complete the frames around the 16-patch block. The “True Luck” collection has several repeat prints in it so I was able to get both the inner and outer borders to match going all the way around. If you are using a different collection without repeating fabric strips, you will want to do your best to match color and print scale to create the same affect in the frames.
 This block is a great example of how two different prints in the same color hue could be used to make a fun variation. If your jellyroll does not have many matching pairs of strips, use strips of the same color hue with different prints. It will create a different texture. In the final layout diagram, I used this scrappy approach. You will see that the frames still look great!
For the inside frame, select 12 strips.
For the outside frame, select 12 pairs or 24 matching strips.
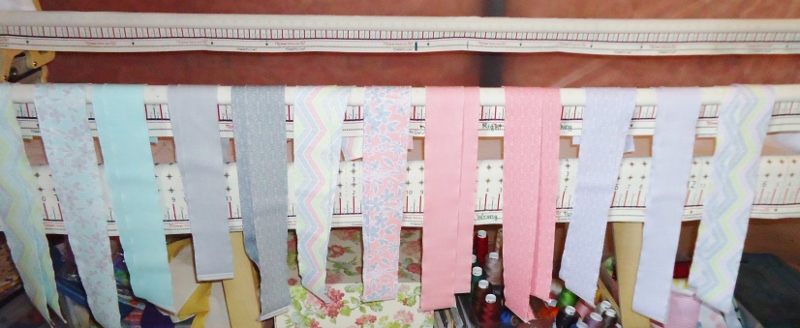 Here is a great use of my quilting machine when not in use! Laying out all of my matched pairs of Jellyroll print strips.
CUTTING DIRECTIONS:
Cut the outside frame strips from the print Jellyroll:
1. Open out the length of the print strip. Cut this strip into one rectangle measuring 16 ½” long, another rectangle measuring 12 ½” long and 5 squares measuring 2 ½”. The rectangle pieces are reserved for the outer frame and the 2 ½” squares are reserved for the 16-patch blocks. You will need 96 print 2 ½” squares.
2. Repeat this until all 24 outer-frame strips are cut.
Cut the inside frame strips from the print Jellyroll:
1. Note that due to the use of seam allowance, this will use the entire 42” width of the jellyroll strip. Avoid being too generous when removing your selvages as you need to use the entire width of the jellyroll strip.
2. It is not necessary to open out the strip, but you can for accuracy. Cut each strip to yield two 8 ½” rectangles and two 12 ½” rectangles. Reserve these for the inner frame.
3. Repeat until all 12 inner-frame strips are cut.
Cut the white Jellyroll strips:
1. Select 6 white strips. Cut these into 96 white 2 ½” squares. (Each strip yields sixteen 2 ½” squares).
2. Select 4 white strips. Cut these into two 16 ½” rectangles. Reserve these for the sashing.
3. Select 14 white strips. Sew these end-to-end to make a length of 88 inches. These are reserved for the remaining sashing strips and will be trimmed to their final length in later steps.
From the outer border print:
1. Cut 8 strips from the WOF measuring 4 inches wide.
2. Sew these strips end to end to make four lengths 88” wide.
3. These will be trimmed to their final size when borders are added to the finished quilt.
Note: If you choose to cut your borders from the LOF, cut four strips measuring 4 inches wide by 88 inches long.
ASSEMBLING THE 16-PATCH BLOCK:
Refer to the diagram:

1. Create four rows consisting of one 2 ½” print square, 2 ½” white square, 2 ½” print square and 2 ½” white square.
2. Press seams towards the print fabric.
3. Align rows facing one another. This will help seams nest and also create the checkerboard affect.

4. Sew four rows together.
 I chose my 2 1/2" squares at random to create a scrappy look.
5. Repeat to make 12 blocks. These 16-patch blocks are 8 ½” inches at this point.
ASSEMBLING THE FIRST FRAME:
1. Sew the 8 ½” print rectangle to the top and bottom of the 16-patch block.
2. Press seams towards the frame to reduce bulk.
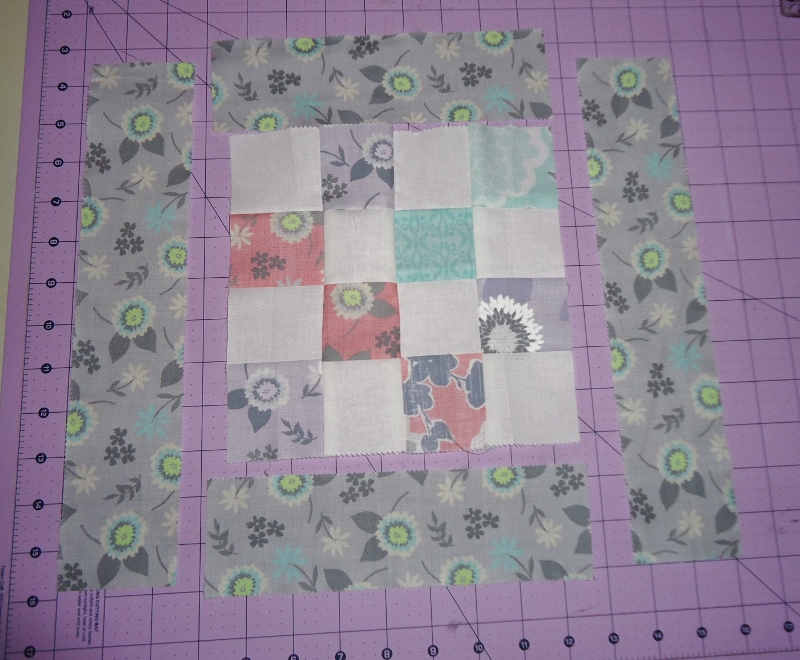
3. Sew the 12 ½” print rectangle to the right and left sides of this unit.
4. Press seams towards the frame to reduce bulk.
5. Repeat for until all 12 blocks are finished. The finished block size is 12 ½” at this point.

ASSEMBLING THE SECOND FRAME:
1. Sew the 12 ½” print rectangle to the top and bottom of the 16-patch block.
2. Press seams towards the frame to reduce bulk.
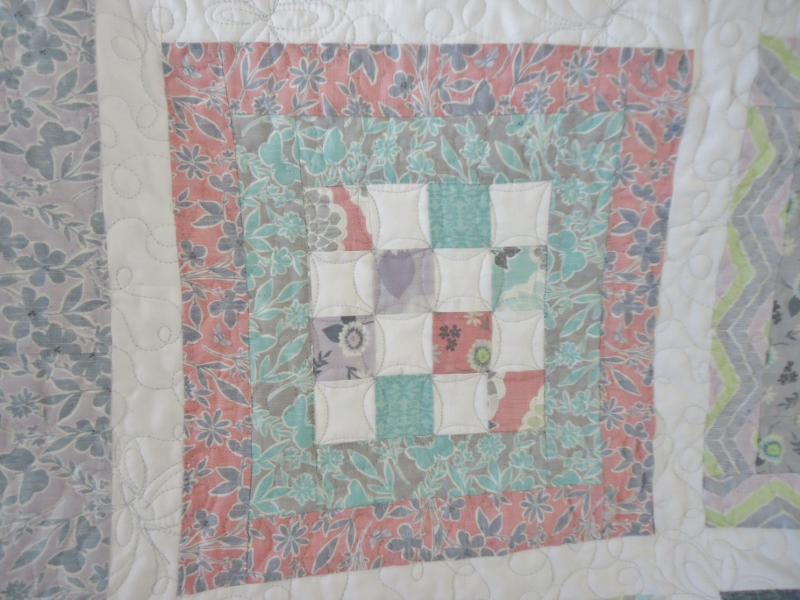
 When choosing the second frame, I tried to create contrast between the inner and outer frames. A great example is this block. It has a large-scale print around the 16-patch with a linen-print gray for the outer frame.
3. Sew the 16 ½” print rectangle to the right and left sides of this unit.
4. Press seams towards the frame to reduce bulk.
5. Repeat until all 12 blocks are finished. The finished block size is 16 ½” at this point.
ASSEMBLING THE QUILT TOP:
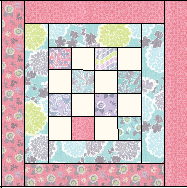
Refer to the layout diagram:
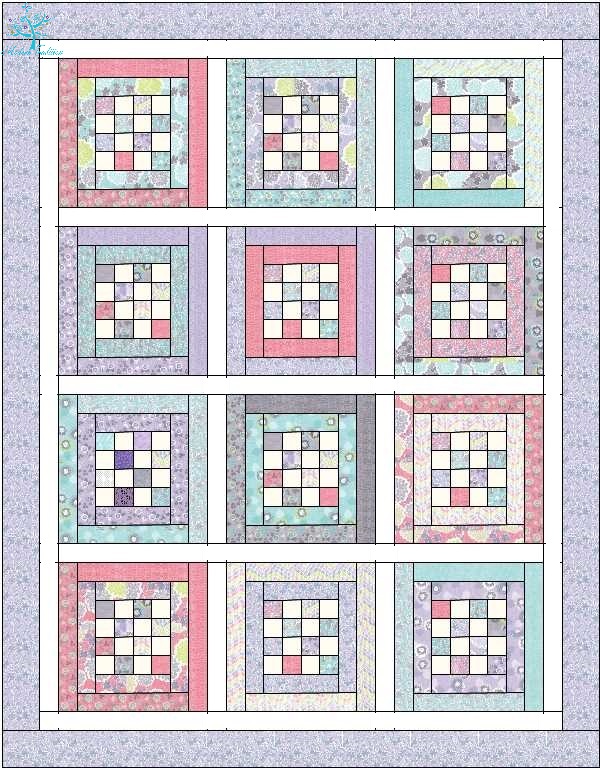
1. Sew the 16 ½” sashing strips to join the blocks into rows. I chose to set it in vertically. Because the sashing is white, I pressed seams towards the frame. However, in most quilt projects, the seams are pressed towards the sashing. You may press in whichever manner feels best to you.
2. Sew the white sashing between the rows. I chose to do sew these in horizontally. Trim the length flush with the quilt top. If this makes you uncomfortable, cut the width to 52 ½” inches wide, then sew in the sashing.
3. Sew on the outer sashing. Sew the right and left sides first, then trim flush with the quilt top. If this makes you uncomfortable, cut the length of this strip to 70 ½” then sew it on.
4. Sew the top and bottom outer sashing, then trim it flush with the quilt top. If this makes you uncomfortable, cut the length of this strips to 56 ½” inches and then sew it on.
ADD THE OUTER BORDERS:
1. Sew on the left and right borders, and then trim it flush with the quilt top. If this makes you uncomfortable, cut the length of this border to 74 ½” then sew it on.
2. Sew on the top and bottom borders, and then trim it flush with the quilt top. If this makes you uncomfortable, cut the length of this border to 64 ½” then sew it on.
![]()
One quilt measuring 82 inches long by 64 inches wide.
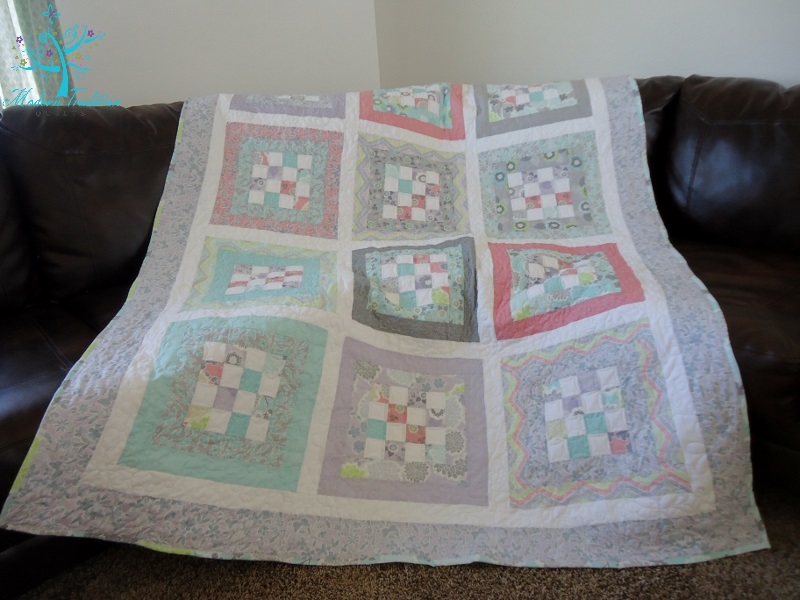
I chose to quilt it using my "Mix 'N Match" method. I did loop the loops with butterflies and flowers in the back-ground then switched to continuous curve in the 16-patch blocks.
Quilt and bind as desired. Enjoy!
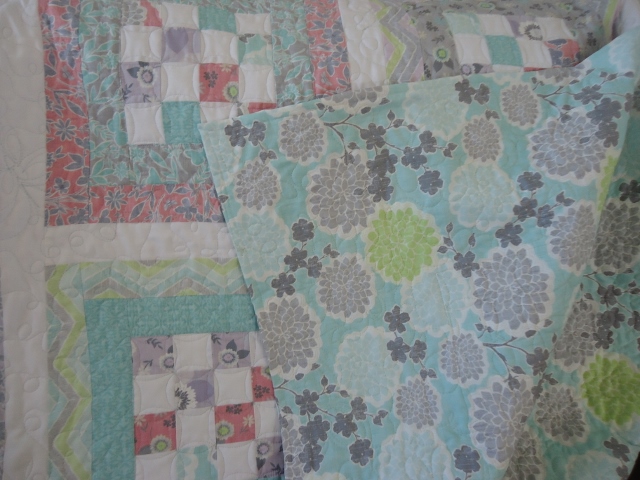 The fabrics in the "True Luck" line are beautiful! Check out this backing--what a great project. The fabric really makes it turn out great.

Shannon Mower
{Modern Tradition Quilts}
![]()
Posted in: