Welcome to Moda Fabrics!
Hugs and Kisses Quilt
Hugs and Kisses Quilt
Published:
Jan 31 2015 - 23:00


Hello Bake Shop readers! My name is Amy Harward of Sew In Love Quilting, and I am so excited to be sharing my first Moda Bake Shop tutorial with you today! The Hugs and Kisses Quilt is a great project for Valentine's Day or to just say, "I love you!" The quilt finishes at 46.5" x 56", which makes it the perfect size for snuggling up with your loved one!
![]()
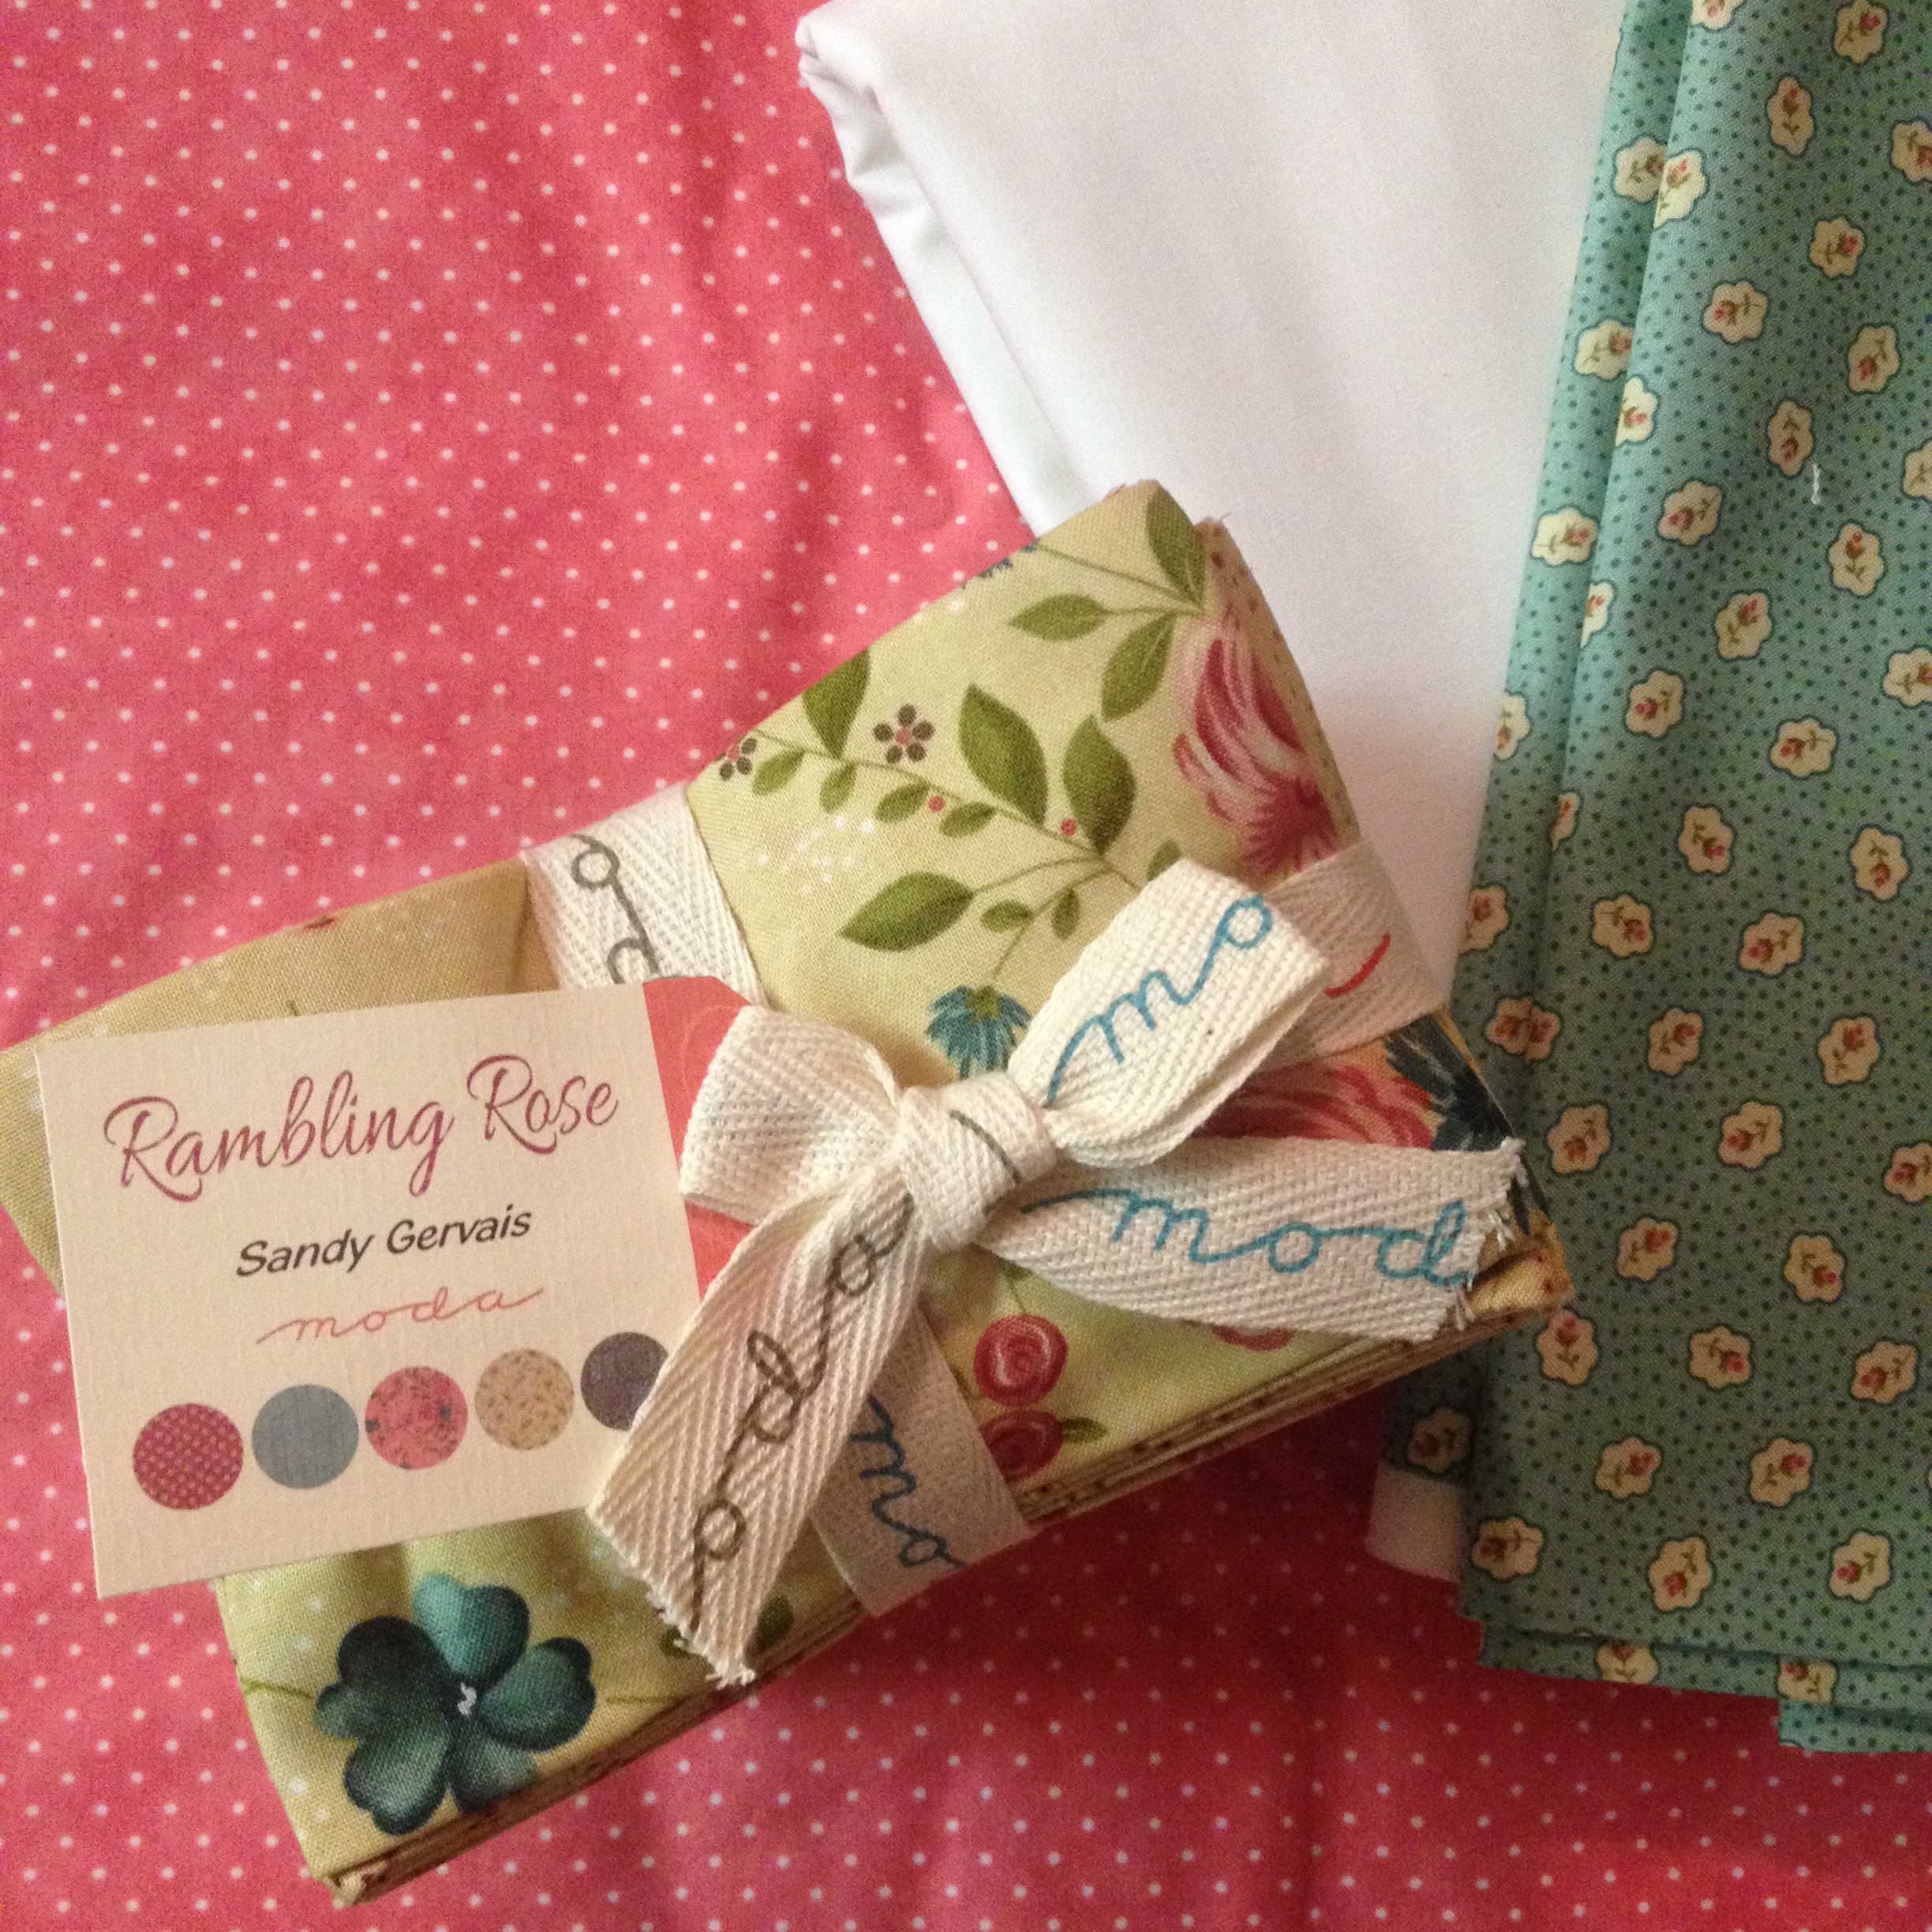
1 Fat Eighth Bundle of Rambling Rose by Sandy Gervais
- 7 blue fat eighths
- 7 pink fat eighths
2.5 yards of Bella Solid Bleached White (98) for neutral fabric
3 yards Essential Dots in Lipstick for backing
1/2 yard Rambling Rose Rain for binding
50.5" x 60" cut of batting (might need to be a few inches bigger depending on your quilter's preference)
16.5" x 16.5" piece of paper-backed iron on fabric adhesive (such as Heat n Bond Lite)
![]()
Cutting:
Cut each of the blue fat eighths into (8) 4.5" x 4.5" squares.

Cut each of the pink fat eighths into (8) 2.5" x 4.5" rectangles, (4) 2 7/8" x 2 7/8" squares, and (8) 1.75" x 1.75" squares.
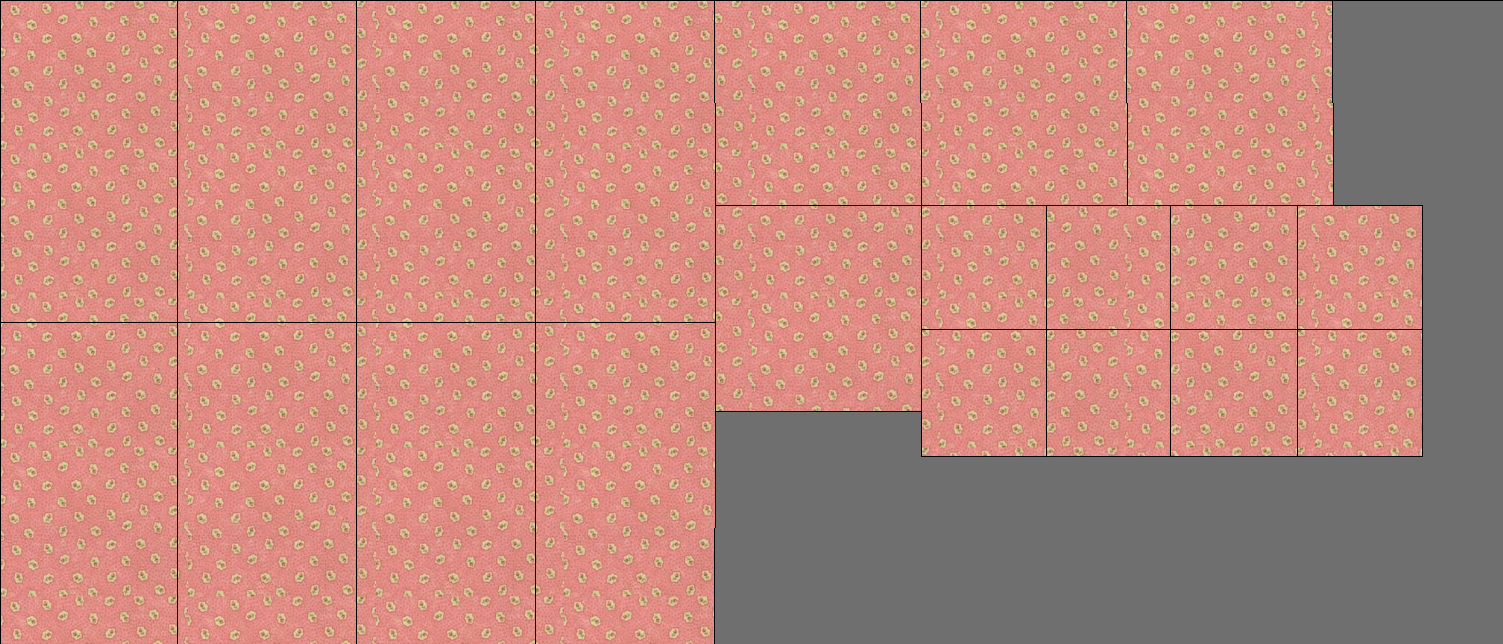
Cut neutral fabric as follows:
- Cut 2 strips 4.5" x width of fabric (WOF). Subcut strips into 4.5" x 4.5" squares until you have 13.
- Cut 2 strips 2 7/8" x WOF. Subcut strips into 2 7/8" x 2 7/8" squares until you have 26.
- Cut 9 strips 3.25" x WOF. Subcut strips into 3.25" x 3.25" squares until you have 104.
- Cut 3 strips 1.75" x WOF. Subcut strips into 1.75" x 1.75" squares until you have 52.
- Cut 10 strips 2" x WOF. Subcut 6 strips into 2" x 8.5" rectangles until you have 22. Set aside the remaining 2" strips until after the blocks are finished and can be measured.
- Cut (1) 16.5" x 16.5 square.
For the appliqued heart, cut a 9" x WOF strip from the backing fabric. Set aside for later.
For binding, cut (5) 2.5" x WOF strips from the Rambling Rose Rain fabric.
Piecing:
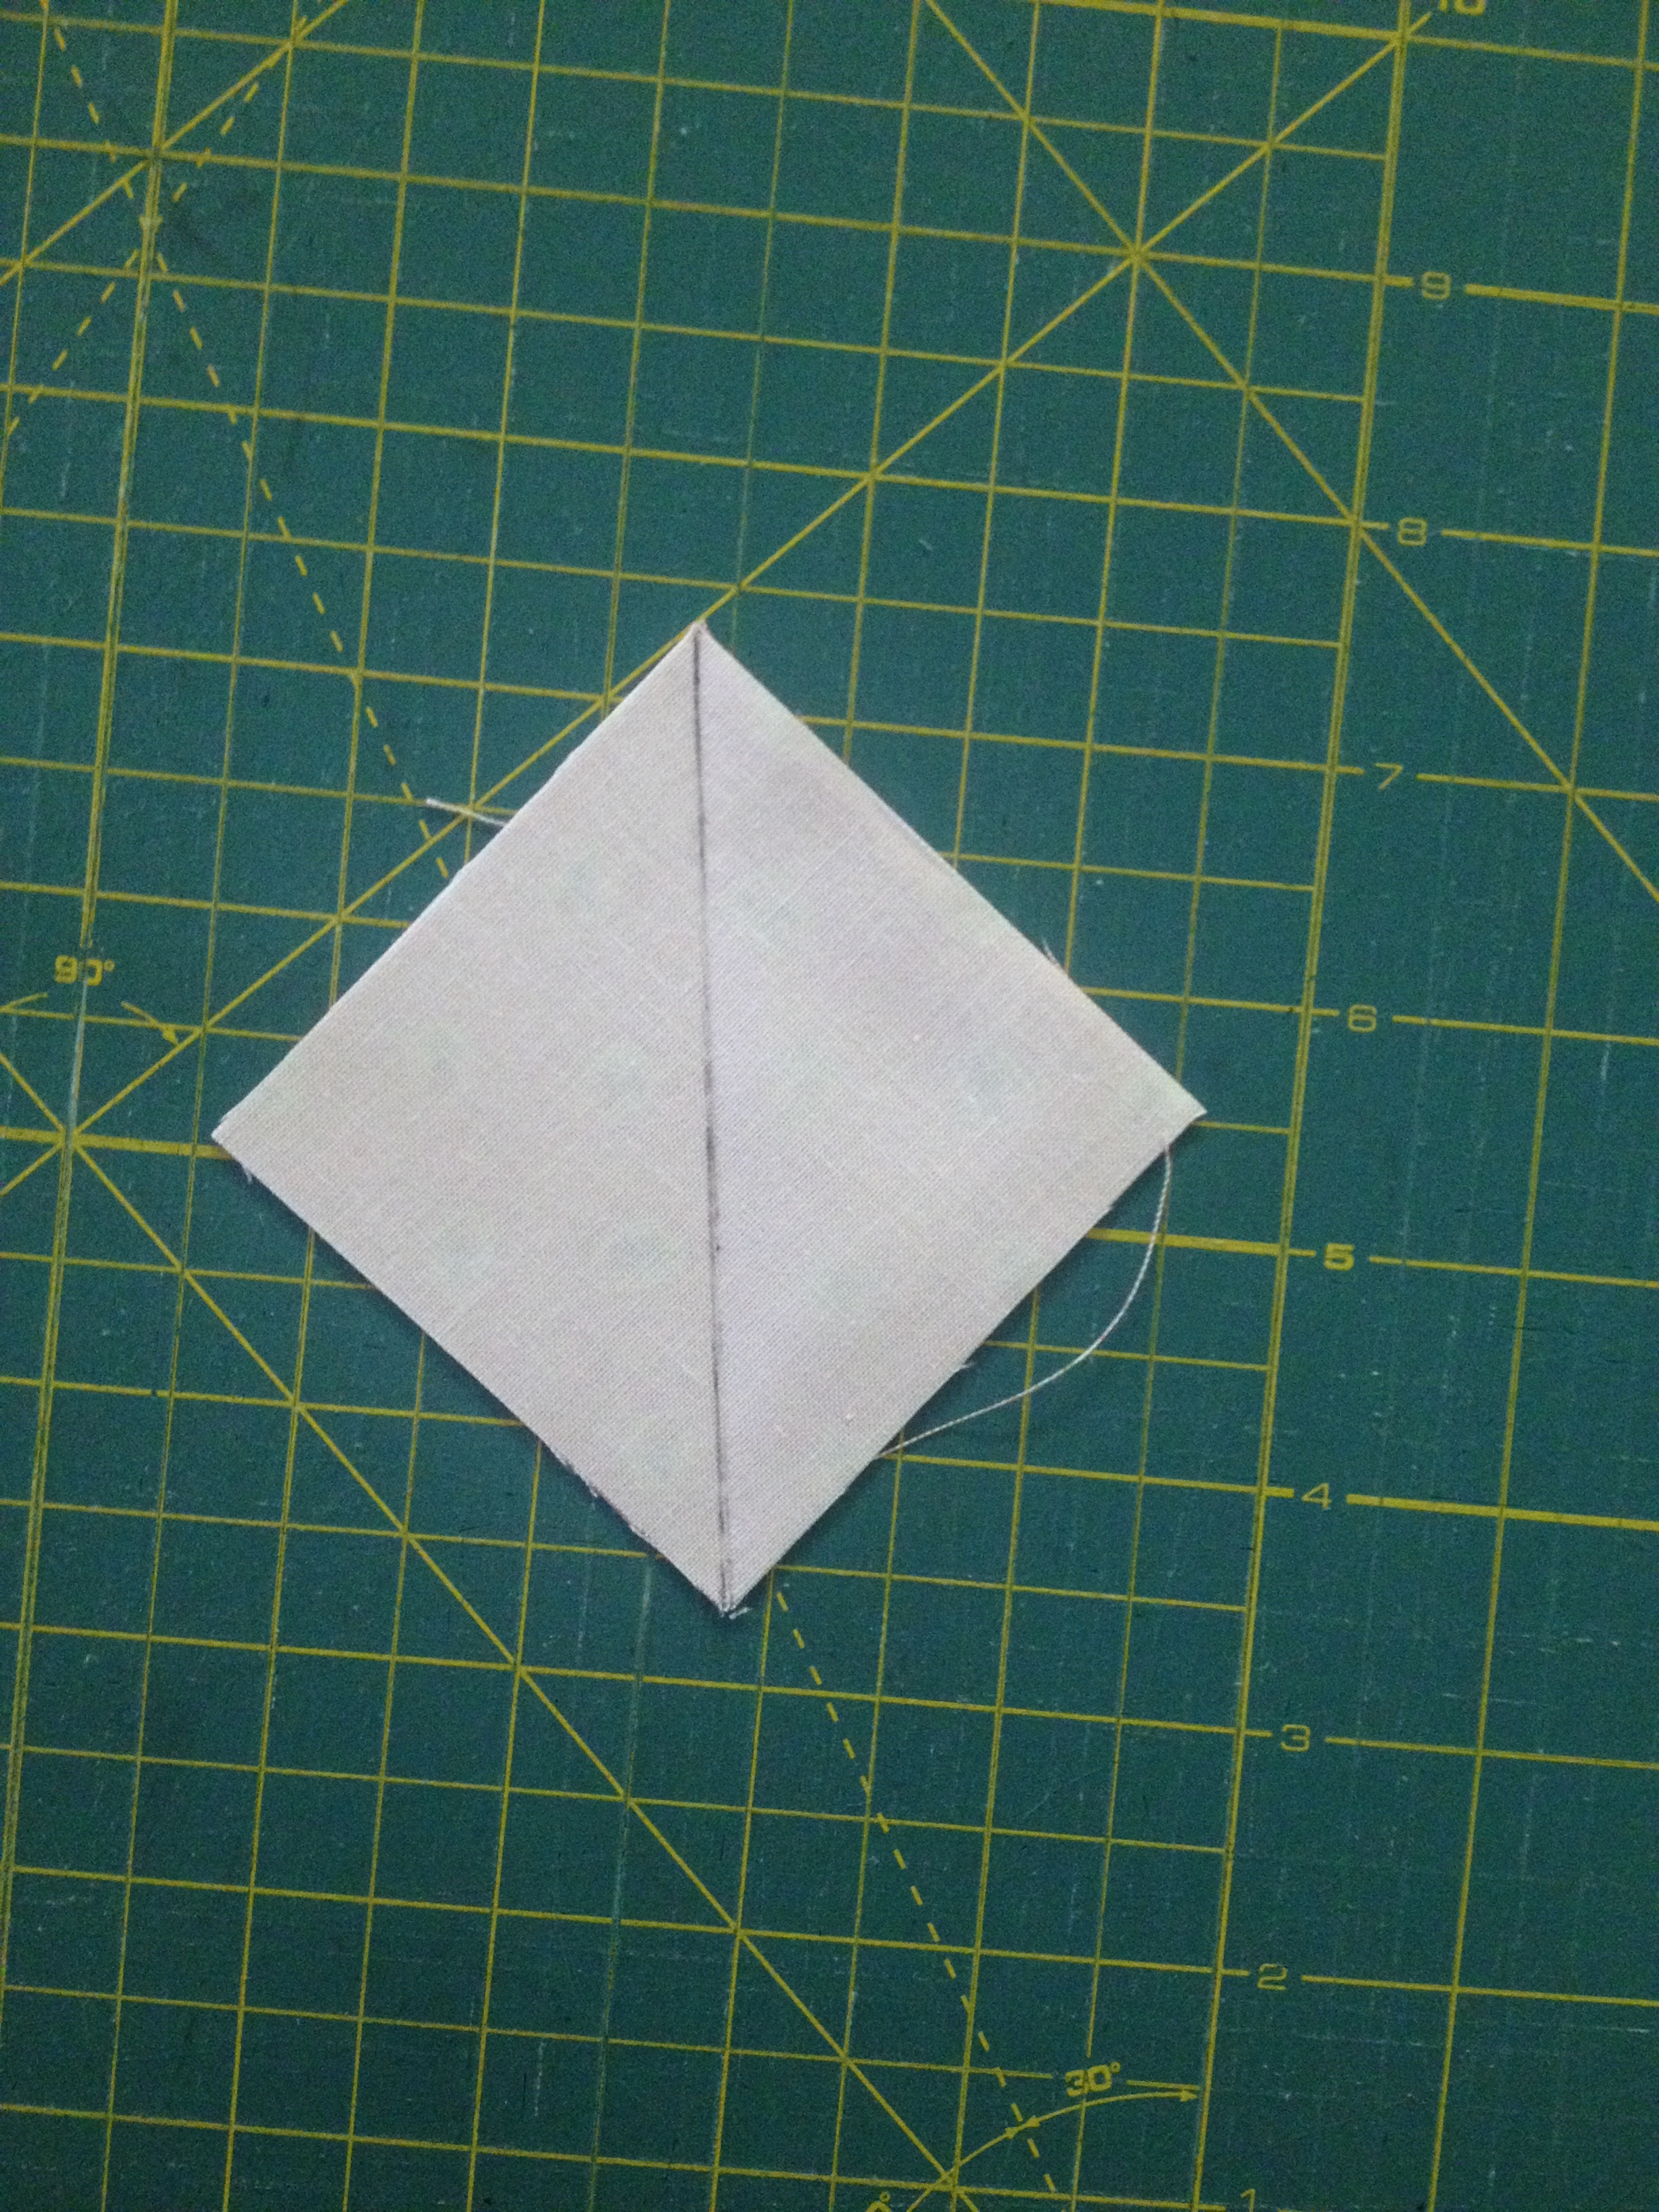
Before you start piecing, you will want to use a fabric marker to draw a diagonal line on the back of the 1.75" x 1.75", 2 7/8" x 2 7/8, and 3.25" x 3.25" neutral squares, as well as the 1.75" x 1.75" pink squares. This will help you maintain a straight seam line!
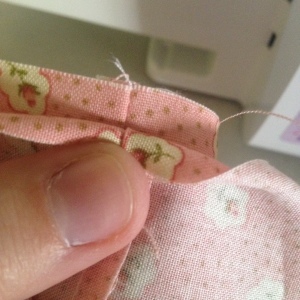
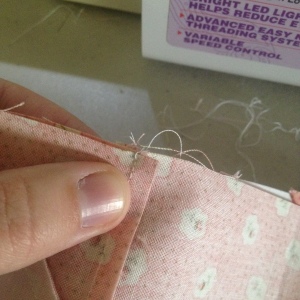
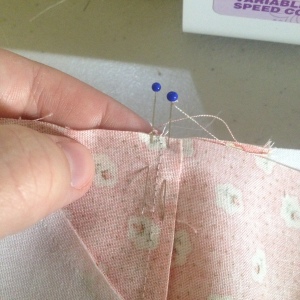
Also, I would like to share a little tip that helps me get perfect matching points and seams. Once I line up my fabrics that I need to piece together I use 2 pins at each seam intersection to make sure that the interlocking seams don't budge while I sew. It only takes a second and you'll love the results!
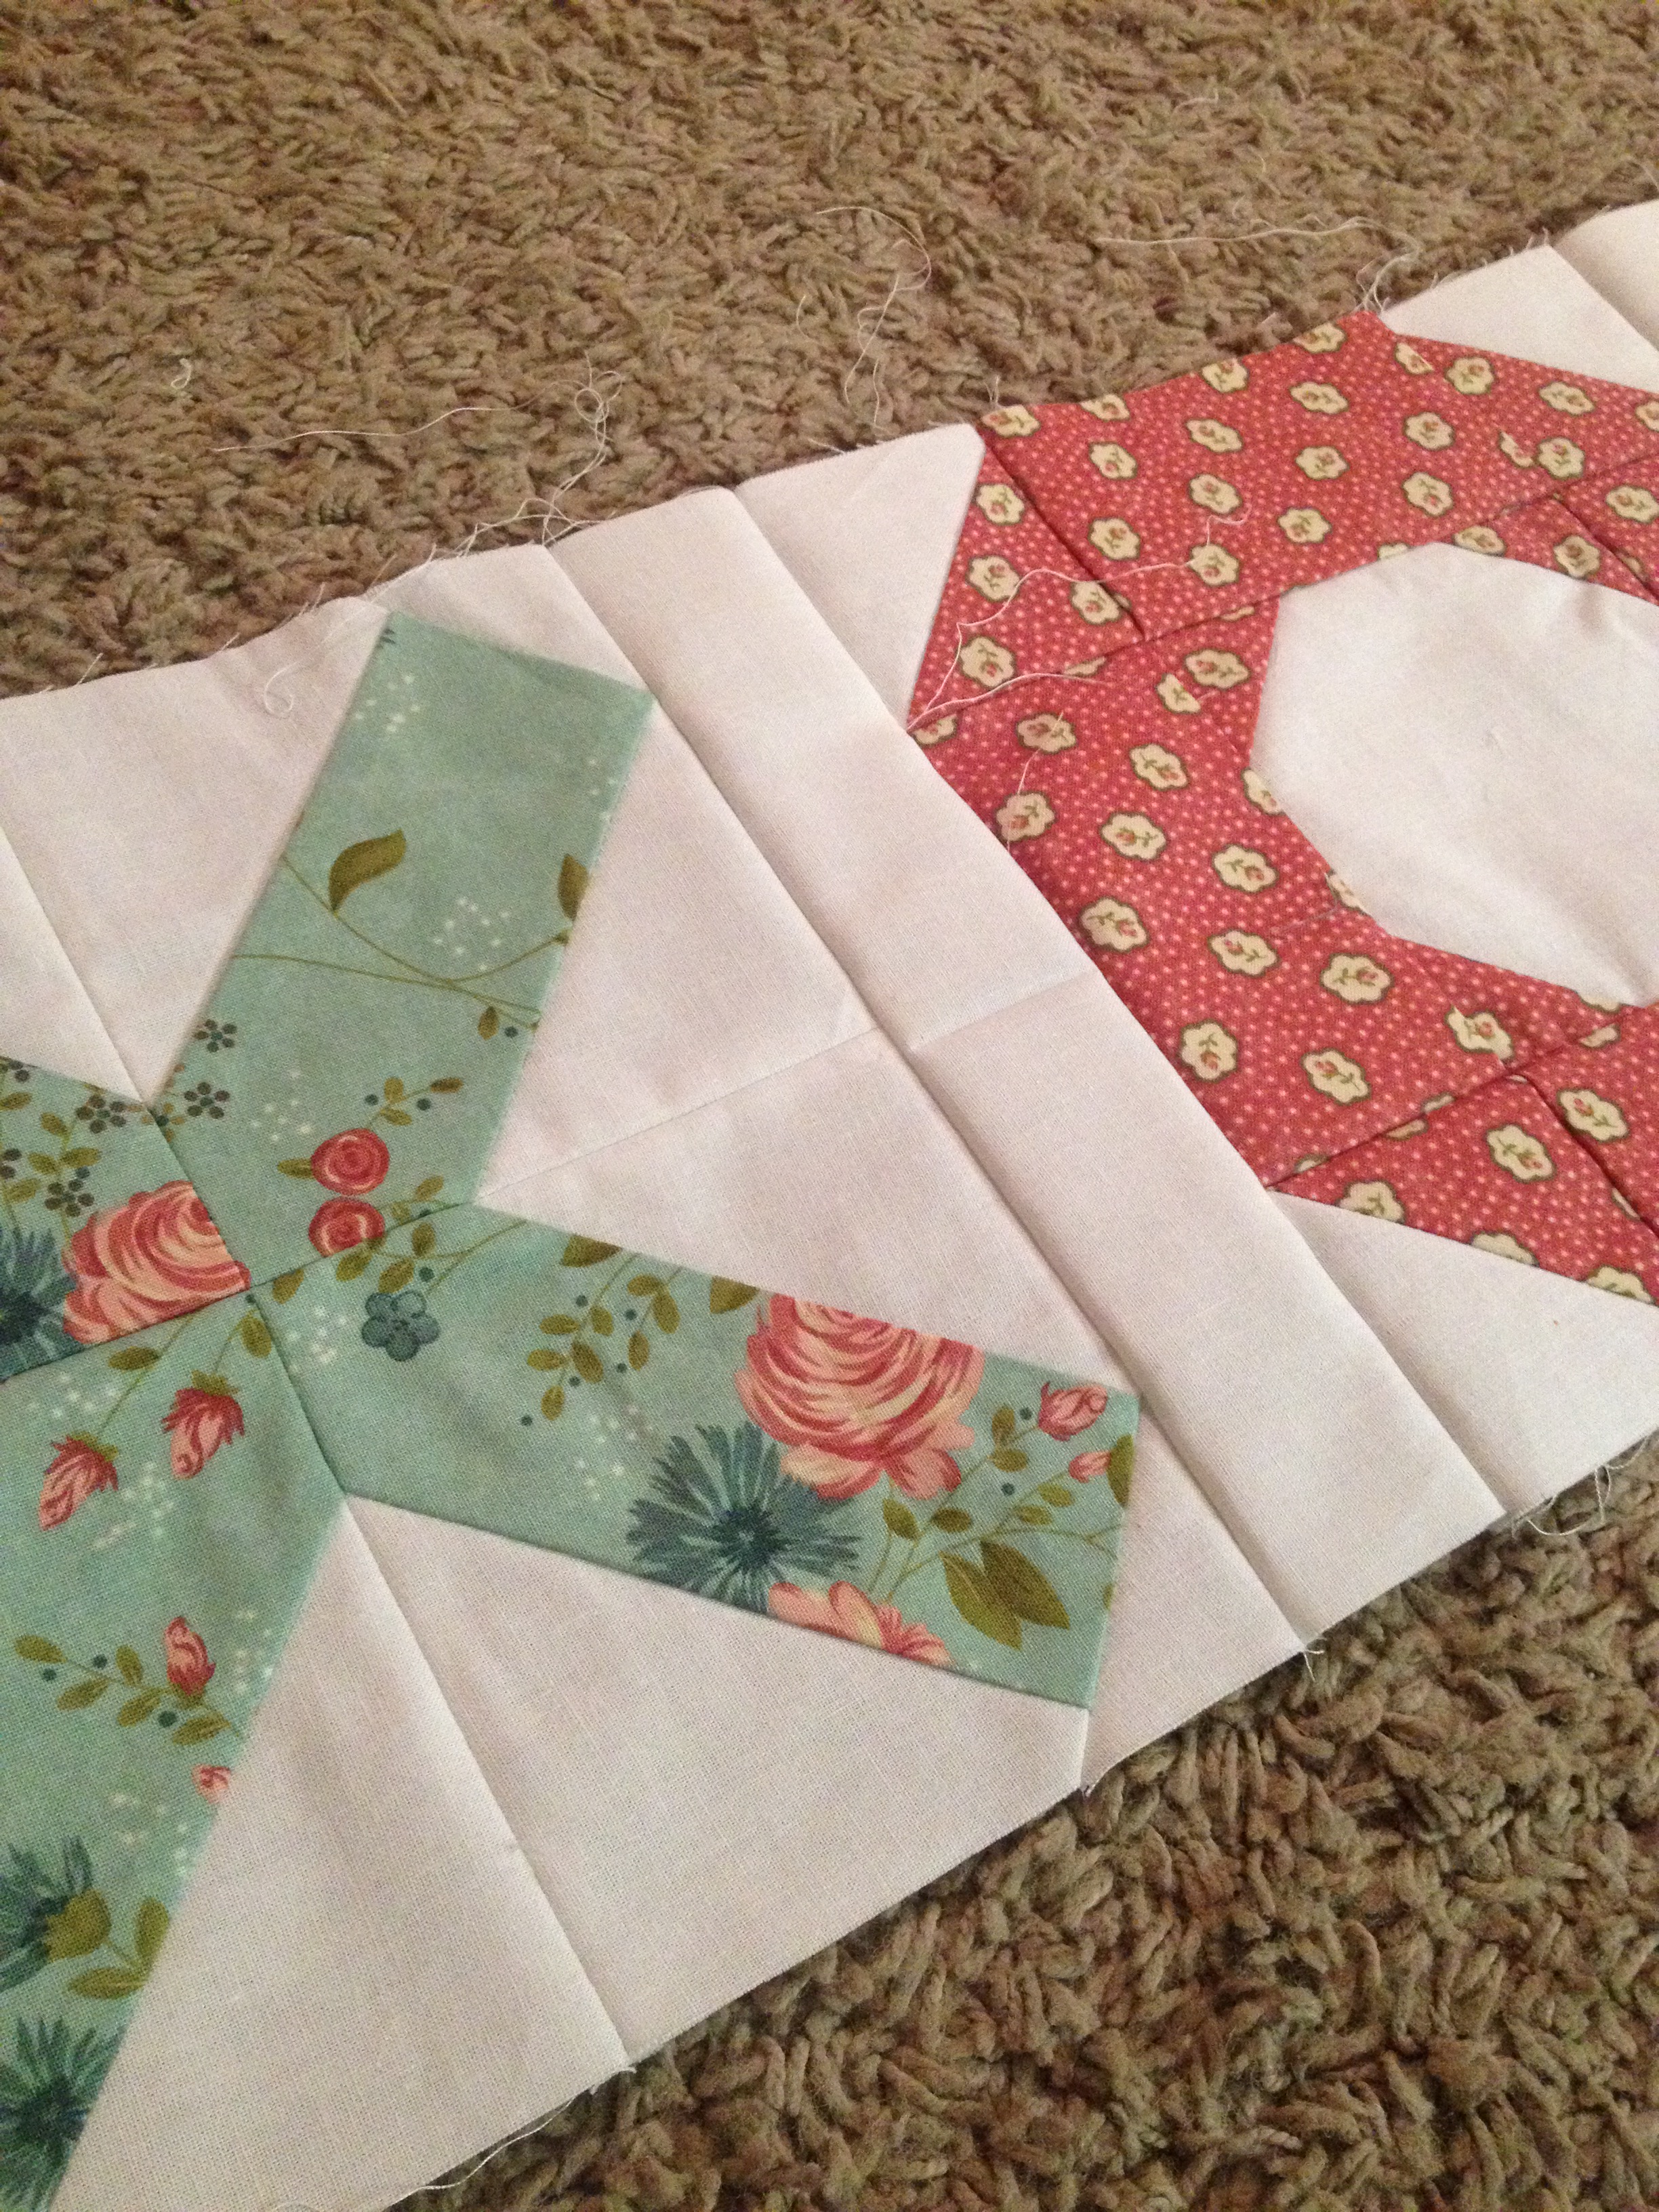
X Blocks:
For each X block you will need 4 blue 4.5" x 4.5" squares, 8 neutral 3.25" x 3.25" squares, and 4 neutral 1.75" x 1.75" squares. It is really easy to chain piece this block and I highly recommend it!

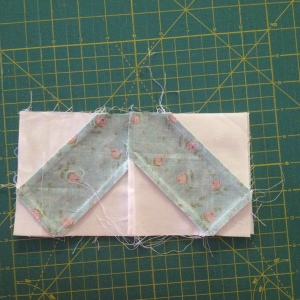
With ride sides together (RST), lay a 3.25" neutral square on top of a 4.5" blue square in the top/right corner. Pin and sew along the diagonal line. Cut a 1/4" seam allowance and press as desired. I played around with pressing towards the darker and neutral fabric and found that I like pressing towards the darker fabric to make the X "pop" out.

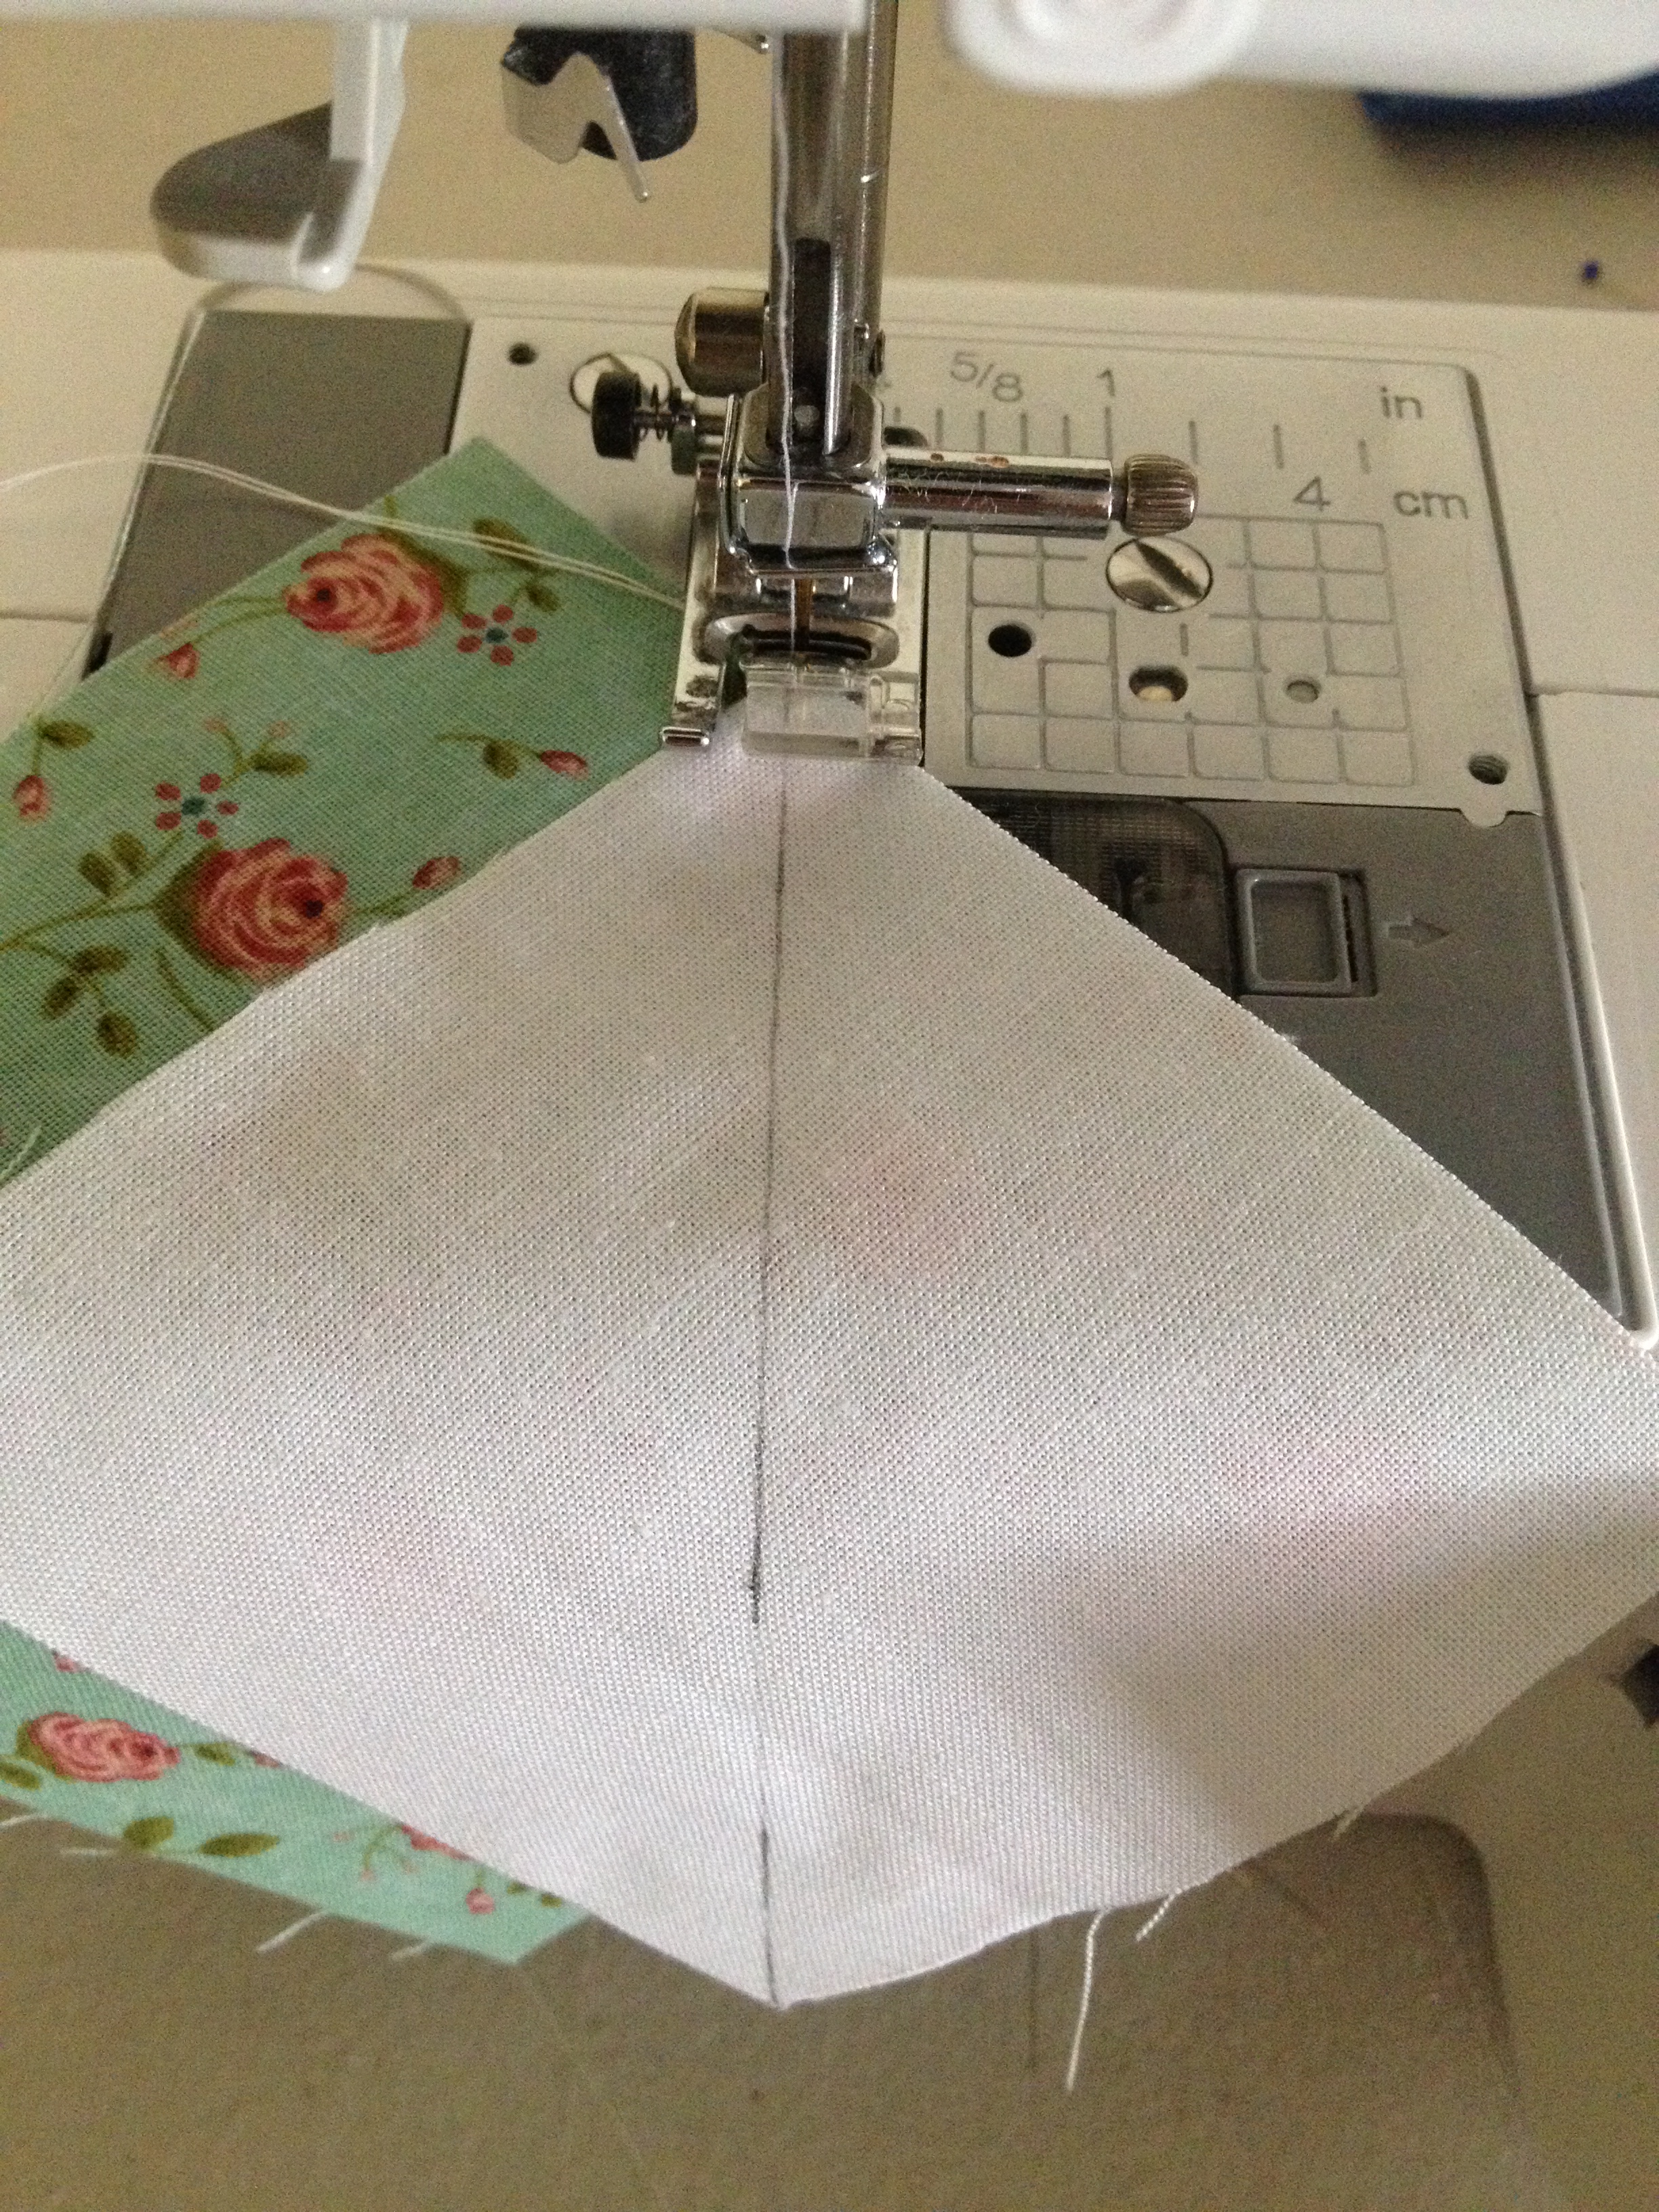


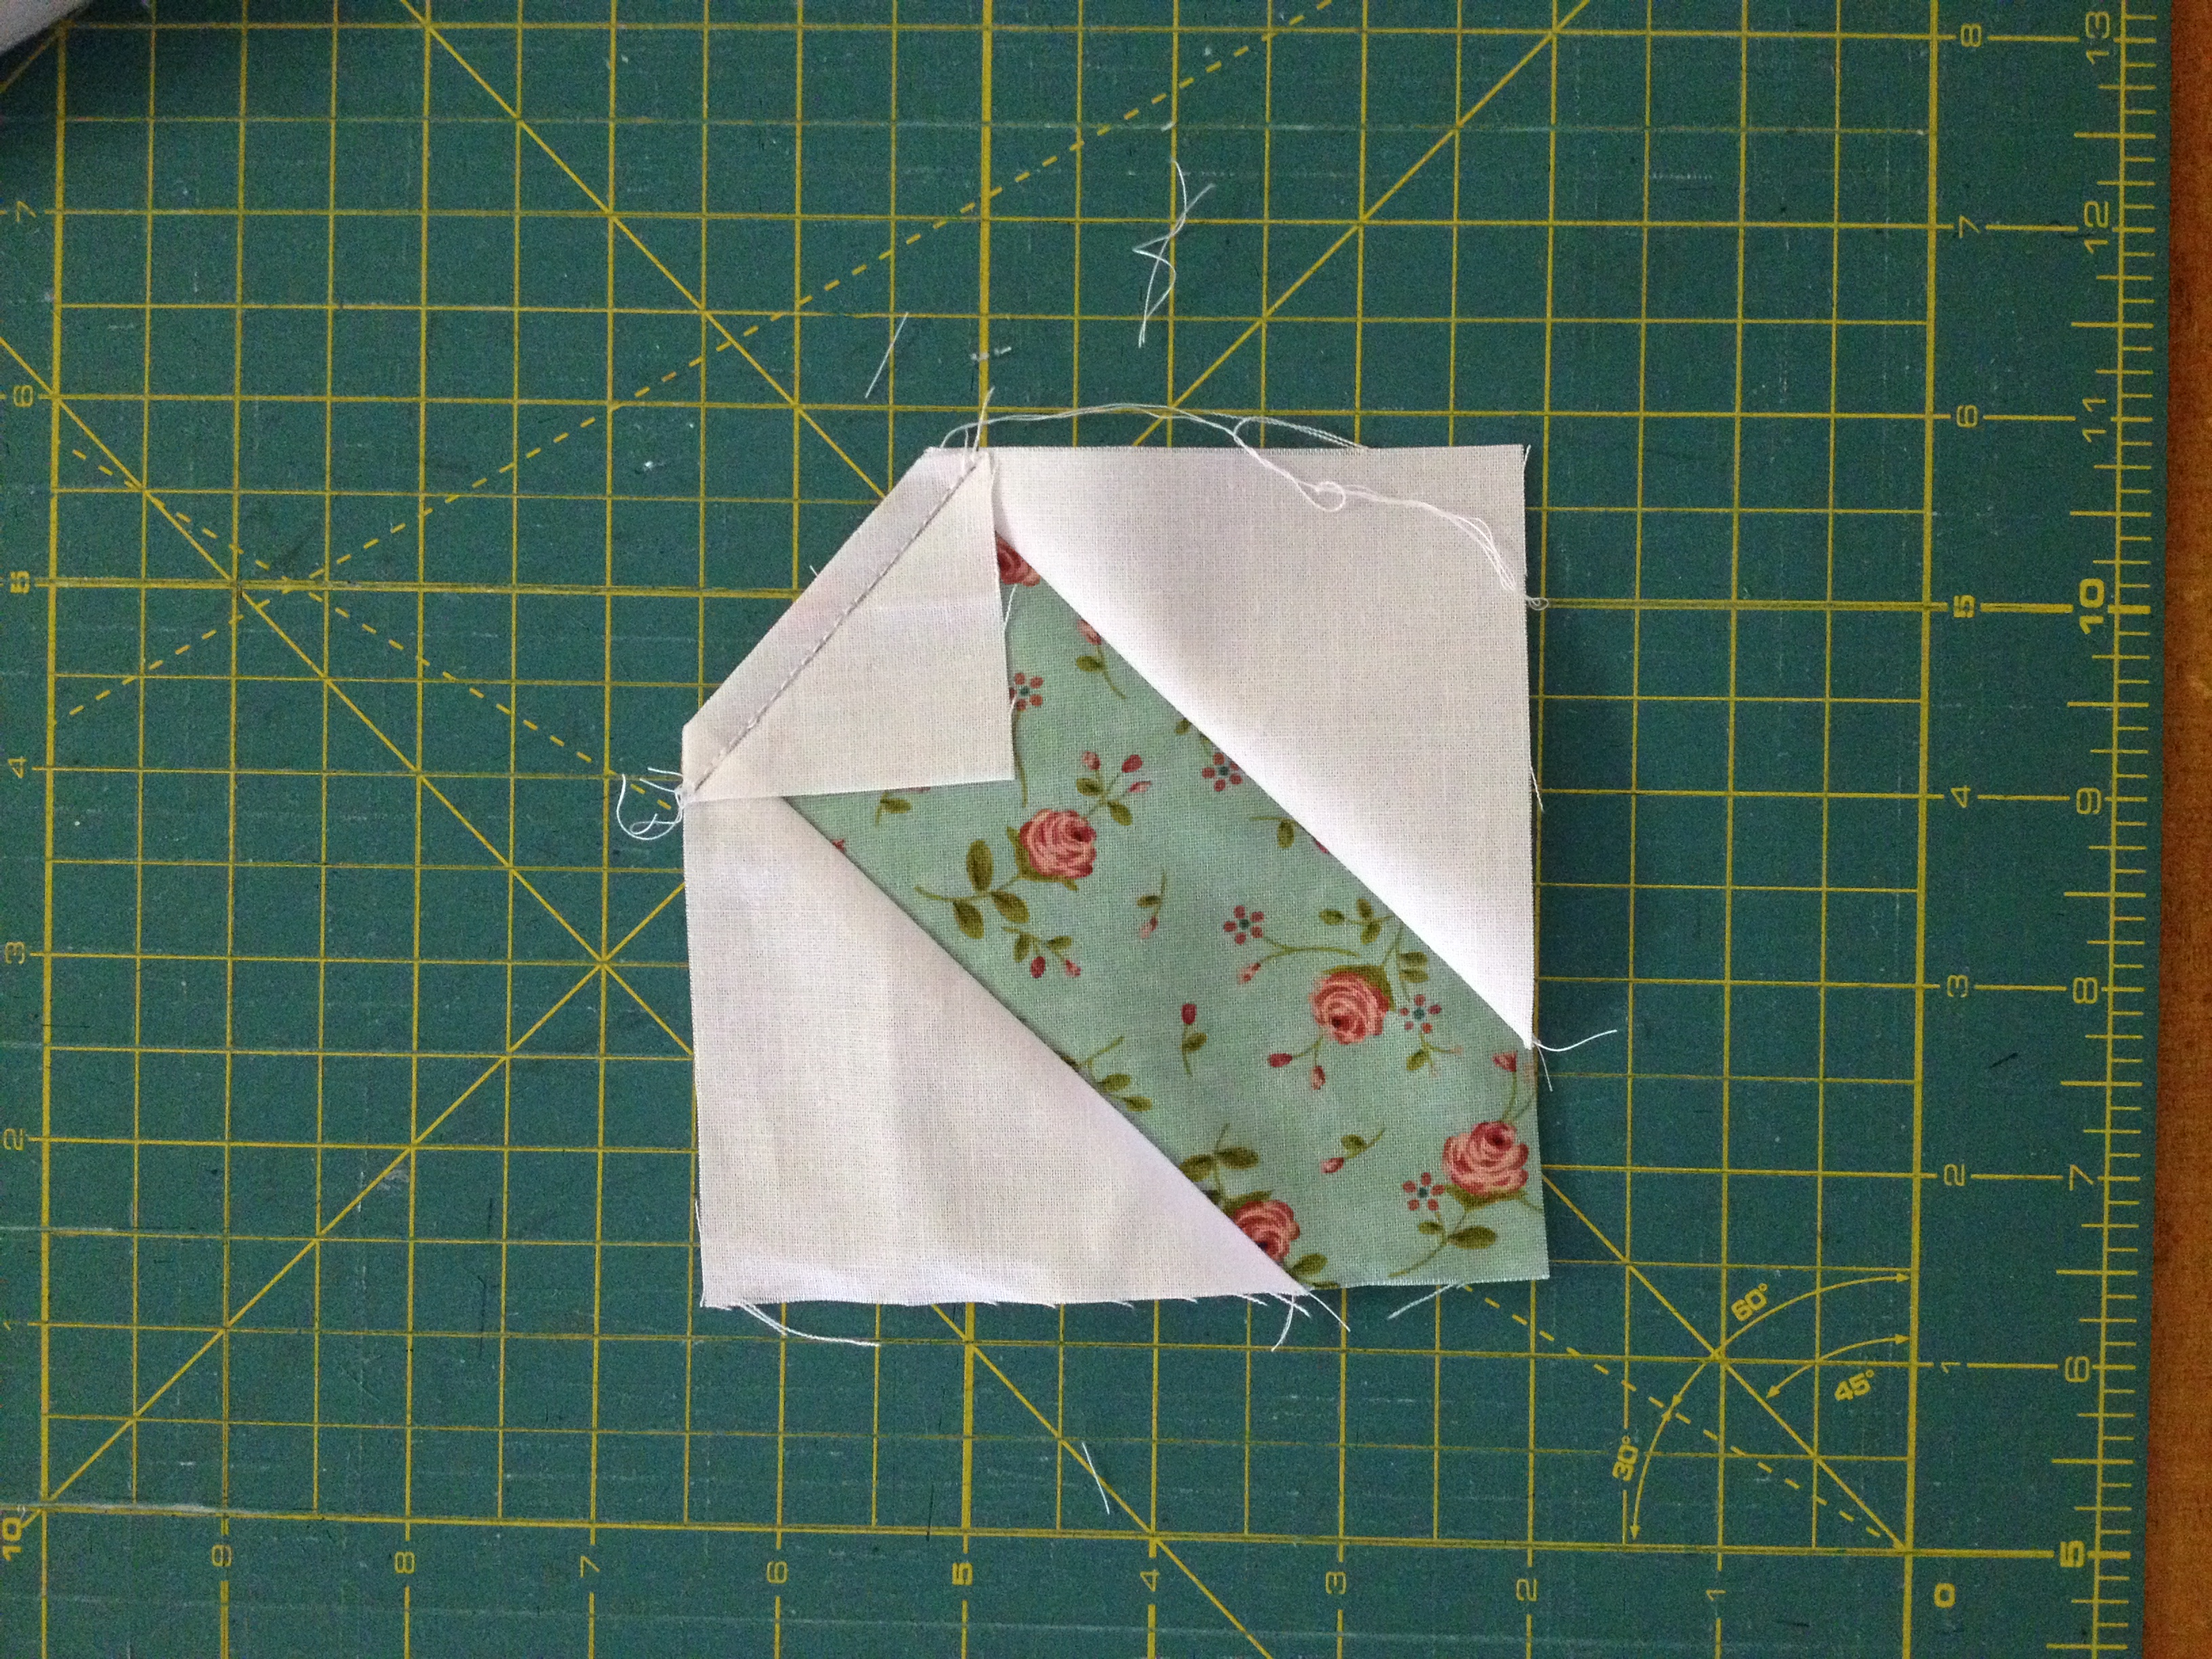
Now place another 3.25" neutral square on the opposite corner of the 4.5" blue square. Pin and sew along the diagonal line. Cut a 1/4" seam allowance and press as desired.


Place a 1.75" square in one of the remaining corners of the blue fabric. Pin and sew along the diagonal. Cut a 1/4" seam and press as desired.


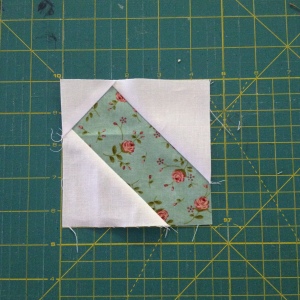
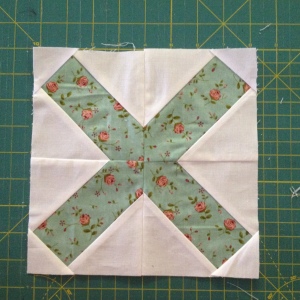
Arrange the 4 squares so that they form an X.
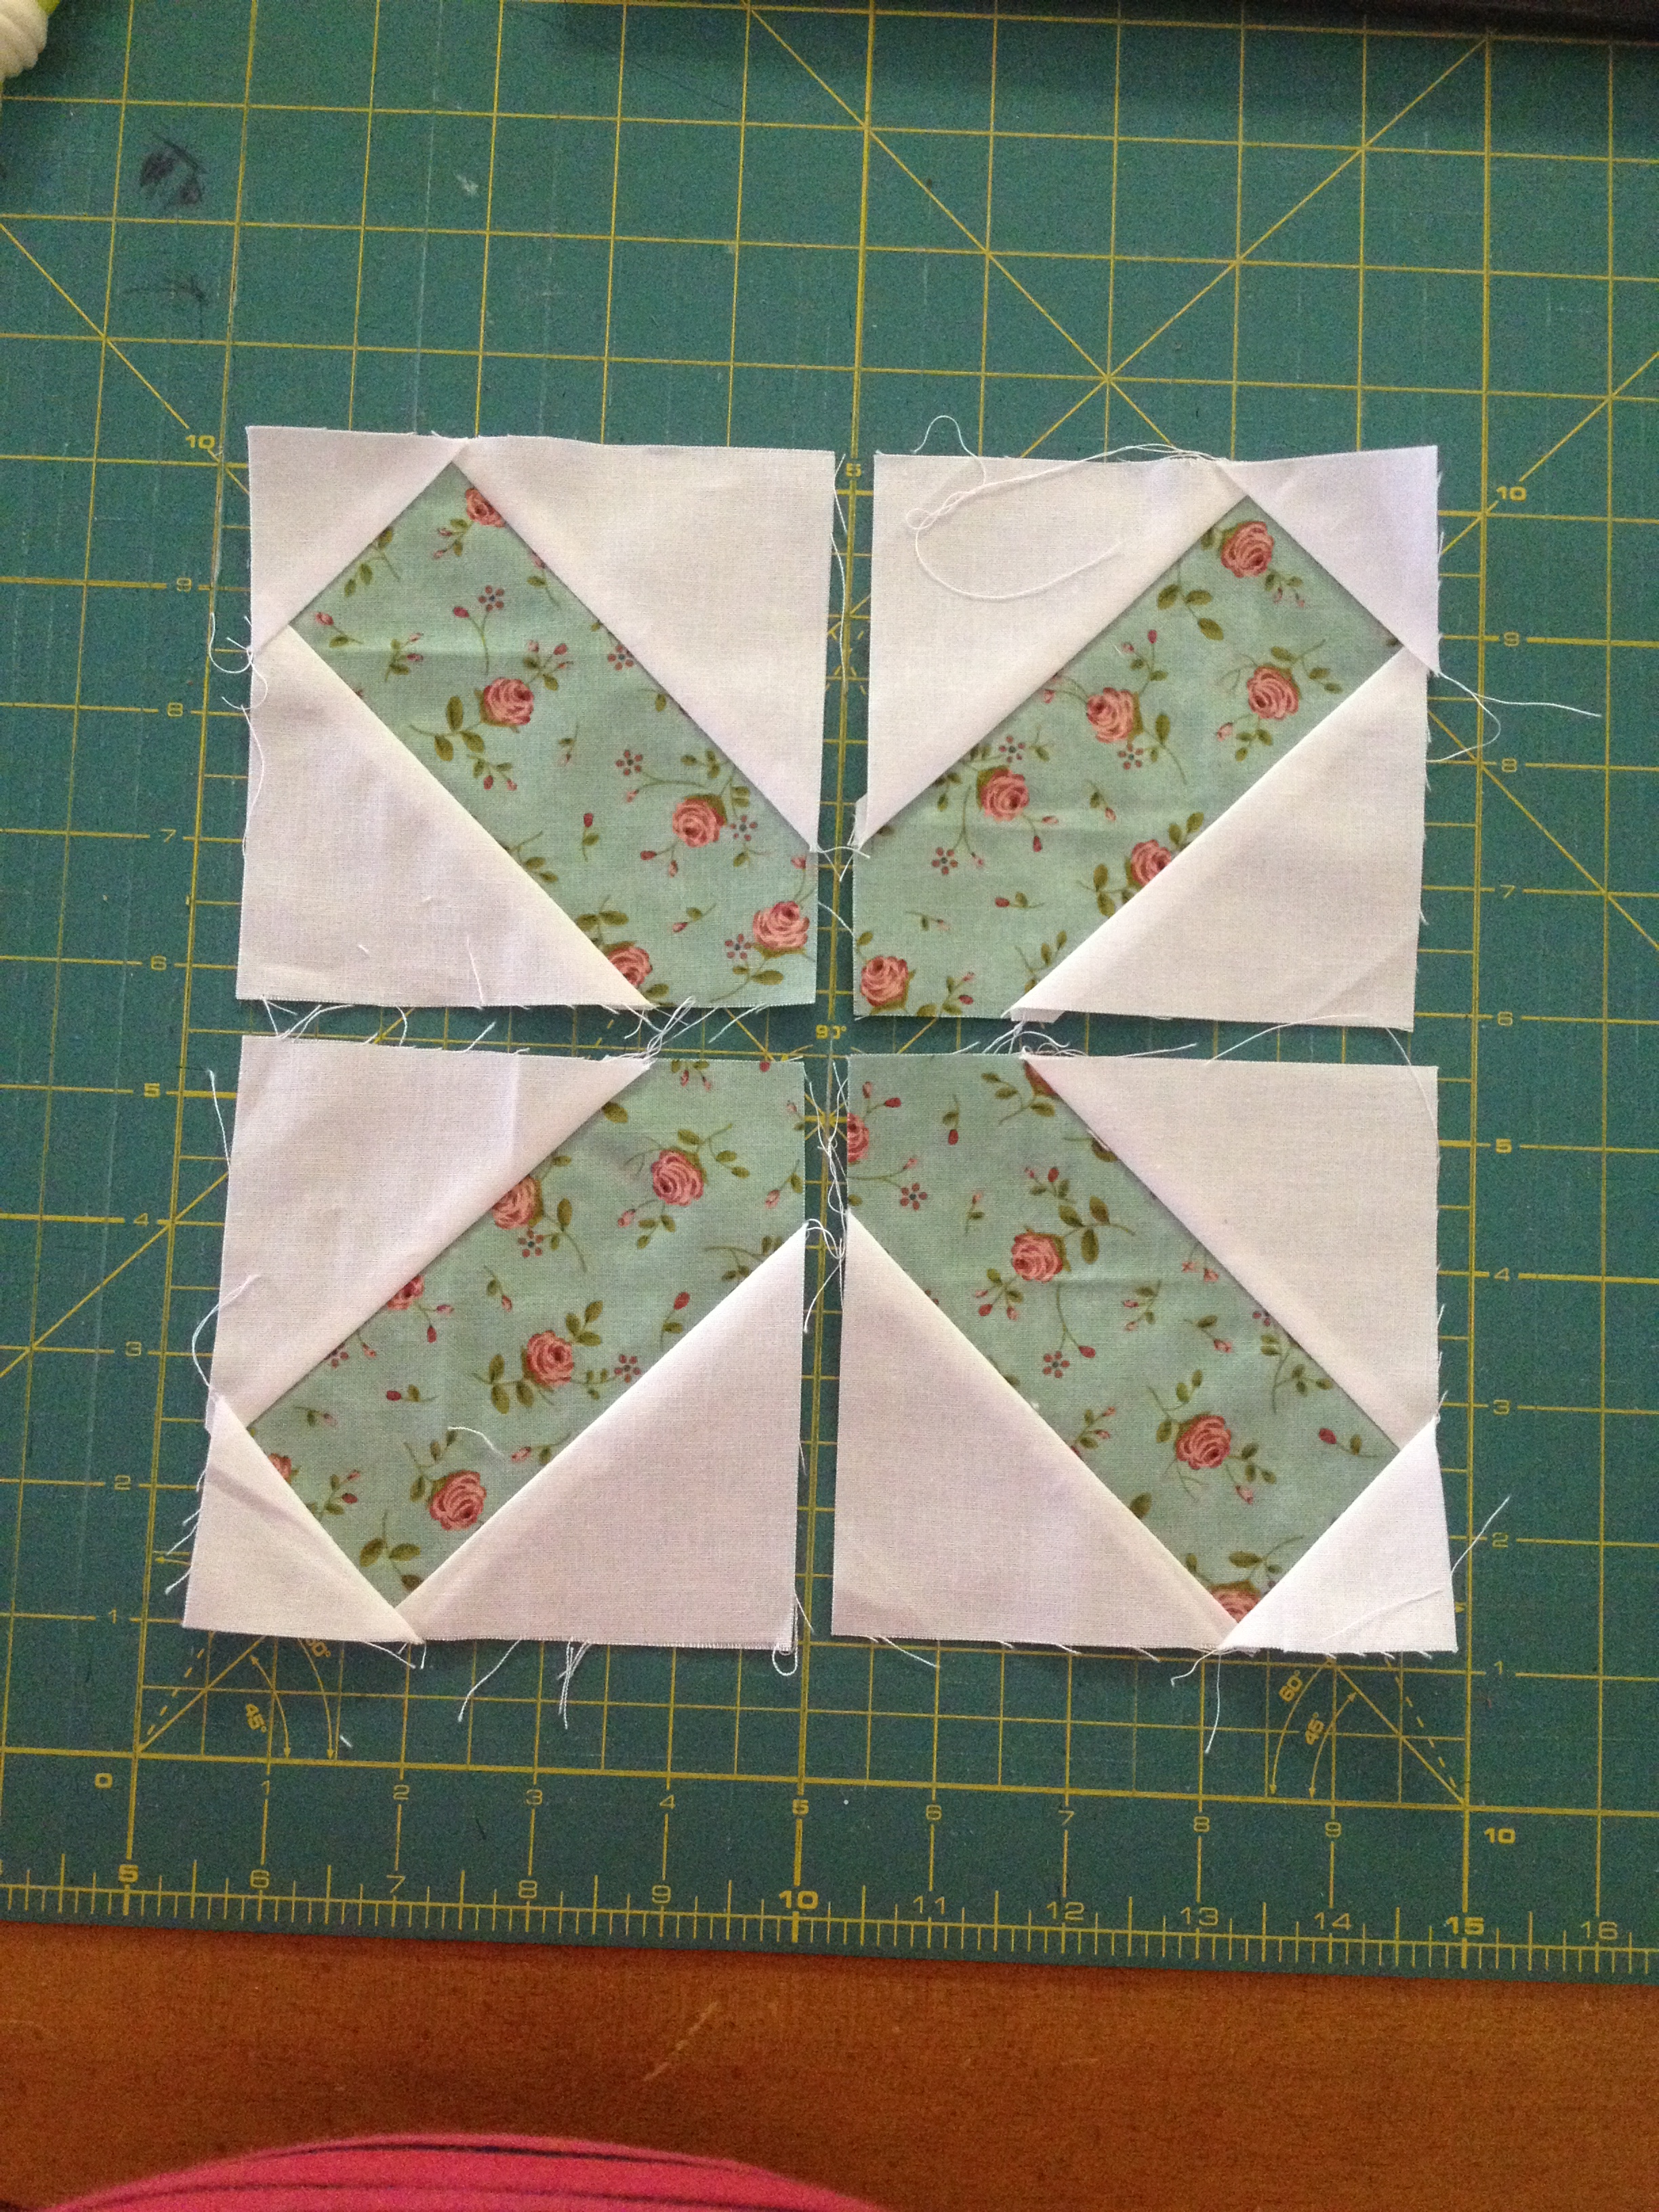
Piece the top of the X by putting the top/right square on the top/left square with RST, pin, and sew. Repeat for piecing the bottom two squares together. Press seams are desired. I pressed my seams open in this step so that the block would lay flat. Place the top of the X on the bottom with RST, pin, and sew. Press the seam open or as desired.


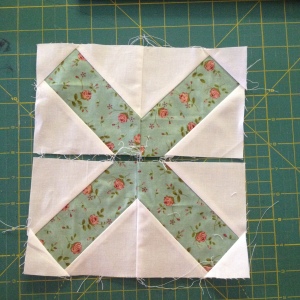
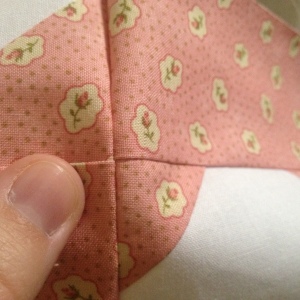
The end result is a 8.5" x 8.5" X block!
O Blocks:
For each O block you will need 4 pink 1.75" x 1.75" squares, 2 pink 2 7/8" x 2 7/8" squares, 4 pink 2.5" x 4.5" rectangles, 2 neutral 2 7/8" x 2 7/8" squares, and 1 neutral 4.5" x 4.5" square. Again, I would recomment using chain piecing for your O blocks!

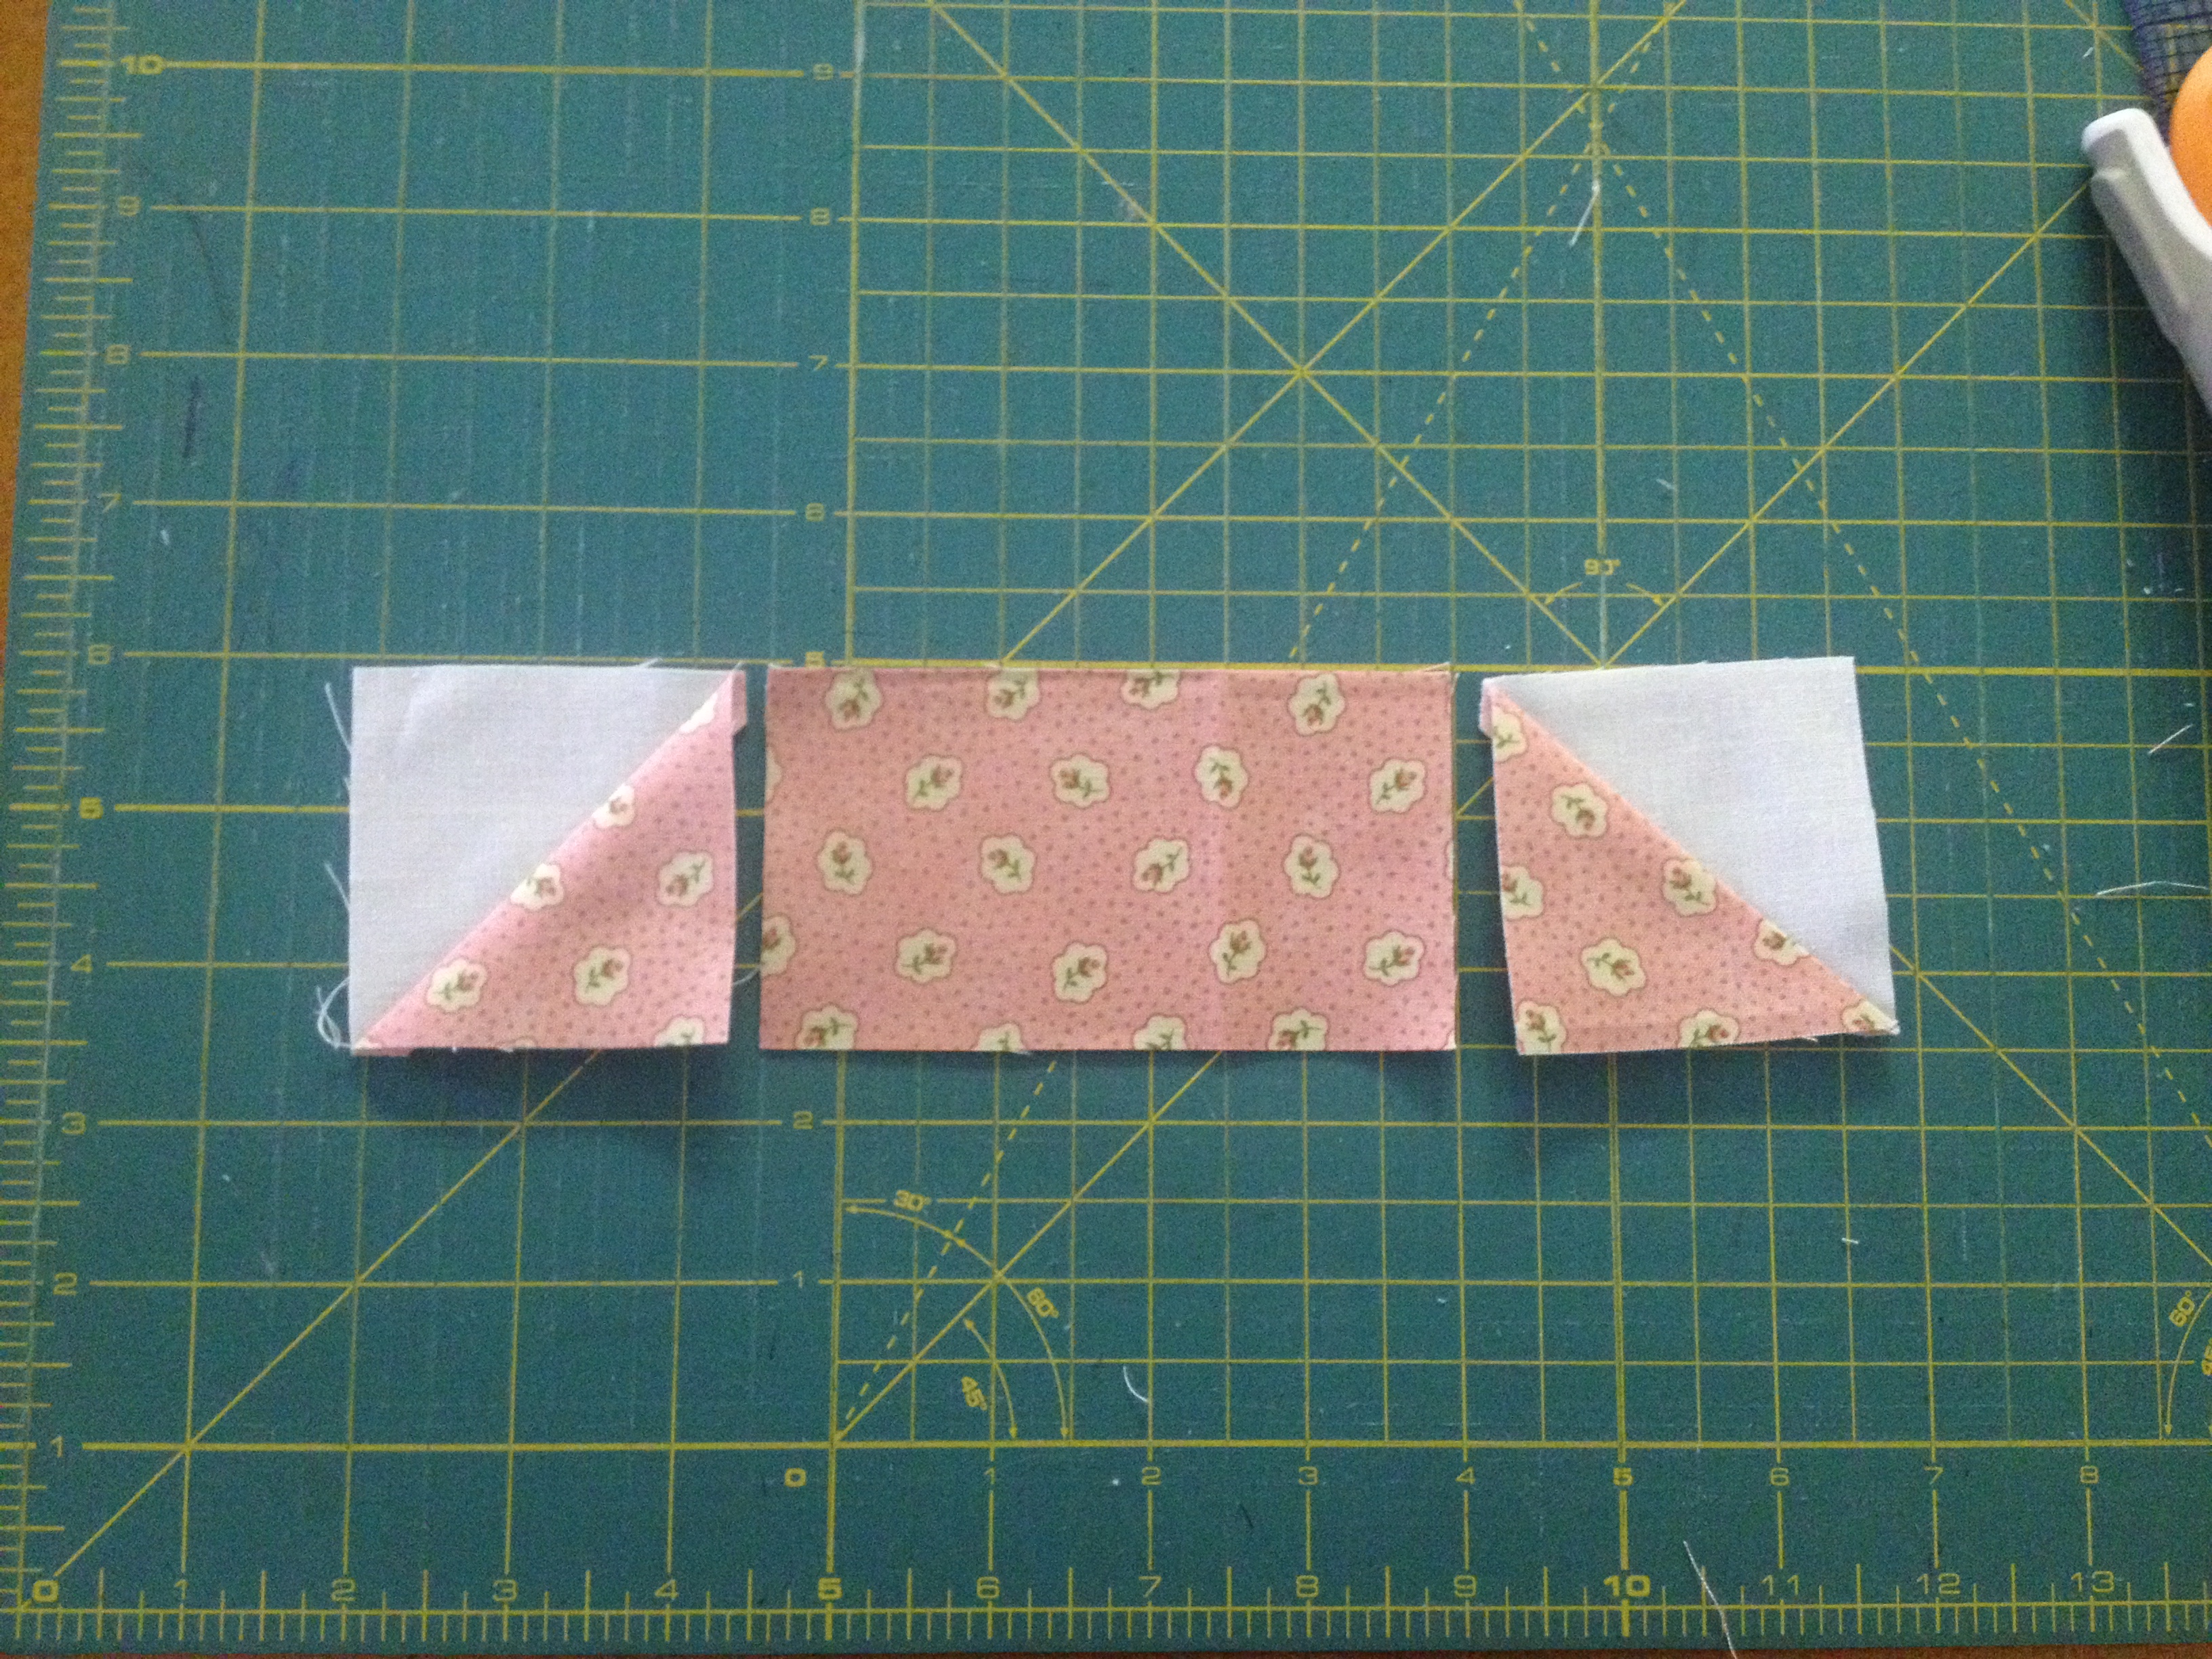
First, you will need to make some half-square triangles (HST) for the corners of the block. Start by placing a neutral 2 7/8" square on top of a pink 2 7/8" square. Pin and sew a 1/4" seam on either side of the diagonal line. Use a ruler to cut along the diagonal line. You will now have two HST that measure 2.5" square. Trim if necessary. Press seams towards the darker fabric and set aside.


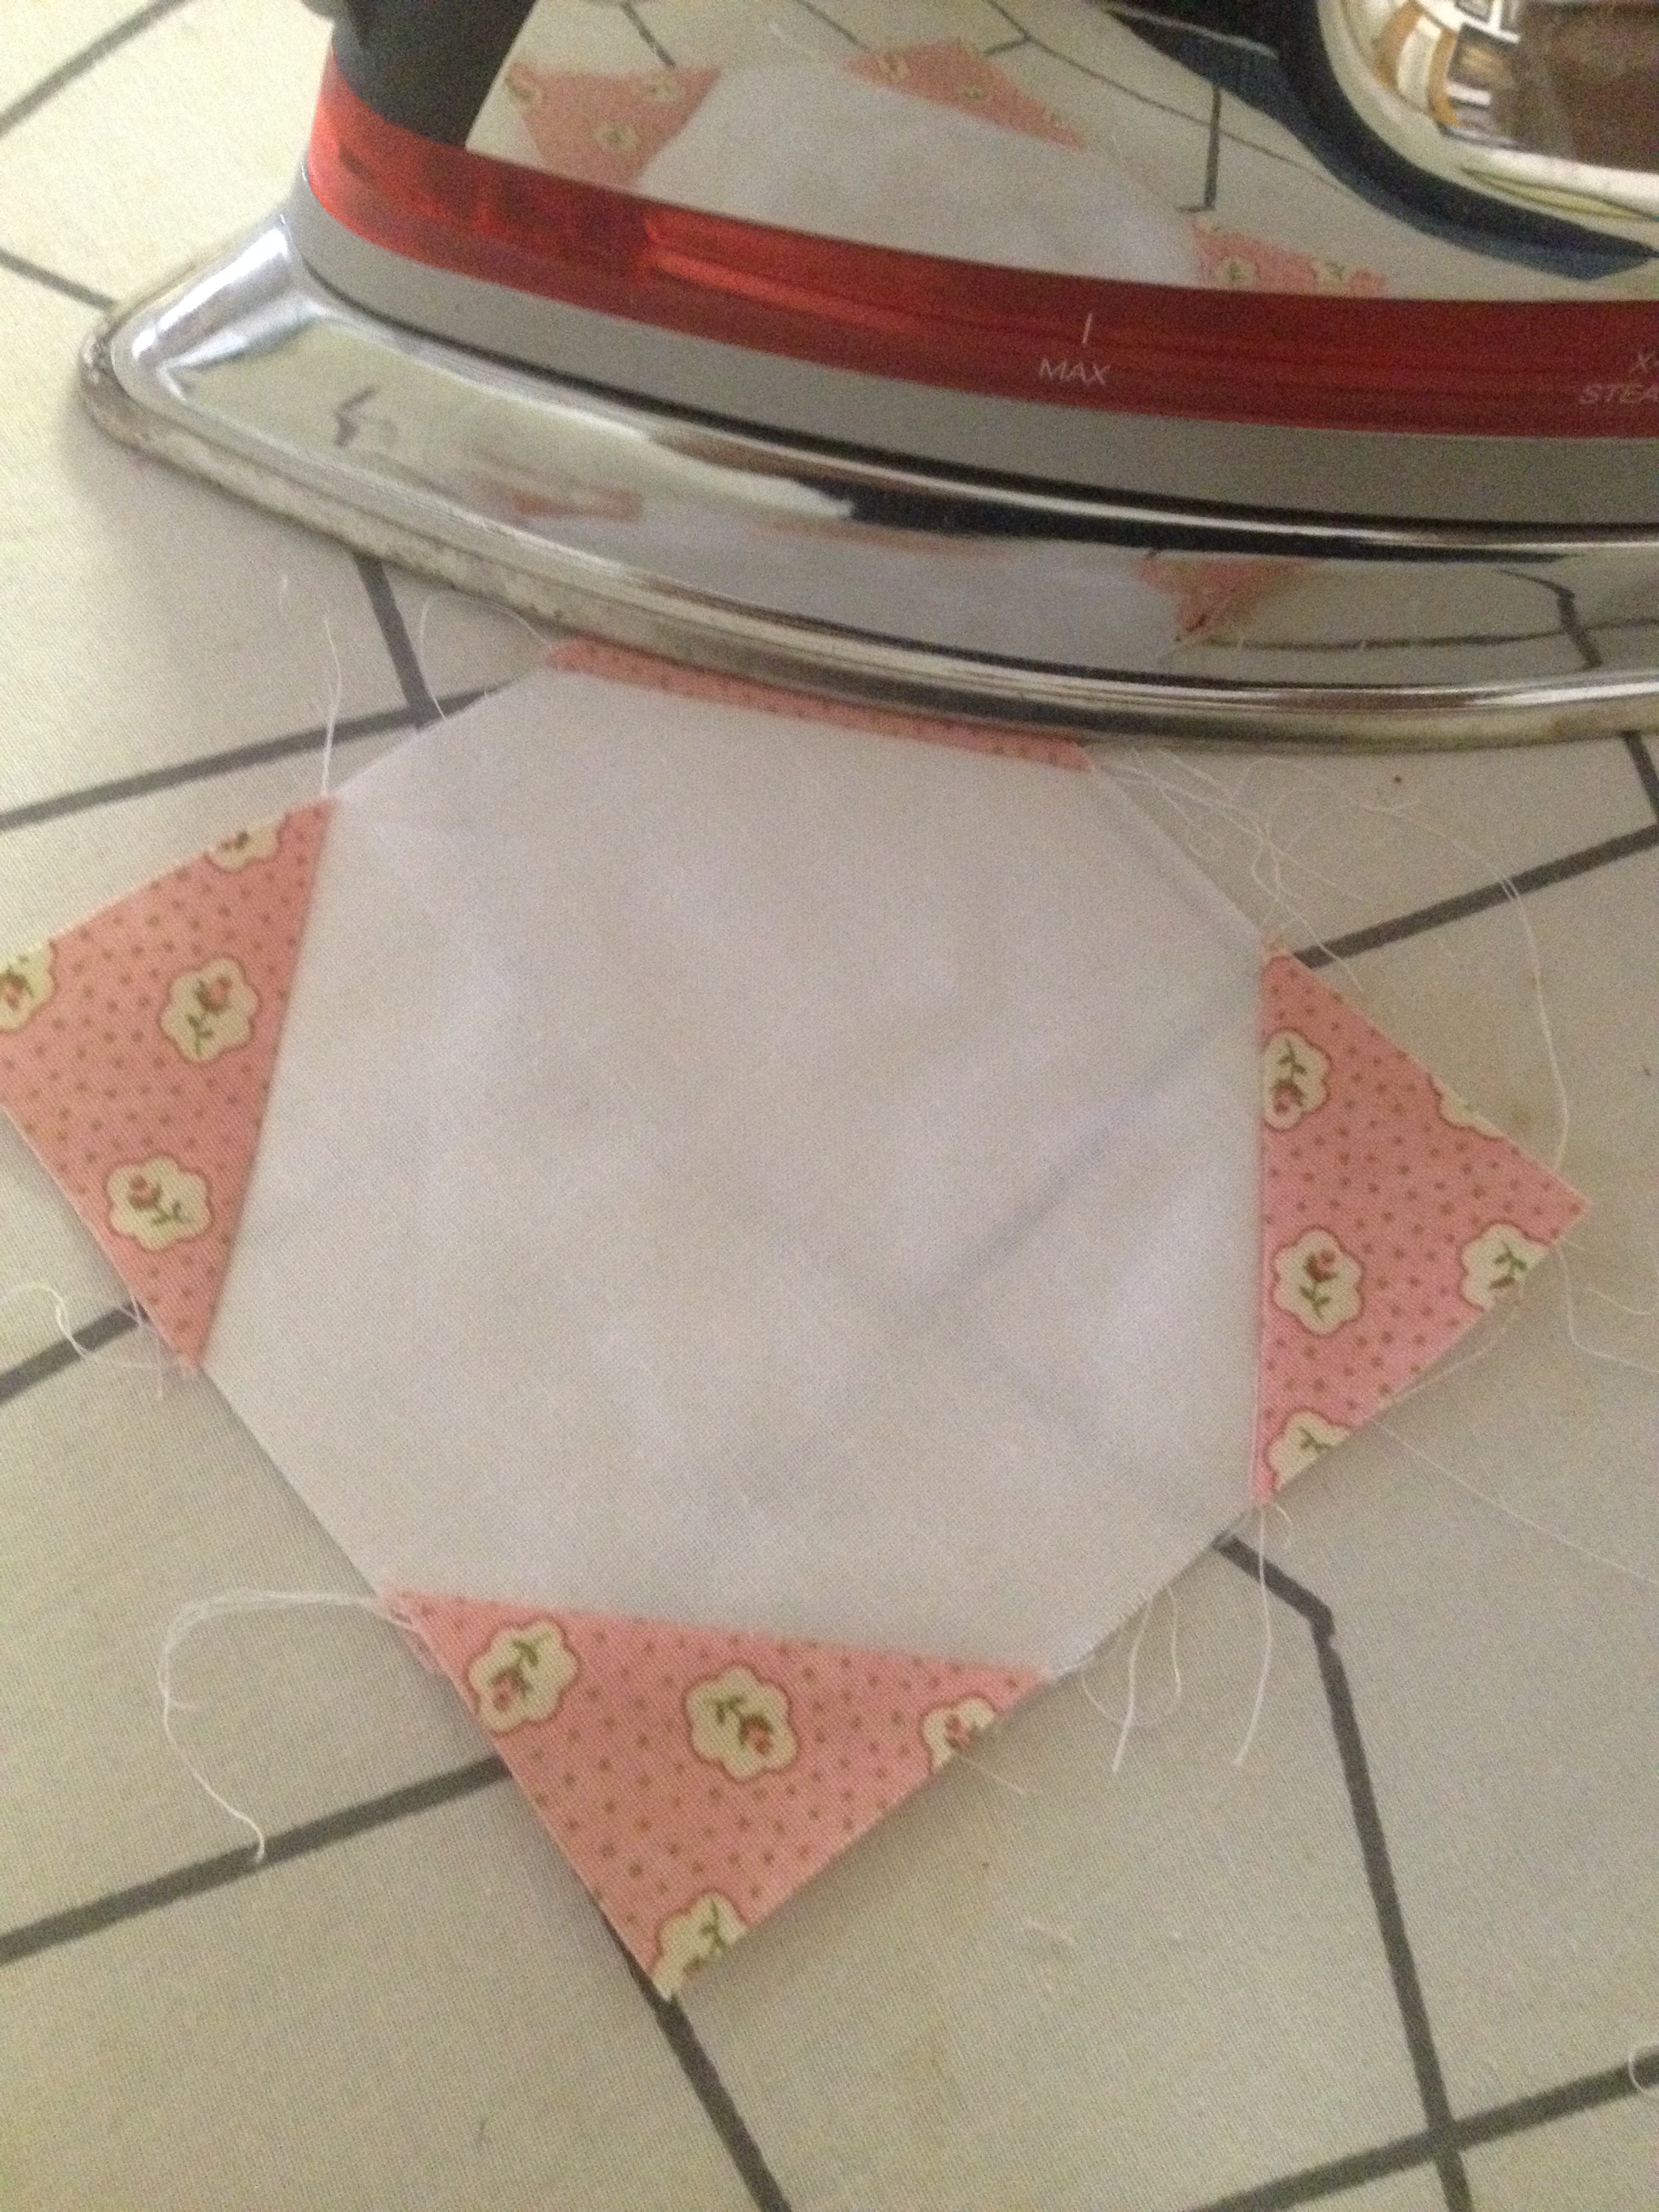
To make the center of the O block, place a pink 1.75" square in one of the corners of the 4.5" neutral square. Pin and sew along the diagonal line. Cut a 1/4" seam allowance and press towards the darker fabric. Repeat for the remaining corners of the neutral square.


Arrange two HST on either side of a 2.5" x 4.5" pink rectangle so that the pink edges are towards the rectangle and the bottom. Place the HST on the rectangle with RST, pin, and sew. Press seams towards the rectangle. Arrange two 2.5" x 4.5" rectangles on either side of the center square of the O. Place the rectangles on the square with RST, pin, and sew. Press seams towards the rectangles. Lay pieces down so that the two strips with HST are on the top and bottom of the piece with the center square. Make sure that the pink edges of the HST are facing toward the center. Place the top and bottom pieces on the center square with RST, pin, and sew. Press seams are desired.

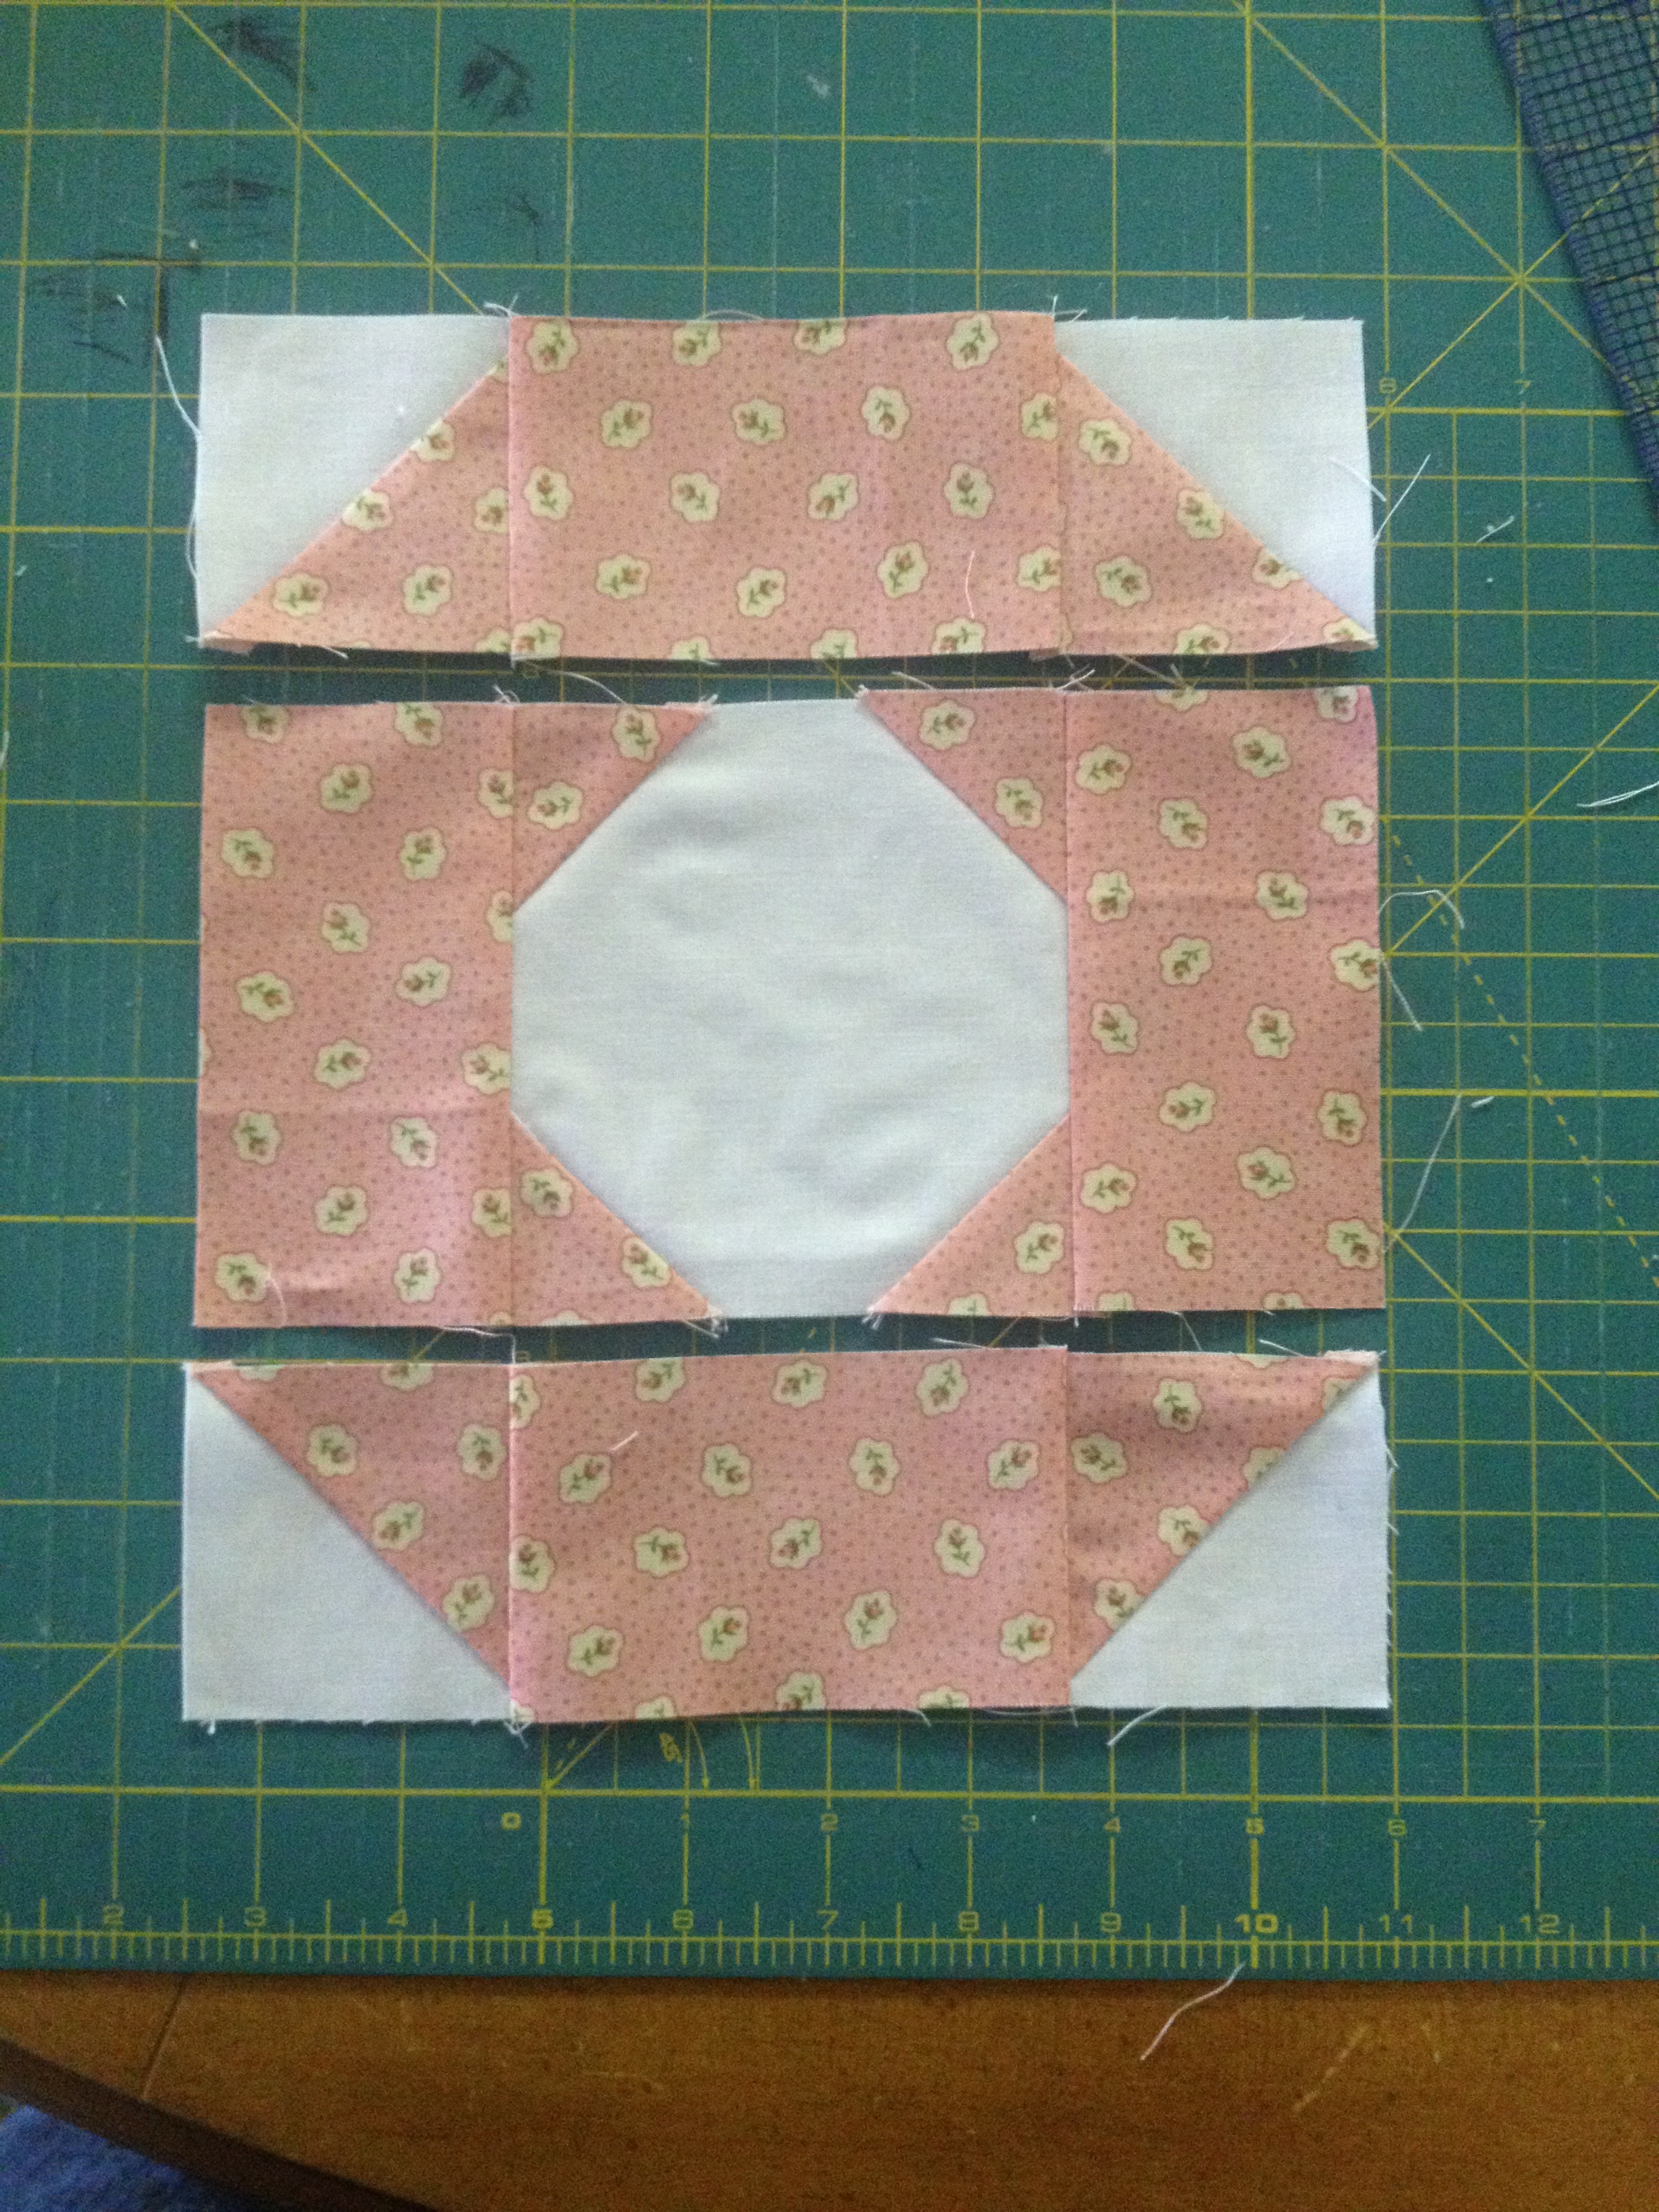
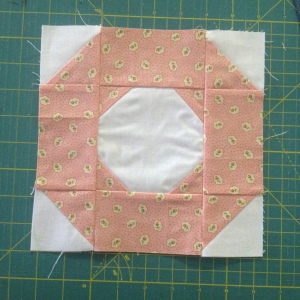
The end result is a 8.5" x 8.5" O block!
Heart Block:
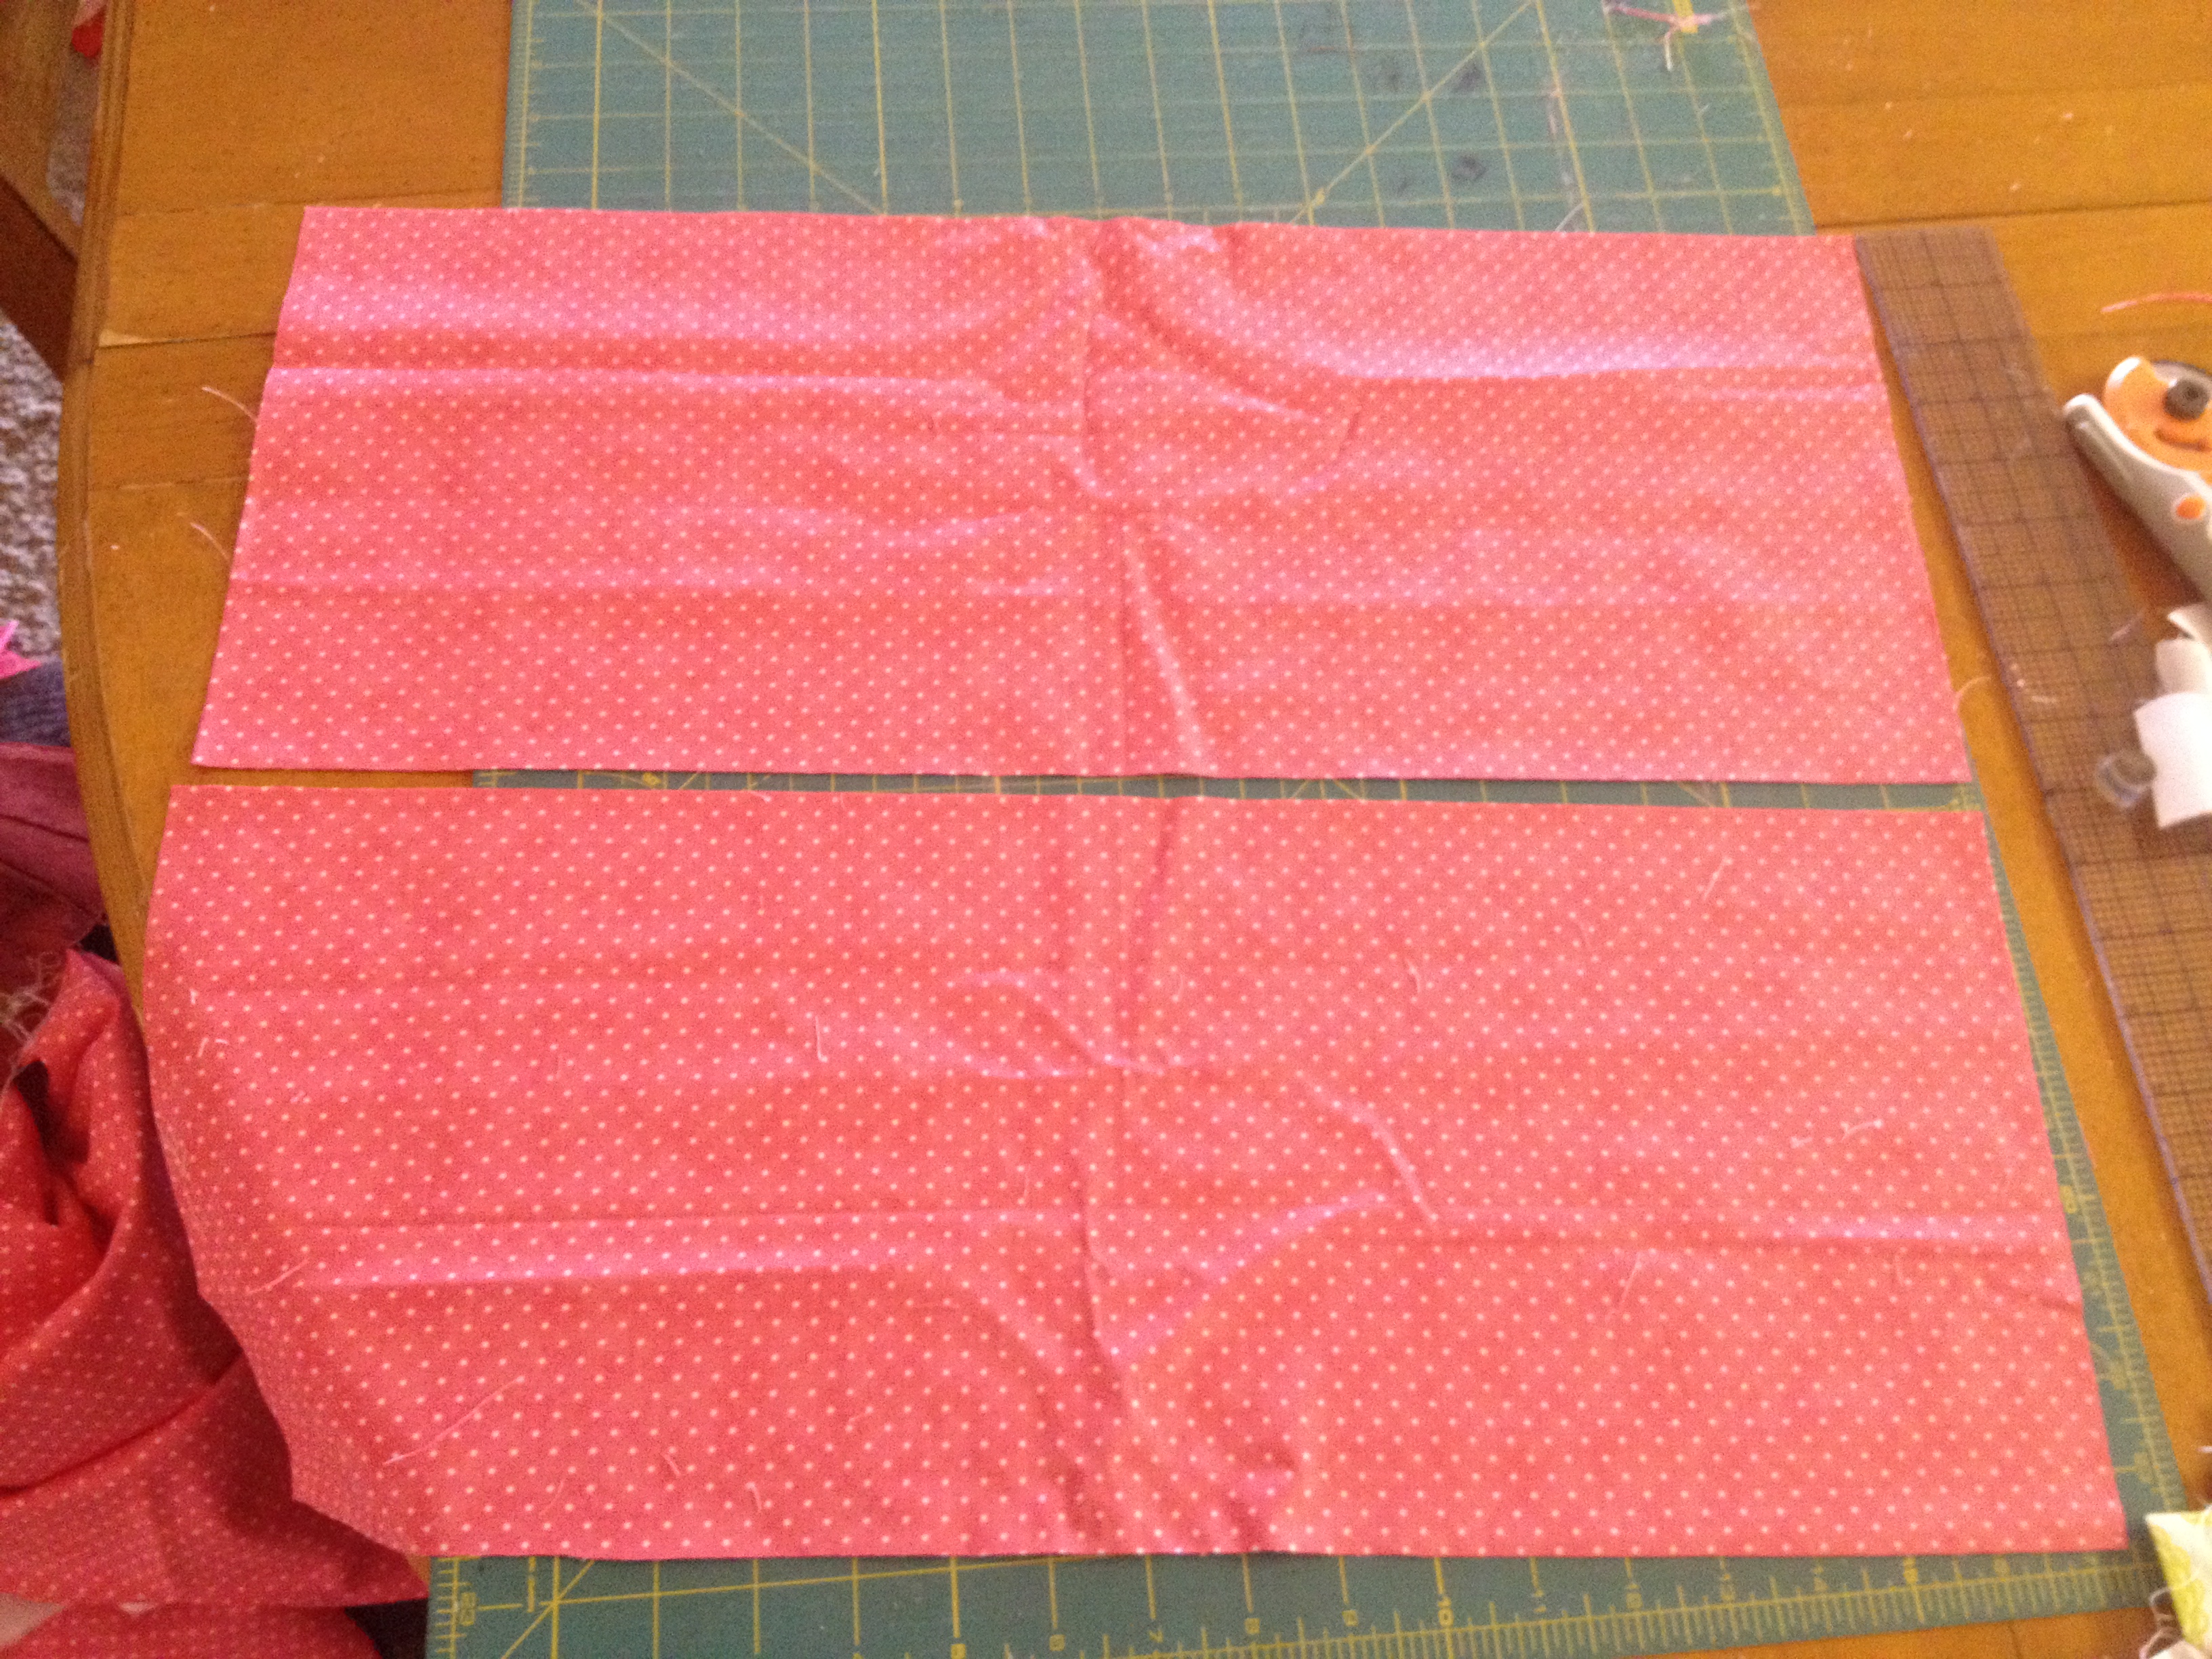
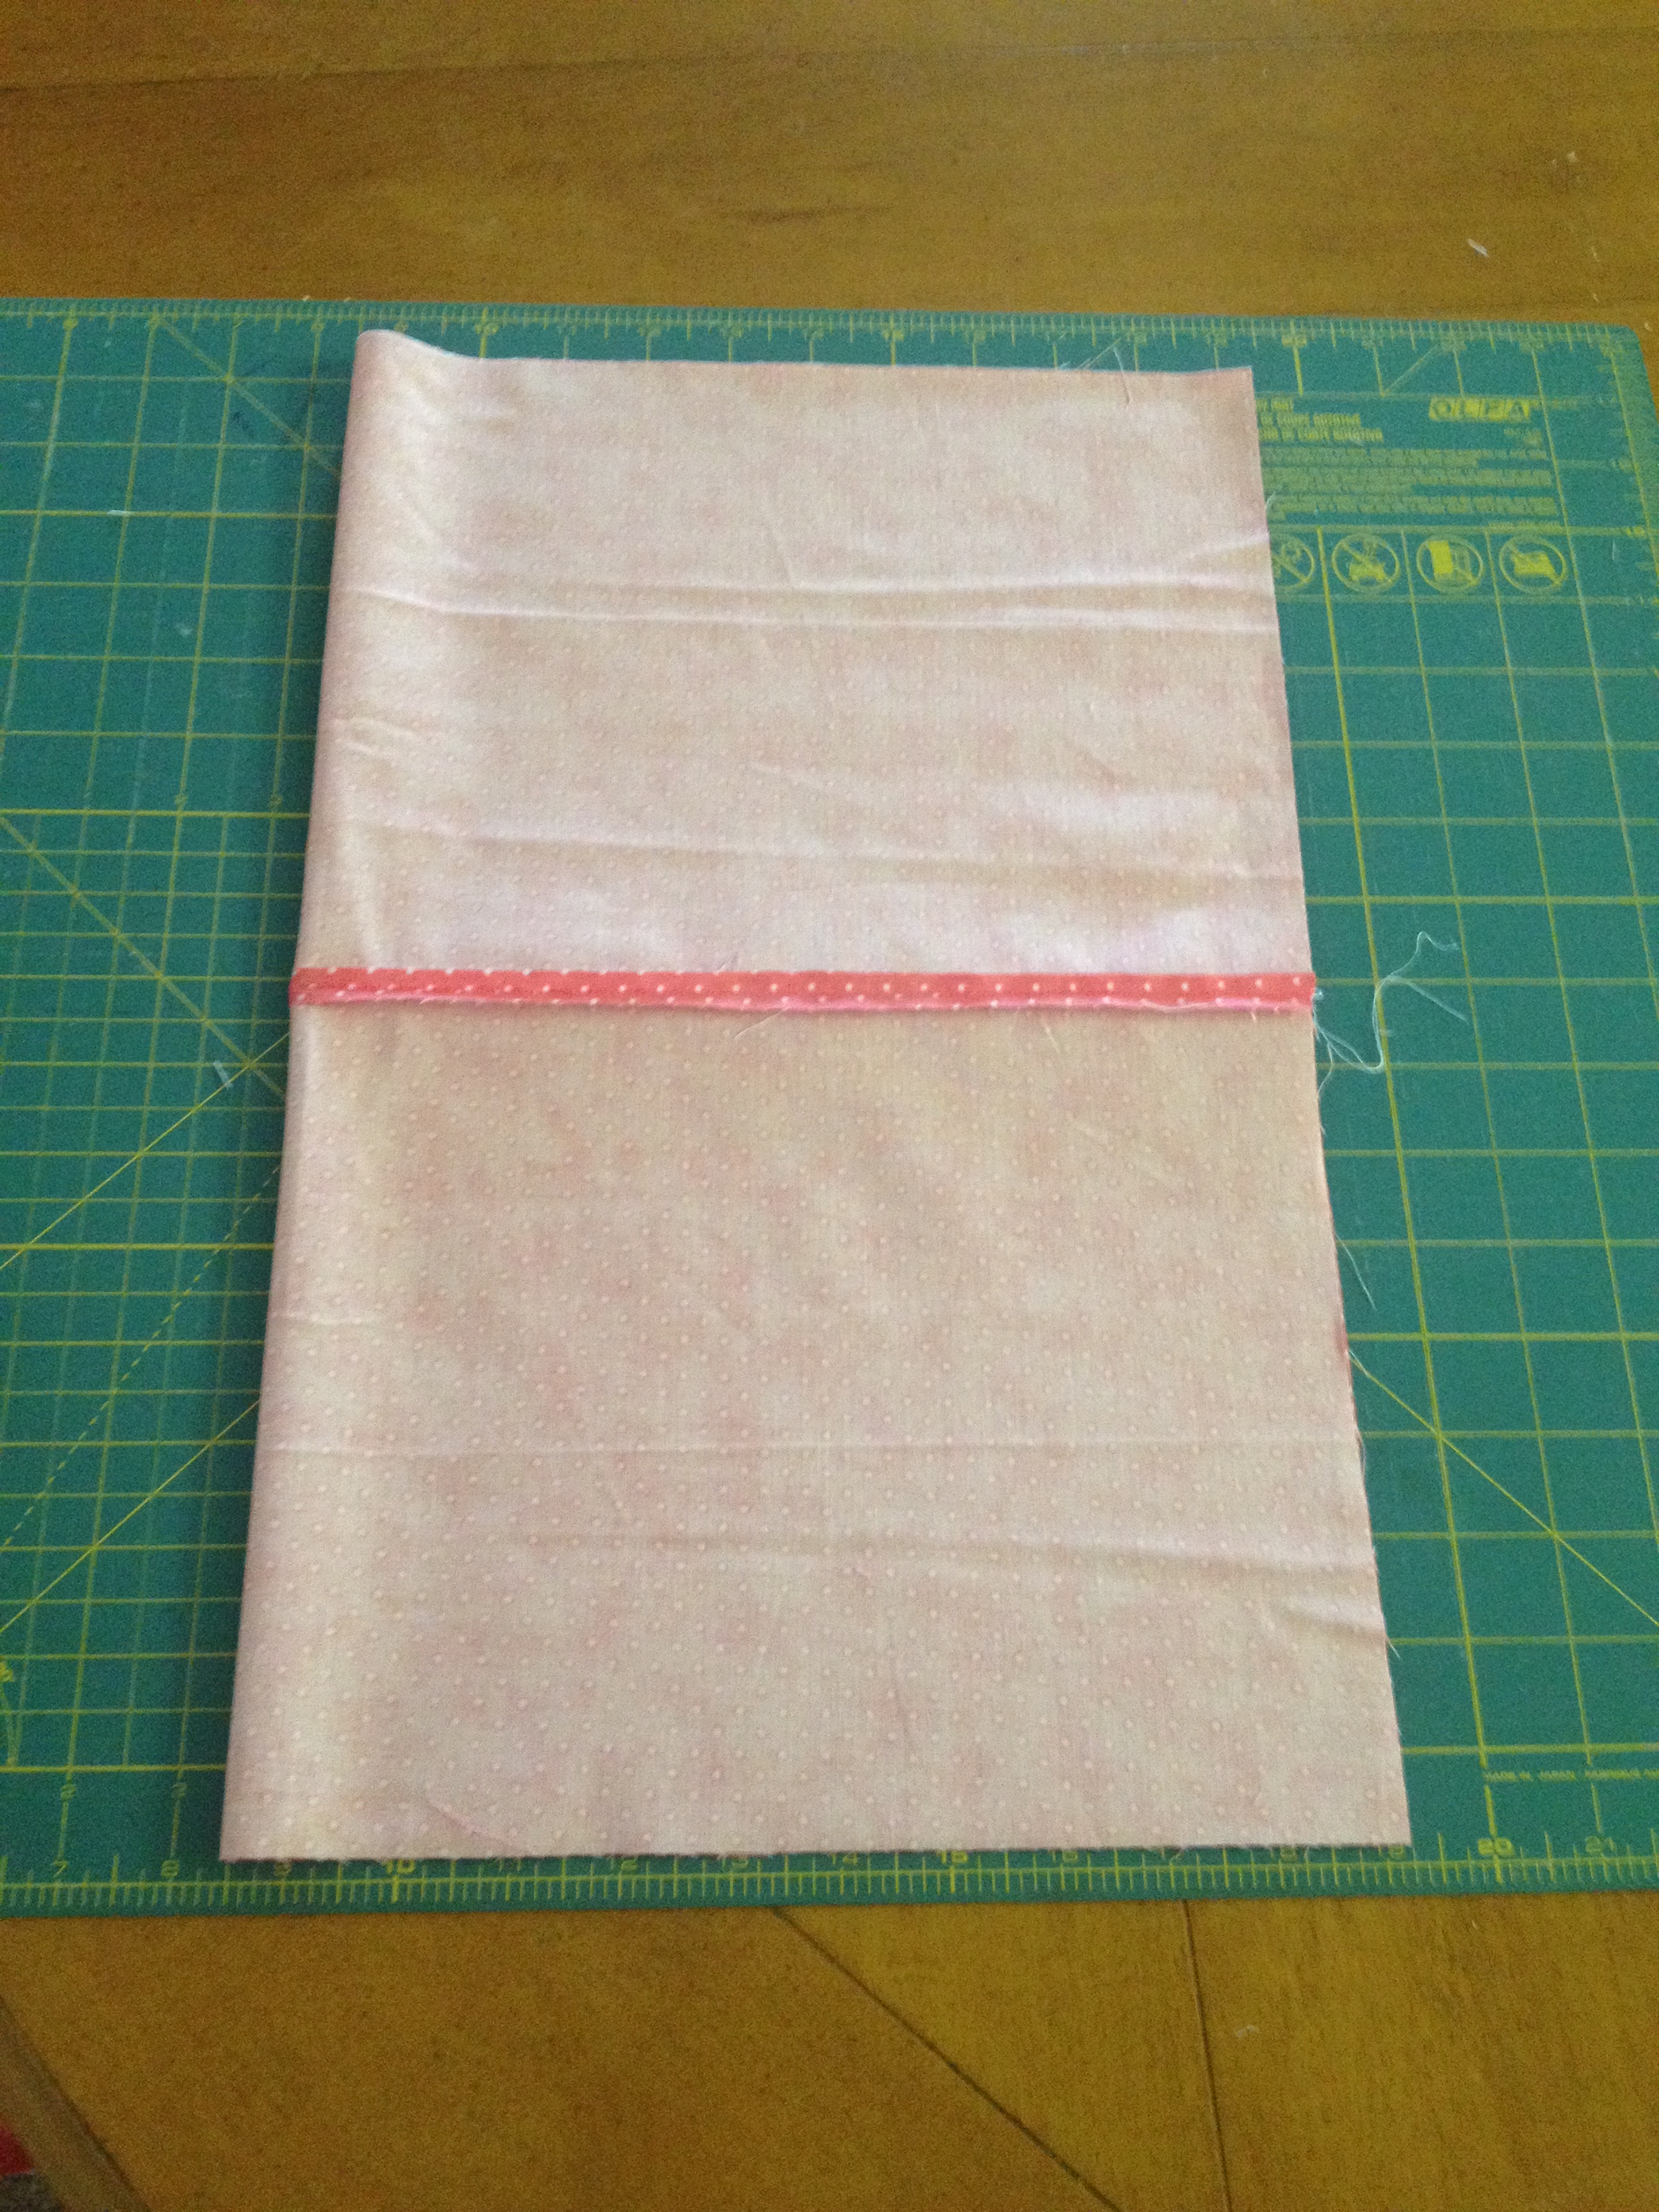
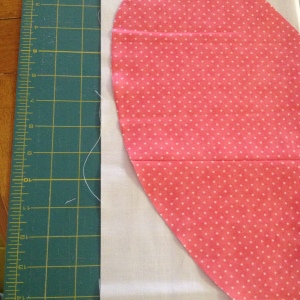
To make the heart block you will need the 16.5" x 16.5" neutral square and the 9" x WOF strip of backing fabric. Fold the fabric strip in half with the selvages together. Cut on this fold so you have two rectangles approximately 9" x 21" (half the WOF). Place one strip on top of the other with RST along the long edge. Pin and sew to make a rectangle that measures 18" x 21". Press the seams open. Cut the rectangle so that it is 16.5" x 16.5" Fold the rectangle in half vertically with RST. Mark a dot in the center of the fold at the 8.25" mark. Draw a vertical line 7" away from the fold line and horizontal lines 7" above and below the center dot. These will be the parameters for drawing the heart. You can draw anywhere within those lines to get the perfect shape of heart, but just don't go over these lines!


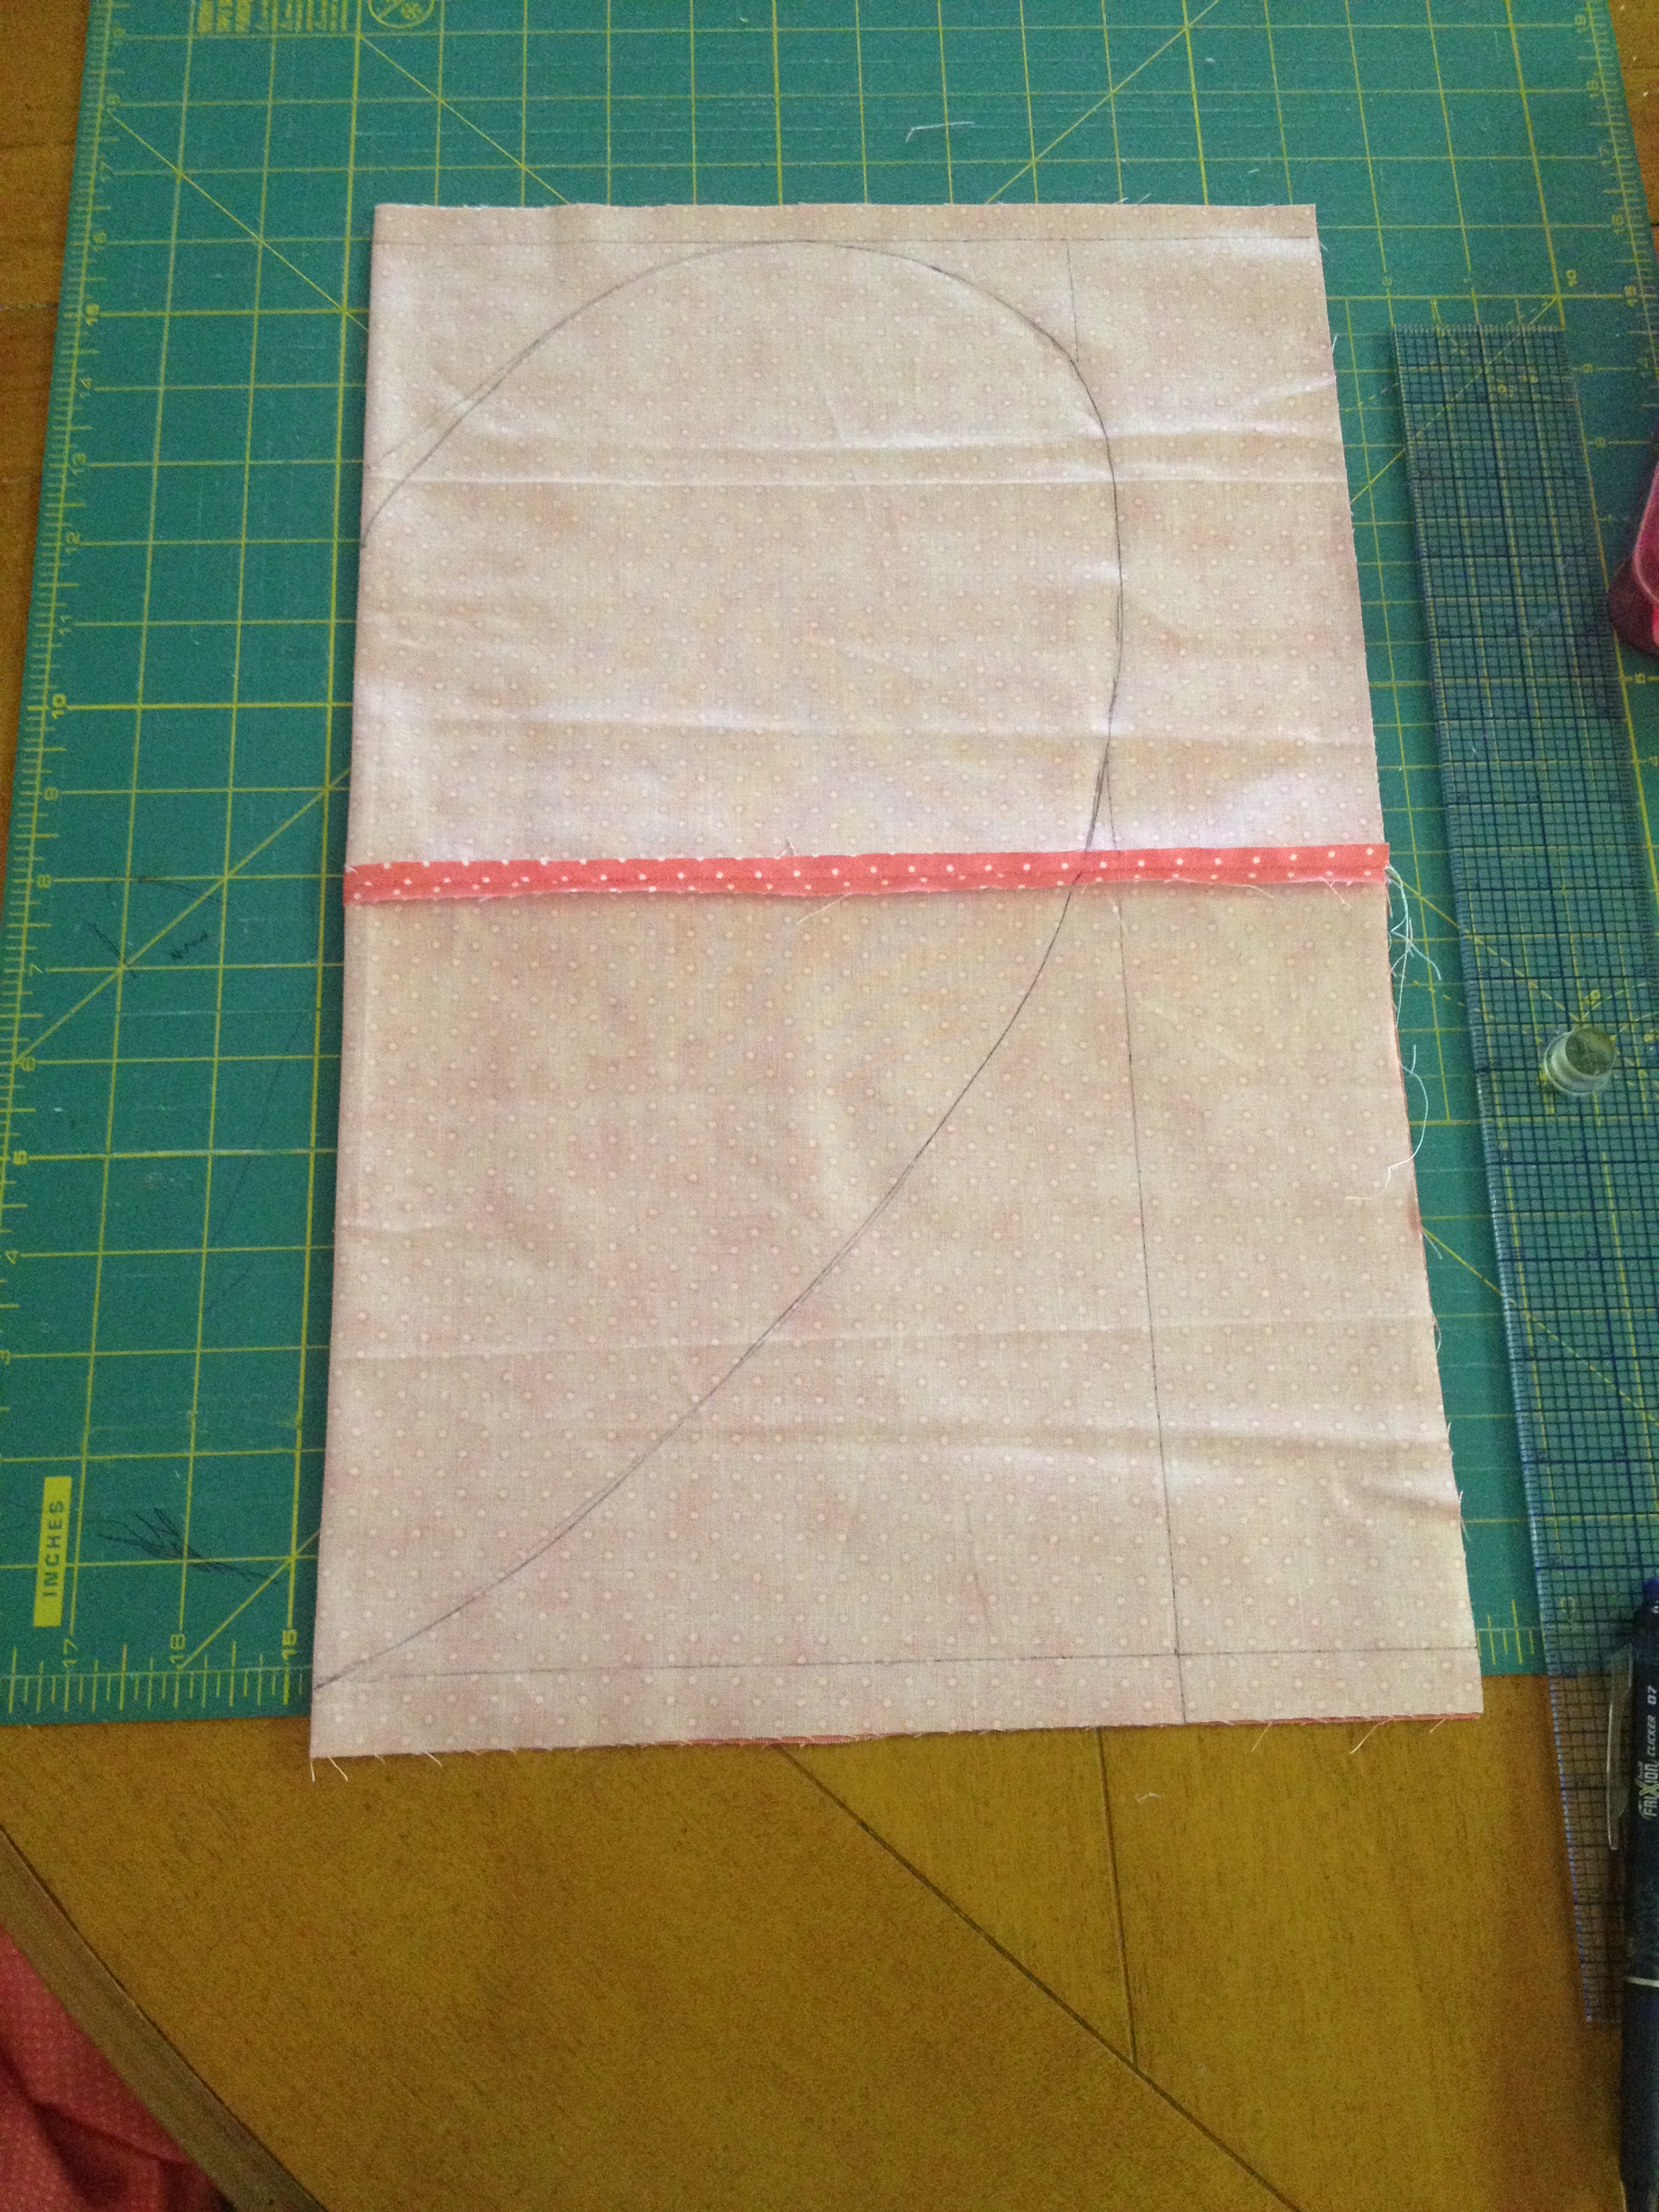
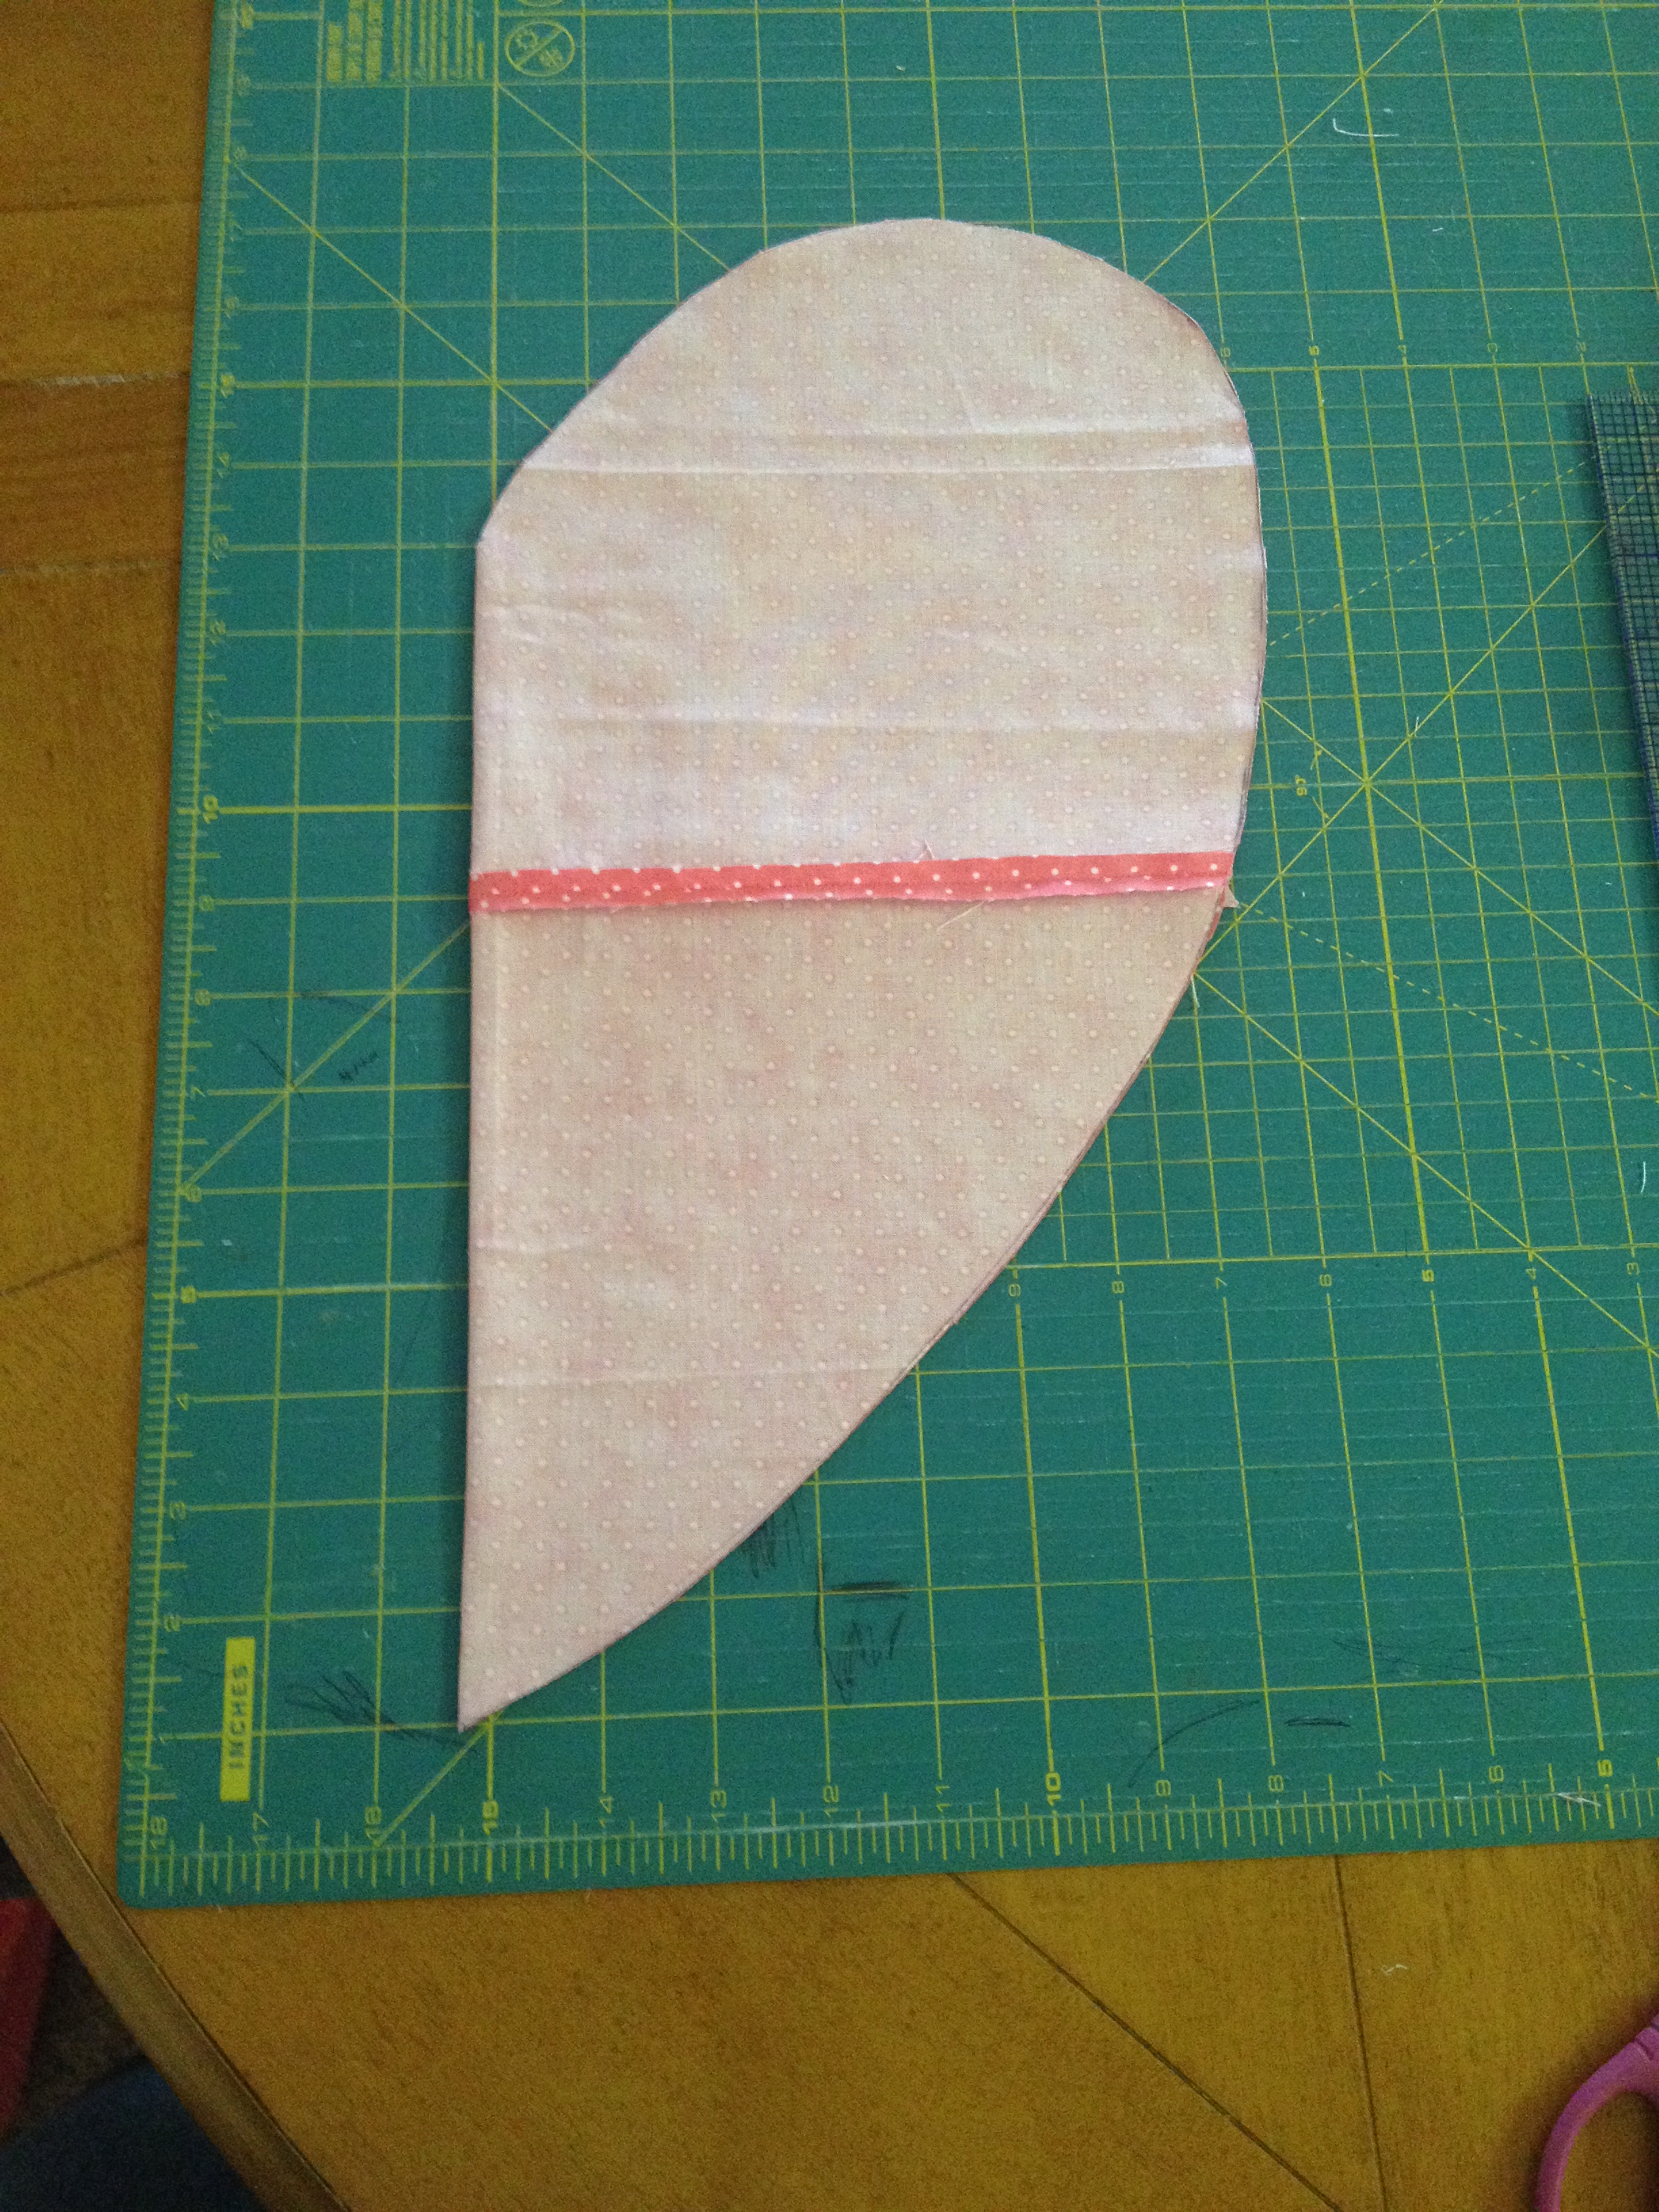
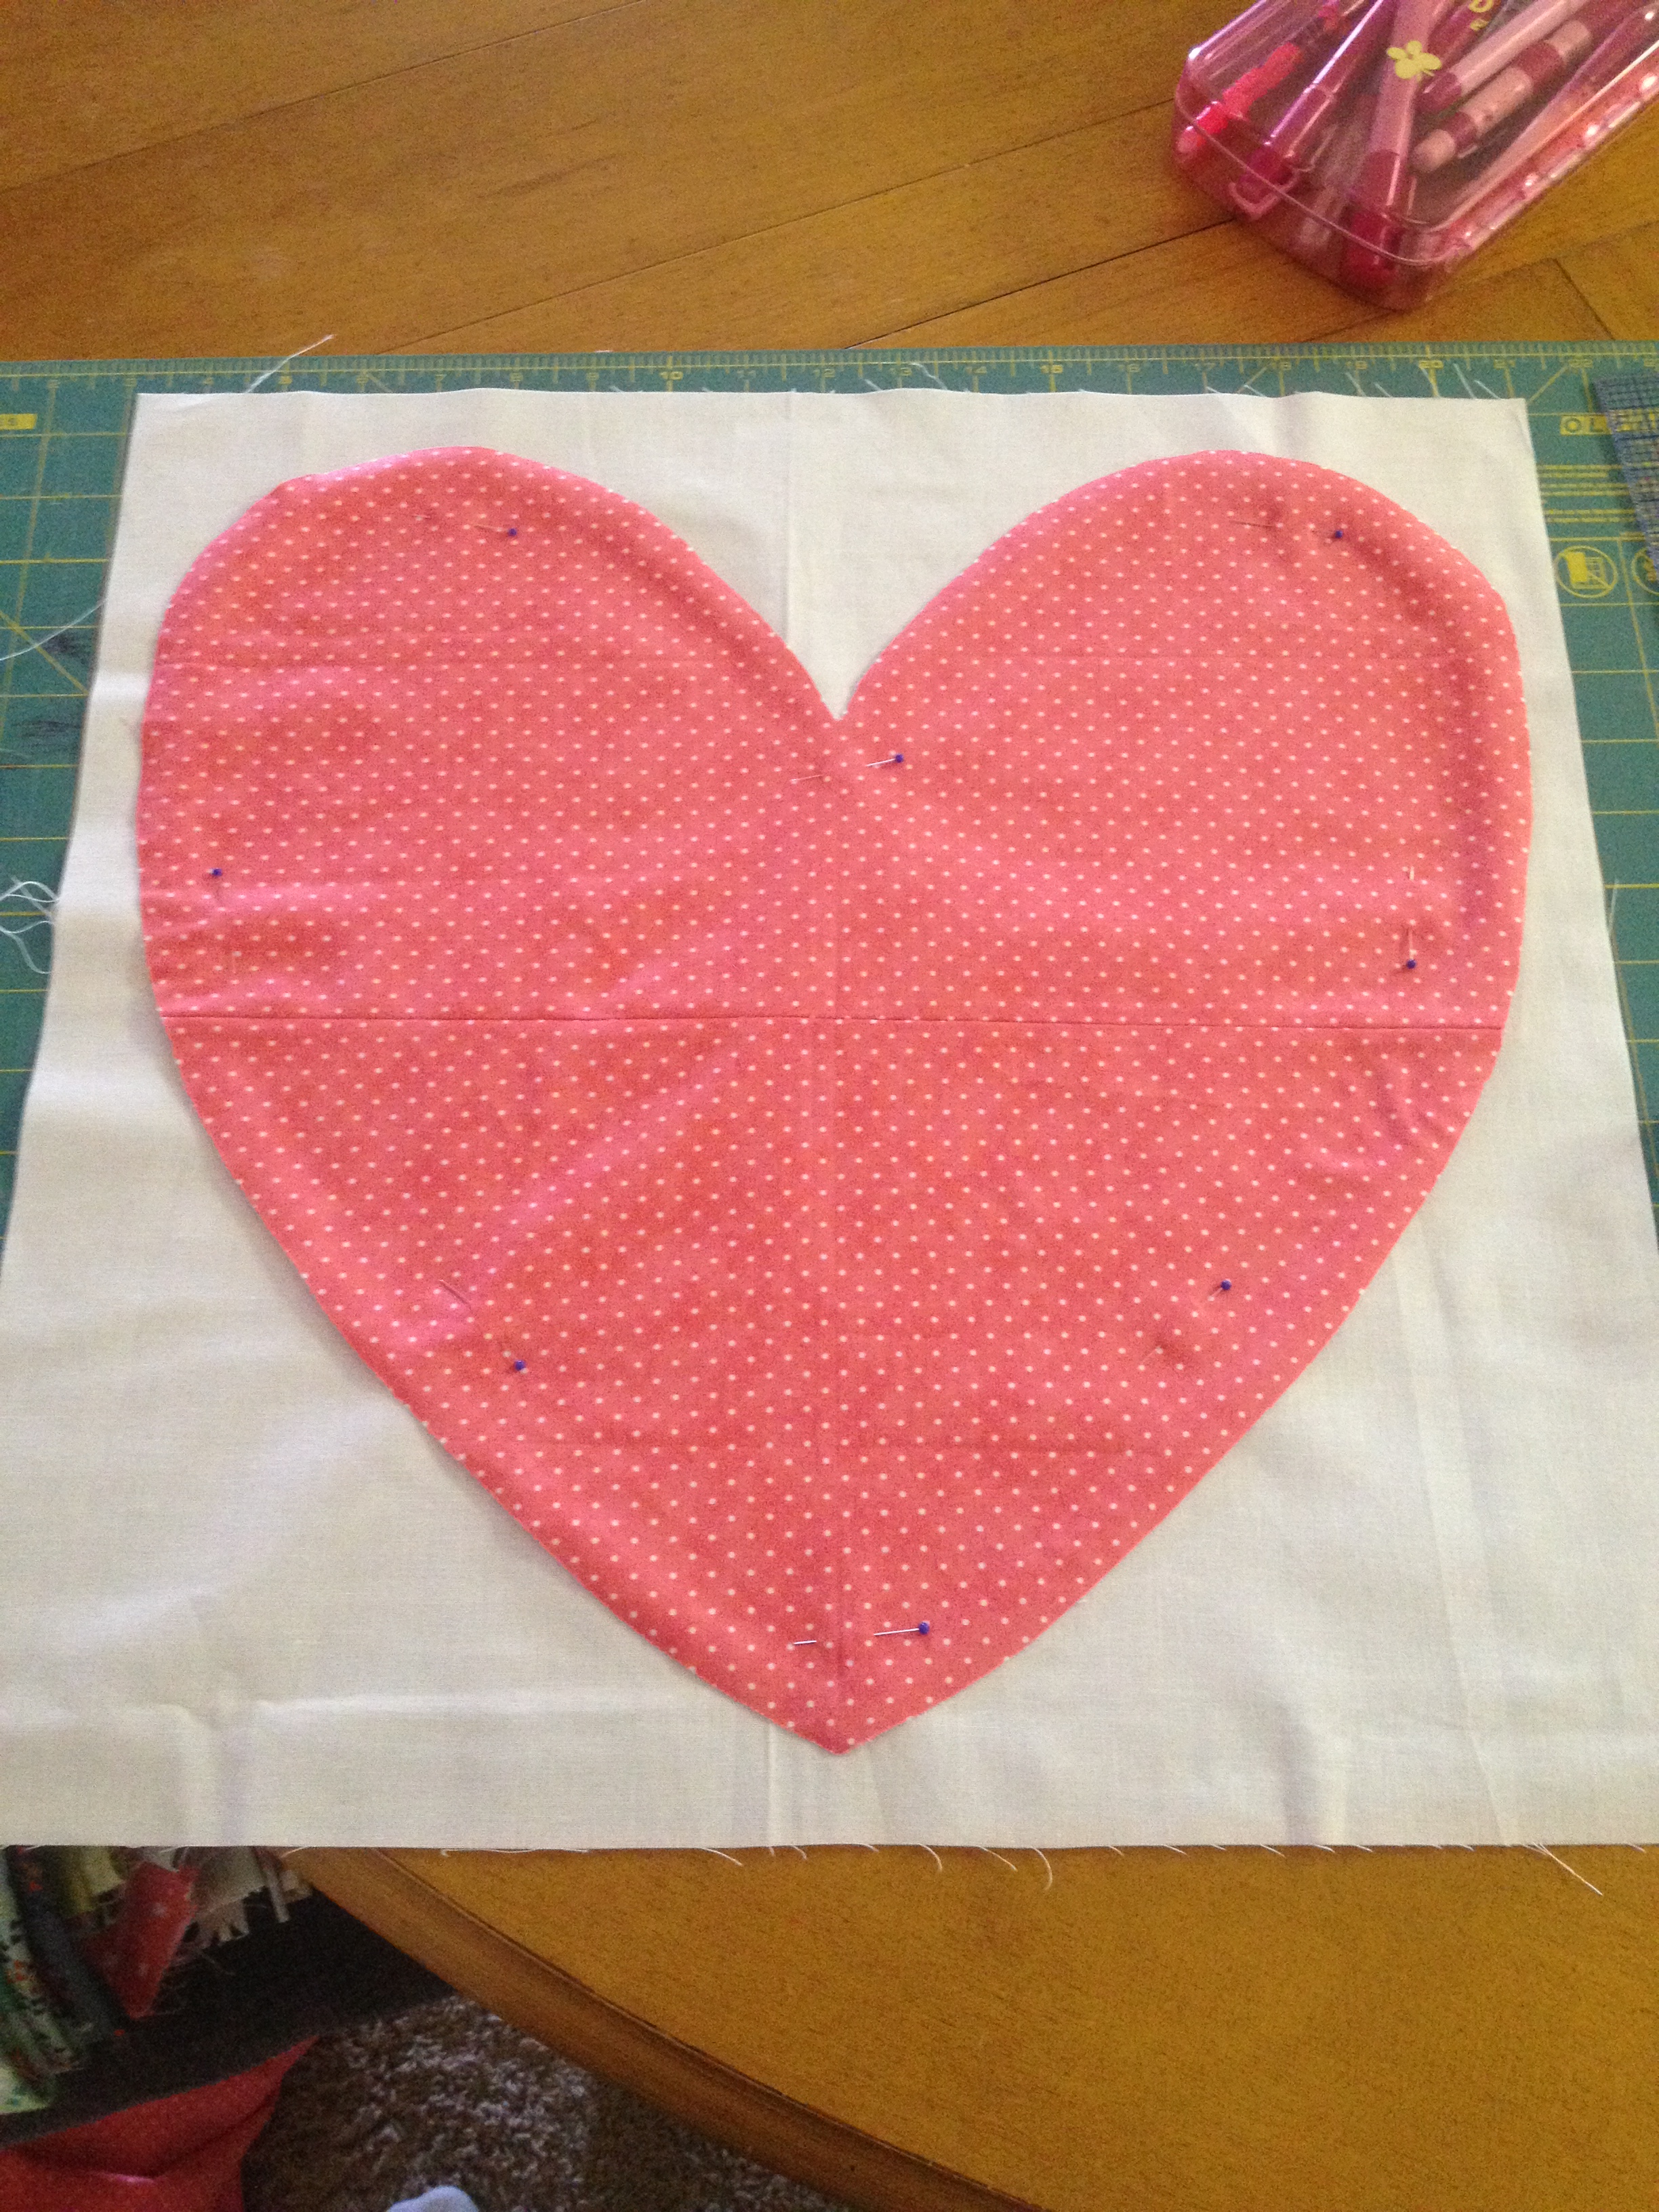
Now, remember in elementary school when you made paper hearts? This will be just like that! Draw a half heart that originates from the fold in the fabric. You can use a template if you like, but I just free-handed it. Use fabric scissors to cut out the half-heart shape, making sure the fold is creased well and your fabric doesn't shift. Open the heart up and place in on the 16.5" neutral square to see what it will look like when it's finished. Make sure you like the shape of the heart and adjust as necessary.


Now, place the fabric heart on the paper-backed applique adhesive with the paper side up. Trace the heart onto the paper, remove the fabric heart, and cut the paper along the traced line. Fold the paper in half with the adhesive together and cut a 1/4" strip around the entire perimeter of the heart. Unfold the applique strip and place adhesive-side down on the wrong side of your fabric heart. Use the manufacturer instructions to iron the strip on around the fabric heart's perimeter. You may need to trim if you have some overlap.


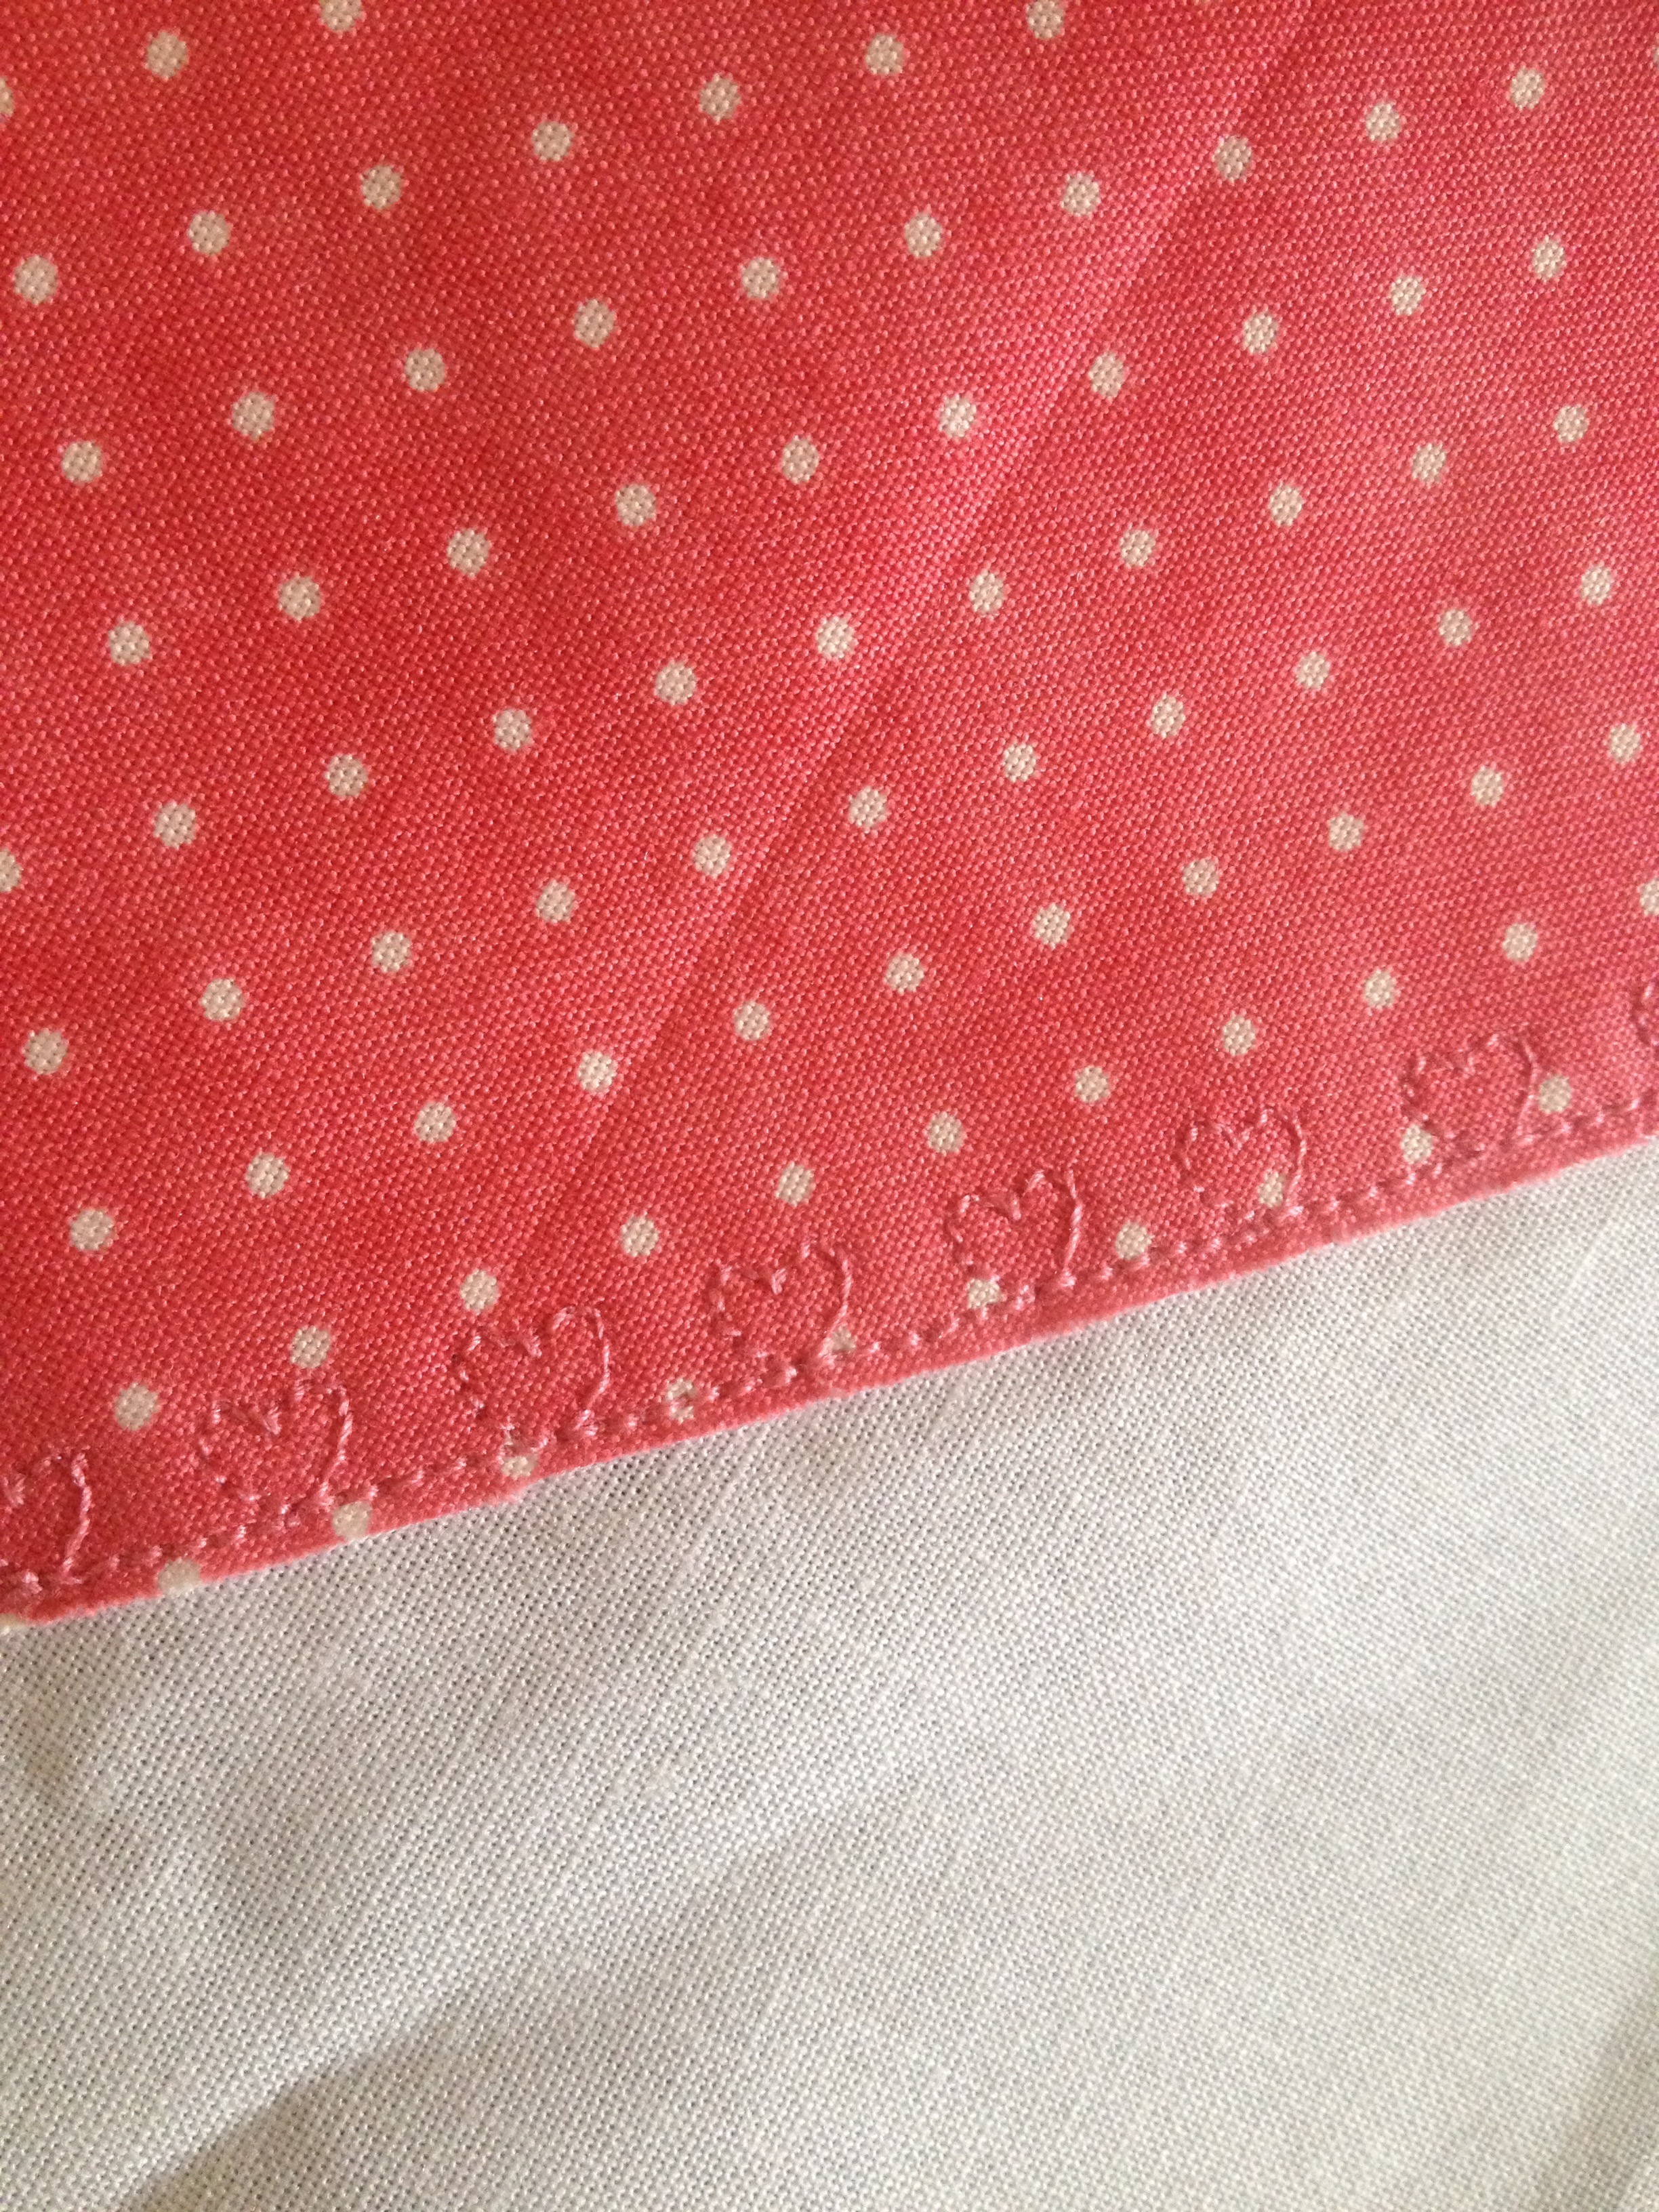
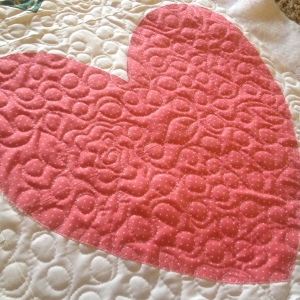
Now peel the paper off of the applique adhesive and center the fabric heart onto the front of the neutral 16.5" square. Pin the heart in place making sure all the wrinkles are as flat as possible. Iron the heart to the square according to the manufacturer instructions. Use a blanket or decorative stitch all the way around the perimeter of the heart, butting the stitch up against the edge of the fabric.


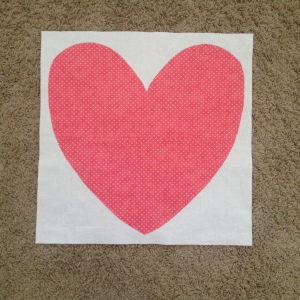
 Your finished heart block will measure 16.5" x 16.5".
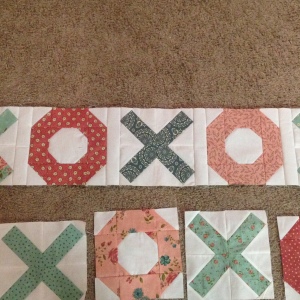
Quilt Assembly:
Lay your X, O, and Heart blocks down so you can determine the placement that you like. Remember to alternate the X and O blocks and put the Heart block in the bottom/right corner. Piece a 2" x 8.5" neutral strip vertically in between each of the X's and O's. Make sure to piece a strip to the right side of the X and O that will be pieced to the Heart block, but don't piece the Heart block to the rows at this point. Press seams away from the blocks, towards the sashing. Repeat until you have 6 rows.


To make the sashing in between rows, piece 2 neutral strips 2" x WOF together. Measure the two rows that will be joined to this strip and if the measurements are different, take the average length. Cut the sashing strip to this length. Repeat for all sashing strips in between rows. Press seams away from the blocks, towards the sashing.


Now you are ready to piece the Heart block to the right of the 5th and 6th X and O row. Place the Heart block on top of the rows with RST so that the side seams align, pin, and sew. Press seams away from the blocks, toward the sashing.
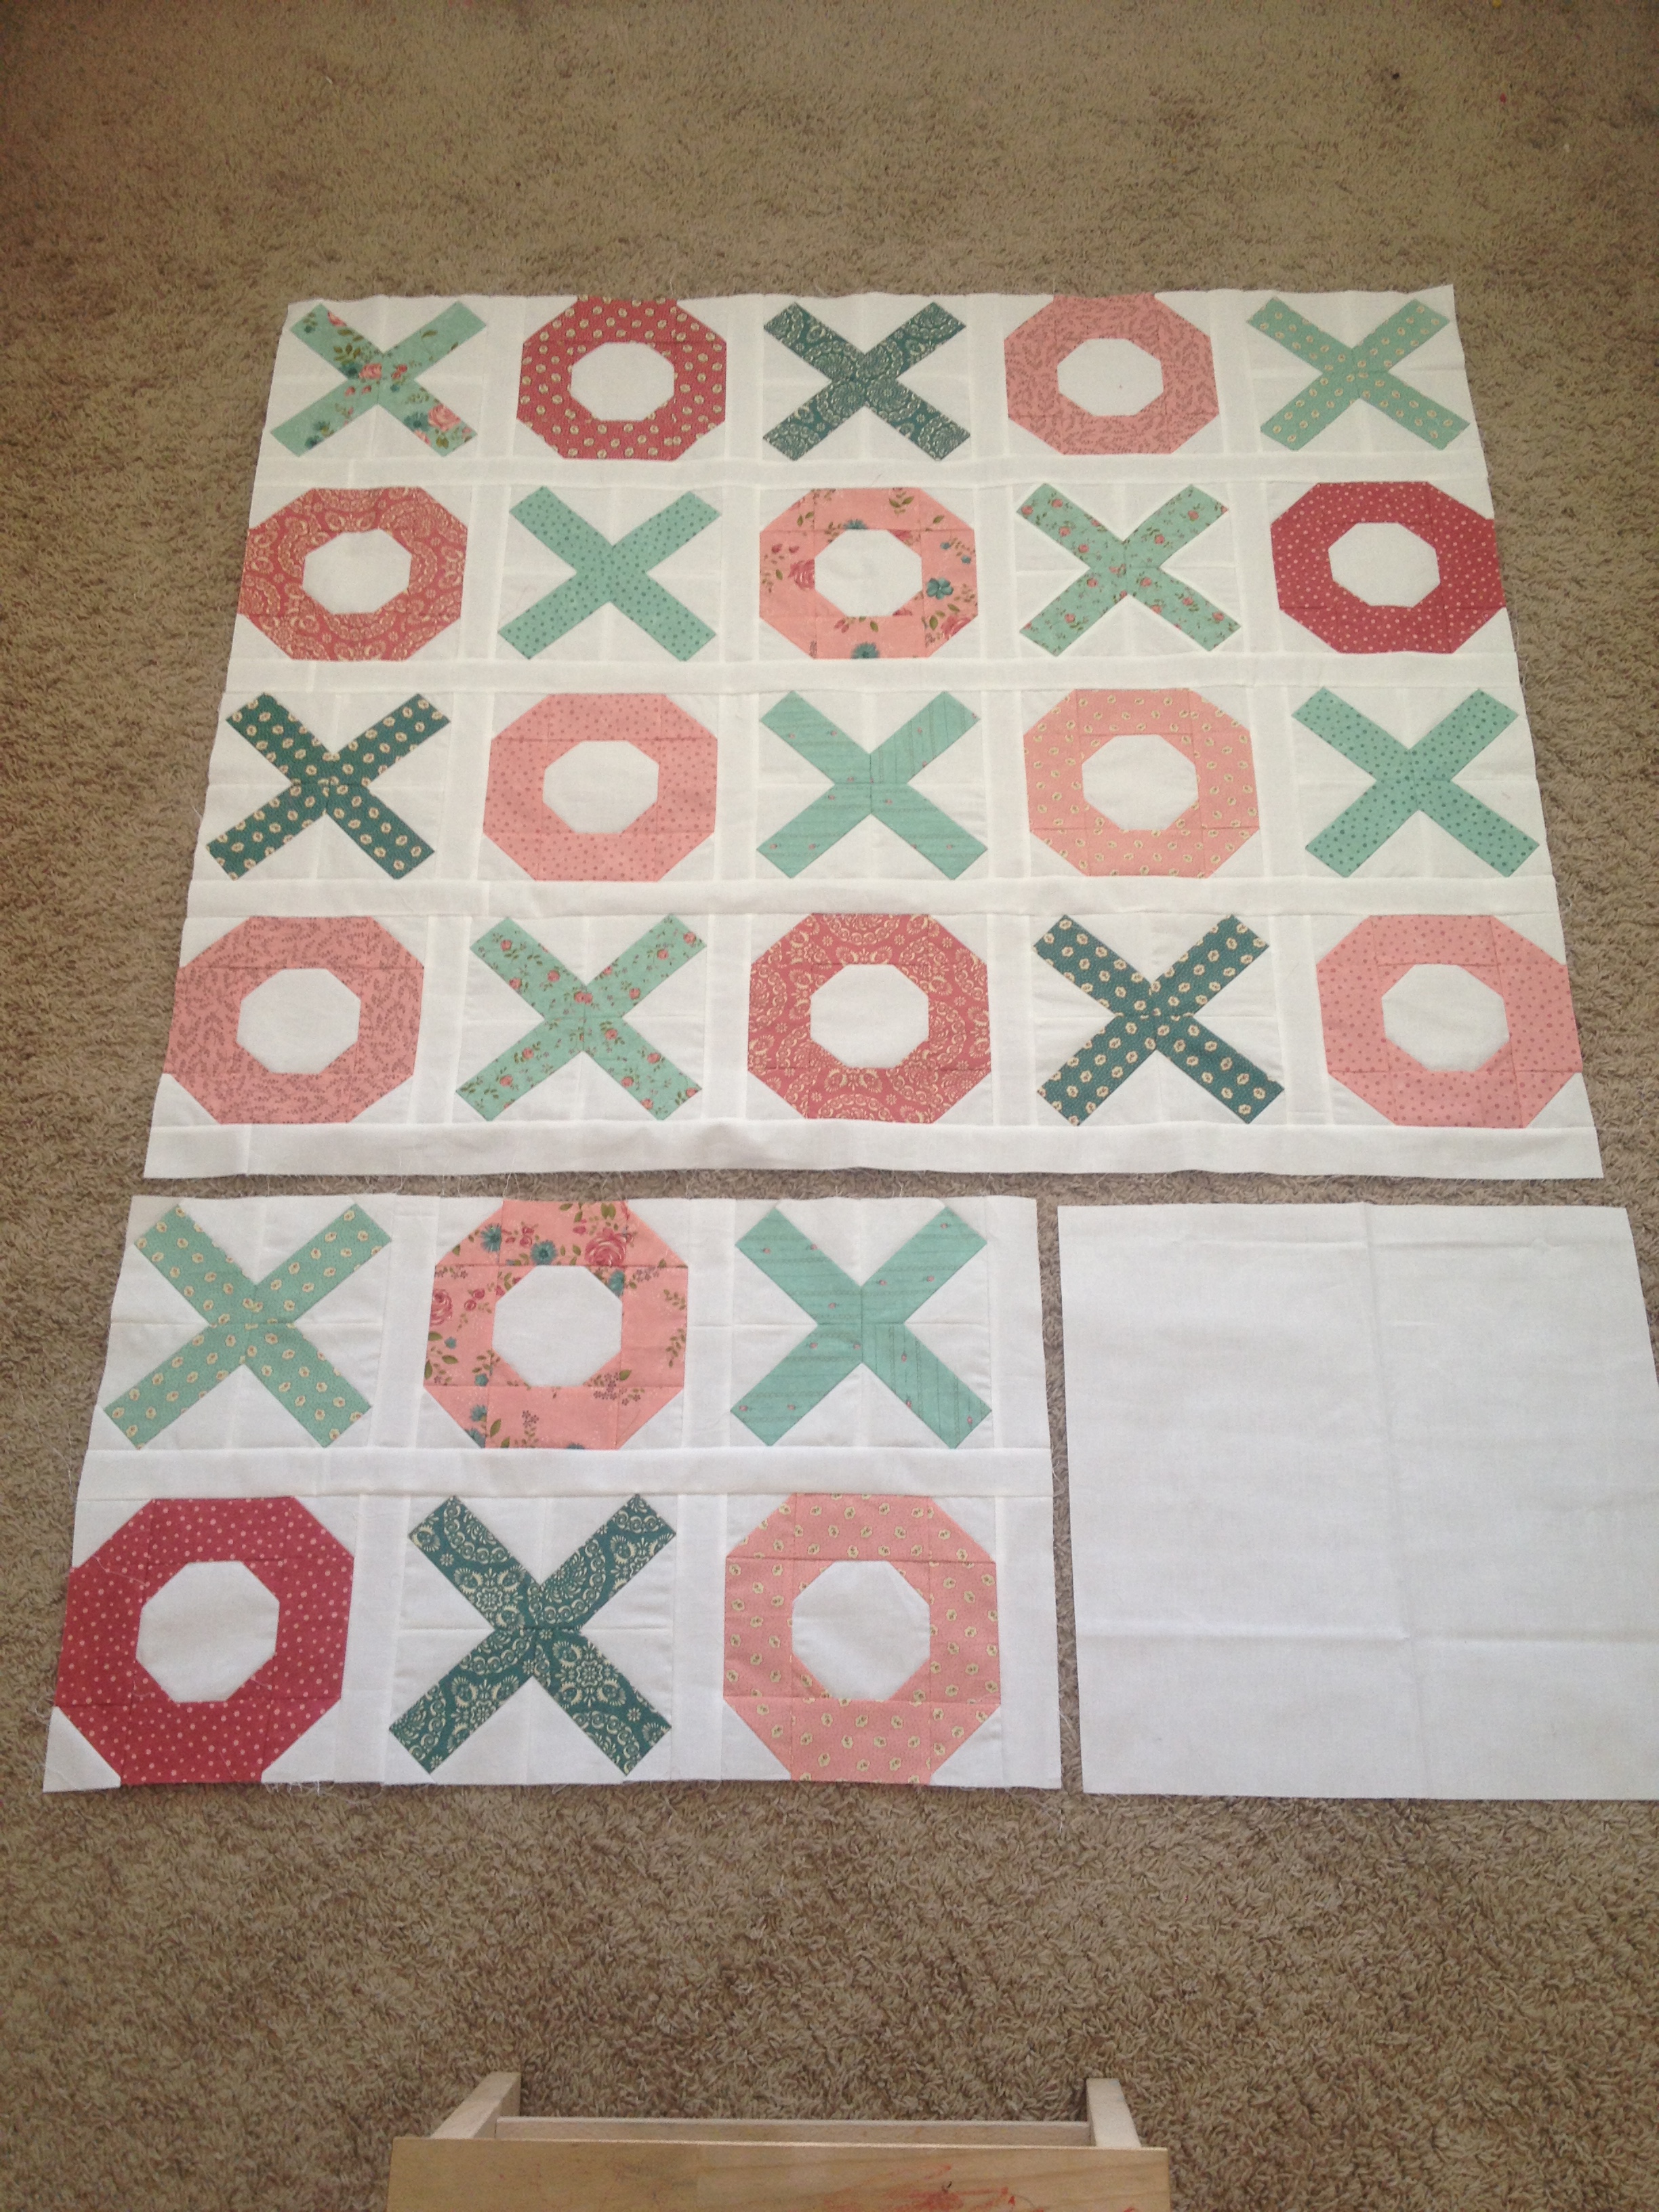
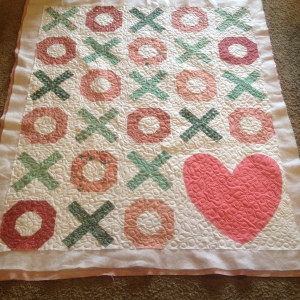
You now have a finished quilt top which measures 46.5" x 56"!

Baste, quilt, and bind are desired.


![]()
A beautiful 46.5" x 56" quilt that will make anyone feel loved!

Amy Harward
![]()
Posted in: