Welcome to Moda Fabrics!
Denim Circles Quilt
Denim Circles Quilt
Published:
Feb 27 2015 - 23:00
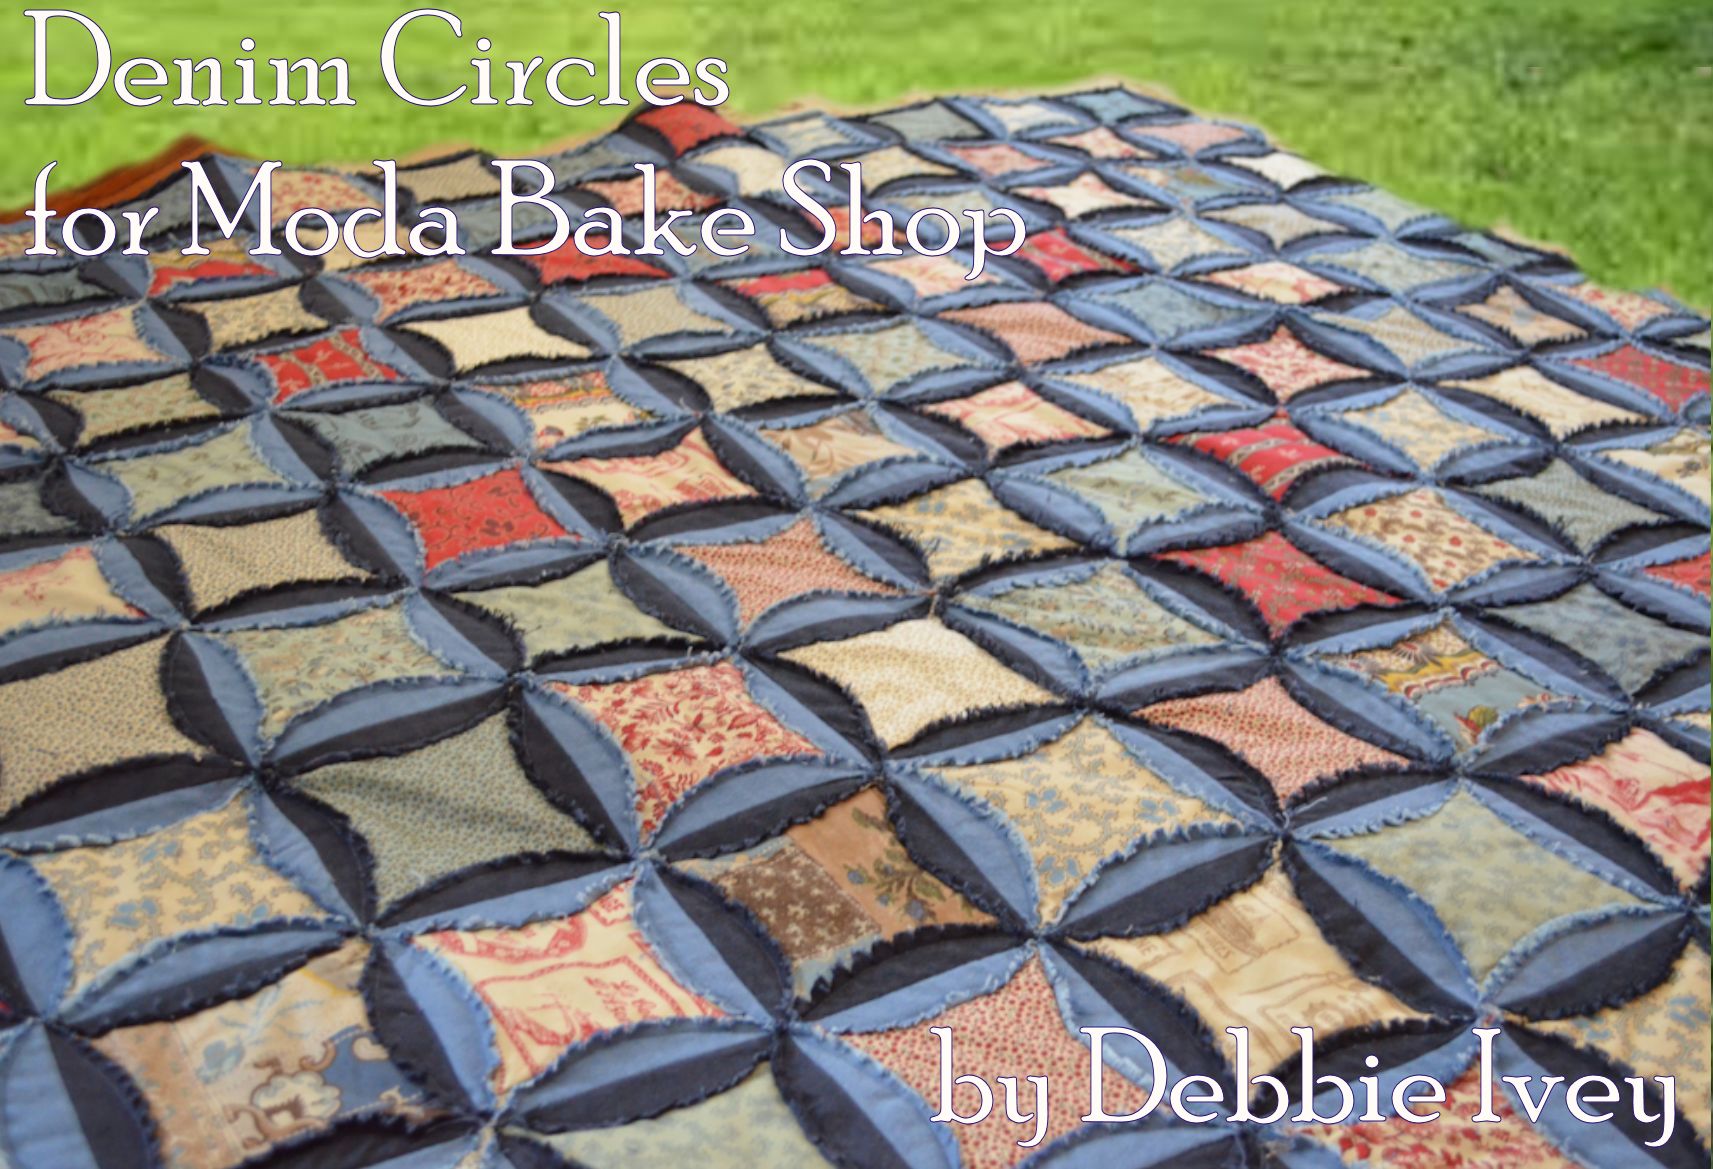

Hello, it’s Debbie from Sewing with Rascal again. I am happy to share another recipe, this time for a Denim Circles quilt. I love the look of a blue jean quilt but am not fond of the weight blue jeans add, they are quite heavy and stiff. When I saw the new Moda denim in a lighter cotton weight, I knew I just had to use it in a denim quilt. Oh what a difference, it is soft and warm but not heavy.
Another nice feature about this quilt is that it’s a "quilt as you go" project, meaning once the circles are sewn together the quilt will be finished completely and ready to snuggle up in or take to your favorite picnic spot!
![]()

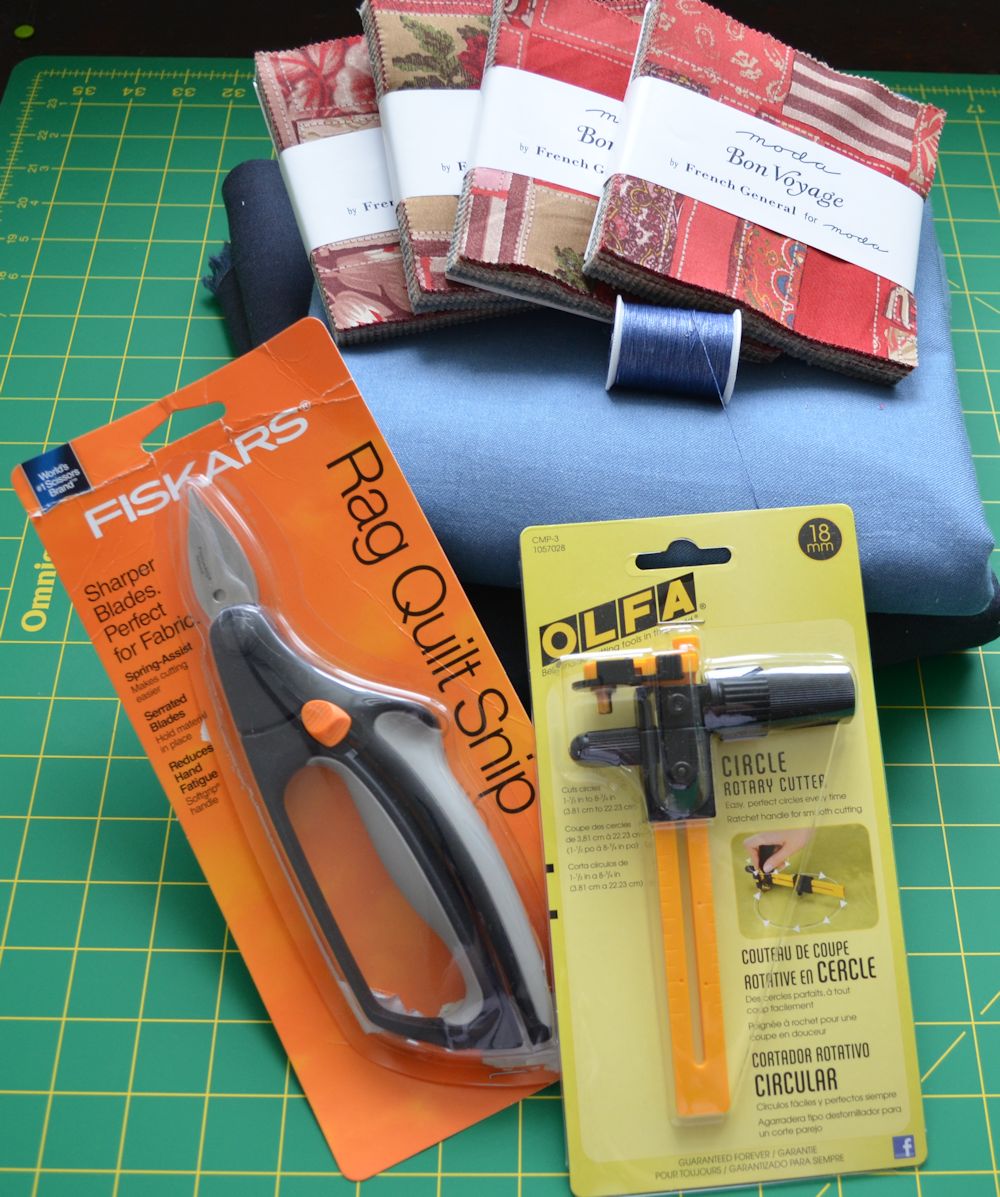
4 charm packs or 1 layer cake cut into 5 inch squares. I used Bon Voyage by French General
3 1⁄2 yards Moda denim 6.5 oz Indigo or dark color (prewash for shrinkage)*
3 1⁄2 yards Moda denim 6.5 oz Chambray or light color (prewash for shrinkage)*
denim size needle for your machine
denim thread
denim thread
*repurposed jeans can be used but the quilt will be much heavier.
![]()
(168) 4 3/4” low loft batting squares. If using blue jeans, I suggest leaving the batting out because it gets very heavy.
Olfa CMP-3 Circle cutter - recommended but not required
Fiskars Easy Action Rag Quilt Snips - recommended but not required
![]()
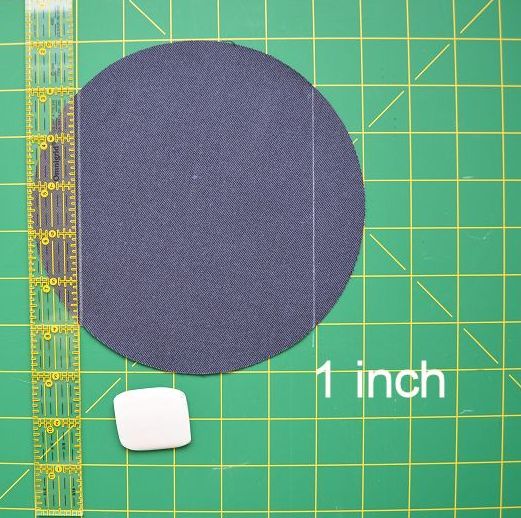
Step 1: Cutting 7” diameter circles.
There are a few options for cutting the circles listed below. This tutorial includes directions for using the Olfa Circle cutter (Option A) but you can skip ahead (to Step 2) if using a different method for cutting the circles. Whichever method is used, you will need 168 total 7” diameter circles: 84 light and 84 dark.
Option A: OLFA CMP-3 Rotary Circle Cutter. This is what I used and it works amazingly well. It cut thru two layers of denim at once and made uniform circles. I was able to cut all 168 circles in about 30 minutes.
Option B: June Tailor Charming Circles Ruler. Haven’t tried this but it is a 7” diameter circle template used with standard rotary cutter.
Option C: Cut a 7” diameter circle template on cardboard, trace the circle onto the fabric and cut out with scissors.
Directions for cutting the circles using the OLFA CMP-3 Rotary Circle Cutter
Set the compass point to 3.5" radius so that it will make a 7” diameter circle. Remove the cap from the compass point and the safety on the blade.

Prepare the prewashed fabric for cutting by folding in half selvedge to selvedge. Using tailors chalk or erasable marker draw a vertical line 4” from the right edge and then every 7.5” to use as guide lines for cutting the circles.
Draw a line horizontally across the bottom at 3 1/2 inches from the selvedge. This creates an intersection for the first circle cut.


Use intersecting line nearest the right edge as a guide for placing the compass point and cutting the first circle.
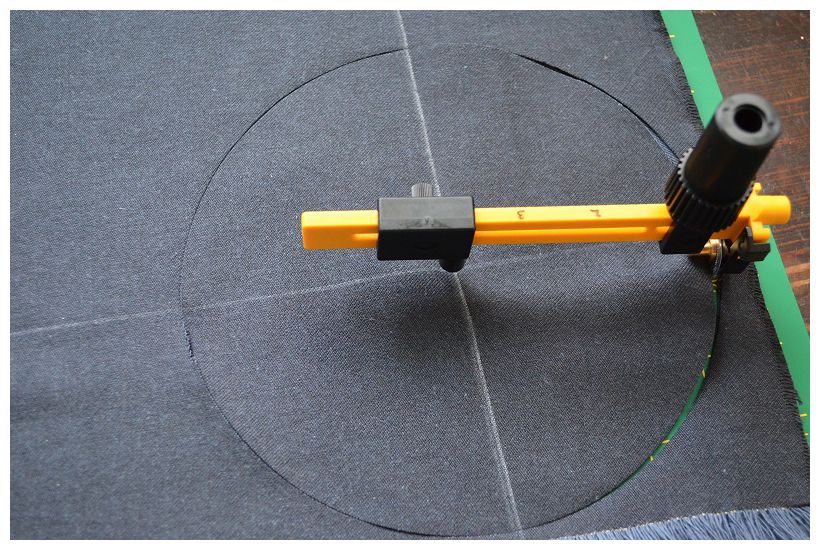
Cut the 7" diameter circle

Cut 3 sets of circles per line. Use the lines as a guide for placing the compass. If the circles are cut close enough you can get three circles per row on the doubled fabric (total of 6) .
Step 2 – Marking sewing lines and sewing rows together:
On wrong side of each circle, draw two lines 1" inch from edges. These will be your sewing lines. Be sure the lines are parallel to each other so the circles will line up correctly when joining.
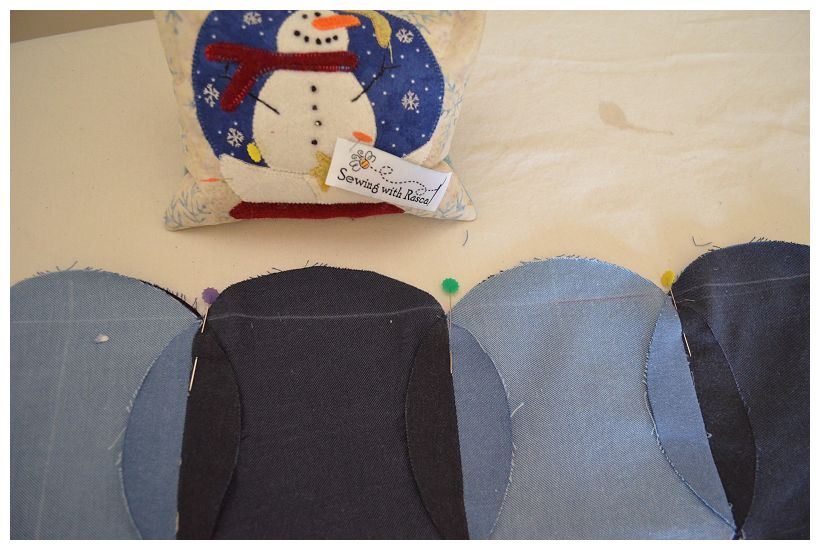
Align two circles (a dark and a light), right sides together, so the lines match up and pin.
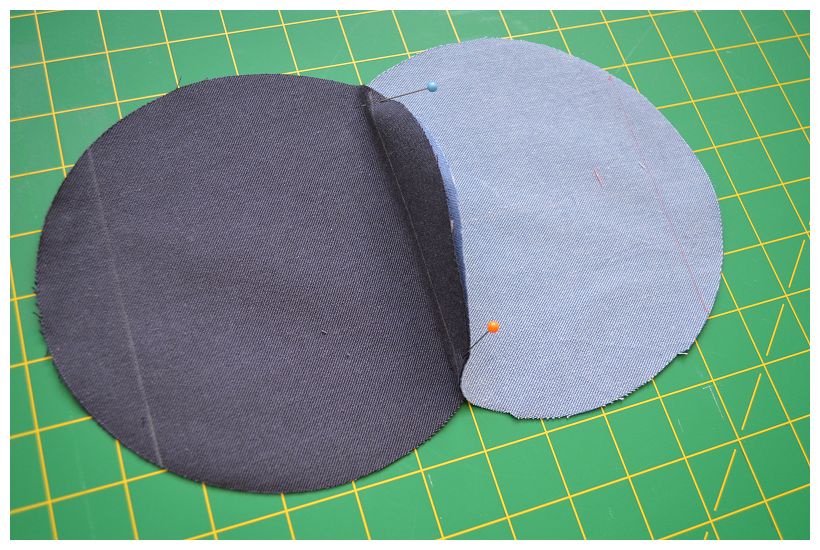
Pair up all circles making 84 sets of dark and light.

Chain piecing, sew all 84 pairs along one line with a backstitch at the beginning and end of each circle. You can also use an auto-lock stitch if your sewing machine has one.

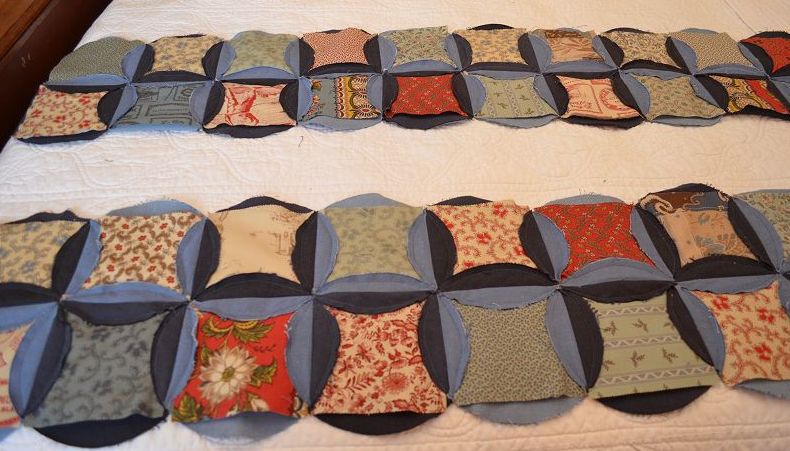
Sew the pairs into rows of 12 circles ensuring light and dark circles are alternating. Make 14 rows of 12 circles each.
Iron the flaps open.
Mark a sewing line 1 inch down from the top of circles.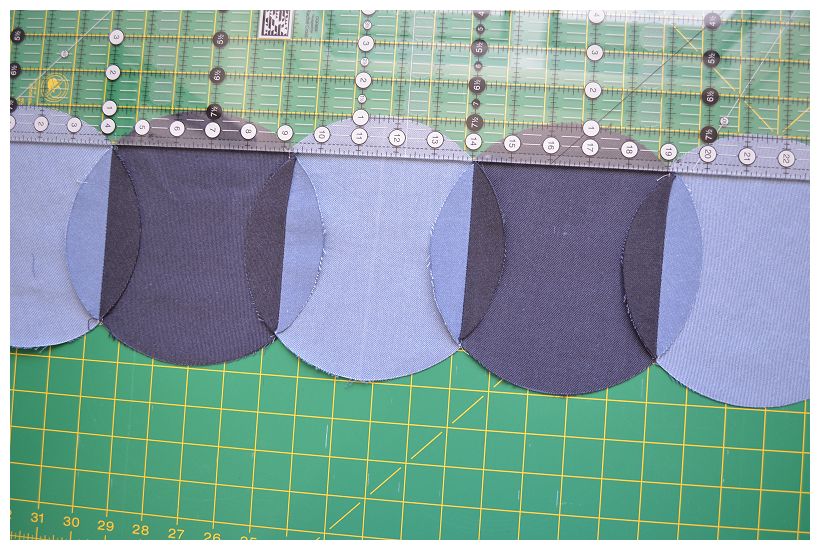
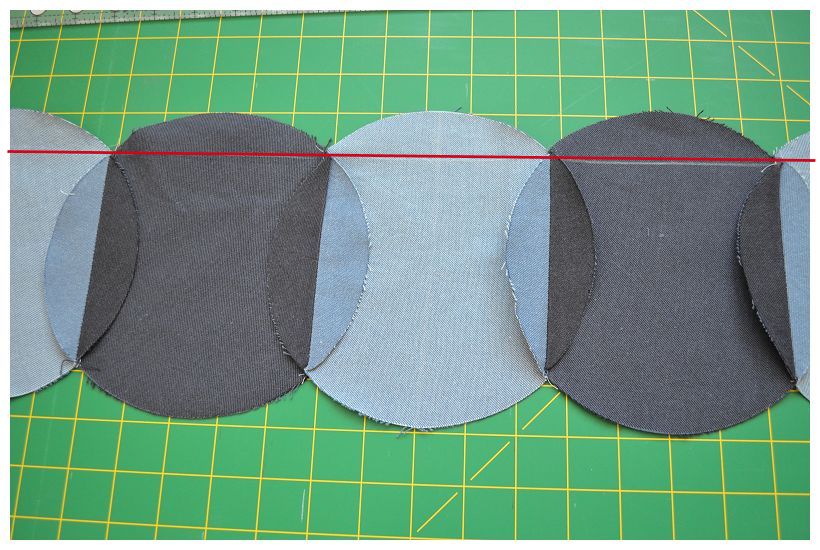
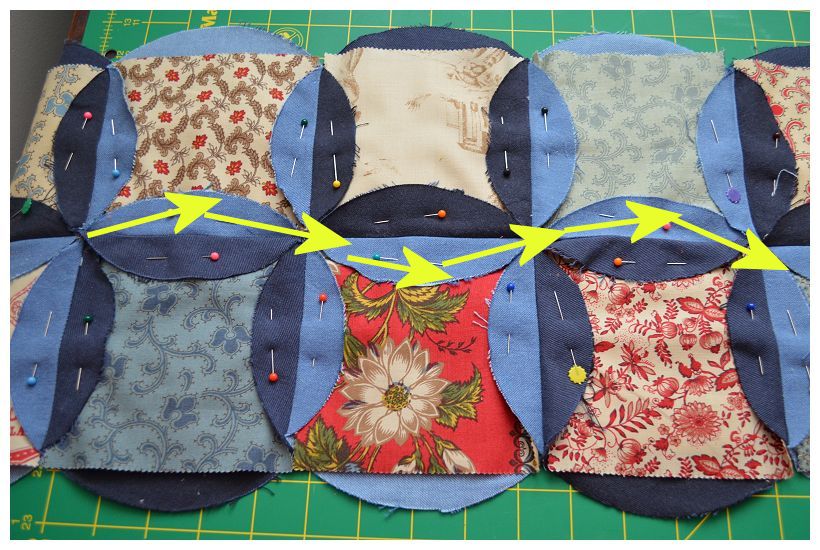
Pin 2 rows (right sides together) alternating light and dark with seams nesting so the points will match up nicely on the back.
Nest the seams together and sew across the top of the rows following the sewing lines. Avoid small holes at the intersections by making certain fabric is sewn below the intersecting points of the circles.
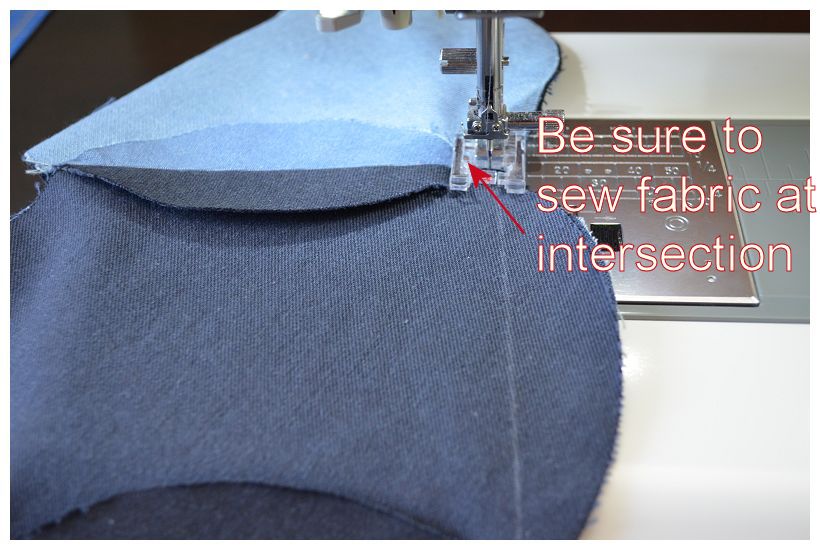
Nesting the seams will give a nice point on the back of the quilt.


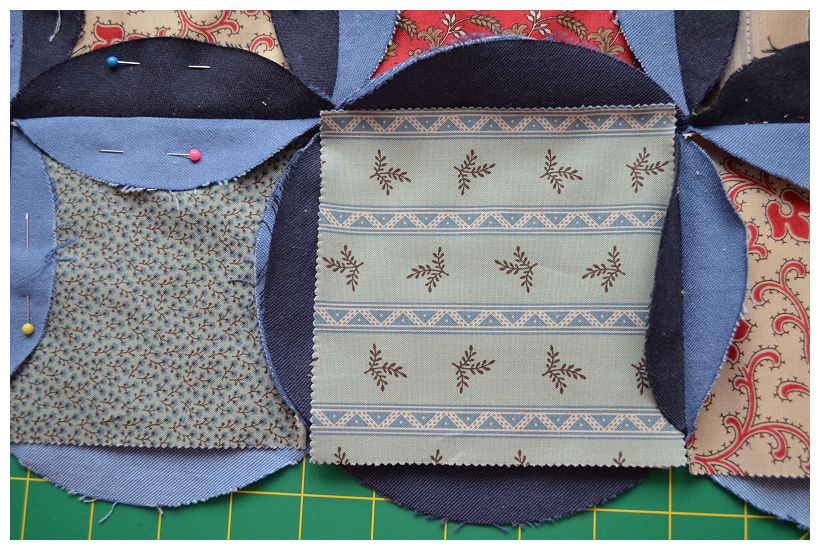
Step 3 – Adding charms and optional batting squares:
Lift flaps and insert batting (if using) and a charm square. Arrange the charm squares so that there is an even distribution of fabric colors.
[wc_row][wc_column size="one-half" position="first"]

[/wc_column][wc_column size="one-half" position="last"]
[/wc_column][/wc_row]
Pin flaps back over the charms.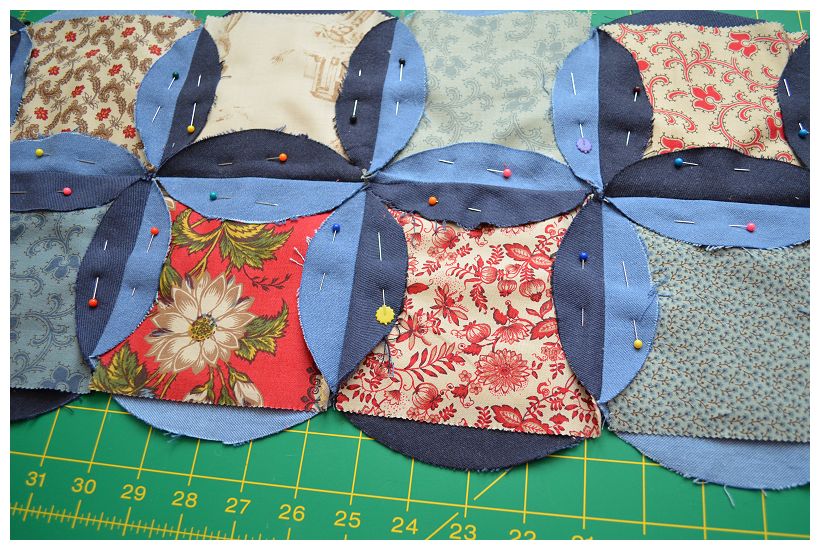
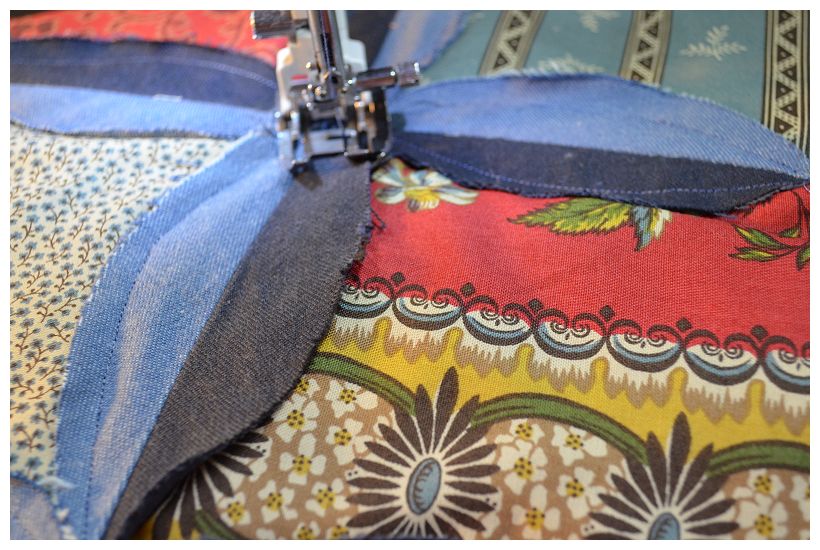
Sew the flaps down in a figure 8 using 3/8" seam , pivoting with the needle down and backstitch at the start and finish. Sew all the vertical rows first.
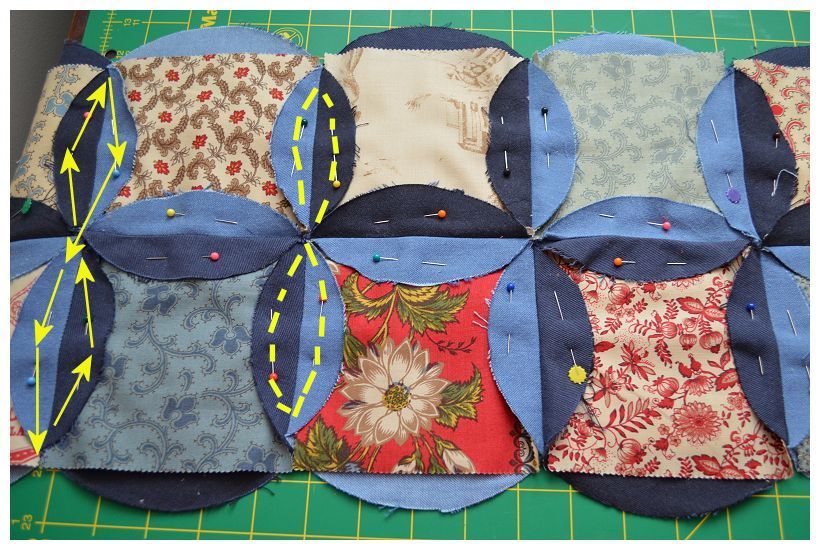
Next, sew the long horizontal row in a figure 8.

Sew the flaps down on all 7 sets of double rows.
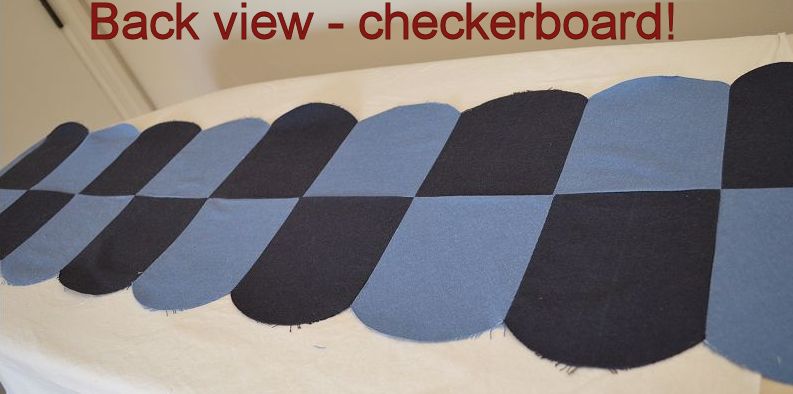
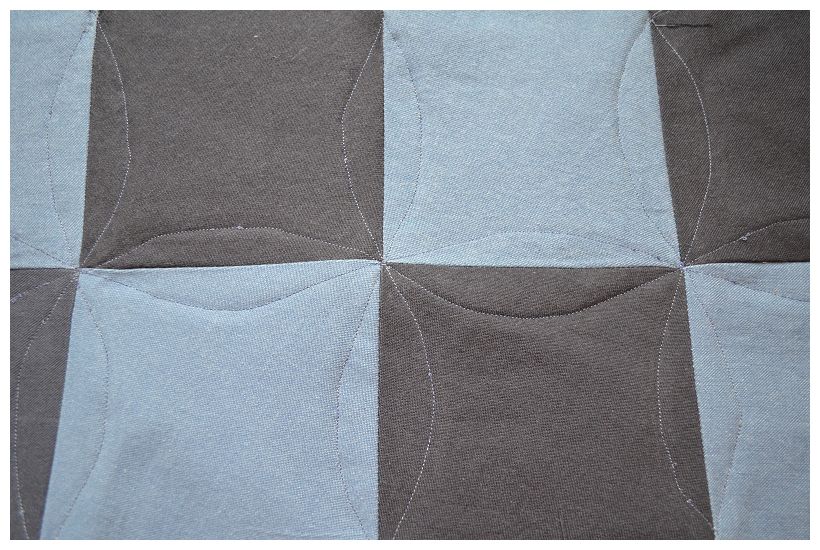
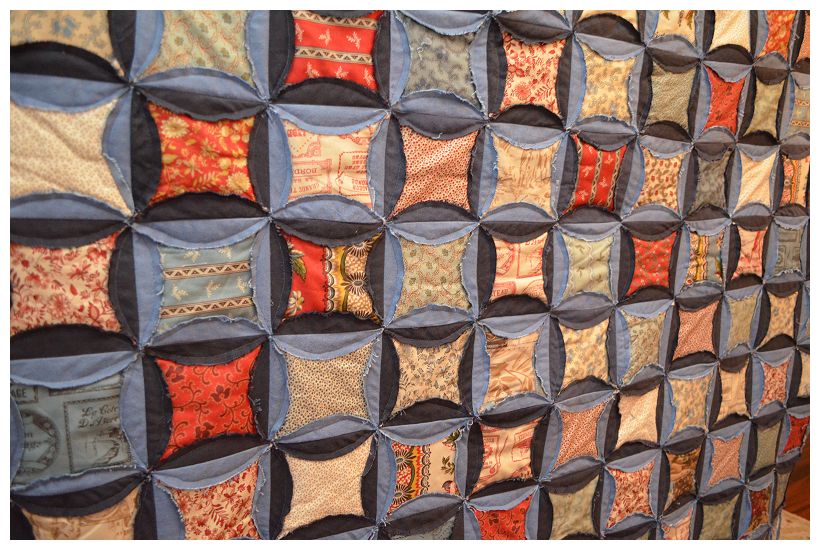
Back view of stitching. This is the quilting design that will be on the back of your quilt.
Step 4 – Sewing rows together:
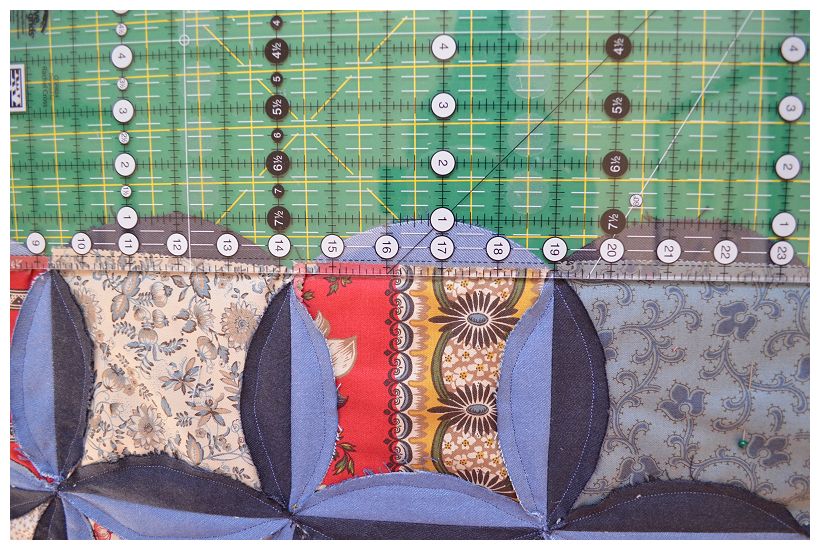
Mark a sewing line across the top of row, 1 inch down. Use this sewing line as a reference to sew sets of rows together.
Place 2 sets of double rows right sides together with alternating dark and light circles. Pin nesting seams together so that the back will have nice points.
Sew across top using the sewing line as a guide, press flaps open and then sew the flaps down in figure 8 as in Step 3 above.

Continue sewing the sets of rows together and sewing the flaps down until all rows are sewn together being careful to alternate the dark and lights for a checkerboard effect.
Step 5 – Sewing quilt edges:
Iron over the remaining flaps and sew them down, creating a flat border. Use a 3/8 seam here also.


Step 6 – Creating ragged edges :
It's starting to look like a finished quilt! Just need to rag the edges on the front.
The edges of the flaps need to be clipped. I use the Friskars Easy Action Rag Snips but small sharp scissors can be used as well.
[wc_row][wc_column size="one-half" position="first"]
[/wc_column][wc_column size="one-half" position="last"]

[/wc_column][/wc_row]
Snip the edges every 1/4 to 1/2 inch being careful not to snip past the sewing line.

Use a stiff brush to fluff the snipped edges. Once the quilt is washed and dried the edges will fray more evenly.

The back is already finished, complete with a checkerboard pattern and quilting.

![]()
59 x 66 lap quilt or picnic blanket
Debbie Ivey
{Sewing with Rascal}
![]()
Posted in: