Welcome to Moda Fabrics!
Scrappy Irish Chain Quilt
Scrappy Irish Chain Quilt
Published:
Jan 11 2015 - 23:00


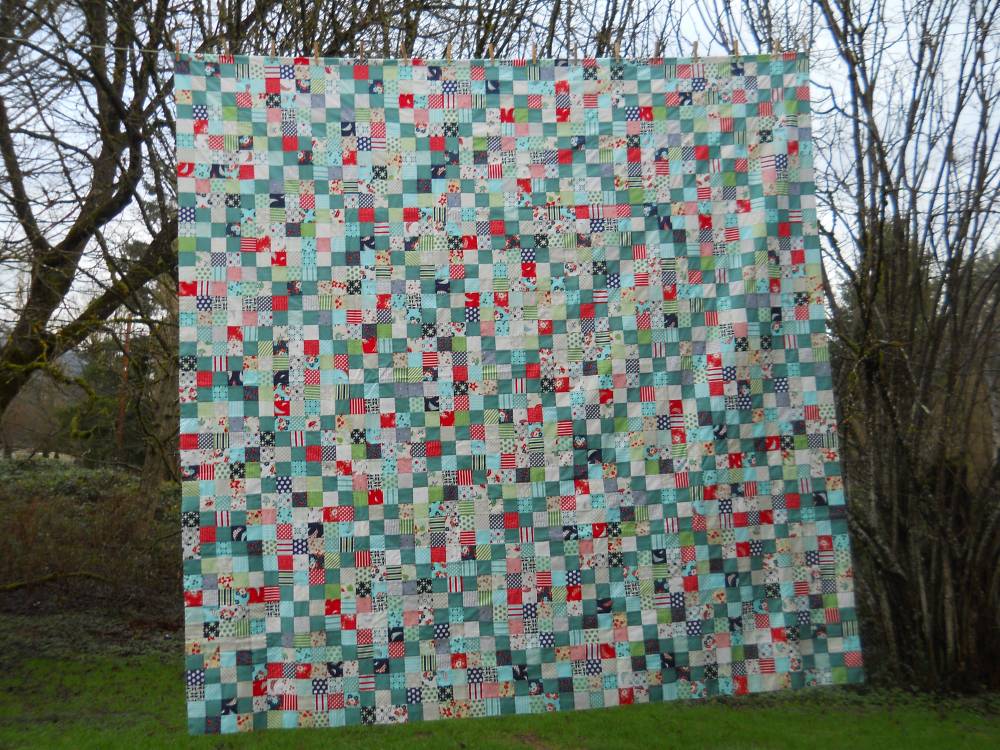
This quilt was inspired by the Irish Chain pattern, but I chose to not leave any large solid areas - this one is totally scrappy!
![]()

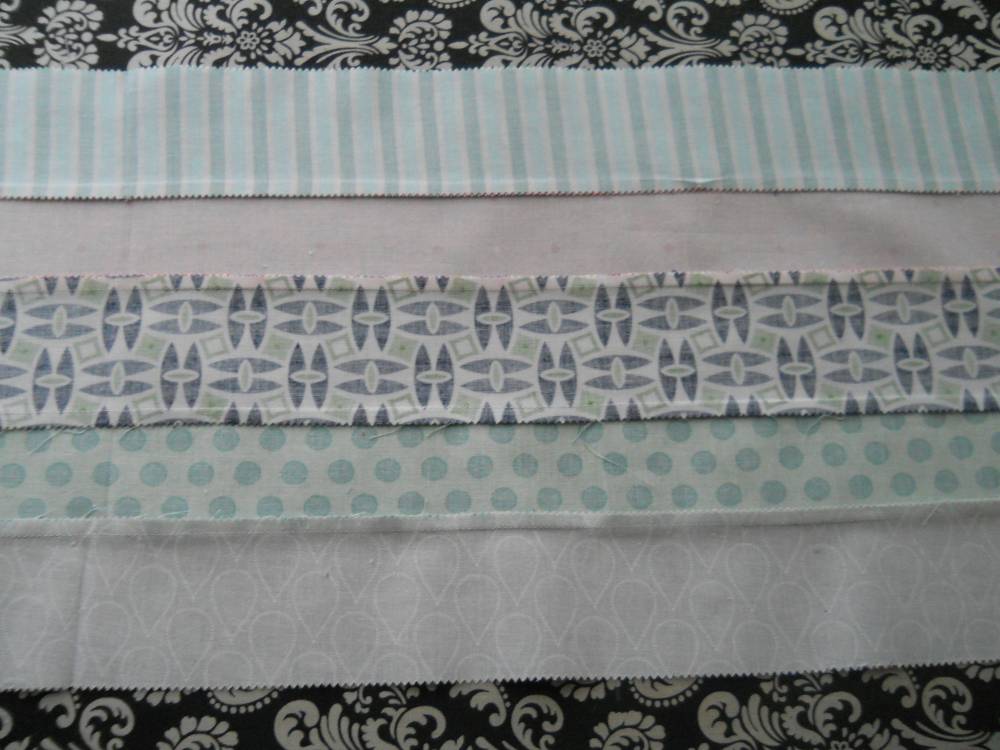
3 Jelly Rolls (or a total of 102 print strips - I used 2 full Jelly Rolls of ''Daysail'' and 22 strips from ''April Showers'' - both Bonnie and Camille collections that play very well together!)
2 1/4 yards solid for the 'chain' in the quilt top (I used Moda Bella ''Pond'')
- OR a total of 2 3/4 yards if you want to piece your backing like I did)
5 1/8 yards backing (and use scraps from top to make it wide enough)
-OR 6 1/2 yards for backing if you prefer to use all one print.
![]()
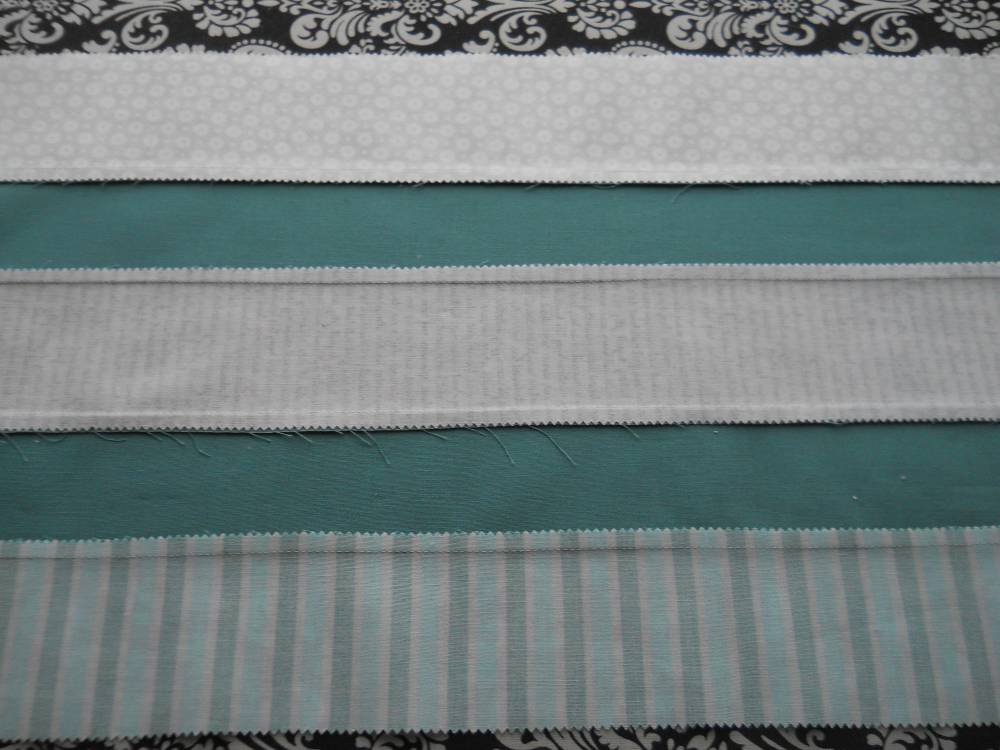
Start by cutting 2 1/4 yards of the Moda Bella solid into 2.5''xWOF strips. This will give you enough for the 'chain' in the quilt as well as the binding. You should get 32 strips (23 for the blocks and 9 for the binding).
This quilt will consist of 2 different alternating blocks. We will refer to the blocks with the solid in them the ''A'' blocks, and the blocks with no solid the ''B'' block.
We will be working with strip sets of 5 strips. You will need 42 print strips and 23 solid strips for the ''A'' blocks, for a total of 65 strips (13 strip sets of 5). You will need 60 strips for the ''B'' blocks (12 strip sets of 5).
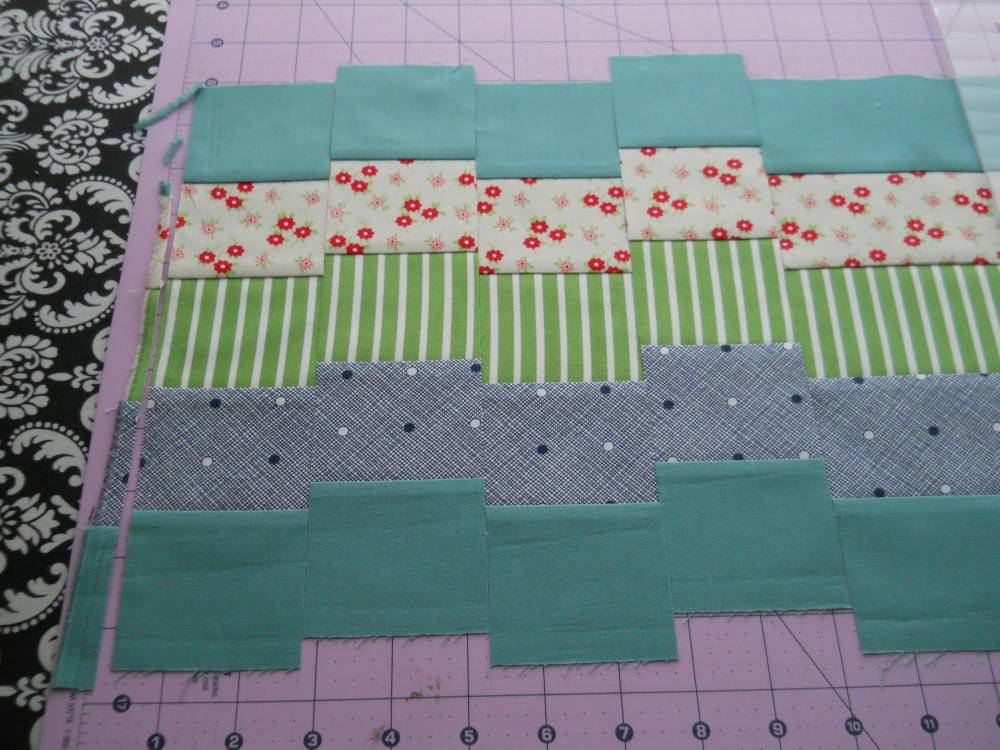
First we will be making our ''A'' blocks. You will make 3 strip sets that look like this (print, print, solid, print, print):

I will give directions for pressing the seams so that your ''A'' and ''B'' blocks will go together so that the seams will nest no matter what direction the block is placed.
For these 3 strip sets, press your seams up, down, up down, like below:

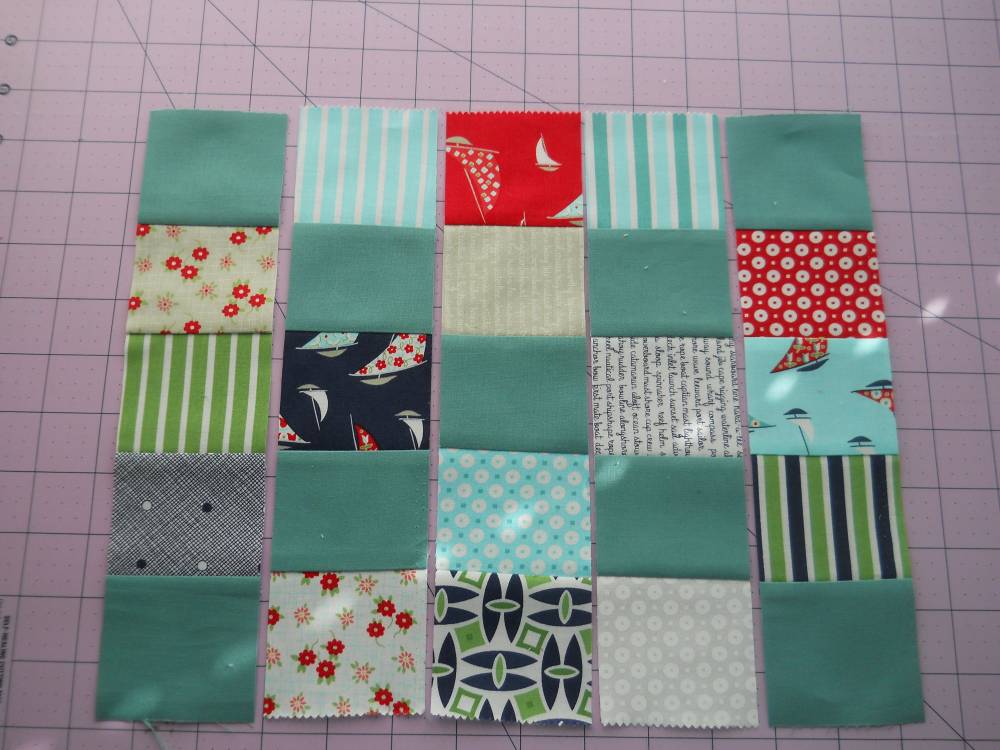
Next, you will make 5 strips sets like photo below (solid, print, print, print, solid) and press them in the same manner as the above strip set (up, down, up, down):

Then, you will make 5 strip sets like photo below (print, solid, print, solid, print), but you will press the seams opposite as the previous strip sets. You will press them down, up, down, up:

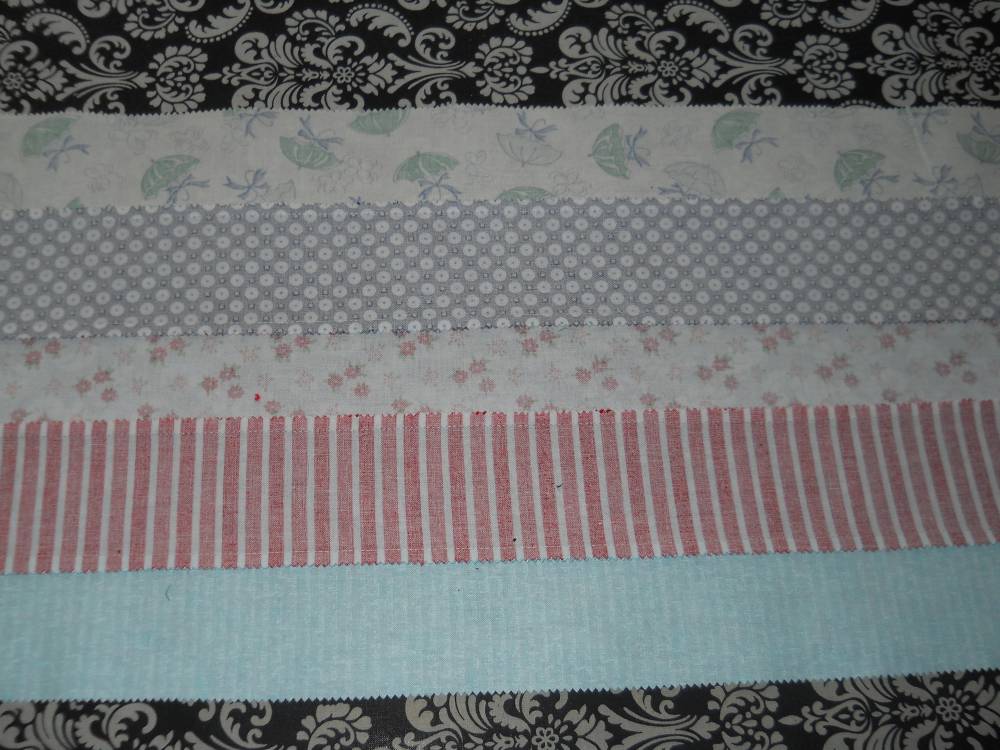
Now, you can stack up your strip sets and subcut them into 2.5'' wide strips. Start by straightening up one end, then cut across your strip set every 2.5''.
You will get 17 pieces from each strip set with very little waste:

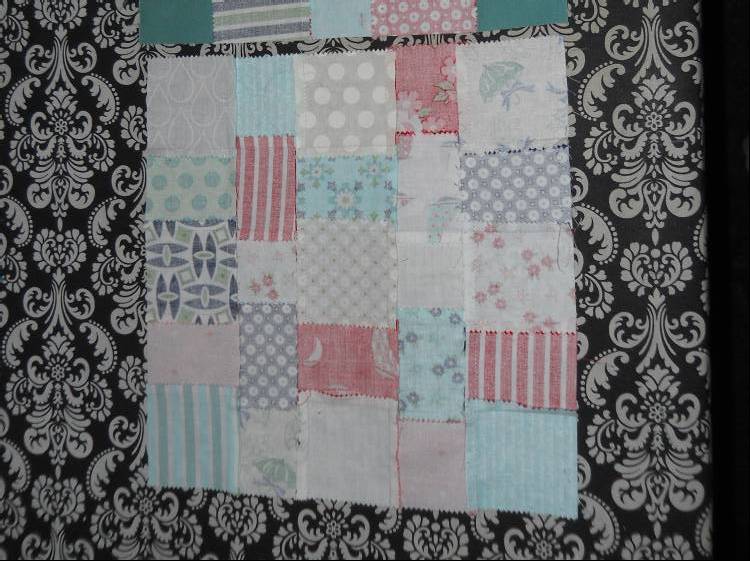
Now, you can assemble your ''A'' blocks:

You will make 41 of these blocks. There will be a few pieces left over.
When you press these final seams, make sure you press them like this (left, right, left, right):

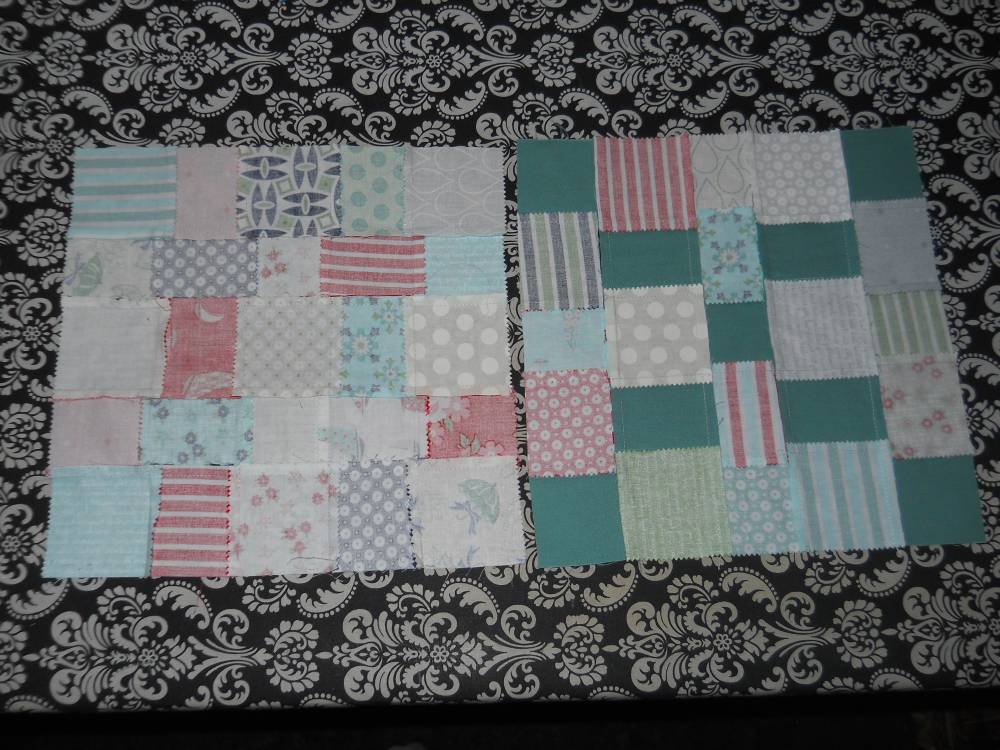
The ''B'' blocks are assembled in the same way, but the seams will be pressed just the opposite so that they nest with the ''A'' blocks.
You will make 12 strip sets of 5 strips. 7 strip sets (for column 1, 3, and 5) will be pressed up, down, up, down:
5 strip sets (for column 2 and 4) will be pressed down, up, down, up. You will need to repress a few pieces from this strip set to be used in column 1, 3, or 5)
Stack these strip sets up and subcut them into 2.5'' wide pieces:

Stitch them together alternating pieces with seams pressed in alternate directions. Press the vertical seams right, left, right, left:
Now, you can see how all the seams will nest perfectly between the two blocks no matter the orientation of the block:
Join your blocks into rows of 9 blocks. 5 rows will begin and end with an 'A' block, and 4 rows will begin and end with a 'B' block.

Press your seams toward the 'A' block (shown above), and then sew your rows together (again, all the seams will nest!).
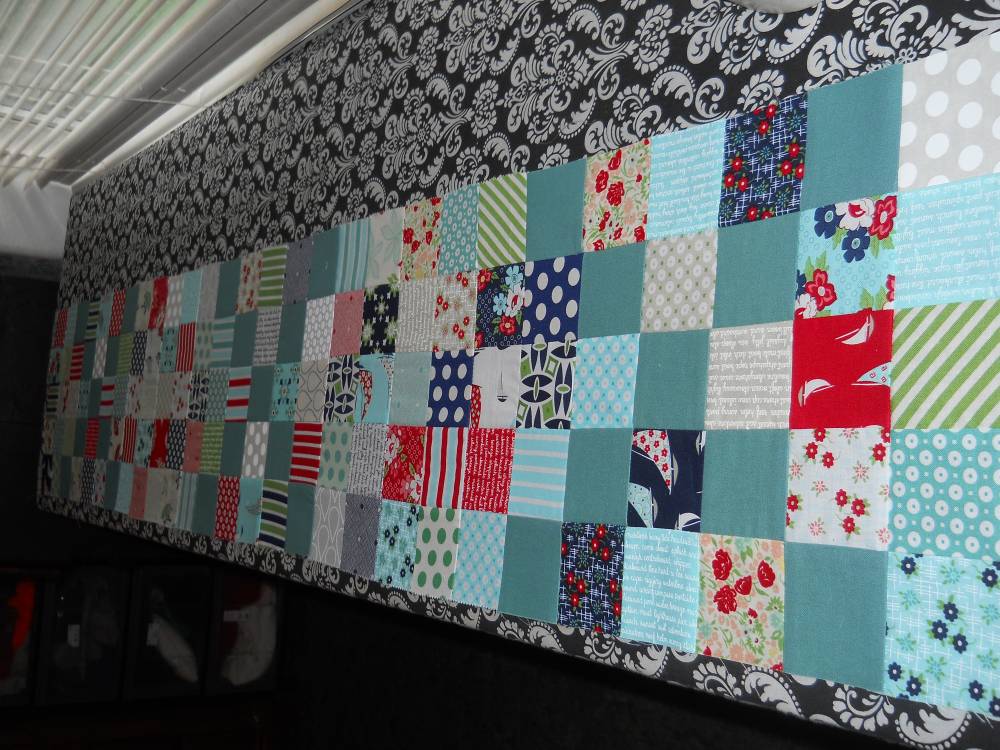
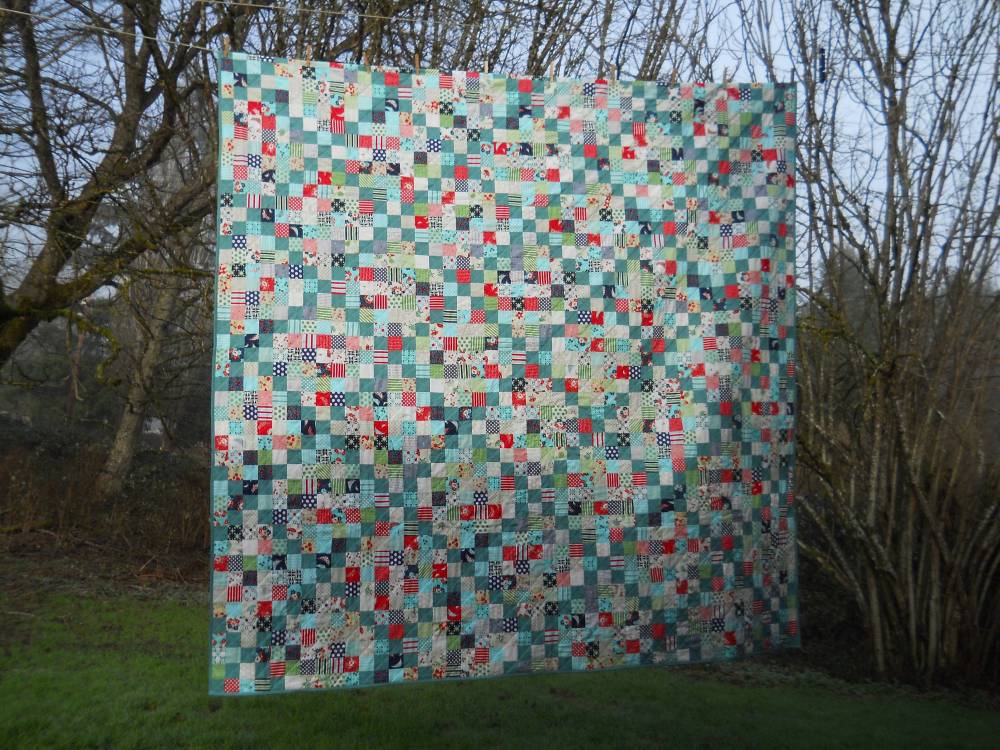
You will now have your complete 90.5'' square quilt top!
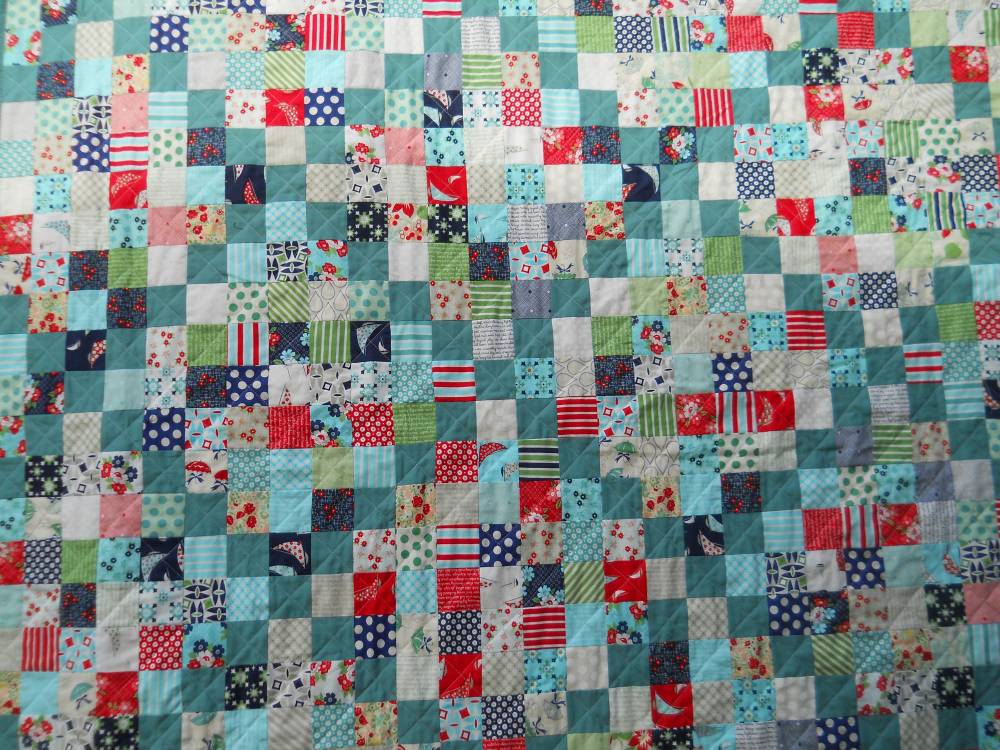
Layer, baste, and quilt as desired.
![]()
One beautiful scrappy 90.5'' square quilt!

Head over to my blog, and I'll give a quick explanation of how I did my backing :)

![]()
Posted in: